ATV Won't Crank — Starter Circuit Diagnosis
⚡ Quick Answer
An ATV that refuses to crank is almost always a failure in the electrical starting circuit, typically caused by a discharged battery, loose terminal connections, or a faulty safety switch. Start your diagnosis by verifying battery health under load, then isolate the fault by jumping the starter solenoid terminals to bypass the control circuit. By methodically checking from the battery to the starter motor, you can identify whether the issue is a voltage drop, a mechanical seizure, or a component failure.
What do you want to do?
Most Likely Cause
Discharged or Defective Battery
The battery is the most frequent culprit, often suffering from internal plate sulfation or inability to hold a charge after long periods of inactivity. If the voltage drops below 12.4V at rest or collapses during a load test, it will fail to engage the solenoid. Check for green or white acid corrosion at the terminals, which creates high resistance.
Start here — this is the most common reason for this symptom.
Before You Buy Parts
Quick, free inspections — check these first. Most repairs don't actually need replacement parts.
Diagnostic Flowchart
Follow this decision tree step-by-step to isolate the problem.
Does the headlights turn on or dashboard display light up when the key is turned?
Check for loose or corroded battery terminals.
Go to step 2
Test battery voltage with a multimeter; check main fuse.
Is the neutral safety switch or park brake sensor engaged correctly?
Inspect the starter solenoid for a clicking sound.
Go to step 3
Adjust the gear shift linkage or engage the parking brake.
Do you hear a loud 'click' from the starter solenoid when the start button is pushed?
Check the starter motor draw and battery health.
Go to step 4
Test the ignition switch and start button circuit for continuity.
Go to step 5
Does the engine rotate freely by hand (or pull start)?
Replace starter motor; it is likely seized.
Investigate internal engine seizure or hydrolock.
Does jumping the solenoid terminals result in the engine cranking?
Replace faulty starter solenoid.
Inspect starter motor brushes and ground cables.
Complete Resource Guide
Ultimate ATV Troubleshooting & Repair Guide
Repair Overview
45-90 minutes
$15-$60
First Checks — Start Here
- 1Check for loose or corroded battery terminal connections
- 2Ensure the kill switch is in the 'Run' position
- 3Verify the gear selector is in 'Neutral' or 'Park'
- 4Test for battery voltage using a digital multimeter
- 5Inspect the main fuse in the fuse block
- 6Check for brake lever switch engagement
- 7Tap the starter motor lightly with a wrench to check for stuck brushes
Safety Warnings
- !Ensure the area is well-ventilated to avoid hydrogen gas buildup while handling lead-acid batteries.
- !Keep hands and loose clothing away from the radiator fan or drive belt while performing tests.
- !Wear safety glasses and ensure the ATV is in neutral; bridging terminals will cause a spark and high current flow.
- !Ensure the ignition is on, but do not leave the key in the 'Start' position for extended periods.
- !Disconnect the battery negative terminal before cleaning ground connections to prevent short circuits.
- !Always block the wheels before testing neutral switches to prevent accidental movement.
- !Using a battery charger as a load tester
- !Not using dielectric grease on electrical connectors
Always disconnect the spark plug, work in a well-ventilated area, and consult a professional if unsure.
Most Likely Causes
Ranked by likelihood — tap each to see diagnosis details.
The battery is the most frequent culprit, often suffering from internal plate sulfation or inability to hold a charge after long periods of inactivity. If the voltage drops below 12.4V at rest or collapses during a load test, it will fail to engage the solenoid. Check for green or white acid corrosion at the terminals, which creates high resistance.
The solenoid acts as a high-amperage switch triggered by the low-amperage ignition signal. If the internal contacts are pitted or burned, it will click but fail to bridge the heavy-gauge cables to the starter motor. Listen for a distinct 'click' sound when the start button is pressed to diagnose the solenoid's function.
🔧 Step-by-Step Fix Guide
Battery Load Test
Use a dedicated battery load tester to verify the battery can hold 10V or more under a heavy load for 10 seconds. Even if the battery reads 12.6V on a multimeter, it may lack the 'Cold Cranking Amps' (CCA) required to spin the engine. A weak battery will cause the solenoid to chatter rapidly when the button is pushed.
Ensure the area is well-ventilated to avoid hydrogen gas buildup while handling lead-acid batteries.
Verify Voltage at Solenoid
Set your multimeter to DC Volts and measure the battery side of the solenoid, then check the starter motor side while pressing the start button. If you see battery voltage on the battery side but not on the starter side while the solenoid clicks, the solenoid is bad. If you see voltage on both sides but the motor doesn't spin, the starter is the problem.
Keep hands and loose clothing away from the radiator fan or drive belt while performing tests.
Starter Motor Bypass Test
Use an insulated screwdriver to carefully bridge the two large posts on the starter solenoid for one second. If the starter engages and cranks the engine, the issue is in the control side circuit (safety switches or starter button). If nothing happens, the starter motor or ground connection is likely the failure point.
Wear safety glasses and ensure the ATV is in neutral; bridging terminals will cause a spark and high current flow.
Check Control Circuit Signal
Probe the small trigger wire at the solenoid with your multimeter while the start button is engaged. You should see 12V coming from the ignition/safety circuit to trigger the relay. If you have no signal, check your brake switches and gear position sensor continuity.
Ensure the ignition is on, but do not leave the key in the 'Start' position for extended periods.
Inspect Ground Path Integrity
Locate the main engine ground strap where the engine cases meet the frame and ensure it is tight and free of rust. Use a sandpaper or wire brush to clean the contact surface to ensure a low-resistance path for the high-current draw of the starter. A poor ground is a classic cause of intermittent starting issues.
Disconnect the battery negative terminal before cleaning ground connections to prevent short circuits.
Test Neutral Safety Switch
Unplug the connector for the neutral safety switch on the side of the engine and use an ohmmeter to check for continuity in 'Neutral'. If the switch does not show 0 ohms in the neutral position, it is faulty and preventing the ECU from allowing the starter to engage. Some models may require a jumper wire to test if the switch is the sole cause.
Always block the wheels before testing neutral switches to prevent accidental movement.
What To Test Next
If fuel delivery checks out, the next thing to inspect is spark — remove the spark plug, ground its threads to the engine block, and crank the engine to look for a visible blue spark.
Component Reference

Carburetor & Fuel Intake
The carburetor mixes air and fuel for combustion. A clogged jet or stuck float is the #1 cause of small engine starting and surging problems.

Spark Plug & Ignition System
The spark plug ignites the air-fuel mixture. A fouled plug, wrong gap, or failing ignition coil will prevent the engine from firing.

Fuel System
Stale fuel is the most common cause of seasonal starting failures. Fuel breaks down in 30 days, leaving varnish that clogs carburetor jets and fuel filters.

Electrical & Starting System
The battery, solenoid, and starter motor work together to crank the engine. A weak battery or corroded connection is often mistaken for a fuel or spark problem.
Photos for educational reference. Actual parts may vary by make and model.
Common Mistakes to Avoid
Replacing the starter motor before testing the solenoid
Ignoring the condition of the ground cable
Using a battery charger as a load tester
Forgetting to check the kill switch position
Not using dielectric grease on electrical connectors
If This Didn't Fix It
Still having trouble? These are the next things to check:
Get the Exact Parts for Your Machine
Tell us your equipment's year, make, and model — we'll search for parts that actually fit, not generic ones.
Finding parts for
ATV
Required Gear
Matched to your ATV — click to find the exact fit on Amazon.
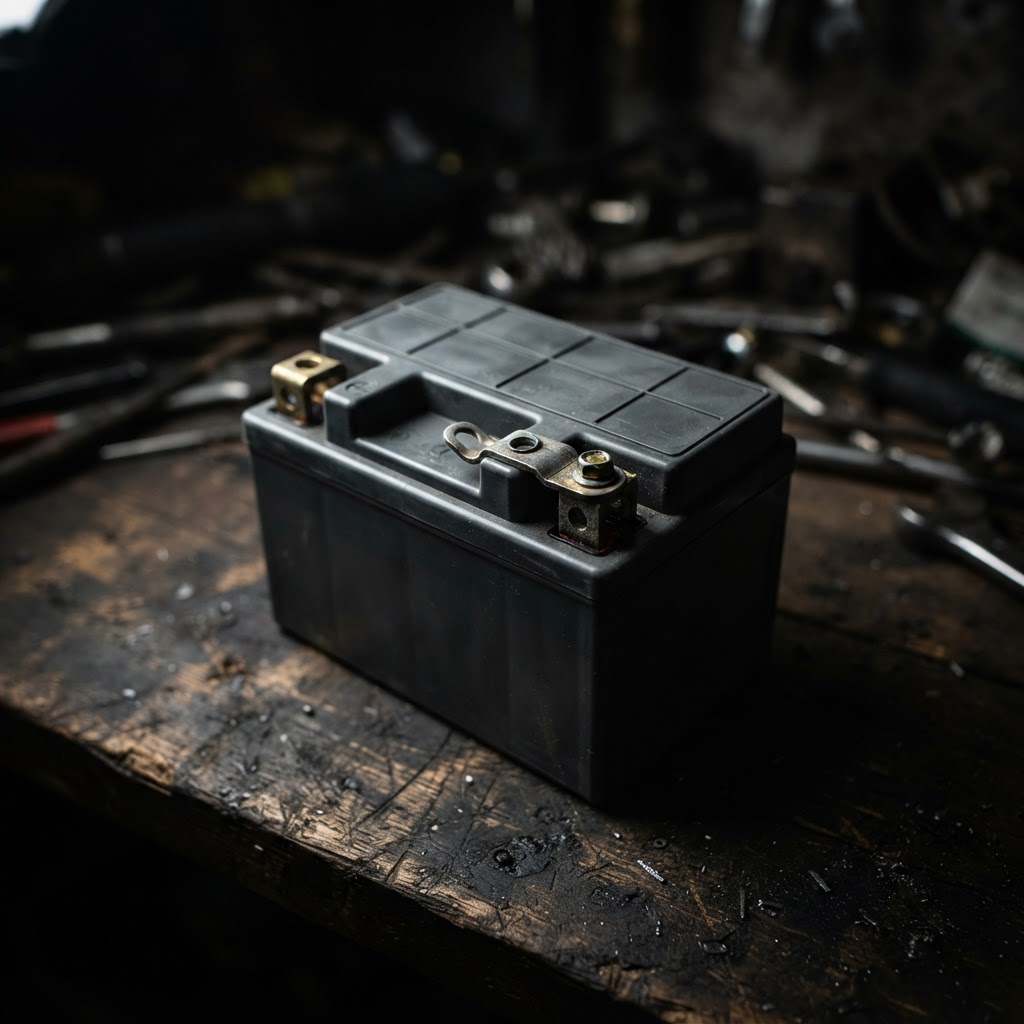
Replacement ATV Battery
If the load test fails, the battery lacks the necessary cold cranking amps to engage the starter motor and must be replaced.
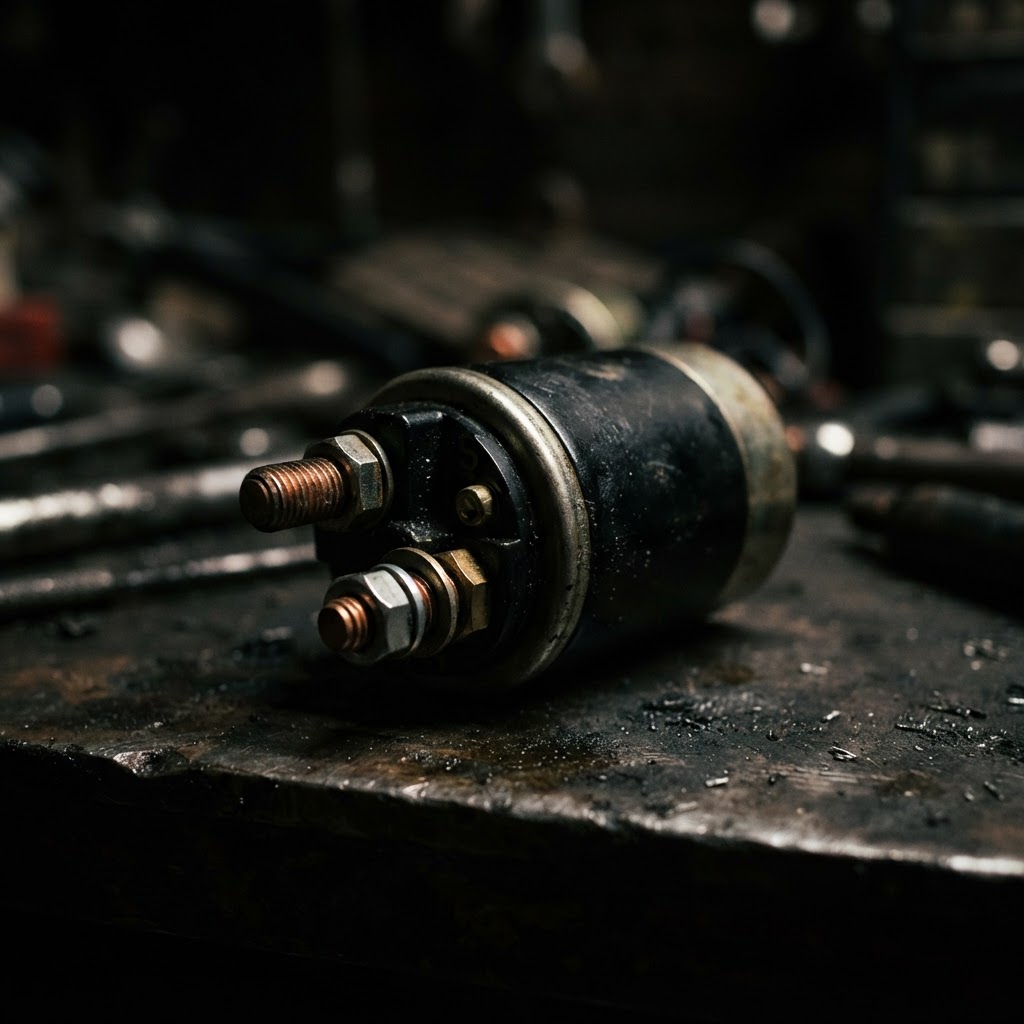
Starter Solenoid Relay
This is the most common point of failure when the control circuit has power but the starter motor fails to engage.
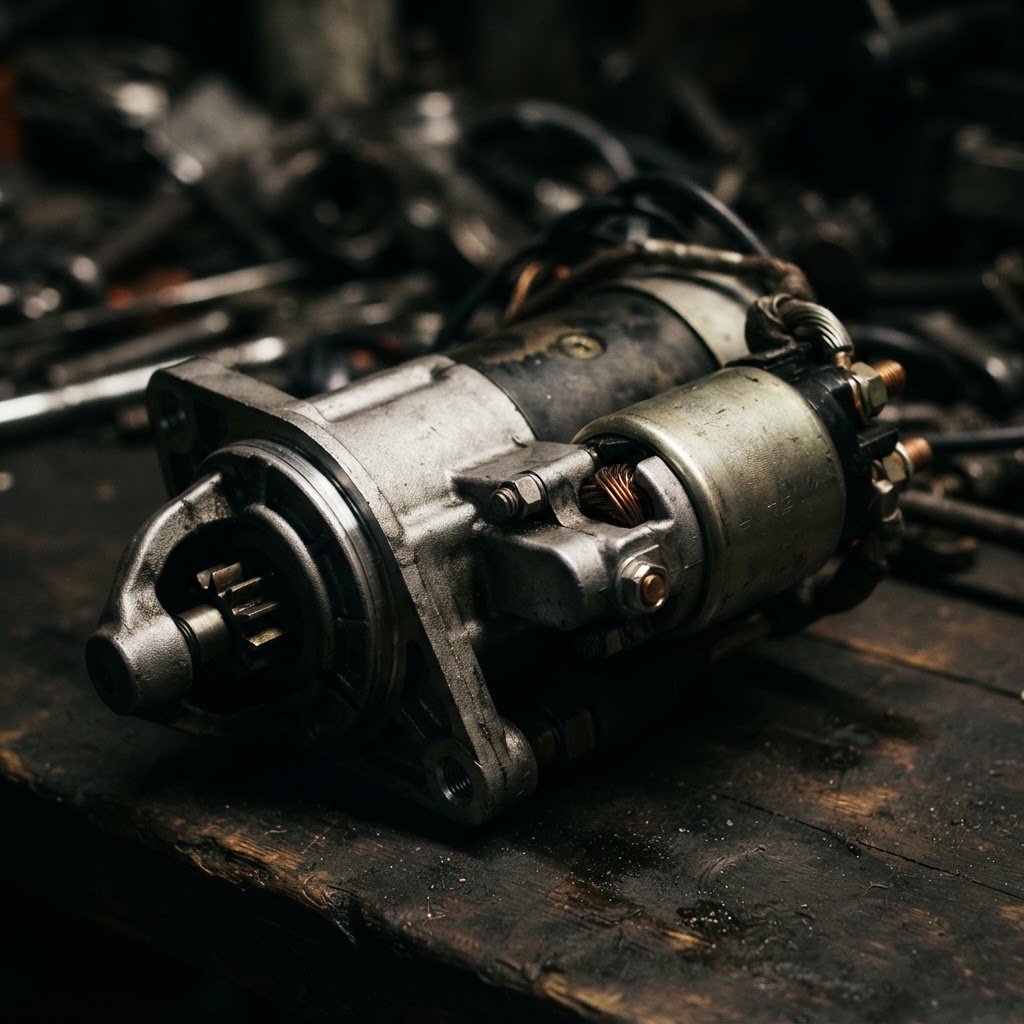
Starter Motor Assembly
If the solenoid clicks but the motor does not turn, the internal brushes or armature have reached the end of their service life and require full unit replacement.
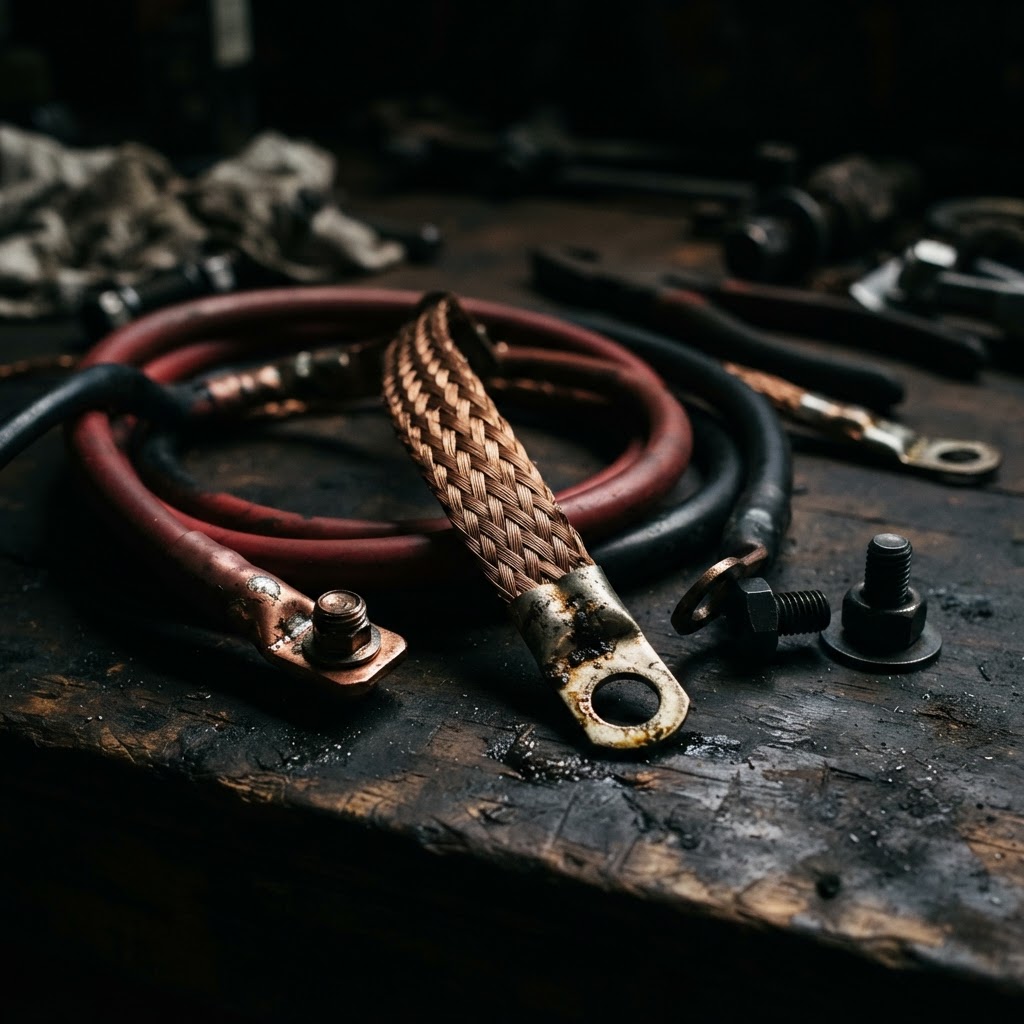
Battery Cable and Ground Strap Kit
Corrosion inside the insulation or at the terminals frequently prevents the high amperage required for cranking from reaching the starter.
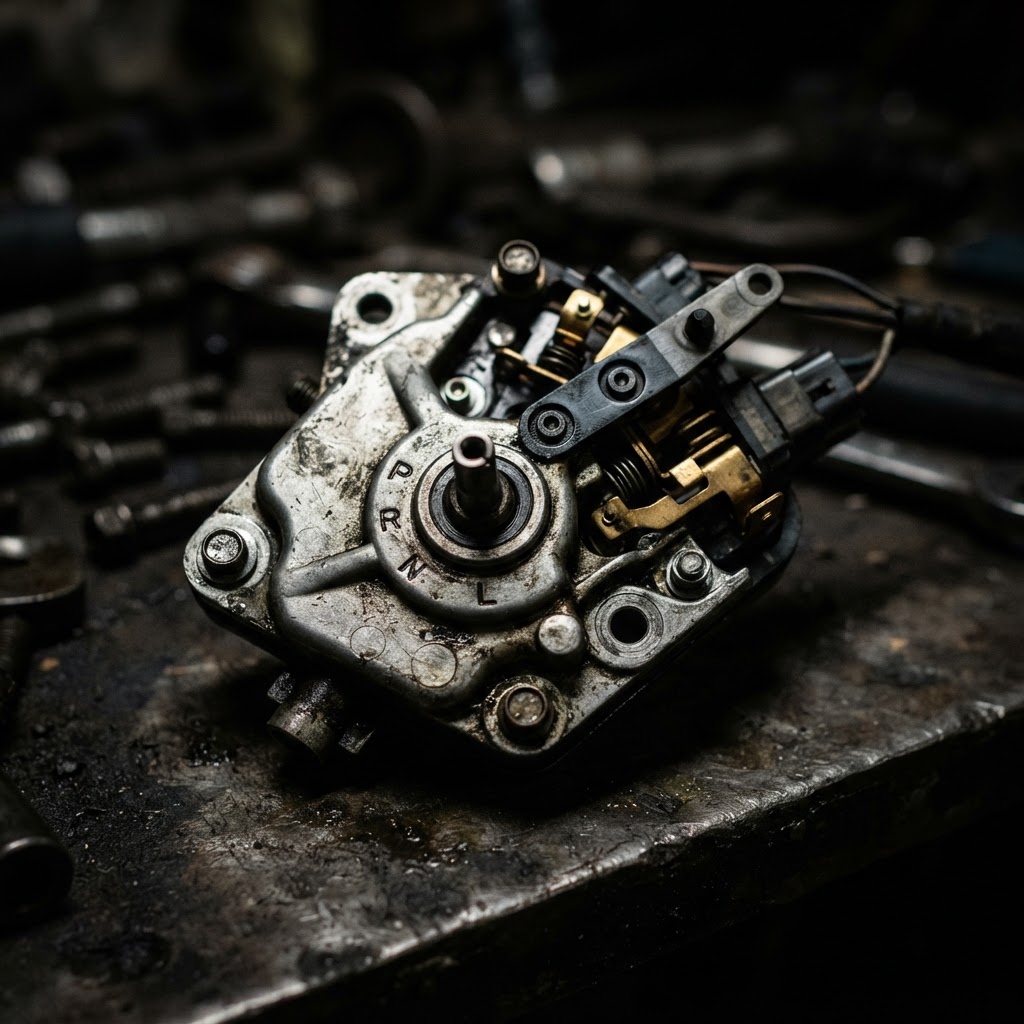
Neutral Safety Switch
If the control circuit signal fails to reach the solenoid due to a faulty switch, this component must be replaced to complete the safety interlock loop.
Affiliate Disclosure: Lil Engine may earn commissions from qualifying purchases.
Pro Tips from the Community
Real-world fixes from Reddit, YouTube & forums.
"If the ATV won't crank, try wiggling the shifter while holding the start button. If it suddenly engages, your neutral safety switch is dirty or needs adjustment."
Reddit r/ATV"I've seen dozens of ATVs where the ground wire bolts to a painted part of the frame. Sand the paint off for a 'metal-to-metal' connection and your starting issues will disappear."
YouTube comments"Don't trust the click. A solenoid can click all day, but if the internal contact plate is covered in carbon, it won't pass enough juice to turn the motor."
ATVConnection.com ForumBrand-Specific Notes
Polaris
Polaris models often suffer from brittle ground wires near the voltage regulator. Always verify the chassis ground before condemning the starter.
Honda
Honda ATVs use sophisticated safety interlock diodes in the starting circuit. If the machine won't crank in gear, the diode pack is often the culprit.
Yamaha
Yamaha Grizzly and Kodiak models are prone to mud intrusion into the starter motor casing. Clean the brush dust and verify the seal integrity if the starter draws excessive current.
Model-Specific Variations
Polaris Sportsman 570
Uses a digital instrument cluster that won't show 'N' (Neutral) if the sensor is misaligned, effectively disabling the start circuit.
Honda TRX450R
Requires the clutch lever to be fully depressed even in neutral. The microswitch on the perch is a common failure point for no-crank issues.
Can-Am Outlander
Features a complex DESS (Digitally Encoded Security System) key. If the key chip is not recognized, the ECU prevents the starter relay from energizing.
Starting Circuit Failure Modes
| Symptom | Primary Suspect | Diagnostic Tool |
|---|---|---|
| No sound at all | Ignition Switch/Fuse | Multimeter |
| Single click heard | Starter Solenoid | Test Light |
| Rapid buzzing noise | Weak Battery | Load Tester |
| Engine turns slow | Starter Brushes/Cable | Clamp Amp Meter |
Real-World Repair Examples
Situation
Customer complained of a clicking sound when pressing the starter button on a Yamaha Grizzly.
Solution
We load-tested the battery, which showed 12.6V but dropped to 4V under load. Replacing the battery resolved the issue.
Engine started immediately after battery replacement.
Situation
Polaris Sportsman would not crank at all despite having a fresh battery.
Solution
Traced the ground circuit and found heavy corrosion at the engine block bolt. Cleaned the contact point and tightened to spec.
Ground path restored and starting system functioned perfectly.
Situation
Honda TRX450R cranked only intermittently regardless of gear position.
Solution
Diagnosed a faulty clutch safety switch. Bypassed the switch temporarily to verify and then replaced the unit.
Permanent starting reliability restored.
Prevent This From Coming Back
Apply dielectric grease to all electrical connections annually
Use a trickle charger or battery tender during the off-season
Clean terminal posts with a wire brush every 6 months
Check for frayed insulation on heavy-gauge cables
Ensure all chassis grounds remain tight during regular services
Prevent This From Happening Again
While you're fixing it, stock up on the maintenance essentials that keep your atvs running right.
Small Engine Oil
Regular oil changes protect the transmission and engine.
Get on AmazonAir Filter
Off-road riding clogs air filters fast — clean or replace often.
Get on AmazonSpark Plug
A fresh plug keeps your ATV starting reliably on every ride.
Get on AmazonAffiliate Disclosure: Lil Engine may earn commissions from qualifying purchases.
Frequently Asked Questions
This is almost always a low-voltage symptom. The solenoid attempts to engage, but the voltage drops below the threshold required to hold it closed, causing it to cycle on and off rapidly.
Related Questions
Common variations and related questions about this repair.
What does it mean when the ATV solenoid clicks but the motor doesn't turn?
This usually indicates either a seized starter motor, a dead battery that cannot supply enough amperage, or a poor connection at the starter post.
Can a bad stator cause an ATV to not crank?
Typically, the stator is responsible for charging and spark, not cranking. A bad stator will cause the battery to go dead, eventually leading to a no-crank condition.
How do I bypass the starter solenoid on an ATV?
You can bridge the two large posts on the solenoid with an insulated screwdriver. If the motor cranks, the solenoid is faulty, but use caution as this sparks and ignores safety interlocks.
Why is my starter motor hot to the touch?
A hot starter motor indicates excessive resistance, often from a shorted winding or internal mechanical binding. It should be replaced immediately to prevent electrical fires.
Does neutral light have to be on to start an ATV?
Yes, on most modern ATVs, the ECU or starter relay circuit requires a verified neutral or park signal to complete the start circuit for safety.
What is the most common cause of a no-crank issue?
The most frequent cause is a discharged or sulfated battery, followed closely by loose or corroded battery terminal connections.
Video Help
Helpful videos showing these repairs in action.
Share Your Repair
Real-world fixes help everyone. Share what worked and your repair becomes part of Lil Engine's community database.
Related Problems
More ATVs GuidesRelated Maintenance Articles
Related Searches
ATVs Troubleshooting
Did this help?
Your feedback helps improve guides for everyone.