Honda ATV Cranks But Won't Start — Timing Chain & Mechanical Timing Diagnosis
⚡ Quick Answer
If your Honda ATV cranks but won't start, the timing chain may have stretched or skipped a tooth, throwing the valve timing out of sync with the piston. You must verify Top Dead Center (TDC) alignment by checking the 'T' mark on the flywheel against the timing marks on the cam sprocket. A common failure on models like the Rancher or Foreman is a collapsed automatic tensioner or zero valve clearance caused by valve seat recession.
What do you want to do?
Most Likely Cause
Timing Chain Stretch
Over thousands of miles, the pins and bushings in the chain wear, causing cumulative elongation. If the chain exceeds the tensioner's adjustment range, it can skip teeth on the cam sprocket, instantly throwing the valve timing off.
Start here — this is the most common reason for this symptom.
Why This Problem Happens
In Honda ATV engines, such as the TRX series, the timing chain synchronizes the rotational movement of the crankshaft with the camshaft, ensuring valves open and close at precise intervals during the four-stroke cycle. When the chain stretches beyond the auto-tensioner's adjustment limit or skips a tooth, this critical mechanical valve timing is disrupted. Consequently, the intake valve may open while the piston is still on the compression stroke or fail to close during combustion, leading to a catastrophic loss of cylinder compression required for ignition. The engine will crank over rapidly but will consistently fail to start because the fuel-air mixture cannot be pressurized for a controlled ignition event. This often manifests as an unusually high or rhythmic spinning sound during cranking, a distinct indicator that the cylinder is effectively 'breathing' through mistimed valves rather than building pressure against the combustion chamber walls.
Common Symptoms
- Unusually fast or rhythmic cranking sound
- Backfiring through the carburetor or intake
- Loss of detectable compression on a gauge
- Excessive metallic rattling noise from the cylinder head
- Spark plug fouling due to incorrect valve overlap timing
Before You Buy Parts
Quick, free inspections — check these first. Most repairs don't actually need replacement parts.
Complete Resource Guide
Ultimate ATV Troubleshooting & Repair Guide
Brand Resource Hub
The Ultimate Honda Small Engine Repair & Service Hub
Repair Overview
2–4 hours
$40–$150
First Checks — Start Here
- 1Check for consistent spark using a spark tester or a new NGK spark plug.
- 2Verify battery voltage is 12.6V+ to ensure the engine cranks fast enough for the auto-decompression to work.
- 3Perform a compression test; most Honda ATVs need at least 75–100 PSI to fire (check your specific model's manual).
- 4Inspect valve lash clearances; typically 0.006 in (0.15 mm) for both intake and exhaust on many Honda utilities.
- 5Remove the timing inspection plug and align the 'T' mark to check cam sprocket horizontal alignment.
- 6Test the automatic timing chain tensioner by checking for spring-loaded resistance.
Safety Warnings
- !Ensure the throttle is held wide open during testing to allow full air intake into the cylinder.
- !Hold the crankshaft firmly with a wrench, as the compressed air will try to rotate the engine.
- !Only rotate the engine in the manufacturer-specified direction to avoid damaging the one-way starter clutch.
- !Be careful not to drop the timing chain into the crankcase sump while the sprocket is loose.
- !Do not disassemble the tensioner spring; it is under high tension and can cause injury.
- !Always replace the chain, guides, and tensioner as a complete set. Do not let any debris or plastic shards fall into the timing chain cavity.
- !Apply a small amount of thread locker to cam sprocket bolts as specified by the Honda service manual.
Always disconnect the spark plug, work in a well-ventilated area, and consult a professional if unsure.
Most Likely Causes
Ranked by likelihood — tap each to see diagnosis details.
Over thousands of miles, the pins and bushings in the chain wear, causing cumulative elongation. If the chain exceeds the tensioner's adjustment range, it can skip teeth on the cam sprocket, instantly throwing the valve timing off.
The spring or ratcheting mechanism inside the tensioner can seize or fail, leaving the chain loose. A loose chain will whip violently against the guides and eventually skip time, specifically during engine startup or deceleration.
🔧 Step-by-Step Fix Guide
Perform a Cylinder Compression Test
Screw a high-quality compression tester into the spark plug hole and crank the engine. If the pressure is significantly lower than the factory specification (usually below 60-90 PSI), the timing is likely off, preventing a seal.
Ensure the throttle is held wide open during testing to allow full air intake into the cylinder.
Perform a Cylinder Leak-Down Test
Inject compressed air into the spark plug hole while the engine is at TDC compression. If you hear air rushing from the intake or the exhaust, your valves are not sealing, confirming a timing or valve damage issue.
Hold the crankshaft firmly with a wrench, as the compressed air will try to rotate the engine.
Access the Timing Marks
Remove the timing inspection port cover on the side of the engine casing. Use a socket on the crankshaft nut to rotate the engine manually until the 'T' mark aligns with the case index mark.
Only rotate the engine in the manufacturer-specified direction to avoid damaging the one-way starter clutch.
Inspect Camshaft Alignment
Remove the cylinder head cover to expose the cam sprocket. Check if the index marks on the cam sprocket are perfectly flush with the cylinder head gasket surface while the flywheel is at the 'T' mark.
Be careful not to drop the timing chain into the crankcase sump while the sprocket is loose.
Test the Automatic Cam Chain Tensioner (ACCT)
Remove the tensioner and check if the plunger extends and locks. If it retracts easily by hand or stays stuck in the housing, it must be replaced to prevent future chain skipping.
Do not disassemble the tensioner spring; it is under high tension and can cause injury.
Verify Chain Condition
Look for visible signs of chain wear, such as stiff links or deep gouges in the aluminum chain guides. With the valve cover off, use a pick or borescope to inspect the plastic chain guides for deep grooves or broken mounting tabs, and replace any guides that show significant thinning. A chain that exhibits side-to-side play on the sprocket teeth is severely stretched and requires replacement.
Always replace the chain, guides, and tensioner as a complete set. Do not let any debris or plastic shards fall into the timing chain cavity.
Re-index Cam Timing
If found out of time, wrap the chain around the sprocket to align the index marks precisely. Ensure the chain is taut on the side of the tensioner before tightening the sprocket bolts to torque specifications.
Apply a small amount of thread locker to cam sprocket bolts as specified by the Honda service manual.
What To Test Next
If fuel delivery checks out, the next thing to inspect is spark — remove the spark plug, ground its threads to the engine block, and crank the engine to look for a visible blue spark.
Component Reference

Spark Plug & Ignition System
The spark plug ignites the air-fuel mixture. A fouled plug, wrong gap, or failing ignition coil will prevent the engine from firing.

Oil & Lubrication System
Regular oil changes are critical. Low or dirty oil causes engine wear, overheating, and eventual seizure. Check the dipstick before every season.

Fuel System
Stale fuel is the most common cause of seasonal starting failures. Fuel breaks down in 30 days, leaving varnish that clogs carburetor jets and fuel filters.

Electrical & Starting System
The battery, solenoid, and starter motor work together to crank the engine. A weak battery or corroded connection is often mistaken for a fuel or spark problem.
Photos for educational reference. Actual parts may vary by make and model.
Common Mistakes to Avoid
Forgetting to hold the throttle open during a compression test
Replacing only the chain without inspecting the guides
Rotating the engine backward and damaging the starter clutch
Misinterpreting the ignition timing mark for the top-dead-center timing mark
Installing the cam sprocket 180 degrees out of phase, which is possible on some Honda models.
If This Didn't Fix It
Still having trouble? These are the next things to check:
Get the Exact Parts for Your Machine
Tell us your equipment's year, make, and model — we'll search for parts that actually fit, not generic ones.
Finding parts for
symptoms of timing chain
Required Gear
Matched to your symptoms of timing chain — click to find the exact fit on Amazon.
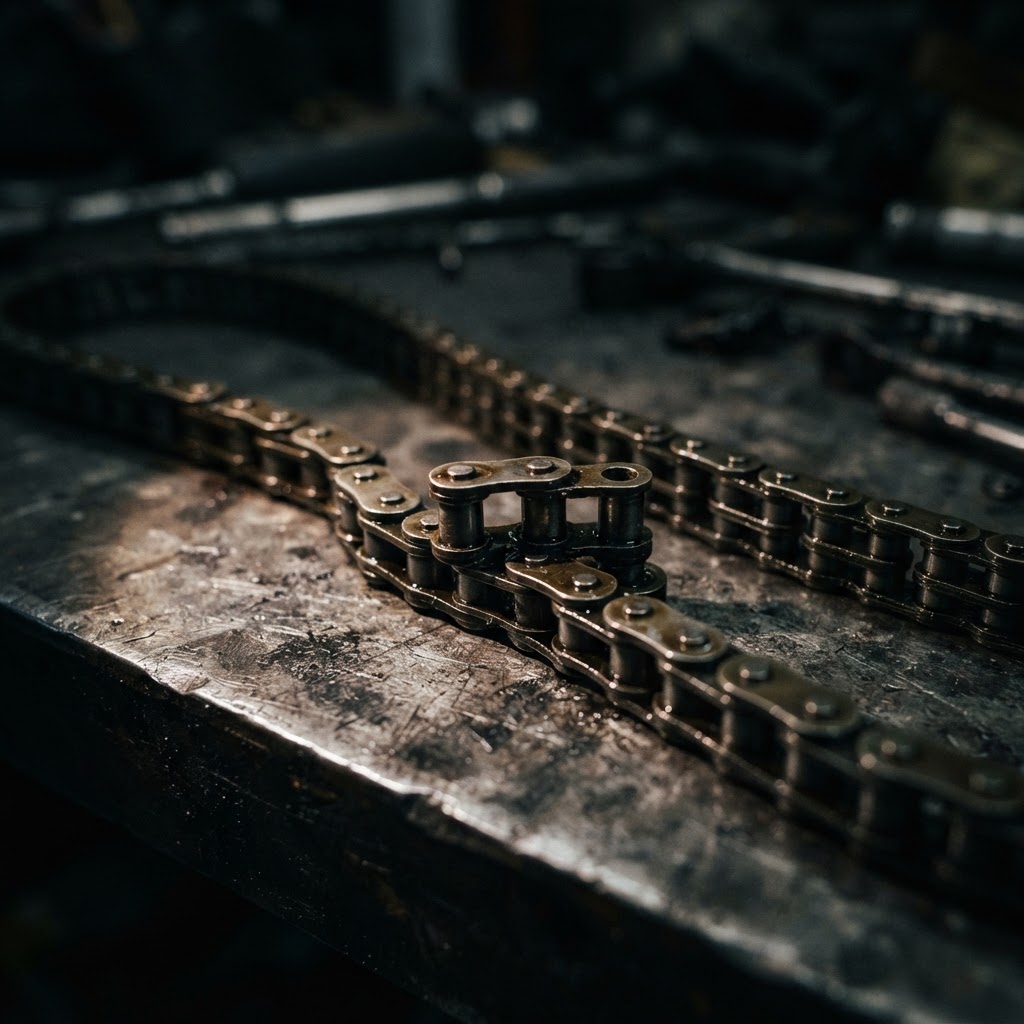
Timing Chain
Once the timing chain has stretched beyond the tensioner's adjustment range, it must be replaced to restore proper camshaft synchronization and prevent potential valve-to-piston contact.
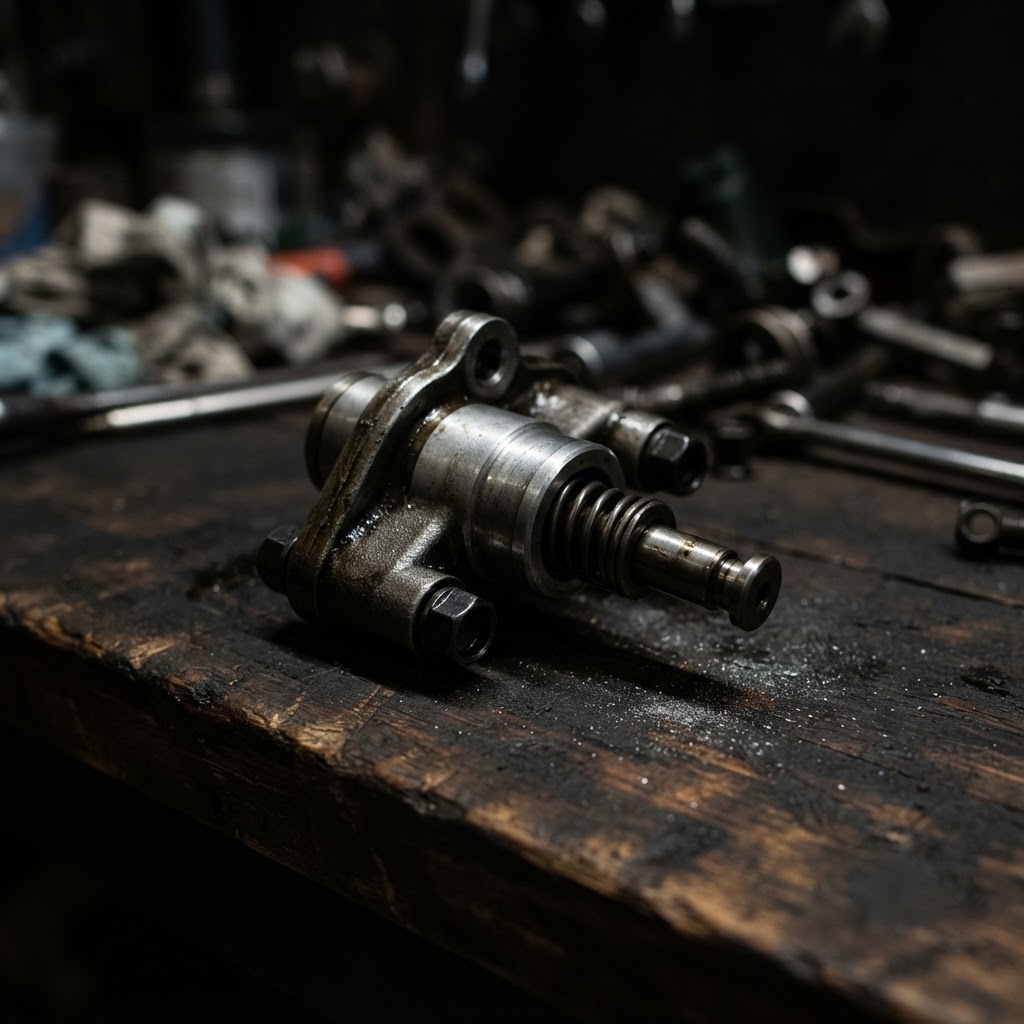
Automatic Cam Chain Tensioner
The internal spring mechanism often fails or loses its ratcheting capability, leading to chain slack that can cause the engine to skip teeth and refuse to start.
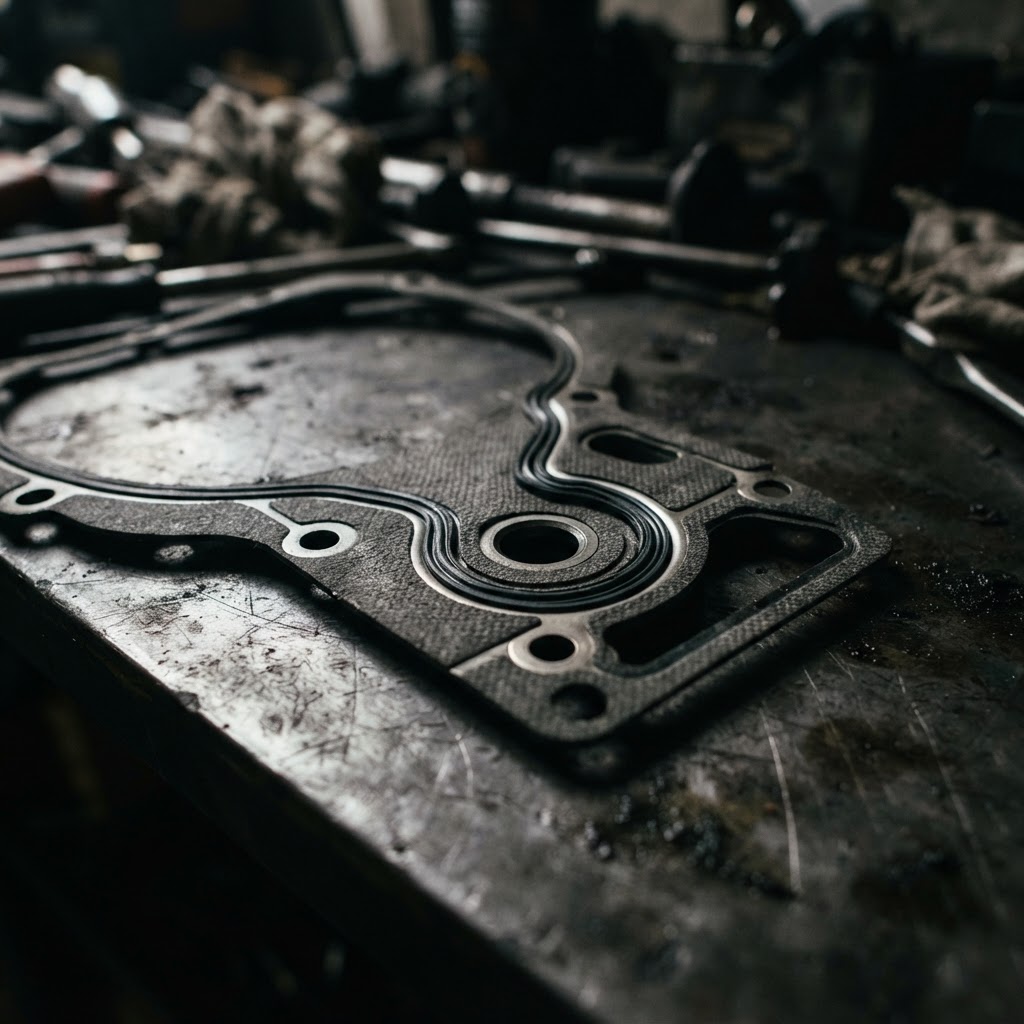
Engine Timing Cover Gasket
You must remove the timing cover to inspect or replace the chain, and this gasket is a single-use item that is required to ensure a proper oil-tight seal upon reassembly.
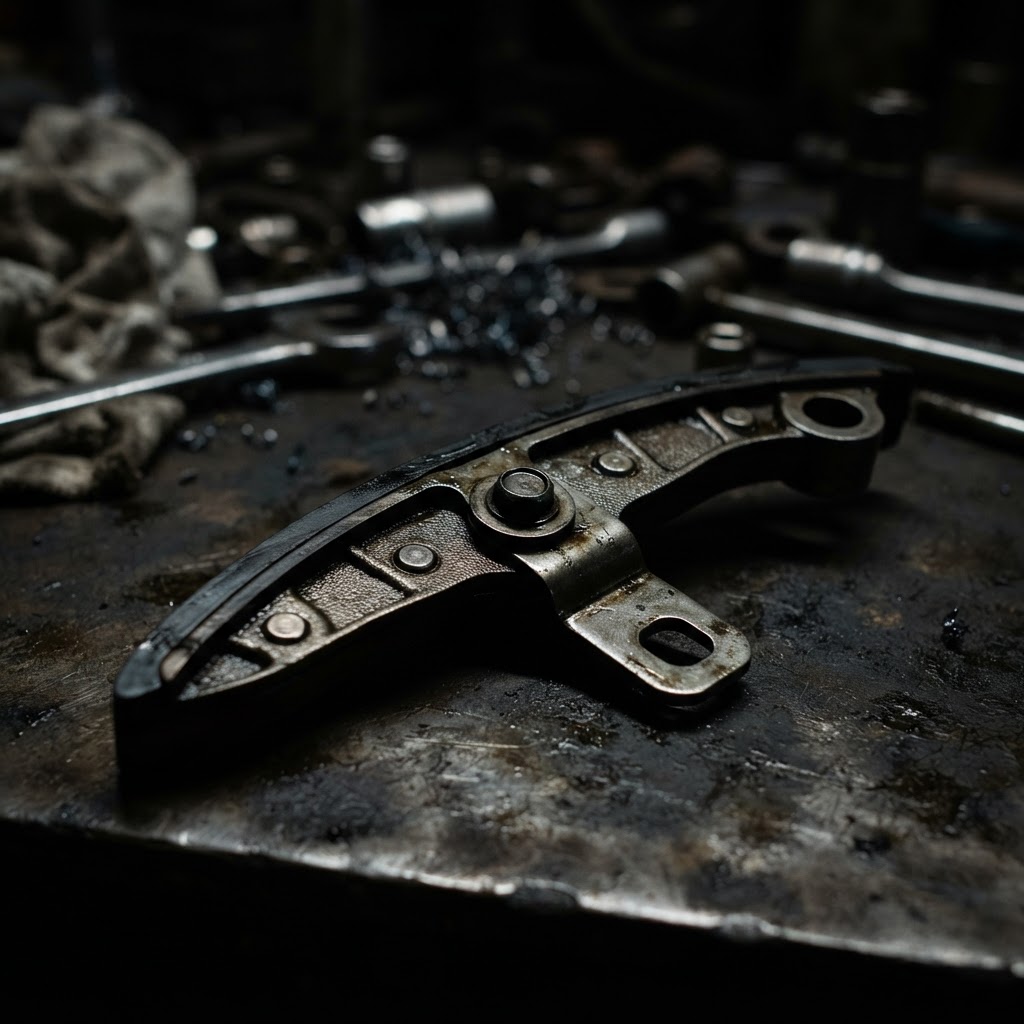
Camshaft Chain Guide
These plastic or rubber-coated guides often become brittle or worn thin by the chain, and replacing them prevents metal-on-metal contact and ensures smooth chain operation.
Affiliate Disclosure: Lil Engine may earn commissions from qualifying purchases.
Pro Tips from the Community
Real-world fixes from Reddit, YouTube & forums.
"If the ATV makes a loud 'slapping' sound from the front of the engine while idling, that's your timing chain warning you before it skips."
HondaForeman.com Forum"Honda intake valves are known to 'cup' or sink into the head. If you have no compression, try loosening the valve adjustment first; it might save you a full teardown."
Reddit r/ATV"Always use a new gasket for the timing tensioner. A small oil leak here can eventually lead to low oil pressure and premature chain wear."
YouTube commentsPrevent This From Coming Back
Perform regular oil changes using JASO-MA certified oil to prevent chain wear
Monitor the engine for abnormal 'ticking' or 'slapping' noises in the head area
Check the automatic tensioner function during major valve clearance adjustments
Avoid excessive engine idling which can starve the upper head of oil
Prevent This From Happening Again
While you're fixing it, stock up on the maintenance essentials that keep your atvs running right.
Small Engine Oil
Regular oil changes protect the transmission and engine.
Get on AmazonAir Filter
Off-road riding clogs air filters fast — clean or replace often.
Get on AmazonSpark Plug
A fresh plug keeps your ATV starting reliably on every ride.
Get on AmazonAffiliate Disclosure: Lil Engine may earn commissions from qualifying purchases.
Frequently Asked Questions
If the chain is stretched, it will simply skip again shortly after. If the timing marks are off, the chain must be replaced to ensure long-term reliability.
Video Help
Helpful videos showing these repairs in action.
Share Your Repair
Real-world fixes help everyone. Share what worked and your repair becomes part of Lil Engine's community database.
Related Problems
More ATVs GuidesRelated Maintenance Articles
Related Symptoms
Related Searches
Honda atv Guides
Did this help?
Your feedback helps improve guides for everyone.