Suzuki KingQuad 750 Cranks But Won't Start — EFI & Spark Diagnosis
⚡ Quick Answer
On the Suzuki KingQuad 750 (LT-A750X), the most common cause of cranking without starting is a fouled NGK LMAR7A-9 spark plug, often caused by short run times before the engine reaches operating temperature. First, listen for the fuel pump to prime for 3 seconds when the key is turned; if silent, check the 10A fuel fuse and fuel pump relay. Additionally, the EFI system requires at least 10.5V during cranking to pulse the injector—if your battery is weak, the engine will spin but never fire.
What do you want to do?
Most Likely Cause
No Fuel Delivery
The EFI system needs adequate fuel pressure and flow to atomize and inject fuel into the combustion chamber. Issues can range from an empty fuel tank, a clogged fuel filter, a failing fuel pump, or a kinked fuel line. An empty tank is the most obvious, but a clogged filter or weak pump will starve the engine intermittently or completely.
Start here — this is the most common reason for this symptom.
Why This Problem Happens
Your Suzuki KingQuad 750 cranks but won't start because the engine isn't receiving the precise combination of fuel, spark, and air it needs to ignite and sustain combustion. Modern EFI systems rely on numerous sensors to tell the Engine Control Module (ECM) when to inject fuel and when to fire the spark plug. If any critical sensor fails or its signal is interrupted, the ECM can't perform its function correctly. For example, a faulty crank position sensor will prevent the ECM from knowing the engine's rotational speed, thus it won't trigger fuel injection or spark. Conversely, even with correct sensor inputs, a clogged fuel injector or a weak spark won't deliver enough of the necessary elements to initiate combustion. The engine can physically turn over (crank) due to the starter motor, but without a proper 'air-fuel-spark' mixture at the right time, it simply won't 'catch' and run.
Common Symptoms
- Engine cranks over normally when the ignition is turned on.
- No signs of ignition or sputtering from the engine.
- Fuel pump may or may not prime (audible whirring sound).
- Engine may have previously been running fine.
- Check Engine Light may or may not be illuminated.
- Attempting to start after refueling or maintenance.
Before You Buy Parts
Quick, free inspections — check these first. Most repairs don't actually need replacement parts.
Complete Resource Guide
Ultimate ATV Troubleshooting & Repair Guide
Repair Overview
1–3 hours
$20–$150
First Checks — Start Here
- 1Verify the Kill Switch is set to the 'Run' (Center) position.
- 2Listen for the 3-second fuel pump 'whir' when the ignition key is turned on.
- 3Check the 10A 'FUEL' fuse located in the fuse box under the seat.
- 4Test battery voltage—must be 12.6V+ static and stay above 10.5V while cranking.
- 5Put the dash in 'Dealer Mode' using a jumper wire to check for 'FI' error codes.
- 6Inspect the spark plug for carbon fouling or wet fuel (common on this 722cc engine).
Safety Warnings
- !Always work in a well-ventilated area away from open flames or sparks when dealing with fuel.
- !Disconnect the battery before working on electrical components.
- !Wear insulated gloves and avoid touching the spark plug or wire while cranking to prevent electric shock.
- !Ensure the engine is cool before removing the spark plug.
- !Disconnect the battery before inspecting or testing the CKP sensor.
- !Ensure the Noid light is compatible with your KingQuad's EFI system.
- !Ensure no debris falls into the intake manifold when the filter is removed.
- !Refer to your owner's manual for specific diagnostic code procedures.
- !Assuming the battery is good just because the lights come on – a weak battery can crank the engine slowly but not provide enough power for reliable EFI operation.
- !Forgetting to check the basic 'no fuel' scenario, especially if the ATV has been sitting for a while or experienced rough terrain.
- !Replacing the spark plug without testing for spark first, potentially wasting money on a new plug when the issue lies elsewhere in the ignition system.
- !Relying solely on visual inspection of fuel lines without checking for proper flow and pressure.
Always disconnect the spark plug, work in a well-ventilated area, and consult a professional if unsure.
Most Likely Causes
Ranked by likelihood — tap each to see diagnosis details.
The EFI system needs adequate fuel pressure and flow to atomize and inject fuel into the combustion chamber. Issues can range from an empty fuel tank, a clogged fuel filter, a failing fuel pump, or a kinked fuel line. An empty tank is the most obvious, but a clogged filter or weak pump will starve the engine intermittently or completely.
The ignition system must produce a strong spark at precisely the right moment. Common culprits include a faulty spark plug, a damaged spark plug wire or coil, or a failed crankshaft position sensor, which tells the ECM when to fire. Without a spark, the fuel-air mixture will never ignite.
🔧 Step-by-Step Fix Guide
Check Fuel Level and Quality
Ensure the fuel tank is not empty. If recently refueled, check for water or debris contamination. Old fuel can also cause starting issues.
Always work in a well-ventilated area away from open flames or sparks when dealing with fuel.
Verify Fuel Pump Operation
Turn the ignition key to the 'ON' position. You should hear the fuel pump prime for a few seconds (a whirring sound from the fuel tank area). If not, check the fuel pump fuse and relay.
Disconnect the battery before working on electrical components.
Test for Spark
Remove a spark plug, reconnect it to the spark plug wire (or coil boot), and ground the plug's metal body firmly against the engine block. Have a helper crank the engine. Look for a strong, blue spark. A weak, yellow, or no spark indicates an ignition issue.
Wear insulated gloves and avoid touching the spark plug or wire while cranking to prevent electric shock.
Inspect Spark Plug Condition
Remove the spark plug and examine it. Look for fouling (oil, carbon, fuel), damage to the electrode, or excessive gap. Replace if necessary with the correct NGK plug specified for your KingQuad 750.
Ensure the engine is cool before removing the spark plug.
Check Crankshaft Position Sensor (CKP)
The CKP sensor is typically located near the flywheel or crankshaft end. Inspect its wiring for damage and ensure it's securely mounted. Testing requires a multimeter to check resistance and signal output, often detailed in the Suzuki service manual.
Disconnect the battery before inspecting or testing the CKP sensor.
Check Fuel Injector Pulse
This requires a Noid light set designed for EFI systems. Disconnect the injector connector, install the appropriate Noid light, and crank the engine. A flashing light indicates the ECM is pulsing the injector. No flash means an electrical issue to the injector.
Ensure the Noid light is compatible with your KingQuad's EFI system.
Inspect Air Filter and Intake
Remove and inspect the air filter for extreme clogging or debris. Check the intake boot and tract for any obstructions that could prevent airflow.
Ensure no debris falls into the intake manifold when the filter is removed.
Scan for Diagnostic Trouble Codes (DTCs)
If your KingQuad has a digital display, check if a Check Engine Light is active. Some models allow basic code reading via the display. For more in-depth diagnosis, a Suzuki-specific scan tool (like Suzuki's SDS) or a compatible OBD-II scanner might be needed to retrieve stored codes from the ECM.
Refer to your owner's manual for specific diagnostic code procedures.
What To Test Next
If fuel delivery checks out, the next thing to inspect is spark — remove the spark plug, ground its threads to the engine block, and crank the engine to look for a visible blue spark.
Component Reference

Carburetor & Fuel Intake
The carburetor mixes air and fuel for combustion. A clogged jet or stuck float is the #1 cause of small engine starting and surging problems.

Spark Plug & Ignition System
The spark plug ignites the air-fuel mixture. A fouled plug, wrong gap, or failing ignition coil will prevent the engine from firing.

Oil & Lubrication System
Regular oil changes are critical. Low or dirty oil causes engine wear, overheating, and eventual seizure. Check the dipstick before every season.

Air Filter & Intake
A clogged air filter starves the engine of air, causing rich running, power loss, and hard starting. Inspect and clean or replace it each season.
Photos for educational reference. Actual parts may vary by make and model.
Common Mistakes to Avoid
Assuming the battery is good just because the lights come on – a weak battery can crank the engine slowly but not provide enough power for reliable EFI operation.
Forgetting to check the basic 'no fuel' scenario, especially if the ATV has been sitting for a while or experienced rough terrain.
Replacing the spark plug without testing for spark first, potentially wasting money on a new plug when the issue lies elsewhere in the ignition system.
Overlooking rodent damage to wiring harnesses, which is common on ATVs stored in barns or outbuildings.
Relying solely on visual inspection of fuel lines without checking for proper flow and pressure.
If This Didn't Fix It
Still having trouble? These are the next things to check:
Get the Exact Parts for Your Machine
Tell us your equipment's year, make, and model — we'll search for parts that actually fit, not generic ones.
Finding parts for
Suzuki KingQuad 750
Required Gear
Matched to your Suzuki KingQuad 750 — click to find the exact fit on Amazon.
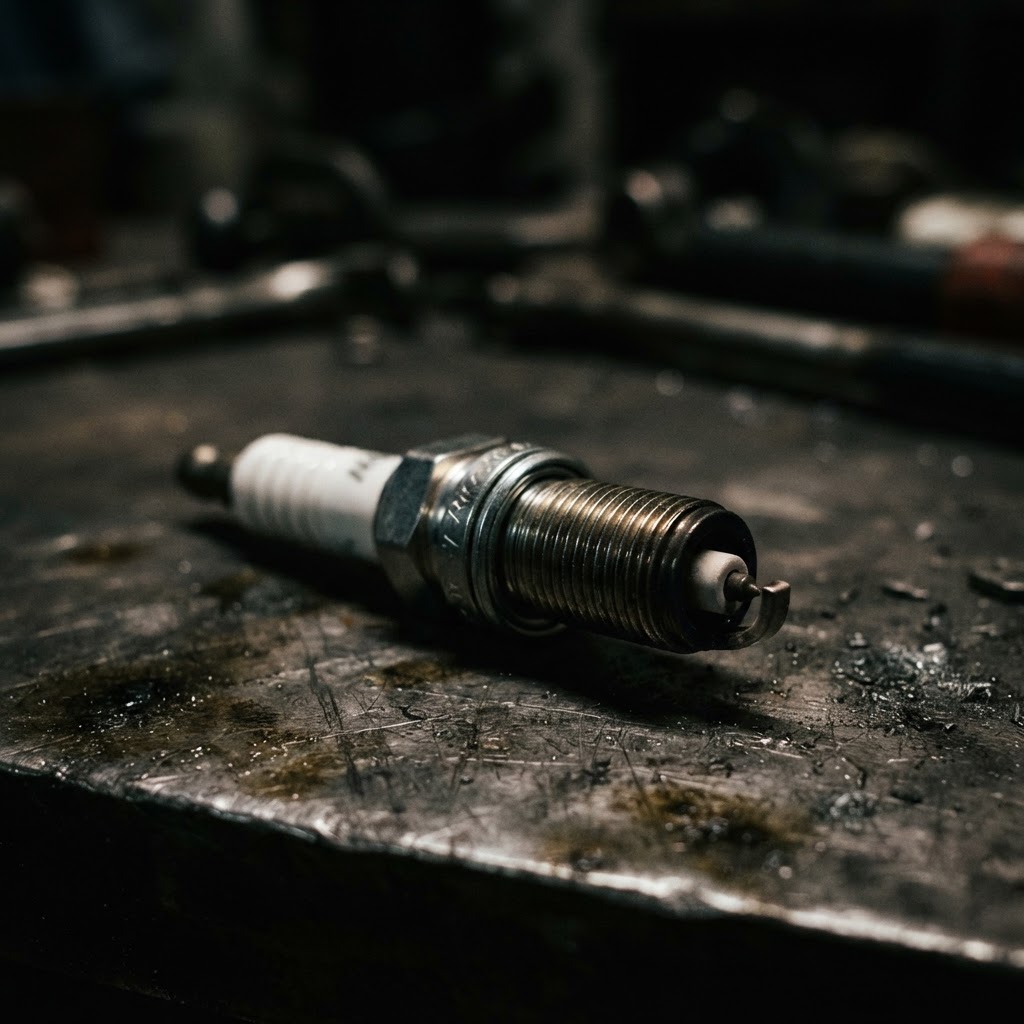
NGK Iridium Spark Plug
If testing reveals no spark or if the plug is fouled from excessive cranking, replacing it is the first step to restoring reliable ignition.
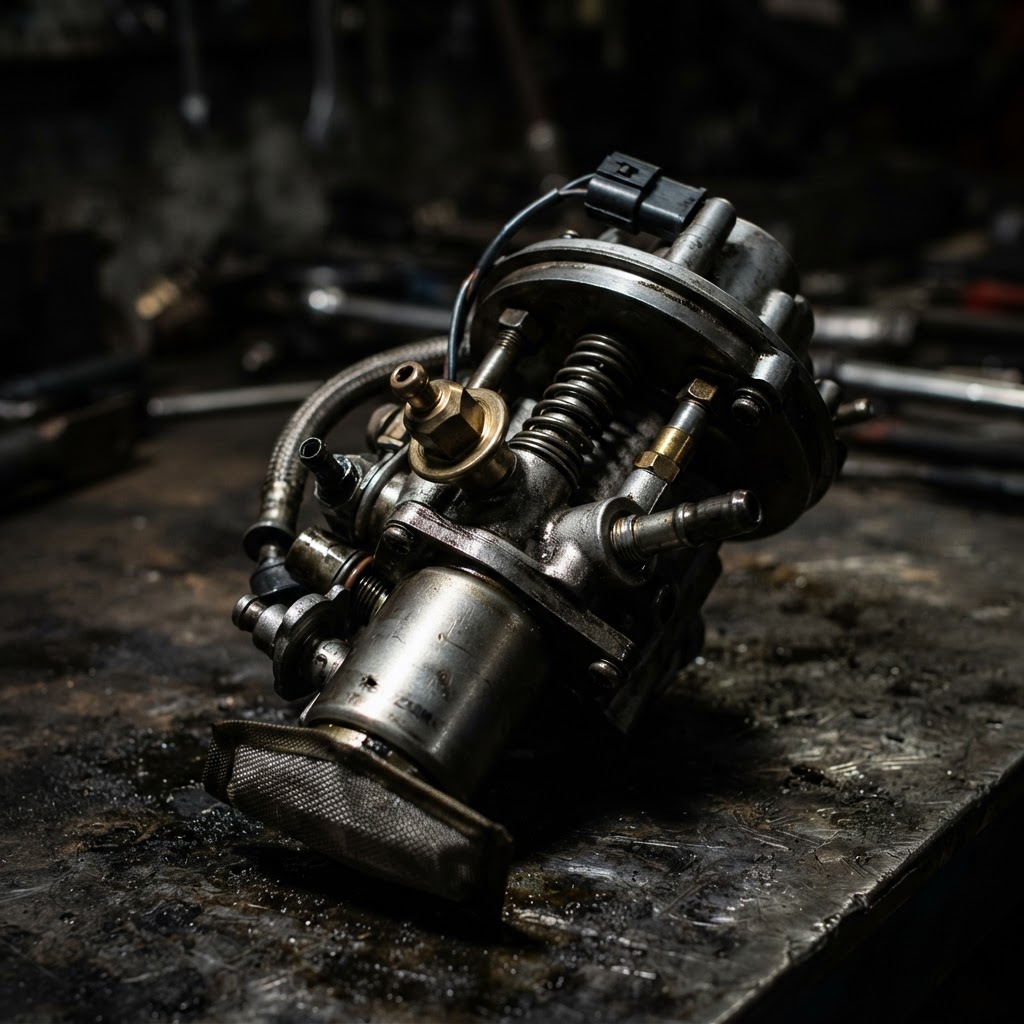
Suzuki Fuel Pump Assembly
When diagnostics confirm the pump is failing to build necessary fuel pressure, this assembly is required to restore proper fuel delivery to the EFI system.
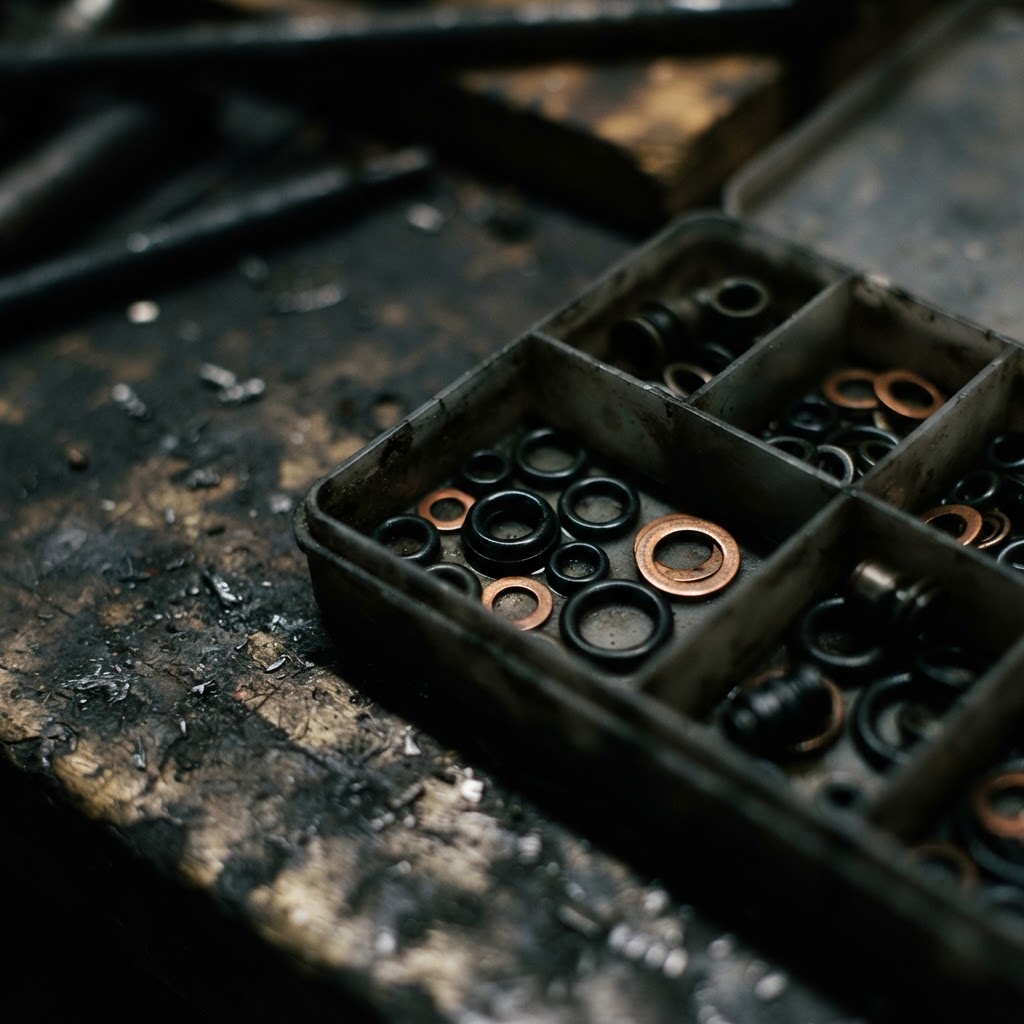
Fuel Injector O-Ring Kit
If the injector is clogged or leaking, replacing the O-rings during removal and cleaning ensures a proper seal against high-pressure fuel leaks.
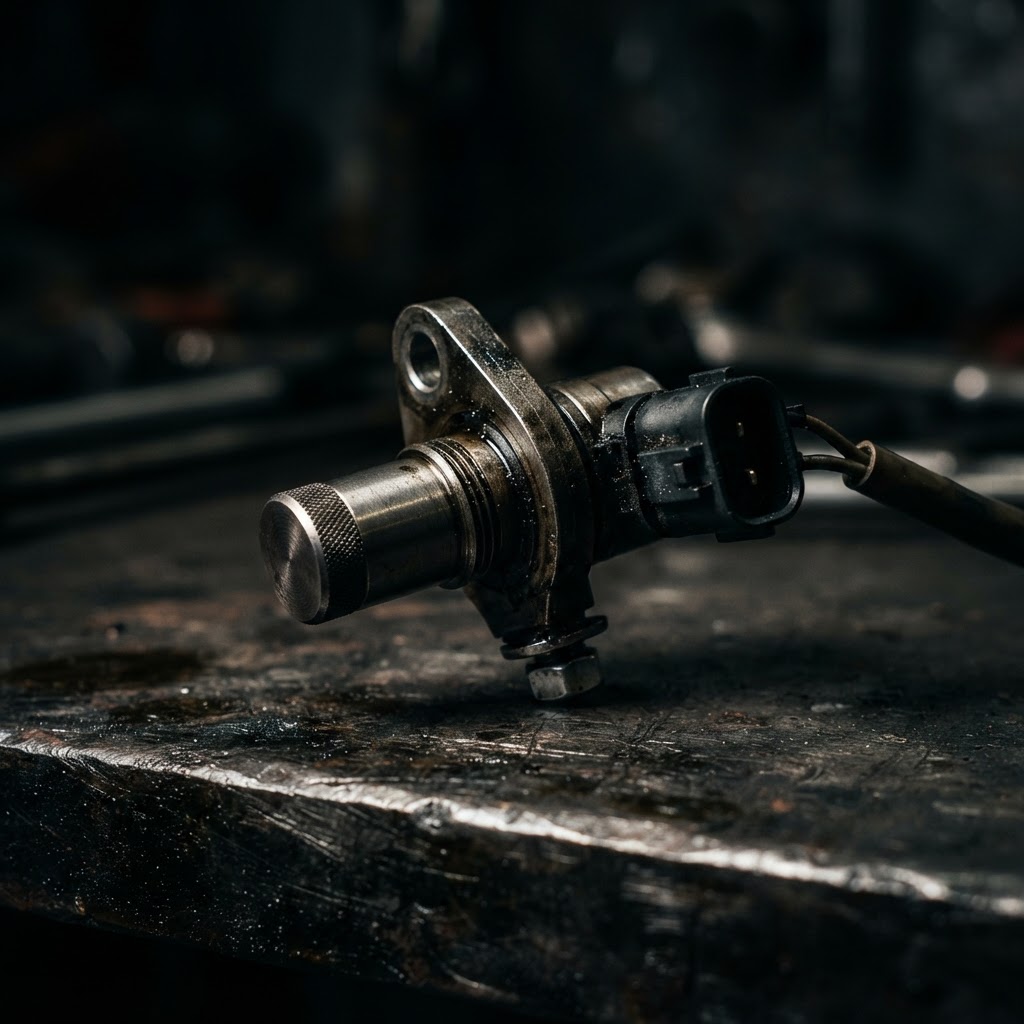
Crankshaft Position Sensor (CKP)
If the engine cranks but the ECM fails to receive timing pulses, this specific sensor must be replaced to synchronize spark and fuel injection timing.
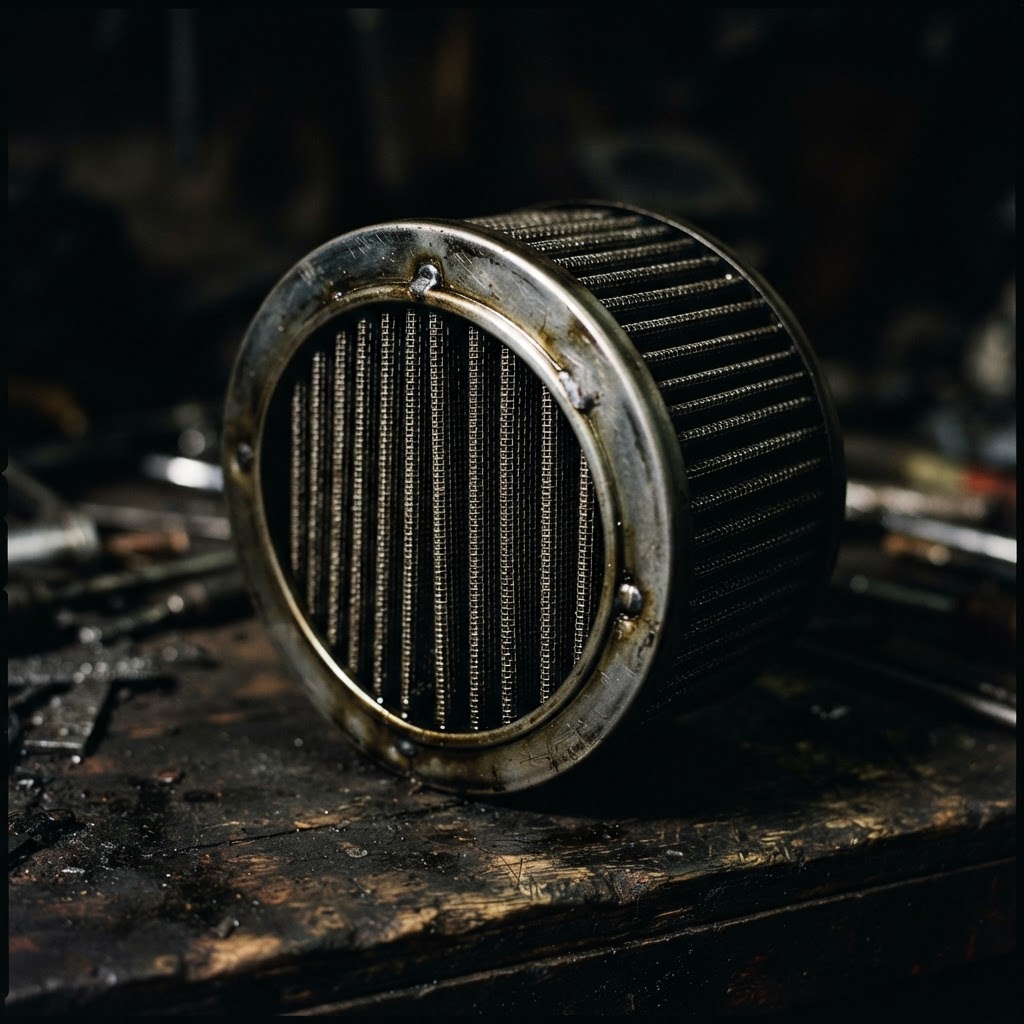
Air Filter Element
A heavily restricted or collapsed air filter can prevent the engine from drawing enough air to maintain a combustible fuel-air ratio for cold starting.
Affiliate Disclosure: Lil Engine may earn commissions from qualifying purchases.
Pro Tips from the Community
Real-world fixes from Reddit, YouTube & forums.
"If you get 'FI' on the dash, the most common culprit is the Tip-Over Sensor (TOS) vibrating out of its rubber holder—check that first before buying a pump."
NYROC ATV Forum"The KingQuad 750 is very sensitive to battery voltage. If your battery is more than 3 years old, it might crank the engine but not have enough juice left to pulse the injector."
SuzukiCentral Forum"To clear a flooded KingQuad, hold the throttle wide open while cranking. This tells the ECU to enter 'clear flood mode' and cuts fuel delivery to help dry the plug."
Reddit r/ATVPrevent This From Coming Back
Use fresh, high-quality fuel and consider a fuel stabilizer, especially during long storage periods.
Regularly inspect and clean or replace the air filter according to the maintenance schedule.
Periodically check the spark plug's condition and gap.
Ensure all electrical connections are clean and tight, particularly around the ECM and sensors.
Change the fuel filter at recommended intervals to prevent clogs.
Keep the battery terminals clean and charged.
Prevent This From Happening Again
While you're fixing it, stock up on the maintenance essentials that keep your atvs running right.
Small Engine Oil
Regular oil changes protect the transmission and engine.
Get on AmazonAir Filter
Off-road riding clogs air filters fast — clean or replace often.
Get on AmazonSpark Plug
A fresh plug keeps your ATV starting reliably on every ride.
Get on AmazonAffiliate Disclosure: Lil Engine may earn commissions from qualifying purchases.
Frequently Asked Questions
Yes, absolutely. While the starter motor engages, a weak battery may not provide sufficient voltage and amperage for the fuel pump and ignition system to operate correctly, leading to a no-start condition. Test battery voltage under load.
Video Help
Helpful videos showing these repairs in action.
Share Your Repair
Real-world fixes help everyone. Share what worked and your repair becomes part of Lil Engine's community database.
Related Problems
More ATVs GuidesRelated Maintenance Articles
Related Symptoms
Won’t Start
Related Searches
ATVs Troubleshooting
Did this help?
Your feedback helps improve guides for everyone.