Polaris Ranger 570 Belt Squealing — Mechanical Diagnosis
⚡ Quick Answer
A squealing belt on a Polaris Ranger 570 is almost always a sign of clutch glazing, improper engagement, or water intrusion in the CVT housing. Constant low-speed driving or excessive high-load towing causes excessive heat that crystallizes the belt rubber, leading to friction loss and that characteristic high-pitched whine. While a replacement belt is a common fix, you must address the underlying cause to prevent premature failure of the new component.

What do you want to do?
Most Likely Cause
Glazed or Worn Drive Belt
Over time, heat and heavy loads cause the belt friction surface to harden and glaze, preventing it from gripping the clutch sheaves properly. This slipping under load creates the characteristic high-pitched squeal and eventually leads to total belt failure if left unaddressed.
Start here — this is the most common reason for this symptom.
Why This Problem Happens
The Polaris Ranger 570 utilizes a Continuously Variable Transmission (CVT) system that relies on high-friction engagement between the rubber V-belt and the metal sheaves of the primary and secondary clutches. Squealing occurs when the coefficient of friction between these surfaces drops, causing the belt to slip rather than grip. Under load, such as during low-speed crawling or heavy towing, the primary clutch should rapidly ramp the sheaves to clamp the belt; if the internal weights or rollers are fouled or worn, the clamping force becomes insufficient to handle the engine's torque. This results in the belt spinning against the metallic clutch face, generating localized heat that glaze the rubber, further reducing its grip and creating the characteristic high-pitched squeal. Excess heat is the primary enemy of the Ranger's belt life. When the CVT exhaust vent is partially blocked by mud or debris, hot air is trapped within the housing, causing the rubber to lose structural rigidity. As the belt softens from the heat, it loses its tension profile, slips further, and the squeal intensifies. This creates a feedback loop: slip generates heat, heat causes slip, and eventual total belt disintegration occurs if the mechanical disparity is not addressed.
Common Symptoms
- High-pitched screeching during low-RPM engagement
- Burning rubber smell inside the cockpit
- Erratic or jerky vehicle takeoff
- Loss of engine braking during downhill deceleration
- Visible rubber dust buildup inside the CVT housing
Before You Buy Parts
Quick, free inspections — check these first. Most repairs don't actually need replacement parts.
Diagnostic Flowchart
Follow this decision tree step-by-step to isolate the problem.
Is the belt squealing specifically while the vehicle is at idle?
Check for primary clutch one-way bearing seizure.
Go to step 2
Proceed to check for under-load slippage.
Go to step 3
Does the clutch bearing spin freely by hand with the belt removed?
Inspect clutch spring; move to alignment check.
Go to step 4
Replace the one-way bearing immediately.
Is there visible glazing or rubber dust inside the CVT housing?
Clean sheaves with acetone; replace belt.
Inspect for secondary clutch spring fatigue.
Go to step 5
Is the primary clutch alignment within Polaris specs?
Check for moisture or oil contamination.
Go to step 3
Adjust engine mounts or shim clutch.
Does the secondary clutch move smoothly through its full travel?
Check belt deflection measurement.
Rebuild or replace secondary helix/rollers.
Complete Resource Guide
Complete Small Engines Troubleshooting Guide
Repair Overview
60-120 minutes
$80-$250
First Checks — Start Here
- 1Check for water or debris inside the CVT cover
- 2Inspect belt deflection for slack or excessive tension
- 3Verify secondary clutch moves freely without binding
- 4Look for 'glazed' or shiny spots on the belt surface
- 5Check all air intake hoses for cracks or clogs
- 6Ensure engine idle RPM is within factory specifications
- 7Test engagement RPM to see if it slips upon startup
Safety Warnings
- !Ensure the engine is completely cool before touching the clutches to prevent severe thermal burns.
- !Wear eye protection as debris will fly off the rotating components when the clutch is cleaned.
- !Do not attempt to 'clean' or re-use a cord-damaged belt as it will likely snap under load.
- !Keep fingers away from the clutch sheaves; they are spring-loaded and can cause crush injuries.
- !Always wear gloves to prevent cuts from the sharp edges of the clutch fins.
- !Ensure the engine is off and the key is removed from the ignition during installation.
- !Avoid hard acceleration during the break-in period to prevent immediate re-glazing.
Always disconnect the spark plug, work in a well-ventilated area, and consult a professional if unsure.
Most Likely Causes
Ranked by likelihood — tap each to see diagnosis details.
Excessive heat from previous slippage has hardened the contact edges of the belt. Inspect the belt for a shiny, glass-like appearance on the angled sides; if the rubber is no longer pliable, it cannot maintain a grip.
Mud or water entering the housing through damaged seals or a compromised vent snorkel reduces friction immediately. Look for moisture or grit trapped between the clutch sheaves and the belt.
🔧 Step-by-Step Fix Guide
Access the CVT Housing
Remove the plastic rivets and bolts holding the outer CVT cover in place to expose the clutches. Use a long socket extension to reach the lower mounting bolts behind the frame rail.
Ensure the engine is completely cool before touching the clutches to prevent severe thermal burns.
Clean the Clutches
Use a high-quality brake cleaner to degrease both the primary and secondary clutch sheaves. Use a Scotch-Brite pad to lightly scuff the metal faces to remove any remaining rubber transfer residue.
Wear eye protection as debris will fly off the rotating components when the clutch is cleaned.
Inspect the Drive Belt
Remove the belt and check for cracks, cord separation, or uneven wear patterns. If you see 'hour-glassing' or missing cogs, the belt is permanently damaged and must be replaced with an OEM Polaris unit.
Do not attempt to 'clean' or re-use a cord-damaged belt as it will likely snap under load.
Test Primary Clutch Engagement
With the belt removed, check for smooth movement of the primary clutch primary cover. If the clutch sticks or has significant grinding noises, the internal rollers may need service.
Keep fingers away from the clutch sheaves; they are spring-loaded and can cause crush injuries.
Verify Secondary Clutch Operation
Twist the secondary clutch by hand to ensure it opens and closes smoothly through its full travel. If it binds, the helix or bushings may be fouled with belt dust and require a teardown.
Always wear gloves to prevent cuts from the sharp edges of the clutch fins.
Install New Belt
Ensure the directional arrow on the new belt faces forward. Use a clutch spreader tool to open the secondary clutch, allowing you to seat the belt deep into the sheaves before rolling it onto the primary.
Ensure the engine is off and the key is removed from the ignition during installation.
Perform a Break-in Cycle
After installing the belt, drive the Ranger in low gear for 5-10 miles with varied throttle inputs without exceeding half-throttle. This 'heat-cycles' the belt and seats the rubber into the sheaves.
Avoid hard acceleration during the break-in period to prevent immediate re-glazing.
What To Test Next
If the belt appears to be in good condition, the next logical step is to perform a detailed inspection of the primary clutch sheaves for grooves, debris, or damaged flyweights that may be preventing proper engagement.
Component Reference

Spark Plug & Ignition System
The spark plug ignites the air-fuel mixture. A fouled plug, wrong gap, or failing ignition coil will prevent the engine from firing.

Drive & Cutting System
Belts, pulleys, and clutches transfer engine power to the wheels and cutting deck. A worn or thrown belt is the most common drive-system failure.

Engine Internals & Compression
Valves, piston rings, and the head gasket maintain compression. Low compression causes hard starting, power loss, and rough running.
Photos for educational reference. Actual parts may vary by make and model.
Common Mistakes to Avoid
Installing the belt backwards against the directional rotation
Using aftermarket belts that do not match OEM tension specs
Failing to clean the clutch sheaves before installing a new belt
Ignoring debris inside the clutch housing that leads to immediate belt failure
Get the Exact Parts for Your Machine
Tell us your equipment's year, make, and model — we'll search for parts that actually fit, not generic ones.
Finding parts for
Polaris Ranger 570 belt is
Required Gear
Matched to your Polaris Ranger 570 belt is — click to find the exact fit on Amazon.
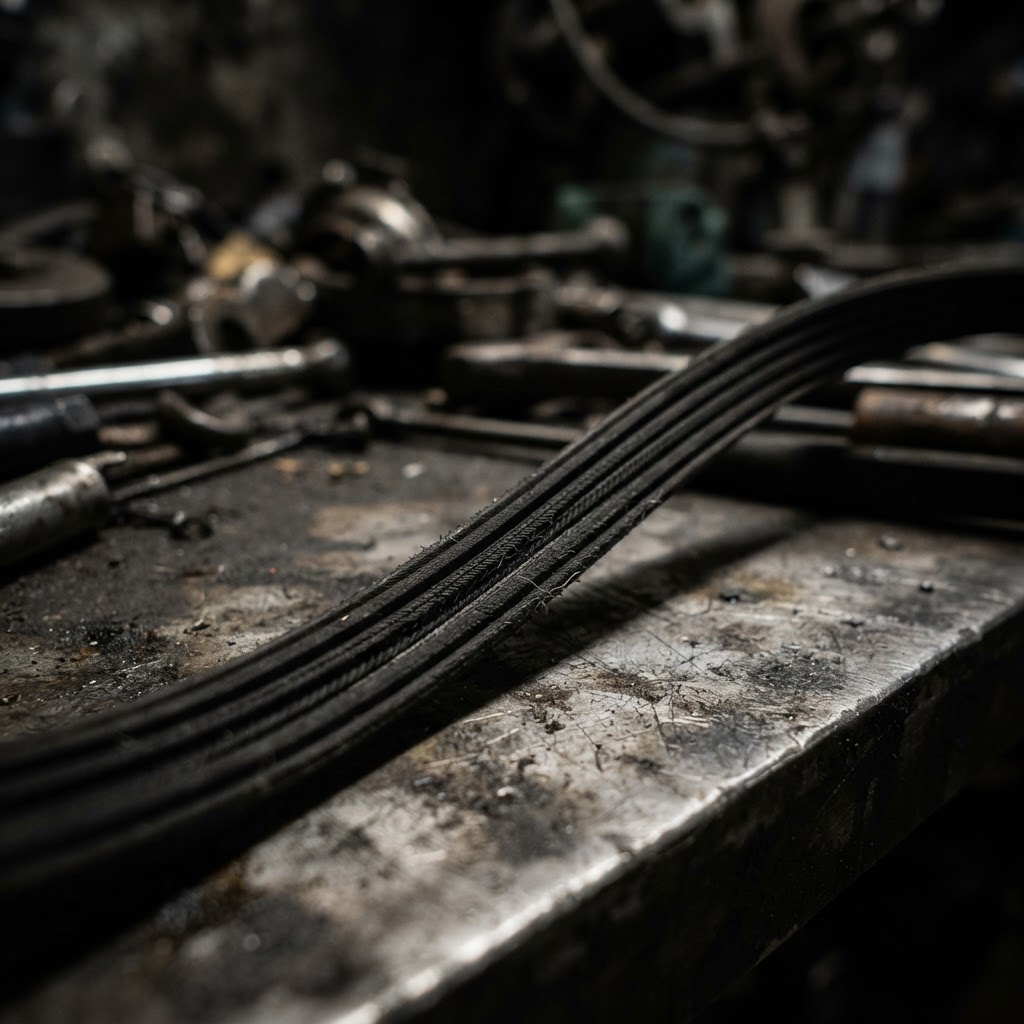
OEM Specification Drive Belt
The existing belt is likely glazed or stretched beyond its service limit, which is the primary cause of squealing under load.
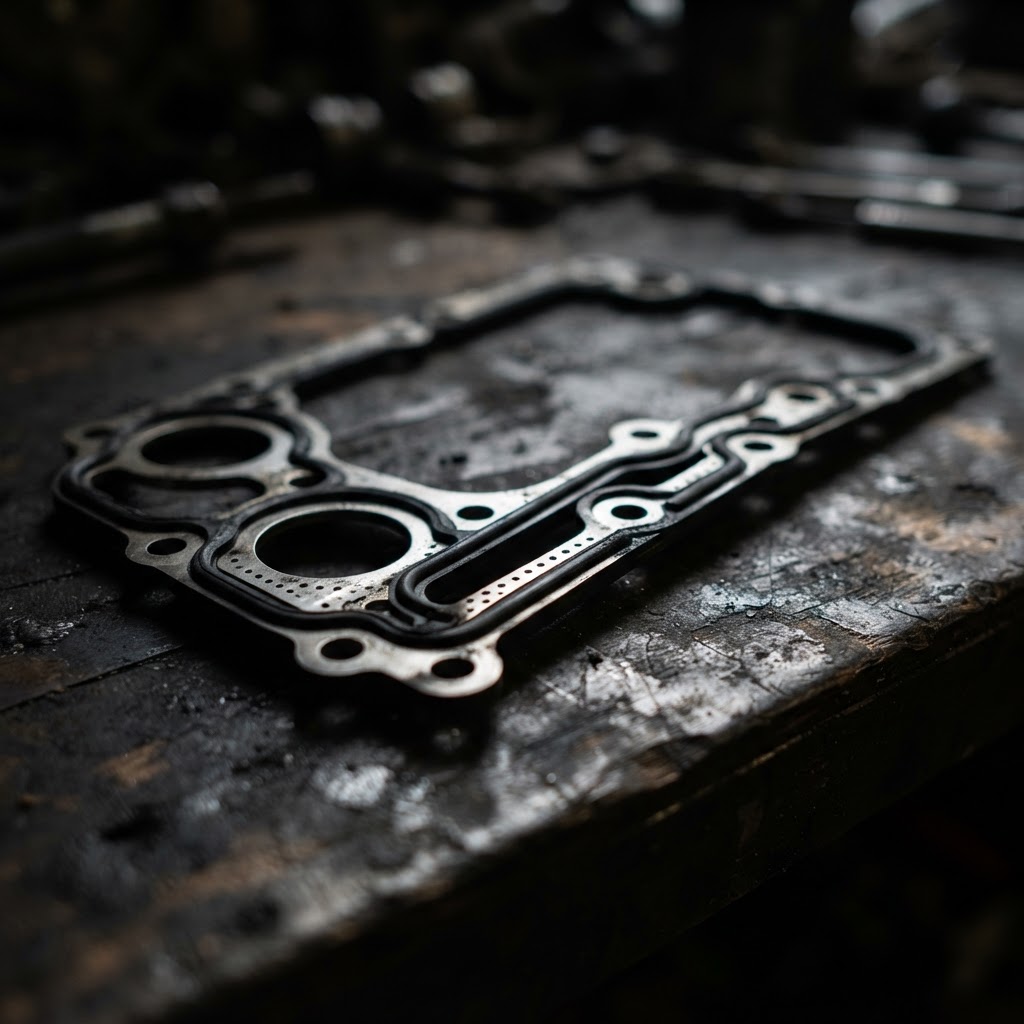
CVT Housing Gasket
After opening the housing for cleaning or belt replacement, the original gasket often tears or loses its seal, allowing water and debris to re-enter the system.
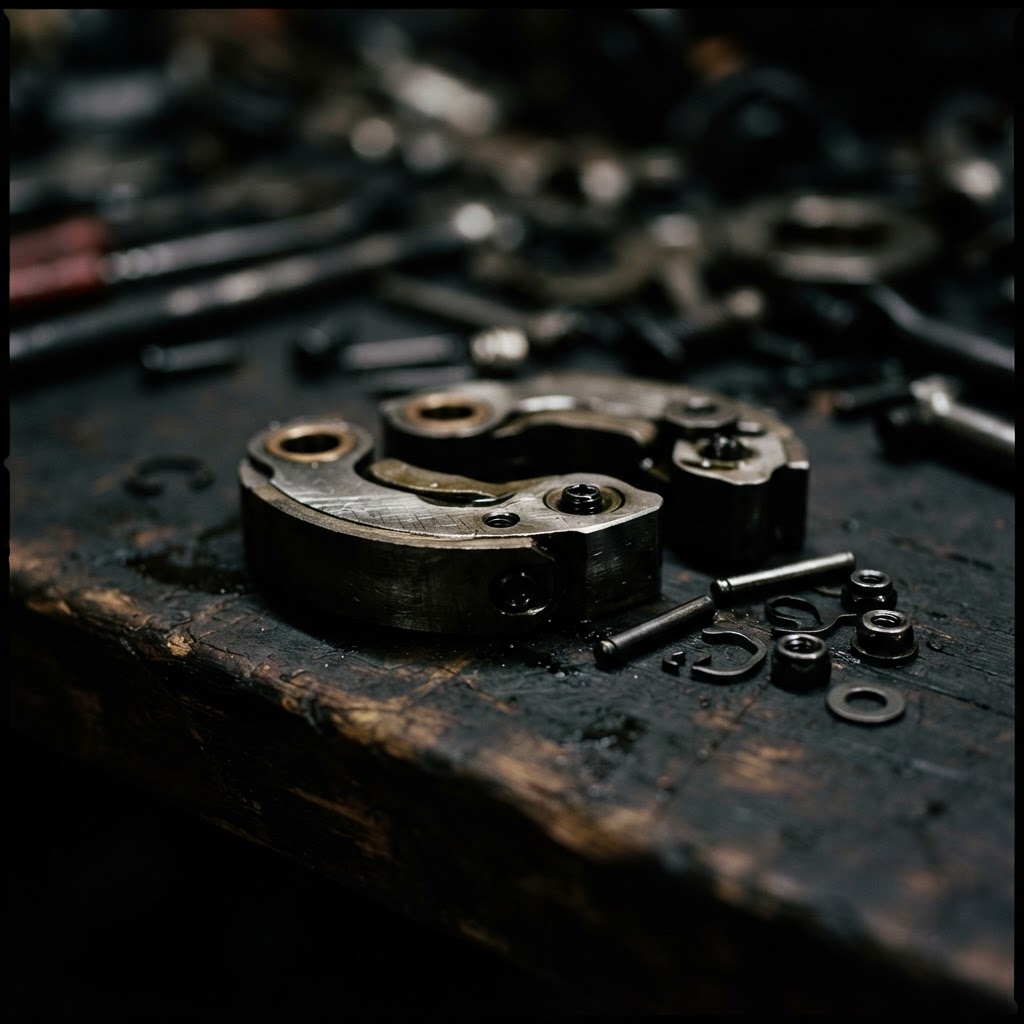
Primary Clutch Weight Kit
Worn or flat-spotted weights prevent the clutch from engaging smoothly, leading to premature belt friction and the high-pitched squealing noise.
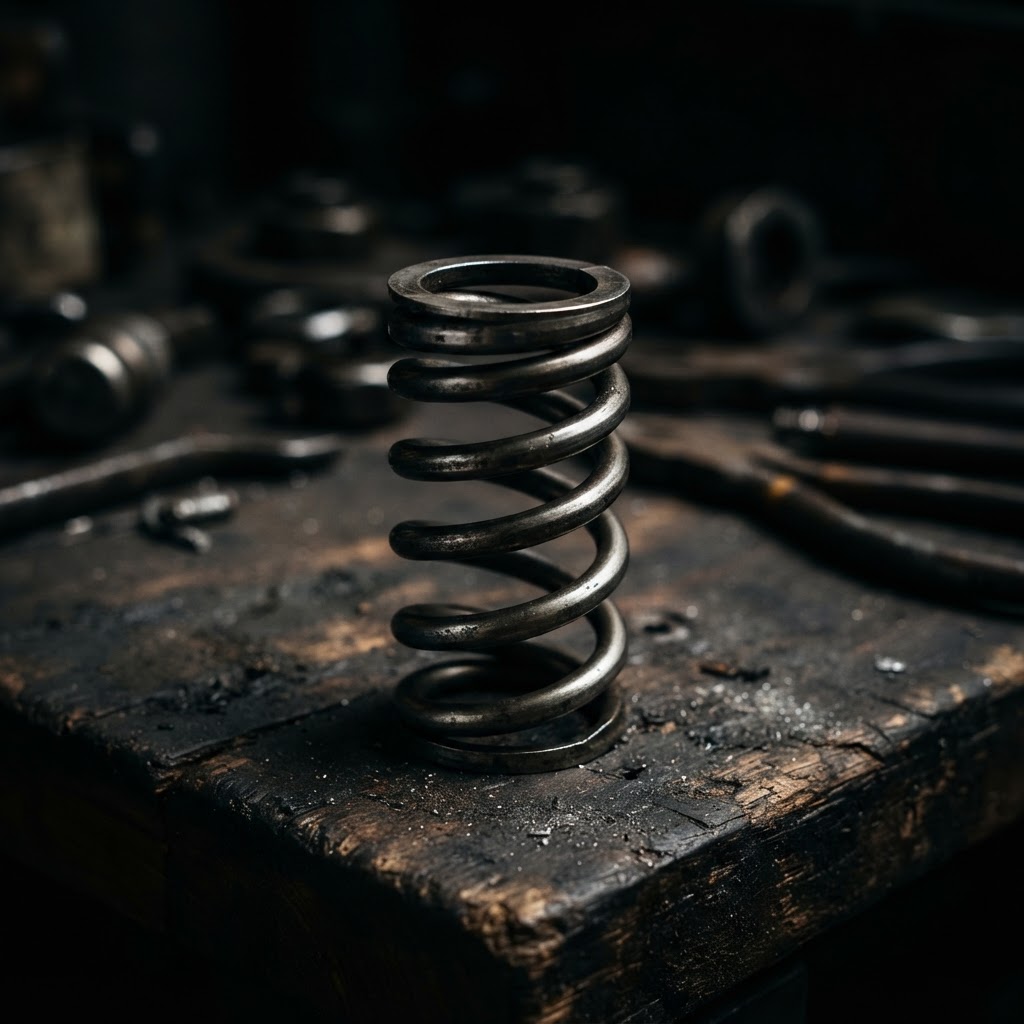
Secondary Clutch Spring
A weakened or fatigued secondary spring fails to maintain proper belt tension, causing the belt to slip against the sheaves during acceleration.
Affiliate Disclosure: Lil Engine may earn commissions from qualifying purchases.
Pro Tips from the Community
Real-world fixes from Reddit, YouTube & forums.
"Check the clutch engagement at high idle—squeaking can indicate clutch sticking; a quick spray with silicone can help temporarily."
Reddit r/polaris"If your Ranger is old, replacing the belt and tensioner assembly as a set can often solve ongoing issues—prevention is key."
YouTube comments"Some users have found that simply adjusting the tensioner resolves the noise; make sure to set it to the prescribed tension manually."
DoItYourself.com ForumBrand-Specific Notes
Polaris
Polaris CVTs are highly sensitive to water intrusion, which causes corrosion on the sheaves and immediate belt slip. Always ensure the inner and outer housing seals are intact during service.
EPI Performance
EPI aftermarket belts often feature different compound densities than OEM. While they improve grip, they may require a slight adjustment to the secondary clutch spring tension to eliminate low-speed squeal.
Gates
When using Gates Carbon Cord belts, ensure the break-in procedure includes several heat cycles. Failure to do so will result in premature glazing and constant harmonic squealing.
Model-Specific Variations
Ranger 570 Pro-Star
The Pro-Star engine produces significant torque pulses that can induce belt slap. Ensure the engine mounts are stiff to prevent misalignment under load.
Ranger 570 Mid-Size
The mid-size chassis has tighter clearance for the air intake. Ensure the intake ducts are not clogged, as overheating the CVT causes rapid belt degradation.
Ranger 570 Full-Size
The full-size model utilizes a different gear ratio in the transaxle. If using oversized tires, the stock clutching must be upgraded to prevent chronic belt slipping.
CVT Squeal Causes and Corrections
| Symptom | Primary Cause | Recommended Fix | Difficulty |
|---|---|---|---|
| Idle Squeal | Seized Bearing | Replace One-Way Bearing | High |
| High-Load Slip | Glazed Belt | Scuff Sheaves/Replace Belt | Medium |
| Engagement Chirp | Misalignment | Shim Clutch | Medium |
Real-World Repair Examples
Situation
Vehicle developed a high-pitched squeal at idle. User assumed it was a slipping belt.
Solution
We disassembled the primary clutch and found the one-way bearing was heat-locked due to debris.
Replacing the bearing eliminated the idle noise entirely.
Situation
Ranger 570 slipping under heavy towing loads. The belt was smoking slightly.
Solution
Found that the secondary clutch spring had lost its tension, failing to squeeze the belt sufficiently.
Upgrading the spring and cleaning the sheaves restored full power transfer.
Situation
Persistent squealing after a deep mud run.
Solution
Debris was trapped between the belt and the sheaves. We cleaned both surfaces with high-strength solvent.
The belt regained proper friction and noise ceased.
Prevent This From Coming Back
Clean the CVT exhaust filter every 50 hours of operation
Use low gear for all towing or heavy climbing to reduce clutch slippage
Inspect CVT vent hoses for cracks or clogs to ensure proper airflow
Verify engine mount integrity annually to prevent misalignment
Prevent This From Happening Again
While you're fixing it, stock up on the maintenance essentials that keep your small engines running right.
Spark Plug
The cheapest, fastest fix for most small engine starting problems.
Get on AmazonCarburetor Cleaner
Cleaning the carb is the #1 fix for surging and stalling engines.
Get on AmazonFuel Stabilizer
Prevents the stale fuel problems that cause most seasonal no-starts.
Get on AmazonAffiliate Disclosure: Lil Engine may earn commissions from qualifying purchases.
Frequently Asked Questions
Absolutely not. Belt dressing will contaminate the clutch sheaves and cause the belt to slip even more, eventually ruining both the belt and the clutch surfaces.
Related Questions
Common variations and related questions about this repair.
Why does my Polaris Ranger squeal when taking off?
This is usually caused by belt glazing or misalignment. The belt is struggling to gain initial traction on the sheaves during the engagement phase.
Can I use belt dressing to stop the noise?
Absolutely not. Belt dressing is a temporary fix that attracts dirt and ruins the CVT clutching system. You must clean the sheaves or replace the belt.
How often should I check the CVT belt?
Inspect the belt every 500 miles or if the vehicle has been subjected to deep water or heavy towing. Look for fraying, rubber dust, or missing teeth.
What is the correct way to break in a new belt?
Drive the vehicle in low range for the first 20-30 miles with varied throttle inputs. Avoid wide-open throttle to ensure the belt fully conforms to the sheaves.
Do I need special tools to change a Polaris 570 belt?
Yes, you need a specific clutch spreader tool to open the secondary clutch sheaves. This allows you to remove and install the belt without damaging the components.
Is squealing always a sign of a bad belt?
No, it can be a sign of a failing bearing, clutch misalignment, or a weak spring. Always inspect the clutch assembly before assuming the belt is the culprit.
Video Help
Helpful videos showing these repairs in action.
Share Your Repair
Real-world fixes help everyone. Share what worked and your repair becomes part of Lil Engine's community database.
Related Problems
More Small Engines GuidesRelated Maintenance Articles
Did this help?
Your feedback helps improve guides for everyone.