Polaris Ranger 570 Won't Crank — Starter Circuit & Brake Switch Diagnosis
⚡ Quick Answer
On the Polaris Ranger 570, a no-crank condition is most frequently caused by a faulty brake pressure switch located on the master cylinder; if the ECU doesn't sense brake pressure, it won't trigger the starter relay. First, verify your brake lights illuminate when pressing the pedal, then check for 12.6V at the battery. If the dash lights up but there is no click, the safety circuit or starter relay is likely the culprit.
What do you want to do?
Most Likely Cause
Corroded Brake Switch Terminals
The brake switch is located near the master cylinder and is highly susceptible to mud and debris. Corrosion on these spade connectors prevents the signal from reaching the ECM, which is a prerequisite for the starter relay.
Start here — this is the most common reason for this symptom.
Why This Problem Happens
The Polaris Ranger 570 employs a sophisticated interlock system designed to prevent unintended engagement of the drivetrain. The starter circuit is physically dependent on the completion of several logical paths: the gear selector must be in Neutral or Park, and the brake pedal must be physically depressed to actuate the brake light switch. If the Engine Control Module (ECM) does not receive a high-side signal from the brake switch or the gear position sensor, it will ground-inhibit the starter relay, effectively killing the circuit before it even reaches the starter solenoid. This is a deliberate safety strategy to avoid vehicle 'lurching' upon ignition. Over time, internal oxidation of the brake switch contacts or misadjustment of the shift linkage prevents these signals from closing the logic gates within the harness. When the resistance across these sensor circuits drifts out of the factory-specified millivolt range, the ECM interprets the system as 'unsafe' and refuses to pulse the starter relay, leaving the operator with a completely dead starter circuit despite having a fully charged battery.
Common Symptoms
- No starter engagement when turning the ignition key
- Brake lights fail to illuminate when the pedal is depressed
- Instrument cluster displays a check engine light or gear position error
- Silent solenoid click instead of a loud engagement clunk
- Flickering or dim neutral/park indicator light on the dash
Before You Buy Parts
Quick, free inspections — check these first. Most repairs don't actually need replacement parts.
Complete Resource Guide
Complete Side-by-Side (SxS) Troubleshooting Guide
Repair Overview
45–90 minutes
$0–$150
First Checks — Start Here
- 1Verify battery voltage is 12.6V+ (static) and doesn't drop below 10.5V when turning the key.
- 2Confirm brake lights turn on when the pedal is depressed (ECU needs this signal to crank).
- 3Inspect the 30-amp main fuse and the starter relay in the fuse block under the seat.
- 4Clean and tighten battery terminals and the engine-to-chassis ground strap.
- 5Jump the two large posts on the starter solenoid with a screwdriver; if it cranks, the solenoid or trigger circuit is bad.
- 6Check for 12V at the solenoid's small trigger wire (Orange/White) while the key is in the 'Start' position.
Safety Warnings
- !Ensure the vehicle is parked on level ground and chocked before bypassing safety switches.
- !Risk of high-current arcing; wear safety glasses and be prepared for the engine to crank instantly.
- !Always disconnect the negative terminal first when working on electrical components.
- !Do not spray cleaners into the ECU housing.
- !Do not force the gear lever if the linkage is misaligned as this can damage the internal shift fork.
- !Be careful not to short adjacent pins in the harness.
- !Assuming the battery is dead without performing a load test
Always disconnect the spark plug, work in a well-ventilated area, and consult a professional if unsure.
Most Likely Causes
Ranked by likelihood — tap each to see diagnosis details.
The brake switch is located near the master cylinder and is highly susceptible to mud and debris. Corrosion on these spade connectors prevents the signal from reaching the ECM, which is a prerequisite for the starter relay.
If the transmission gear detent does not perfectly align with the Park or Neutral position sensor, the circuit remains open. Inspect the linkage rods for play or loose heim joints that prevent proper gear selection.
🔧 Step-by-Step Fix Guide
Verify Brake Circuit Continuity
Locate the two-pin connector on the brake switch under the dash. Bridge the terminals with a jumper wire; if the engine cranks, your brake switch is faulty.
Ensure the vehicle is parked on level ground and chocked before bypassing safety switches.
Test Starter Solenoid Engagement
Use a screwdriver to bridge the two large terminals on the starter solenoid momentarily. If the starter spins, the issue is on the low-voltage side of the control circuit, not the starter itself.
Risk of high-current arcing; wear safety glasses and be prepared for the engine to crank instantly.
Check Battery Voltage at Terminals
Check the battery terminal connections for sulfation and ensure they are tightened to torque. Use a multimeter to confirm 12.6V resting voltage.
Always disconnect the negative terminal first when working on electrical components.
Inspect Starter Relay Socket
Locate the relay in the fuse block; pull it and check for melted plastic or green, crusty corrosion on the pins. Clean with electrical contact cleaner and verify socket tension.
Do not spray cleaners into the ECU housing.
Adjust Shift Linkage Rods
Loosen the jamb nuts on the gear shifter linkage and adjust the rod length until the 'P' indicator is consistently illuminated on the LCD display. Verify by shifting through the entire range.
Do not force the gear lever if the linkage is misaligned as this can damage the internal shift fork.
Check ECU Ground Circuit
Use a multimeter to probe the ground wire going into the starter relay socket. Ensure there is a low-resistance path to the chassis when the ignition is in the 'Start' position.
Be careful not to short adjacent pins in the harness.
What To Test Next
If fuel delivery checks out, the next thing to inspect is spark — remove the spark plug, ground its threads to the engine block, and crank the engine to look for a visible blue spark.
Component Reference

Spark Plug & Ignition System
The spark plug ignites the air-fuel mixture. A fouled plug, wrong gap, or failing ignition coil will prevent the engine from firing.

Electrical & Starting System
The battery, solenoid, and starter motor work together to crank the engine. A weak battery or corroded connection is often mistaken for a fuel or spark problem.

Drive & Cutting System
Belts, pulleys, and clutches transfer engine power to the wheels and cutting deck. A worn or thrown belt is the most common drive-system failure.

Engine Internals & Compression
Valves, piston rings, and the head gasket maintain compression. Low compression causes hard starting, power loss, and rough running.
Photos for educational reference. Actual parts may vary by make and model.
Common Mistakes to Avoid
Assuming the battery is dead without performing a load test
Replacing the starter motor before verifying the solenoid control voltage
Forgetting to check the main fuse in the under-hood distribution block
Attempting to start the engine without the transmission fully seated in 'Park'
If This Didn't Fix It
Still having trouble? These are the next things to check:
Get the Exact Parts for Your Machine
Tell us your equipment's year, make, and model — we'll search for parts that actually fit, not generic ones.
Finding parts for
Polaris Ranger 570
Required Gear
Matched to your Polaris Ranger 570 — click to find the exact fit on Amazon.
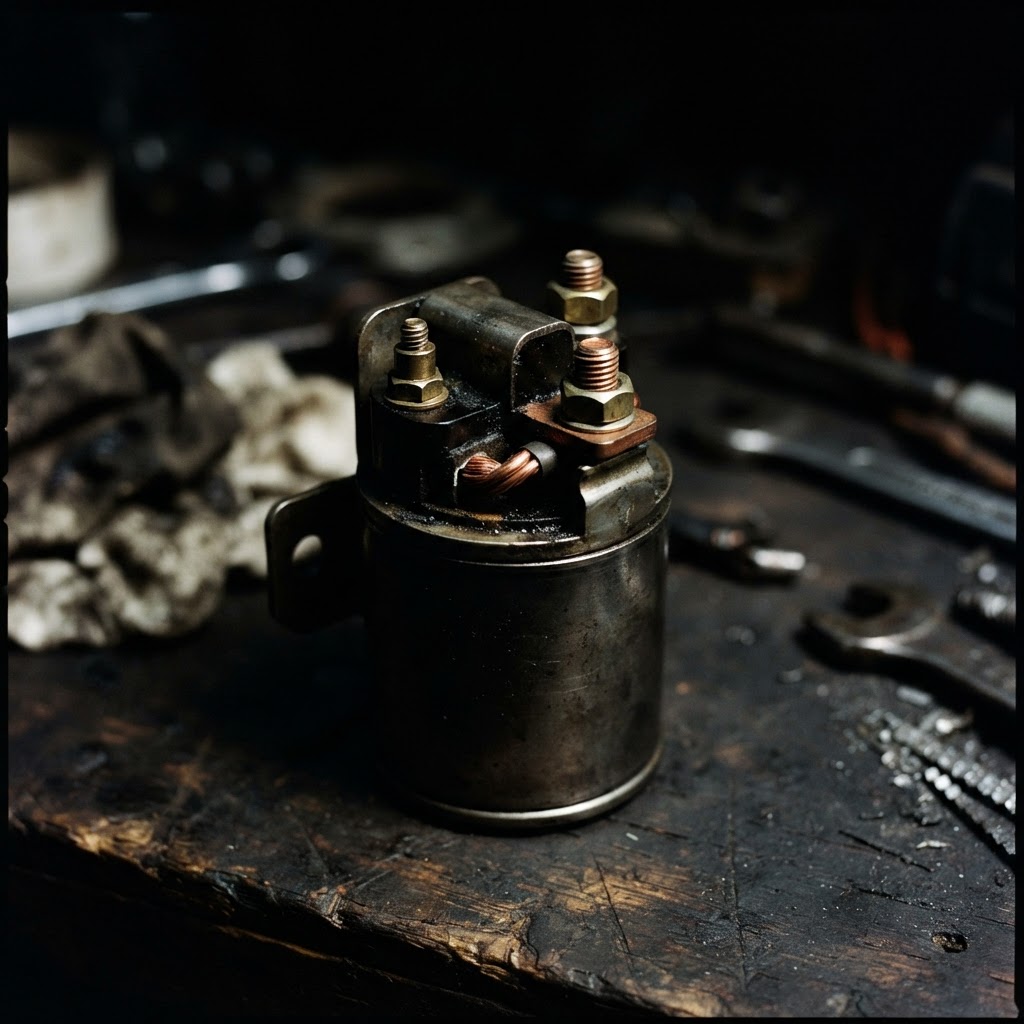
Starter Solenoid Relay
If testing reveals the solenoid clicks but the starter fails to engage, this replacement part is necessary to restore the electrical connection between the battery and the starter motor.
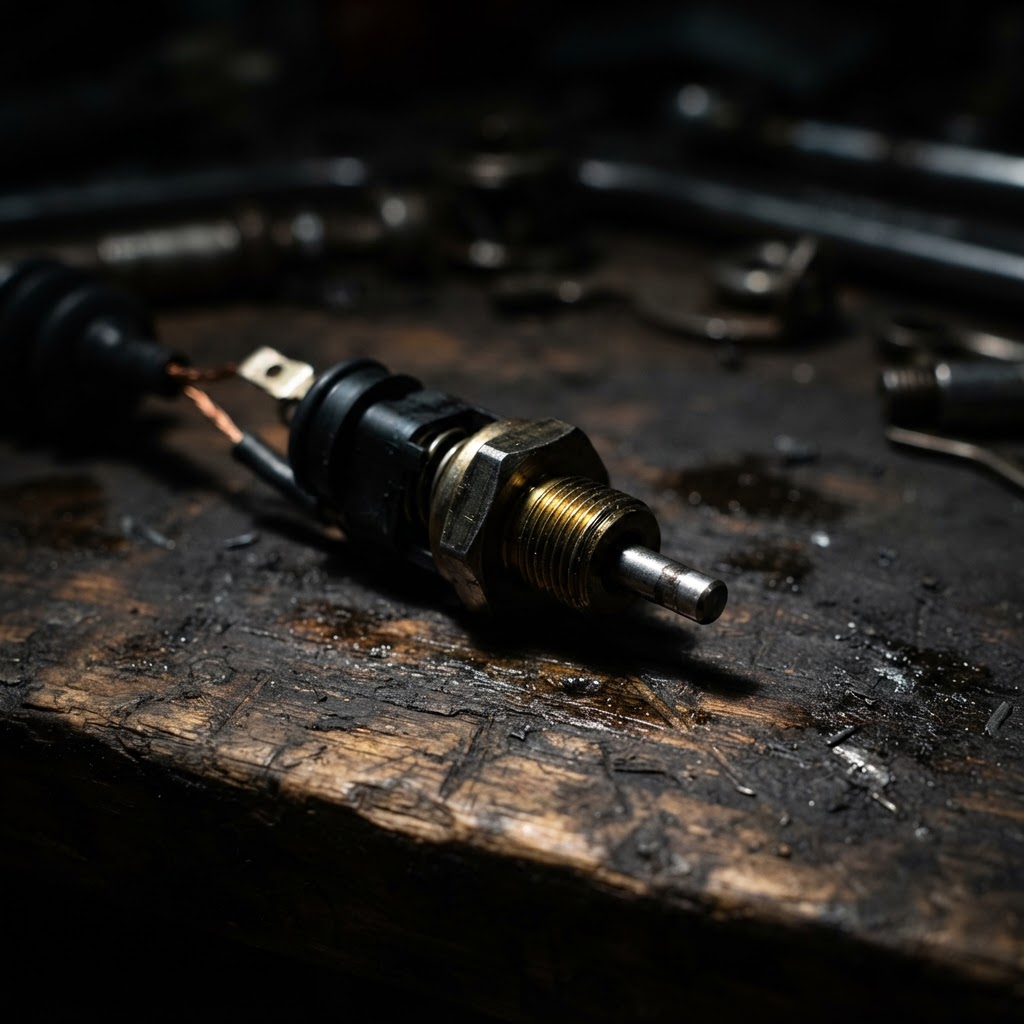
Brake Light Switch
The Polaris Ranger 570 requires a closed circuit from this switch to allow the engine to crank; replacing a corroded or failed unit is critical if brake input is not reaching the ECU.
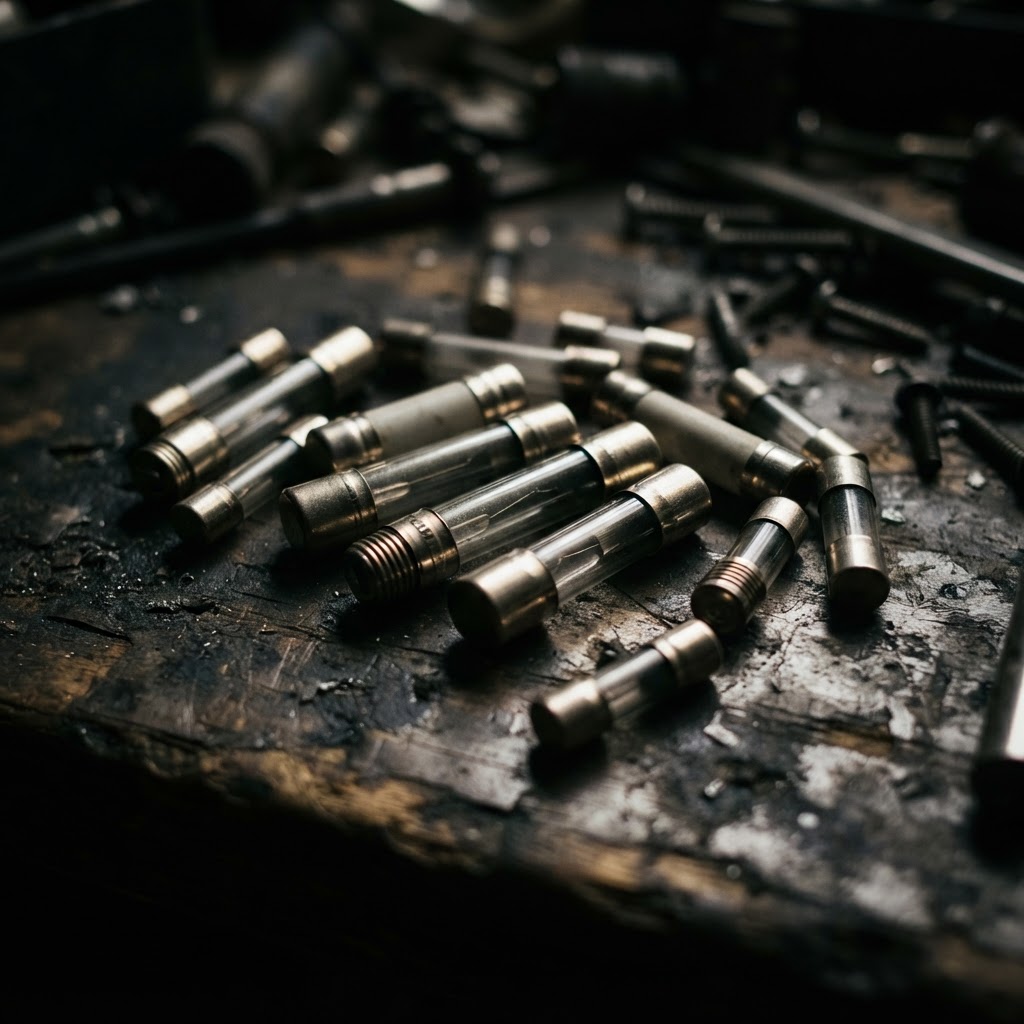
Replacement System Fuses
If the main system fuse is blown, it will completely cut power to the ignition circuit, preventing the starter system from energizing.
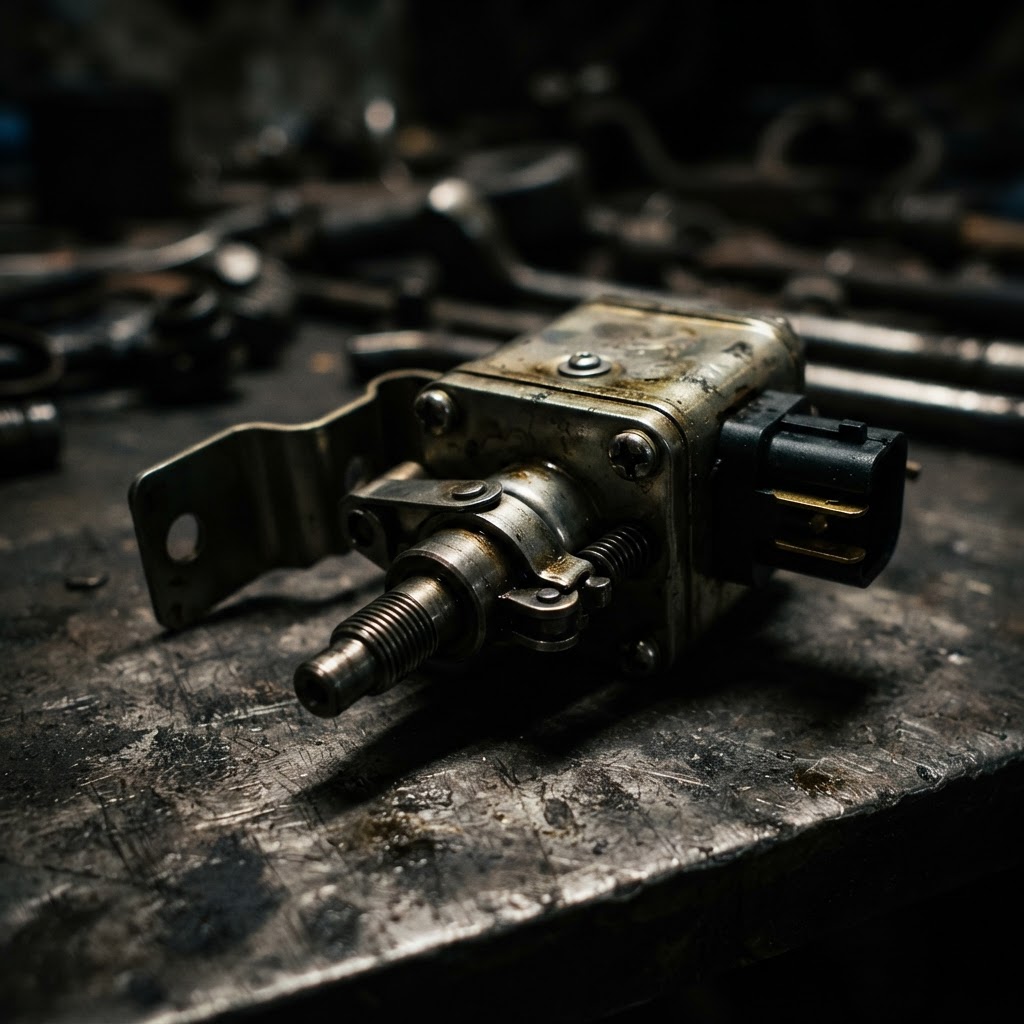
Neutral Safety Switch
When the shift linkage is properly adjusted but the vehicle still does not recognize the transmission is in neutral or park, this switch must be replaced to permit starting.

Dielectric Grease
This is a required consumable when replacing electrical components like the brake switch or relay to prevent future terminal corrosion caused by moisture and vibration exposure.
Affiliate Disclosure: Lil Engine may earn commissions from qualifying purchases.
Pro Tips from the Community
Real-world fixes from Reddit, YouTube & forums.
"If it won't crank, try shifting the gear selector back and forth through Park and Neutral while holding the key—the gear position sensor can get 'lazy' and prevent starting."
Reddit r/Polaris"The brake pressure switch is notorious. If your brake lights don't work, she won't start. You can often clean the connector pins with contact cleaner to get it working again."
TractorByNet Forum"Check the wiring harness where it passes over the rear frame rail; it's a known rub-spot on the 570 that can short out the starter trigger wire."
YouTube commentsPrevent This From Coming Back
Apply dielectric grease to all electrical harness connectors annually
Regularly clean the mud/debris around the gear position sensor on the transmission
Inspect brake switch wires for signs of chafing or abrasion
Tighten battery cable nuts during every oil change interval
Prevent This From Happening Again
While you're fixing it, stock up on the maintenance essentials that keep your side-by-sides running right.
Small Engine Oil
Heavy loads mean you should change oil more frequently.
Get on AmazonAir Filter
Dusty trails clog filters — keep a spare on hand.
Get on AmazonDrive Belt
A worn CVT belt causes slipping and power loss — keep a spare.
Get on AmazonAffiliate Disclosure: Lil Engine may earn commissions from qualifying purchases.
Frequently Asked Questions
The brake light circuit and the starter logic signal often have different voltage thresholds or internal paths within the ECU. A high-resistance connection at the brake switch can illuminate the light bulb but fail to provide the signal strength required by the ECU.
Video Help
Helpful videos showing these repairs in action.
Share Your Repair
Real-world fixes help everyone. Share what worked and your repair becomes part of Lil Engine's community database.
Related Problems
More Side-by-Sides GuidesRelated Maintenance Articles
Related Searches
Side-by-Sides Troubleshooting
Did this help?
Your feedback helps improve guides for everyone.