Can-Am Outlander 570 Cranks But Won't Start — Fuel & Spark Diagnosis
⚡ Quick Answer
First, listen for the fuel pump's 2-second prime when you turn the key; if it's silent, the fuel pump relay or the 20A EFI fuse is likely blown. On these Rotax 570 EFI engines, the battery must maintain at least 10.5V while cranking to power the ECU and injectors, even if the starter sounds fast. Finally, verify that the DESS key is fully seated and the 'Welcome' message appears on the cluster, as a bad connection here will inhibit ignition.
What do you want to do?
Most Likely Cause
Low System Voltage
The Bosch ECU requires a steady 12V supply. If the battery is aged or the internal resistance is too high, the voltage drop during starter engagement disables the EFI system.
Start here — this is the most common reason for this symptom.
Why This Problem Happens
The Can-Am Outlander 570 utilizes a sophisticated Bosch electronic fuel injection system combined with a proprietary V-twin engine management system (EMS). When the engine cranks but fails to catch, it typically indicates a breakdown in the 'fire triangle': fuel delivery, ignition timing, or compression. In the 570, the high-pressure fuel pump is notoriously sensitive to voltage drops; if the battery voltage dips below 10.5V during cranking, the ECU will cut fuel injector pulse width to protect the electronics, leaving the engine cranking on a dry cylinder. Conversely, the Rotax engine relies on a specific crankshaft position sensor gap to signal the ECU for spark timing. If debris or metal shavings from the primary clutch or stator settle on the sensor face, the ECU loses the timing reference, resulting in 'crank-no-start' even with a healthy battery. This failure is often a cascade effect where an initial weak charge triggers a sequence of ECU safety protocols that prevent the injection event despite the starter motor successfully turning the crankshaft.
Common Symptoms
- Fuel pump fails to hum when ignition is toggled
- Strong smell of raw gasoline after prolonged cranking
- Check Engine light flashing during the cranking cycle
- Spark plug threads show signs of heavy fouling
- Tachometer needle does not move while cranking
Before You Buy Parts
Quick, free inspections — check these first. Most repairs don't actually need replacement parts.
Complete Resource Guide
Complete Side-by-Side (SxS) Troubleshooting Guide
Repair Overview
1–3 hours
$20–$150
First Checks — Start Here
- 1Verify battery voltage stays above 10.5V while the starter is actively cranking.
- 2Listen for the fuel pump hum for 2 seconds when the ignition is first turned on.
- 3Check the 20A Fuel Pump/EFI fuse in the front fuse block for continuity.
- 4Ensure the DESS (Digital Encoded Security System) key is clean and fully snapped onto the post.
- 5Test for spark at both cylinders using an inline spark tester.
- 6Verify the fuel pressure is at a steady 51 PSI (3.5 bar) using a fuel pressure gauge.
Safety Warnings
- !Ensure the ATV is in neutral and the parking brake is set before performing load tests.
- !Keep fuel vapors away from the ignition coils to prevent accidental combustion.
- !Ensure the engine is cool to the touch to prevent burn injuries when removing plugs.
- !Do not touch the spark tester during cranking to avoid a high-voltage shock.
- !Use caution to not lose the o-ring when re-seating the sensor.
- !Do not use flammable starting fluid, as it can damage the sensitive plastic throttle body components.
- !Assuming the battery is good just because the lights turn on
- !Ignoring the fuel pump relay as a primary suspect
- !Reinstalling spark plugs without checking the gap
Always disconnect the spark plug, work in a well-ventilated area, and consult a professional if unsure.
Most Likely Causes
Ranked by likelihood — tap each to see diagnosis details.
The Bosch ECU requires a steady 12V supply. If the battery is aged or the internal resistance is too high, the voltage drop during starter engagement disables the EFI system.
The Can-Am 570 utilizes a standard micro-relay for the fuel pump that is prone to moisture ingress. A failed relay prevents the pump from pressurizing the rail before the start sequence.
🔧 Step-by-Step Fix Guide
Check Battery Voltage Under Load
Use a digital multimeter to check the battery at rest and while hitting the starter button. If it drops below 10V during cranking, replace the battery, as the EFI will not fire the injectors below this threshold.
Ensure the ATV is in neutral and the parking brake is set before performing load tests.
Verify Fuel Pump Priming
Listen for the two-second hum when you turn the key to the ON position. If you hear nothing, check the fuel pump fuse in the main fuse block and swap the relay with a known good one.
Keep fuel vapors away from the ignition coils to prevent accidental combustion.
Inspect Spark Plugs
Remove both spark plugs and inspect the ceramic insulators. If they are wet or jet-black with soot, clean them with a wire brush or replace them with fresh NGK plugs gapped to 0.030 inches.
Ensure the engine is cool to the touch to prevent burn injuries when removing plugs.
Test for Spark
Use an inline spark tester connected between the plug wire and the plug. If there is no blue spark while cranking, check the ignition coil primary and secondary resistance values.
Do not touch the spark tester during cranking to avoid a high-voltage shock.
Examine Crankshaft Position Sensor
Locate the CPS connector and clean it with electrical contact cleaner. Remove the sensor from the crankcase cover and wipe off any metal shavings that may have accumulated on the magnetic tip.
Use caution to not lose the o-ring when re-seating the sensor.
Check Intake Manifold and MAP Sensor
Inspect the rubber intake boot for dry rot or cracks that introduce unmetered air. Verify the MAP sensor is seated firmly and the O-ring is intact.
Do not use flammable starting fluid, as it can damage the sensitive plastic throttle body components.
What To Test Next
If fuel delivery checks out, the next thing to inspect is spark — remove the spark plug, ground its threads to the engine block, and crank the engine to look for a visible blue spark.
Component Reference

Carburetor & Fuel Intake
The carburetor mixes air and fuel for combustion. A clogged jet or stuck float is the #1 cause of small engine starting and surging problems.

Spark Plug & Ignition System
The spark plug ignites the air-fuel mixture. A fouled plug, wrong gap, or failing ignition coil will prevent the engine from firing.

Oil & Lubrication System
Regular oil changes are critical. Low or dirty oil causes engine wear, overheating, and eventual seizure. Check the dipstick before every season.

Air Filter & Intake
A clogged air filter starves the engine of air, causing rich running, power loss, and hard starting. Inspect and clean or replace it each season.
Photos for educational reference. Actual parts may vary by make and model.
Common Mistakes to Avoid
Using starting fluid which can wash cylinder walls of oil
Assuming the battery is good just because the lights turn on
Ignoring the fuel pump relay as a primary suspect
Reinstalling spark plugs without checking the gap
If This Didn't Fix It
Still having trouble? These are the next things to check:
Get the Exact Parts for Your Machine
Tell us your equipment's year, make, and model — we'll search for parts that actually fit, not generic ones.
Finding parts for
Can-Am Outlander 570 cranks but
Required Gear
Matched to your Can-Am Outlander 570 cranks but — click to find the exact fit on Amazon.
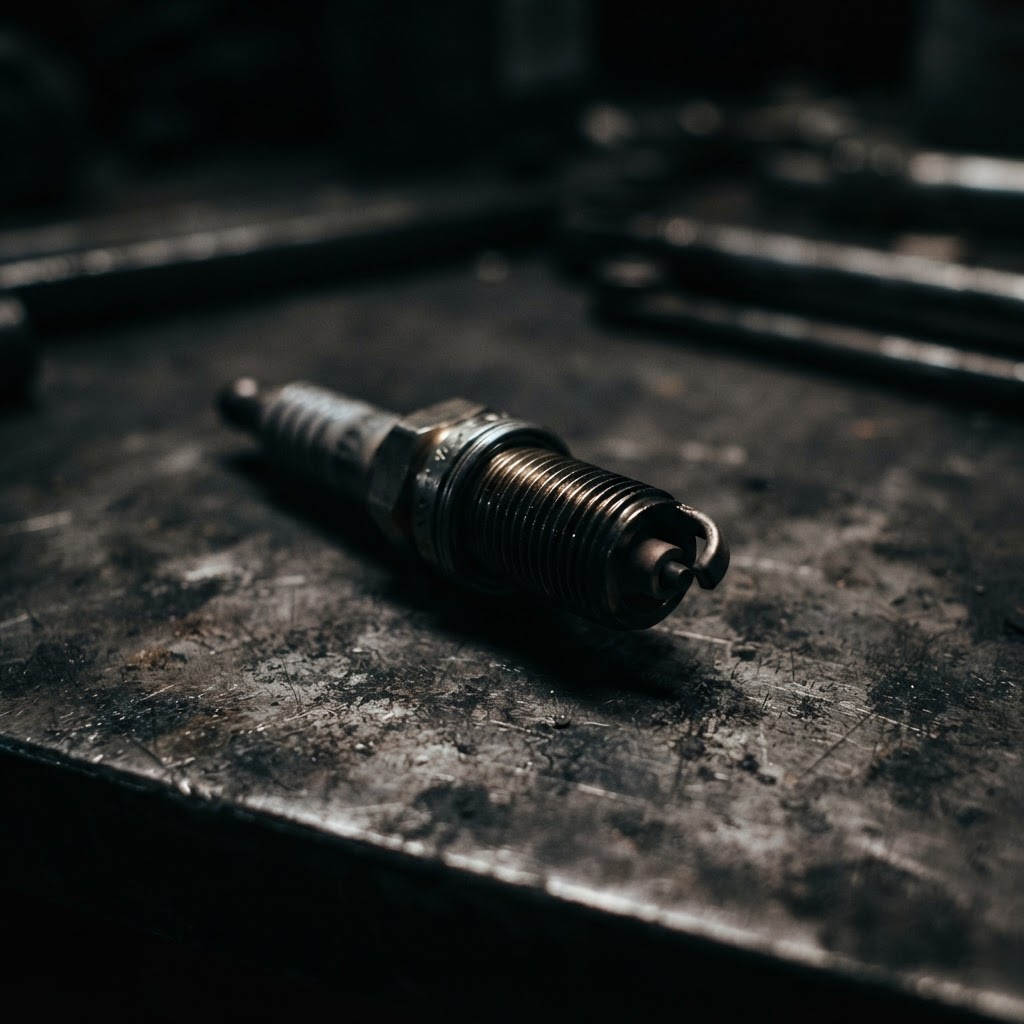
NGK Iridium Spark Plug
If troubleshooting confirms a lack of spark or reveals heavy carbon buildup, replacing the spark plug is essential to ensure consistent ignition on the 570 engine.
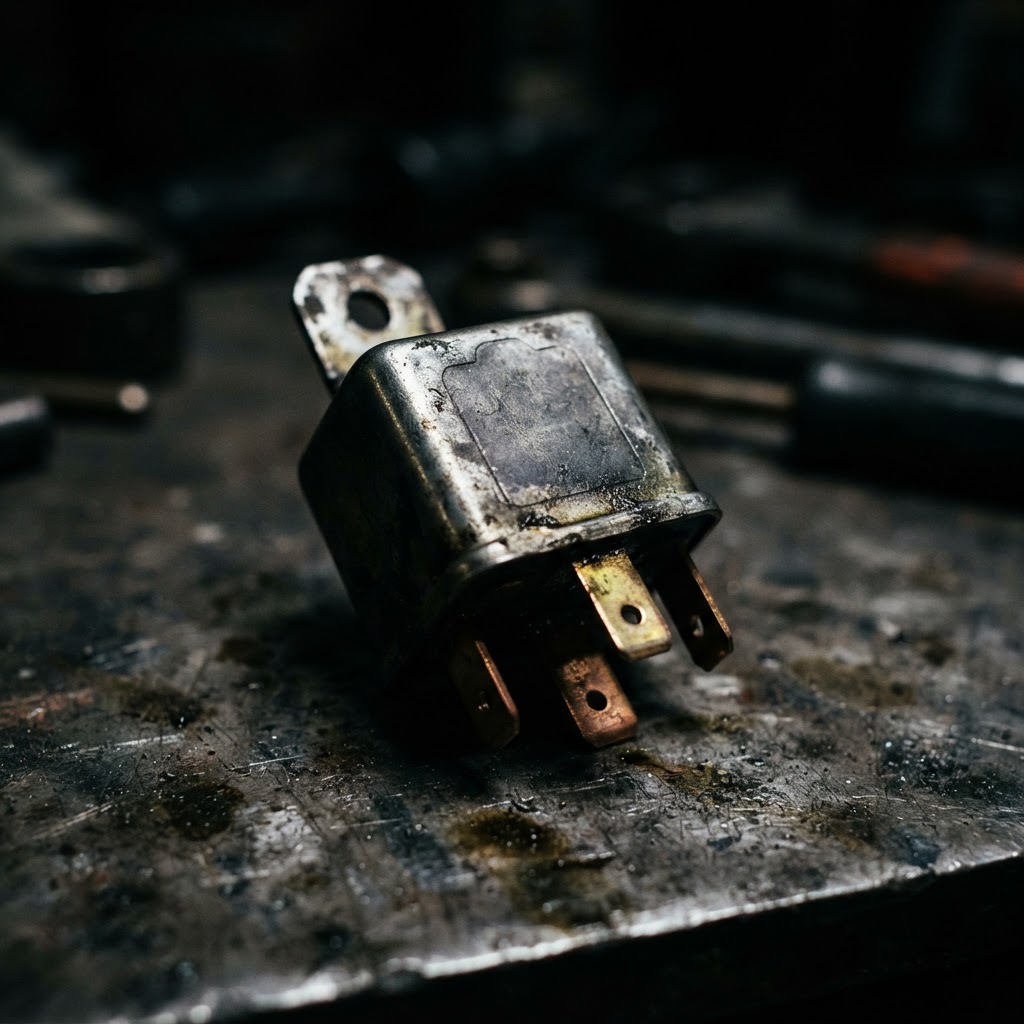
OEM Fuel Pump Relay
When the fuel pump fails to prime during the diagnostic test, this specific relay is the most common point of failure in the electrical circuit.
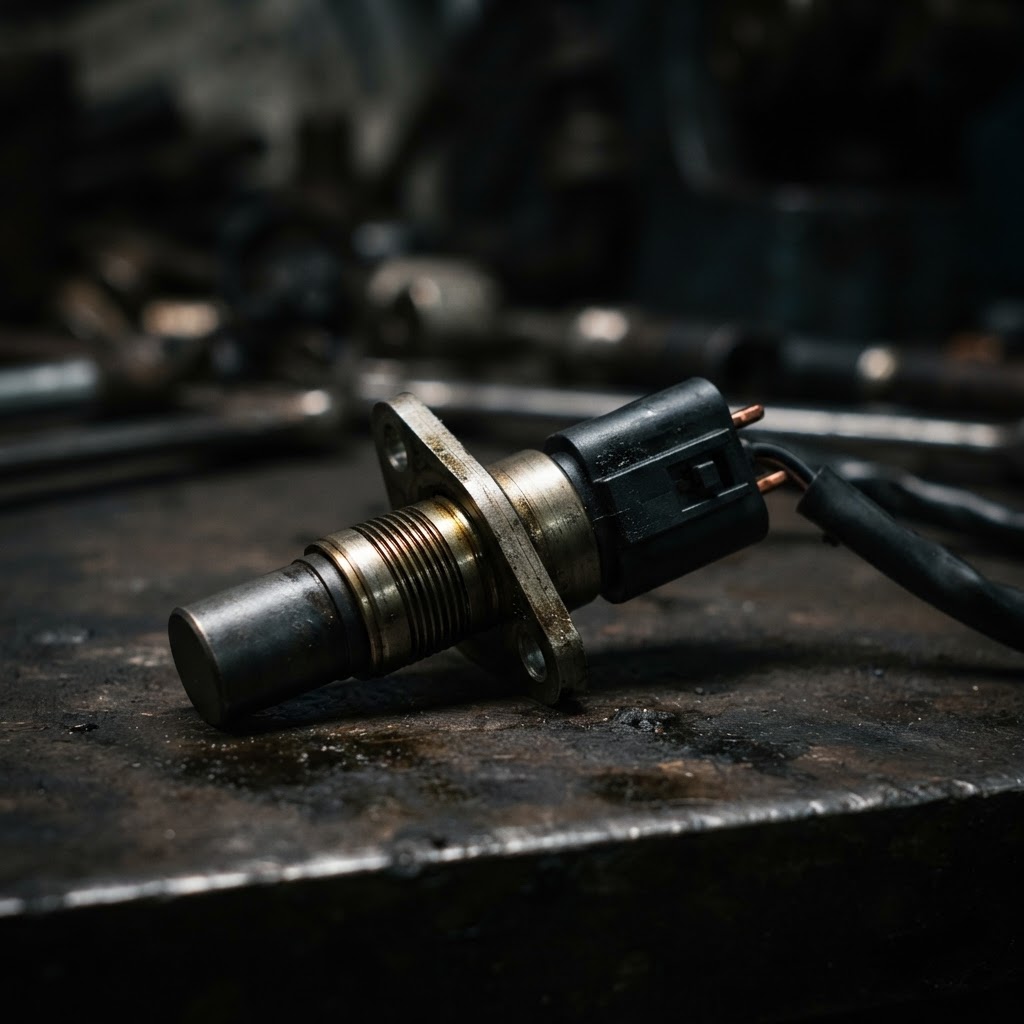
Crankshaft Position Sensor
If the sensor is found to be contaminated or producing an erratic signal preventing the ECM from triggering ignition, replacement is required to restore engine timing.
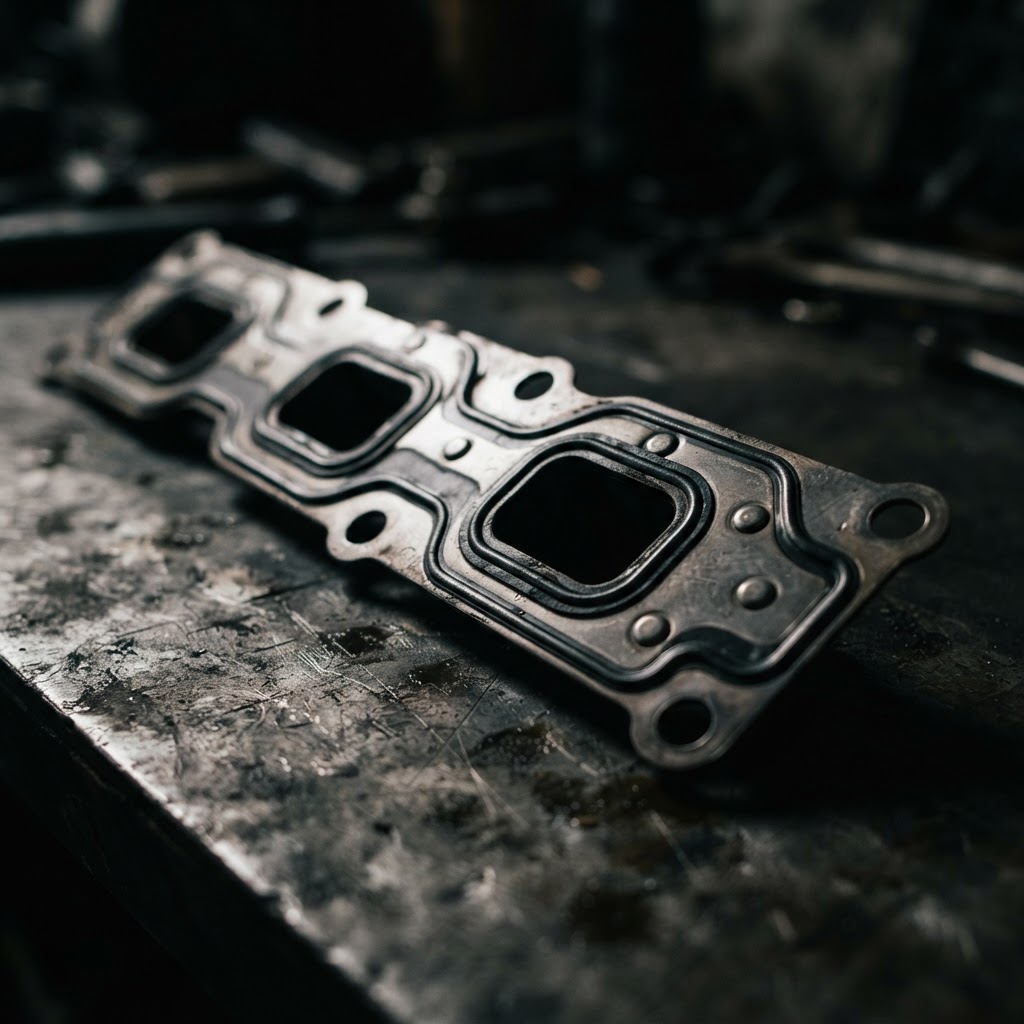
Intake Manifold Gasket
If a vacuum leak is identified at the MAP sensor mounting area during inspection, replacing the gasket is necessary to restore proper air-fuel mixture ratios.
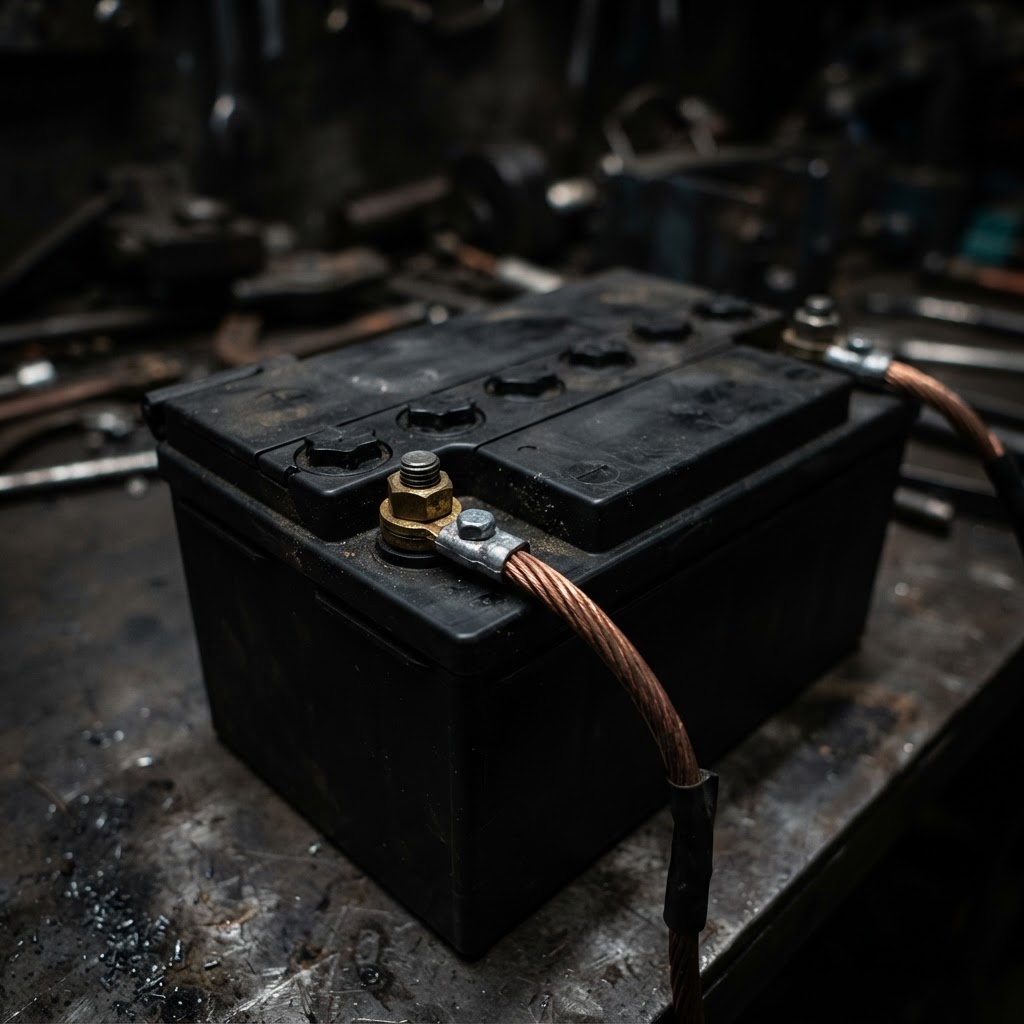
AGM Replacement Battery
If the battery fails a load test and cannot maintain the high amperage required for the EFI system and fuel pump, a new battery is mandatory for the engine to fire.
Affiliate Disclosure: Lil Engine may earn commissions from qualifying purchases.
Pro Tips from the Community
Real-world fixes from Reddit, YouTube & forums.
"Check the 'Grey Plug' wiring harness near the battery; the pins for the fuel pump often vibrate loose or corrode, causing intermittent power loss to the pump."
Can-AmTalk Forum"If it won't fire, try 'Flood Mode': hold the throttle wide open and crank for 5 seconds, then release and try starting normally. This tells the ECU to cut fuel to clear a flooded engine."
Reddit r/ATV"The fuel pump relays are standard automotive 4-pin or 5-pin micros; keep a spare in your storage box because they are the #1 trailside electrical failure point."
YouTube commentsPrevent This From Coming Back
Keep battery terminals clean and coated with dielectric grease
Replace spark plugs every 2,500 miles regardless of appearance
Use a high-quality fuel stabilizer to prevent ethanol-related pump corrosion
Regularly clean the air intake area to prevent debris from reaching the MAP sensor
Prevent This From Happening Again
While you're fixing it, stock up on the maintenance essentials that keep your side-by-sides running right.
Small Engine Oil
Heavy loads mean you should change oil more frequently.
Get on AmazonAir Filter
Dusty trails clog filters — keep a spare on hand.
Get on AmazonDrive Belt
A worn CVT belt causes slipping and power loss — keep a spare.
Get on AmazonAffiliate Disclosure: Lil Engine may earn commissions from qualifying purchases.
Frequently Asked Questions
This indicates the engine is flooded. It happens when the ECU triggers the injectors but the engine fails to combust, resulting in raw fuel pooling in the combustion chamber.
Video Help
Helpful videos showing these repairs in action.
Share Your Repair
Real-world fixes help everyone. Share what worked and your repair becomes part of Lil Engine's community database.
Related Problems
More Side-by-Sides GuidesRelated Maintenance Articles
Related Symptoms
Related Searches
Side-by-Sides Troubleshooting
Did this help?
Your feedback helps improve guides for everyone.