Polaris RZR 900 Cranks But Won't Start — EFI & Ignition Diagnosis
⚡ Quick Answer
On the Polaris RZR 900 EFI system, first verify the fuel pump prime by listening for a 2-second hum when the key is turned to 'ON'; the ProStar engine requires exactly 58 PSI (±2 PSI) at the fuel rail to fire the injectors. If pressure is good, inspect the Crank Position Sensor (CPS) wiring harness near the starter for common chaffing issues that kill both spark and injector pulse. Lastly, check for fouled NGK MR7F spark plugs, which frequently occur if the machine is moved short distances and shut off while cold.
What do you want to do?
Most Likely Cause
Failed Fuel Pump Module
The internal fuel pressure regulator or the pump motor itself has reached its service life. Use a fuel pressure gauge attached to the test port to verify if you are hitting the factory-spec 58 PSI.
Start here — this is the most common reason for this symptom.
Why This Problem Happens
The Polaris RZR 900 utilizes a complex Bosch ME17.9.7 ECU-controlled EFI system that demands precise voltage, fuel pressure, and sensor synchronization to initiate a start cycle. When the engine cranks but refuses to fire, it usually indicates a disruption in the 'Holy Trinity' of combustion: sufficient fuel pressure (typically 58 PSI), strong spark timing from the CPS, or synchronized injector pulse. The RZR 900 ProStar engine is particularly sensitive to voltage drops; if the battery drops below 10.5 volts during cranking, the ECU may fail to pulse the fuel injectors or trigger the ignition coils, even if the starter motor engages normally. Furthermore, the RZR 900 fuel pump module is a common failure point; if the internal check valve fails or the pump motor brushes wear out, the system cannot maintain the required rail pressure for the injectors to spray a proper atomized mist. This creates a no-start condition despite the engine rotating freely, as the air-fuel ratio remains too lean for the combustion chamber to achieve ignition. Understanding this electrical-to-mechanical chain is essential for efficient diagnosis.
Common Symptoms
- Fuel pump does not prime when the key is turned to the ON position
- Strong odor of unburnt gasoline around the engine bay
- Engine backfires intermittently during extended cranking
- Check Engine Light (CEL) flashing or solid during crank cycles
- Diagnostic Trouble Code (DTC) 636 or 637 present on the instrument cluster
Before You Buy Parts
Quick, free inspections — check these first. Most repairs don't actually need replacement parts.
Complete Resource Guide
Complete Side-by-Side (SxS) Troubleshooting Guide
Repair Overview
1–3 hours
$20–$150
First Checks — Start Here
- 1Verify fuel pump 'prime' hum is audible when key is turned to ON
- 2Test fuel pressure at the rail test port — must be 58 PSI
- 3Check for diagnostic trouble codes (DTCs) on the digital display
- 4Inspect the Crank Position Sensor (CPS) wiring for breaks or frame-rub
- 5Test for spark using an inline tester on both ignition coils
- 6Check the EFI and CHASSIS fuses in the fuse block under the seat
- 7Perform a 'Clear Flood' start by holding throttle wide open while cranking
Safety Warnings
- !Ensure the area is well-ventilated and keep a fire extinguisher nearby, as you will be dealing with pressurized gasoline.
- !Ensure the engine is off and the key is removed to prevent accidental engagement of the starter.
- !Be extremely careful not to short adjacent pins, as this can permanently fry the ECU motherboard.
- !Do not attempt to test injector voltage with a standard test light, as it can damage the ECU drivers.
- !Use insulated pliers to hold the plug to prevent a high-voltage shock.
- !Disconnect the negative battery terminal before removing the fuse block to prevent accidental shorts.
- !Assuming the fuel pump is good just because you can hear it humming briefly
- !Ignoring the battery load test and assuming a fully charged battery is healthy
Always disconnect the spark plug, work in a well-ventilated area, and consult a professional if unsure.
Most Likely Causes
Ranked by likelihood — tap each to see diagnosis details.
The internal fuel pressure regulator or the pump motor itself has reached its service life. Use a fuel pressure gauge attached to the test port to verify if you are hitting the factory-spec 58 PSI.
If the ECU does not receive a signal from the CPS, it will not know the position of the crankshaft and will disable spark and fuel injection. Check the sensor air gap and look for metal debris accumulated on the magnetic tip.
🔧 Step-by-Step Fix Guide
Verify Fuel Pressure
Tee a 0-100 PSI fuel pressure gauge into the line between the pump and the fuel rail. Turn the key to 'ON' and check for 58 PSI; if pressure is low or bleeds down instantly, the pump module check valve is toast.
Ensure the area is well-ventilated and keep a fire extinguisher nearby, as you will be dealing with pressurized gasoline.
Test Crankshaft Position Sensor (CPS)
Use a digital multimeter to check the resistance of the CPS; factory spec is usually around 500-600 ohms. If it reads open or shorted, replace the sensor located near the flywheel.
Ensure the engine is off and the key is removed to prevent accidental engagement of the starter.
Check ECU Power and Ground
Back-probe the ECU connector to verify that the main power supply and ground pins show constant voltage. Use a wiring diagram to identify the specific pins, as loose grounds are a common RZR-specific failure.
Be extremely careful not to short adjacent pins, as this can permanently fry the ECU motherboard.
Inspect Injector Pulse
Use a 'noid light' connected to the injector harness. If the light does not flash while cranking, the ECU is not receiving the signal to fire, pointing toward the CPS or a security system lock-out.
Do not attempt to test injector voltage with a standard test light, as it can damage the ECU drivers.
Inspect Spark Plug and Coil
Pull the plug and ground the threads against the engine block while cranking to observe the spark color. A yellow or orange spark indicates a weak ignition coil or bad plug; a bright blue spark indicates a healthy system.
Use insulated pliers to hold the plug to prevent a high-voltage shock.
Clean Fuse Block Contacts
Remove all relays and fuses in the front power distribution block and apply electrical contact cleaner. Check the underside of the block for water intrusion or evidence of melted plastic.
Disconnect the negative battery terminal before removing the fuse block to prevent accidental shorts.
What To Test Next
If fuel delivery checks out, the next thing to inspect is spark — remove the spark plug, ground its threads to the engine block, and crank the engine to look for a visible blue spark.
Component Reference

Spark Plug & Ignition System
The spark plug ignites the air-fuel mixture. A fouled plug, wrong gap, or failing ignition coil will prevent the engine from firing.

Oil & Lubrication System
Regular oil changes are critical. Low or dirty oil causes engine wear, overheating, and eventual seizure. Check the dipstick before every season.

Fuel System
Stale fuel is the most common cause of seasonal starting failures. Fuel breaks down in 30 days, leaving varnish that clogs carburetor jets and fuel filters.

Electrical & Starting System
The battery, solenoid, and starter motor work together to crank the engine. A weak battery or corroded connection is often mistaken for a fuel or spark problem.
Photos for educational reference. Actual parts may vary by make and model.
Common Mistakes to Avoid
Assuming the fuel pump is good just because you can hear it humming briefly
Replacing the ECU before verifying that the ground straps are clean and tight
Using generic parts instead of OEM-spec sensors, which often have incorrect resistance values
Ignoring the battery load test and assuming a fully charged battery is healthy
If This Didn't Fix It
Still having trouble? These are the next things to check:
Get the Exact Parts for Your Machine
Tell us your equipment's year, make, and model — we'll search for parts that actually fit, not generic ones.
Finding parts for
Polaris RZR 900 cranks but
Required Gear
Matched to your Polaris RZR 900 cranks but — click to find the exact fit on Amazon.
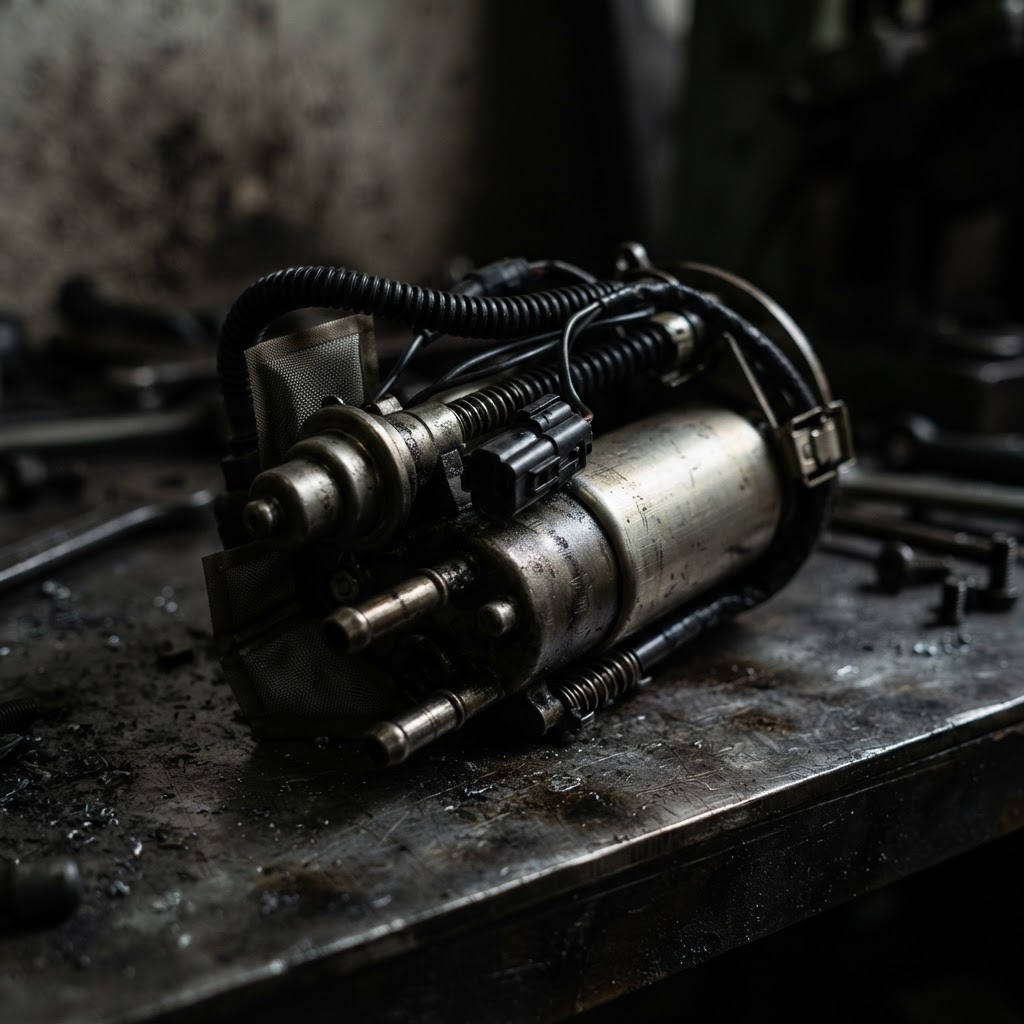
Fuel Pump Module Assembly
If fuel pressure testing confirms a failure, this complete drop-in unit is required to restore the necessary pressure to the fuel rail for engine ignition.
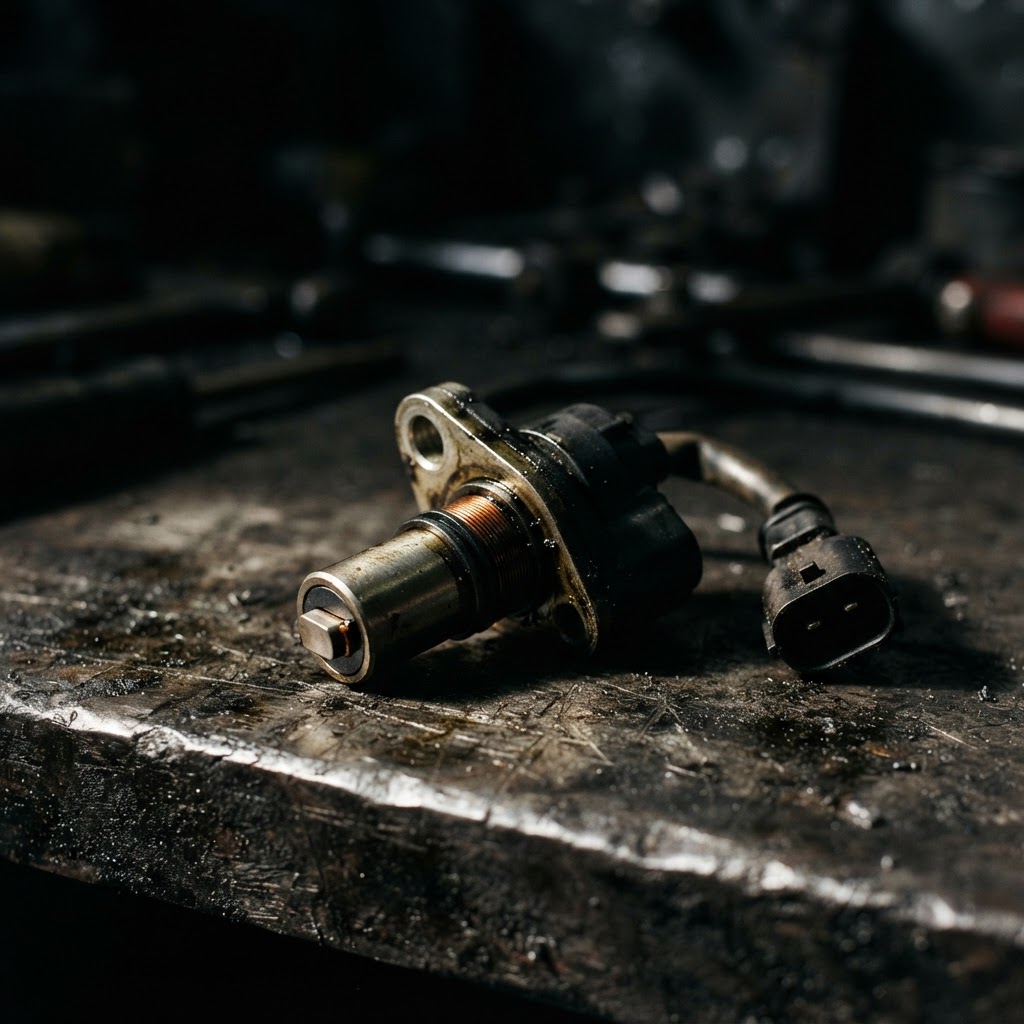
Crankshaft Position Sensor
This component is essential for signaling the ECU to trigger ignition and injector pulses; if the sensor tests faulty, it must be replaced to allow the engine to fire.
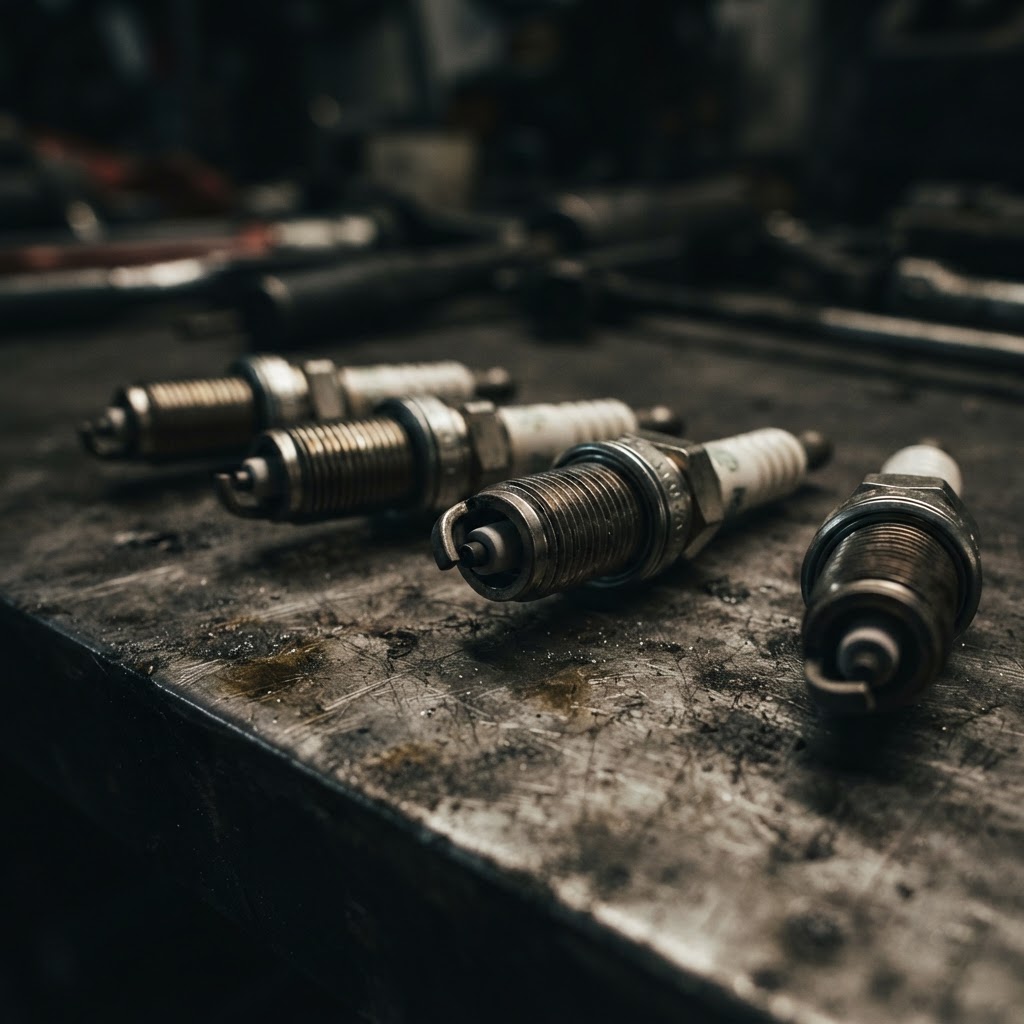
Iridium Spark Plugs
If diagnostic steps reveal a weak or non-existent spark, replacing these is the primary step to ensuring a reliable combustion event.
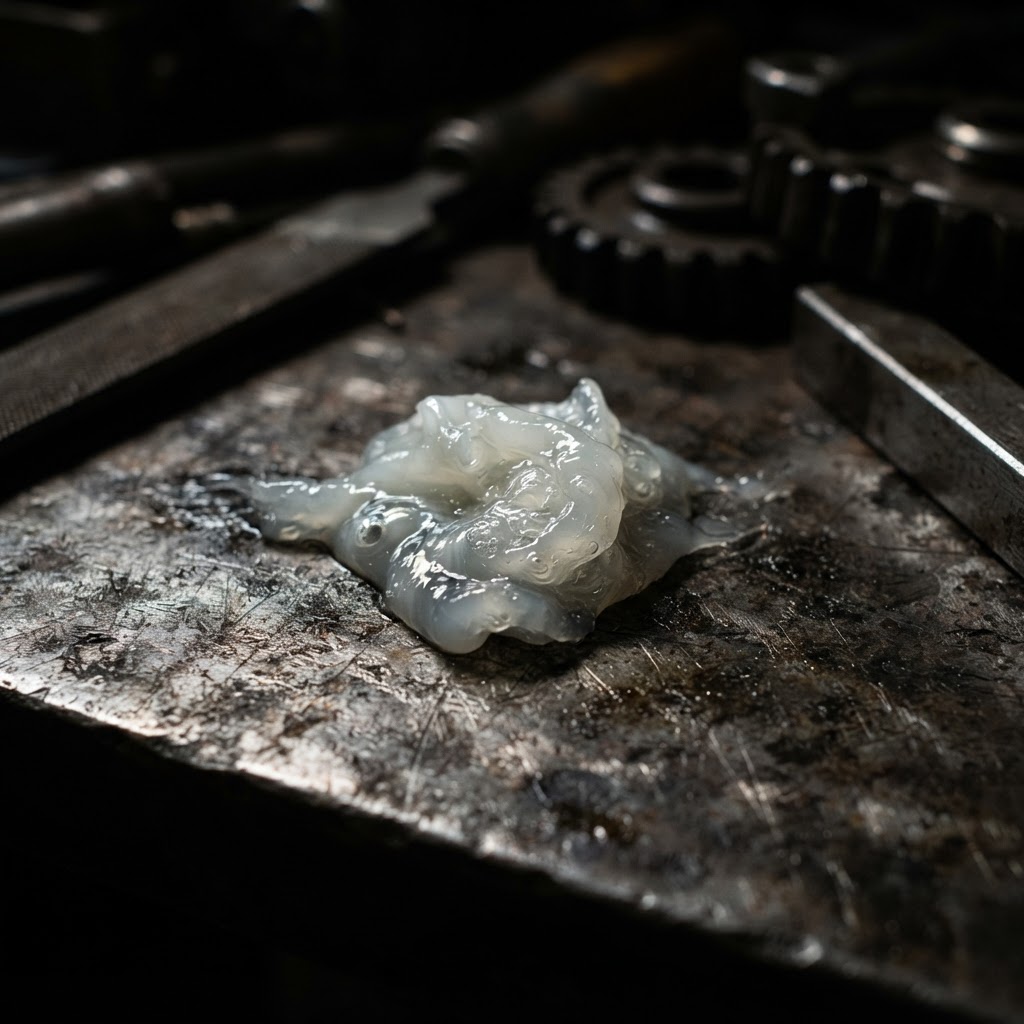
Dielectric Grease
This is a repair-specific consumable used to coat and seal the ECU and main harness terminals, preventing future corrosion issues that often cause starting failures in RZR models.
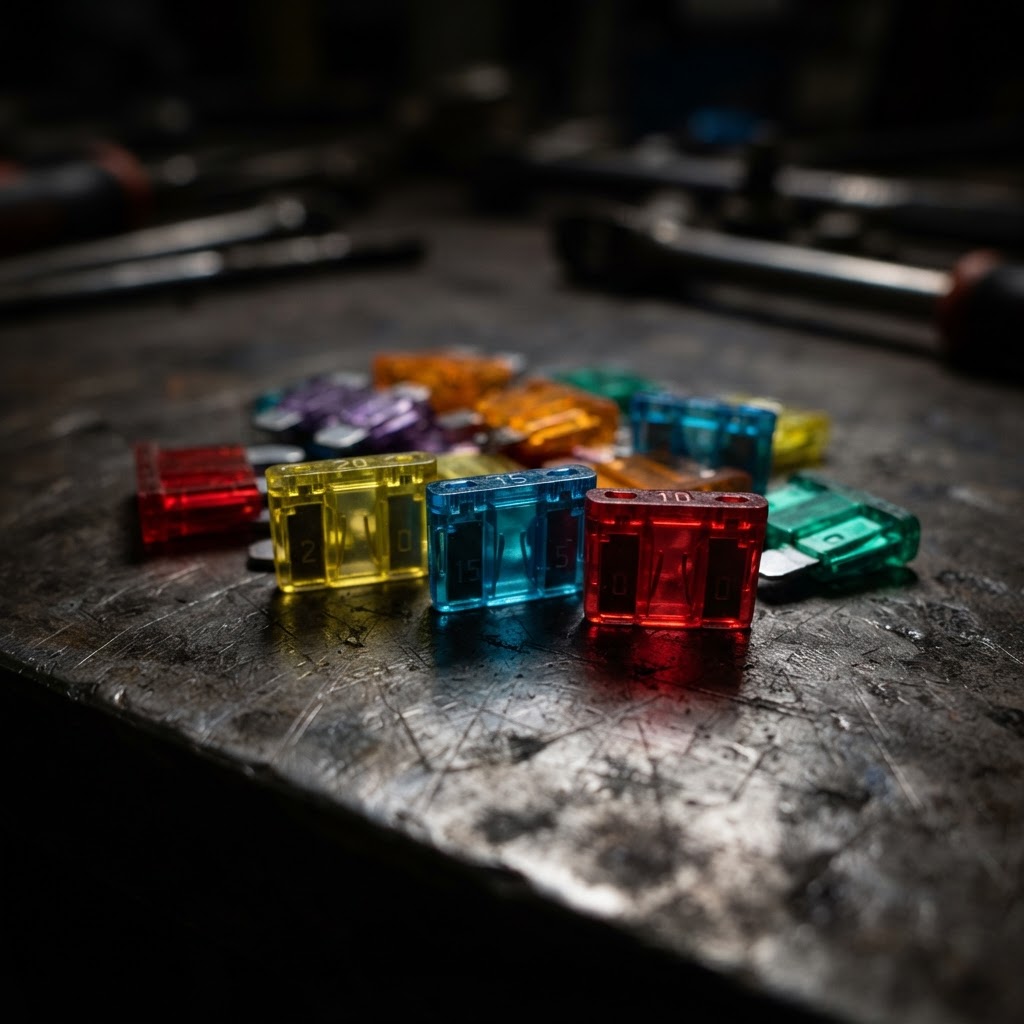
Automotive Mini-Fuse Assortment
Since a blown EFI or fuel pump fuse is a common culprit for a crank-no-start condition, having these on hand is necessary to restore circuit continuity.
Affiliate Disclosure: Lil Engine may earn commissions from qualifying purchases.
Pro Tips from the Community
Real-world fixes from Reddit, YouTube & forums.
"The RZR fuel pump might hum but still not provide enough pressure. Always use a gauge; 40 PSI looks like it's pumping but the 900 won't even pop at that pressure."
RZRForums.net"If you suspect it's flooded, hold the throttle 100% open while cranking. This enters 'Clear Flood Mode' which cuts fuel delivery and lets air dry out the plugs."
Reddit r/RZR"Check the wiring at the T-MAP sensor connector. The wires often break inside the insulation right where they enter the plug—pull on them gently to see if they stretch."
YouTube commentsBrand-Specific Notes
Polaris
The RZR 900 uses a ProStar EFI engine. The fuel pump should prime with a 2-second hum when the key is turned to ON, and the fuel rail requires 58 PSI (±2 PSI) to fire the injectors. The Crank Position Sensor (CPS) wiring harness is prone to chafing near the starter, which can kill both spark and injector pulse. Short cold trips tend to foul the NGK MR7F spark plugs.
Model-Specific Variations
Polaris RZR 900
ProStar EFI engine; fuel pump 2-sec prime hum on key-ON; fuel rail 58 PSI (±2 PSI); CPS harness chafes near starter; NGK MR7F spark plugs.
Prevent This From Coming Back
Apply dielectric grease to all sensor connectors to prevent moisture-induced corrosion
Clean the battery terminals and chassis ground points every 500 miles
Replace the fuel pump filter sock regularly, as a clogged filter burns out the pump motor
Inspect the main wiring harness for rub points against the chassis frame
Prevent This From Happening Again
While you're fixing it, stock up on the maintenance essentials that keep your side-by-sides running right.
Small Engine Oil
Heavy loads mean you should change oil more frequently.
Get on AmazonAir Filter
Dusty trails clog filters — keep a spare on hand.
Get on AmazonDrive Belt
A worn CVT belt causes slipping and power loss — keep a spare.
Get on AmazonAffiliate Disclosure: Lil Engine may earn commissions from qualifying purchases.
Frequently Asked Questions
No, the security system is integrated into the ECU logic. If you suspect an immobilizer issue, you must have the dealer reset the system using Polaris Digital Wrench software.
Video Help
Helpful videos showing these repairs in action.
Share Your Repair
Real-world fixes help everyone. Share what worked and your repair becomes part of Lil Engine's community database.
Related Problems
More Side-by-Sides GuidesRelated Maintenance Articles
Did this help?
Your feedback helps improve guides for everyone.