Side by Side Won't Crank — Dead / No Response Starting Circuit Diagnosis
⚡ Quick Answer
When a UTV won't crank, the fault is 100% within the electrical starting circuit. First, verify the battery has at least 12.4V and the terminals are tight; next, check the main fuse and ensure the brake pedal is fully depressed to satisfy the safety switch. If the solenoid clicks but the starter doesn't spin, jump the solenoid posts with a screwdriver—if the engine cranks, the solenoid is defective.
What do you want to do?
Most Likely Cause
Low State-of-Charge or Bad Battery
Even if lights glow, the battery may lack the CCA to engage the solenoid. Use a digital multimeter to verify voltage above 12.6V under load.
Start here — this is the most common reason for this symptom.
Why This Problem Happens
A 'no-crank' condition in a side-by-side typically indicates an open circuit within the starting system’s control loop or a catastrophic failure of the delivery loop. When you turn the ignition key or press the start button, you are initiating a low-amperage signal through safety interlocks—such as the gear position sensor, brake switch, and run-stop switch—to the starter solenoid relay. If the solenoid coil fails to energize, it cannot bridge the heavy-gauge contact plates required to send high-amperage current from the battery to the starter motor. Alternatively, if the circuit is intact but the battery lacks the Cold Cranking Amps (CCA) necessary to overcome the engine's compression and internal friction, the solenoid may chatter or remain silent entirely. This failure often stems from resistance build-up at connection points due to vibration-induced oxidation or from a depleted state-of-charge caused by parasitic drain during off-season storage, which effectively renders the starter circuit inert. Even with a charged battery, a failed starter motor brush or a seized bendix drive will manifest as a 'no-crank' situation, as the motor cannot complete its mechanical rotation. Understanding this distinction between a lack of command signal and a mechanical/electrical power delivery failure is the cornerstone of professional UTV diagnostics.
Common Symptoms
- Absolute silence when turning the key
- Instrument cluster backlighting dims or fails completely
- Rapid chattering sound from the starter relay area
- Interior lights work but the engine does not turn over
- Starter solenoid 'click' heard but no rotation occurs
Before You Buy Parts
Quick, free inspections — check these first. Most repairs don't actually need replacement parts.
Complete Resource Guide
Complete Side-by-Side (SxS) Troubleshooting Guide
Repair Overview
45–90 minutes
$20–$150
First Checks — Start Here
- 1Check battery voltage with a multimeter (needs 12.4V+ resting)
- 2Clean and tighten battery terminals and the frame ground wire
- 3Verify the vehicle is in Neutral/Park and the brake pedal is depressed
- 4Inspect the main fuse and ignition fuses for breaks
- 5Jump the two large starter solenoid terminals with a screwdriver to bypass the relay
- 6Check for 12V at the small trigger wire on the solenoid while turning the key
Safety Warnings
- !Wear eye protection; lead-acid batteries can off-gas hydrogen and explode if shorted.
- !Always disconnect the negative terminal first during any electrical work.
- !Ensure the transmission is in Neutral and the parking brake is set; the vehicle may lurch forward.
- !Do not pierce wire insulation, as this creates entry points for moisture and corrosion.
- !Replace fuses only with the exact amperage rating; never use a higher-rated fuse.
- !Keep hands away from the drive belt and cooling fan during this test.
- !Verify the vehicle is chocked and cannot roll if it accidentally starts.
- !Using a standard battery charger instead of a high-amperage load tester
- !Ignoring the 'small' trigger wire signal when focusing only on battery power
- !Forgetting to check the main fuse near the battery solenoid
Always disconnect the spark plug, work in a well-ventilated area, and consult a professional if unsure.
Most Likely Causes
Ranked by likelihood — tap each to see diagnosis details.
Even if lights glow, the battery may lack the CCA to engage the solenoid. Use a digital multimeter to verify voltage above 12.6V under load.
High-draw events or shorts often blow the main ignition or start fuses. Inspect the fuse block, usually located under the hood or dash, for visible breaks.
🔧 Step-by-Step Fix Guide
Load Test the Battery
Connect a carbon pile load tester to the battery. If voltage drops below 10V under the rated load, replace the battery.
Wear eye protection; lead-acid batteries can off-gas hydrogen and explode if shorted.
Verify Ground Integrity
Trace the negative battery cable to the engine block and frame. Remove, sand the contact surface to bright metal, and reinstall with dielectric grease.
Always disconnect the negative terminal first during any electrical work.
Bypass the Starter Solenoid
Use a heavy-duty insulated screwdriver to bridge the two large copper terminals on the solenoid. If the starter spins, the solenoid or the control circuit is the culprit.
Ensure the transmission is in Neutral and the parking brake is set; the vehicle may lurch forward.
Test Control Signal Voltage
Using a multimeter on the solenoid's small trigger wire, check for 12V while the key is turned to 'Start'. No voltage indicates a bad ignition switch or safety interlock.
Do not pierce wire insulation, as this creates entry points for moisture and corrosion.
Inspect Fuse Block and Relays
Remove all relays and fuses in the starting circuit. Look for melted plastic or dark 'burnt' discoloration on the spade terminals.
Replace fuses only with the exact amperage rating; never use a higher-rated fuse.
Check Starter Brush and Bendix
If the solenoid clicks and voltage is present at the starter motor terminal, the starter itself is likely internally seized or brushes are worn. Tap the starter body with a rubber mallet while turning the key to see if it frees up.
Keep hands away from the drive belt and cooling fan during this test.
Verify Neutral Safety Switch
If the vehicle has a digital display, verify it shows 'N' or 'P'. If it shows a gear, the neutral safety switch on the transmission is faulty or disconnected.
Verify the vehicle is chocked and cannot roll if it accidentally starts.
What To Test Next
If fuel delivery checks out, the next thing to inspect is spark — remove the spark plug, ground its threads to the engine block, and crank the engine to look for a visible blue spark.
Component Reference

Carburetor & Fuel Intake
The carburetor mixes air and fuel for combustion. A clogged jet or stuck float is the #1 cause of small engine starting and surging problems.

Spark Plug & Ignition System
The spark plug ignites the air-fuel mixture. A fouled plug, wrong gap, or failing ignition coil will prevent the engine from firing.

Oil & Lubrication System
Regular oil changes are critical. Low or dirty oil causes engine wear, overheating, and eventual seizure. Check the dipstick before every season.

Fuel System
Stale fuel is the most common cause of seasonal starting failures. Fuel breaks down in 30 days, leaving varnish that clogs carburetor jets and fuel filters.
Photos for educational reference. Actual parts may vary by make and model.
Common Mistakes to Avoid
Using a standard battery charger instead of a high-amperage load tester
Ignoring the 'small' trigger wire signal when focusing only on battery power
Attempting to crank while the transmission is accidentally in gear
Forgetting to check the main fuse near the battery solenoid
If This Didn't Fix It
Still having trouble? These are the next things to check:
Get the Exact Parts for Your Machine
Tell us your equipment's year, make, and model — we'll search for parts that actually fit, not generic ones.
Finding parts for
side by side
Required Gear
Matched to your side by side — click to find the exact fit on Amazon.
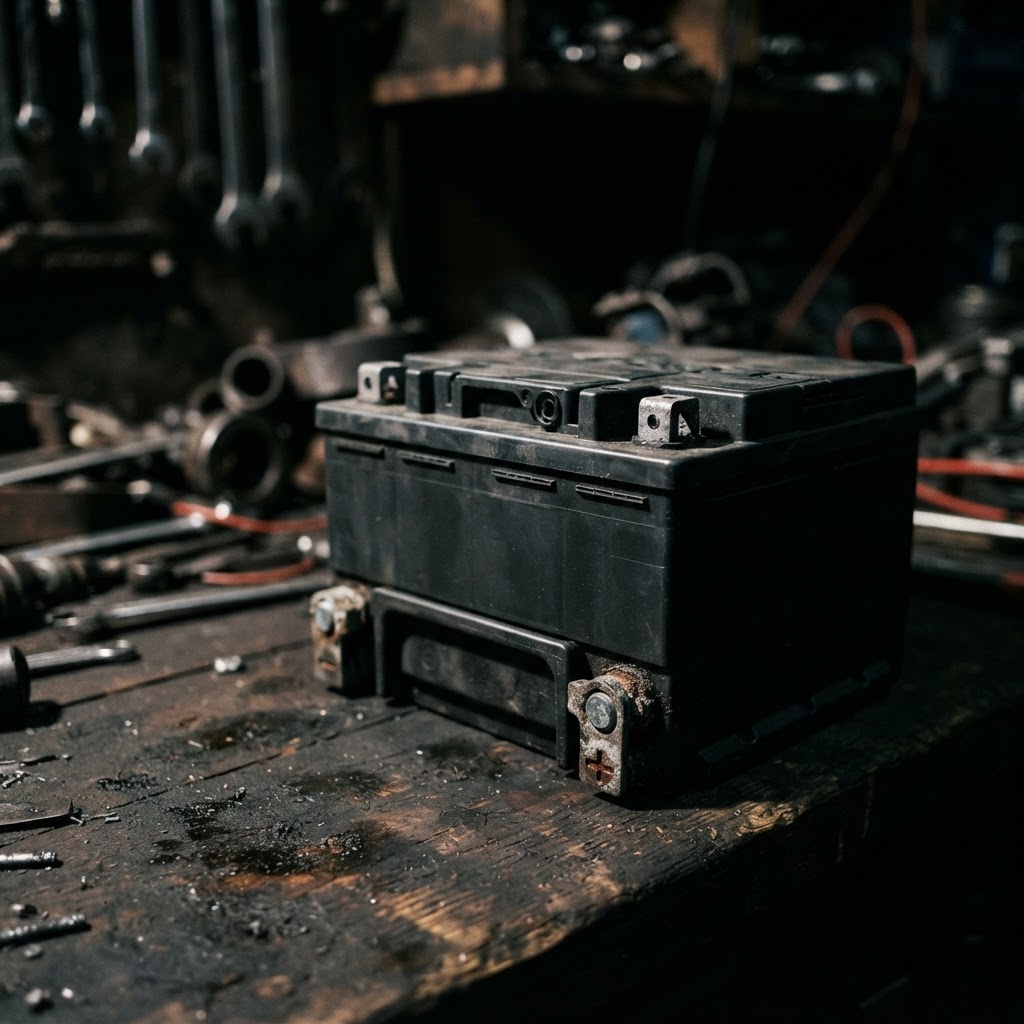
Replacement AGM/Lead-Acid Battery
If load testing confirms your current battery cannot hold a charge, it is the primary component required to restore the electrical capacity needed to turn over the starter motor.
Starter Solenoid Relay
If bypassing the solenoid causes the starter to engage, the internal contacts have failed and the relay must be replaced to allow the ignition switch to trigger the starting circuit.
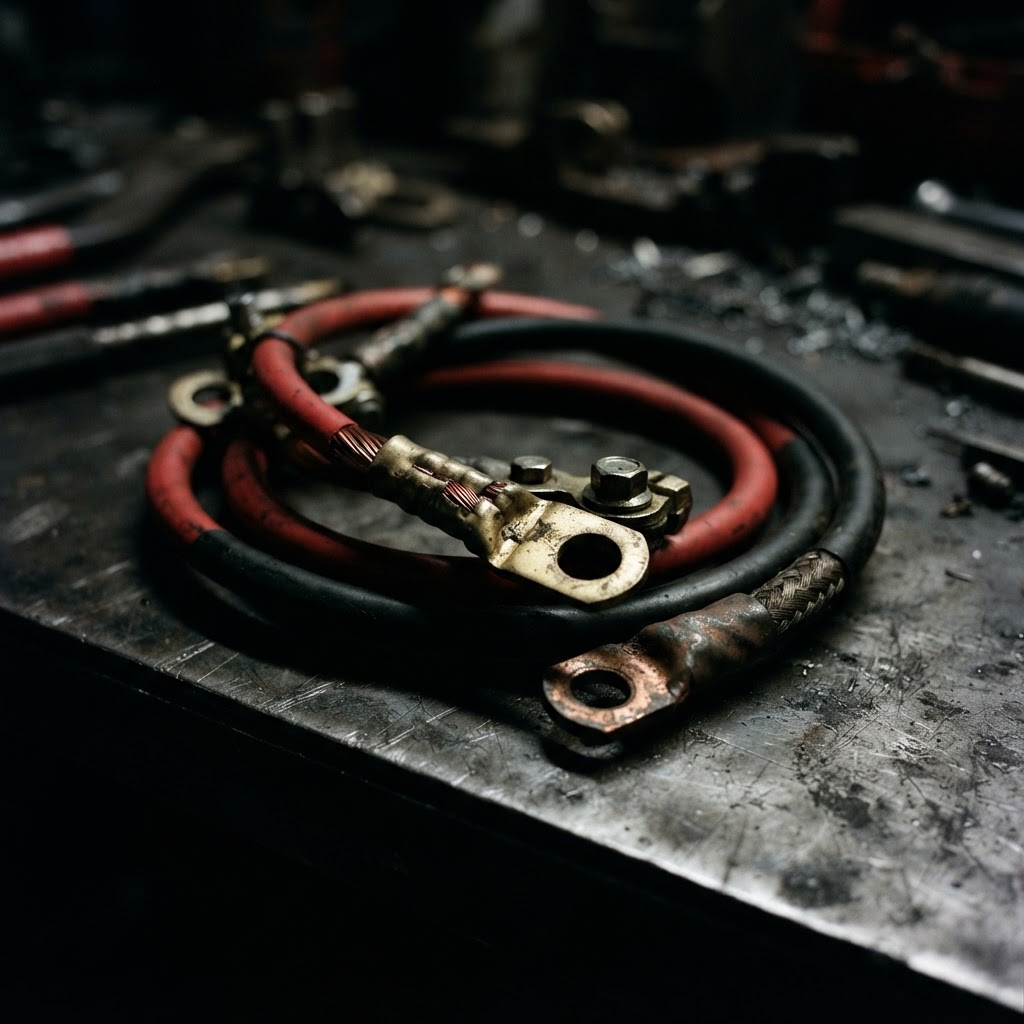
Battery Cable Kit
Corrosion that cannot be cleaned away often wicks into the wire strands, necessitating a full cable replacement to ensure the high amperage required for cranking reaches the starter without resistance.
Neutral Safety Switch
If your troubleshooting reveals that the starter signal is interrupted by the gear selector position, replacing this faulty switch will restore the circuit continuity necessary for cranking.
Electrical Contact Cleaner and Dielectric Grease
These consumables are essential for ensuring that all terminal connections for your new components are clean and protected from future moisture-induced corrosion.
Affiliate Disclosure: Lil Engine may earn commissions from qualifying purchases.
Pro Tips from the Community
Real-world fixes from Reddit, YouTube & forums.
"If the UTV won't crank, check your brake lights. If they don't come on when you press the pedal, the starter won't engage because the ECU thinks you aren't braking. It's usually just a $20 pressure switch on the master cylinder."
Reddit r/UTV"Always check the 'winch contactor' wires near the battery. Sometimes a loose winch wire can touch the frame and cause a massive voltage drop that mimics a dead starter solenoid."
TractorByNet Forum"Try shifting the UTV firmly into Park or wiggling the shifter while holding the key to 'start.' The gear position sensors are notorious for getting out of alignment and preventing a crank."
YouTube commentsPrevent This From Coming Back
Apply dielectric grease to all electrical connections annually
Perform an off-season battery tender maintenance cycle
Periodically cycle the transmission shifter to clear corrosion from the neutral safety switch
Tighten battery terminal hardware every 50 hours of operation
Prevent This From Happening Again
While you're fixing it, stock up on the maintenance essentials that keep your side-by-sides running right.
Small Engine Oil
Heavy loads mean you should change oil more frequently.
Get on AmazonAir Filter
Dusty trails clog filters — keep a spare on hand.
Get on AmazonDrive Belt
A worn CVT belt causes slipping and power loss — keep a spare.
Get on AmazonAffiliate Disclosure: Lil Engine may earn commissions from qualifying purchases.
Frequently Asked Questions
The click is typically the solenoid engaging, but the starter motor isn't receiving enough current to turn the engine. This is almost always a bad battery or a loose ground connection.
Video Help
Helpful videos showing these repairs in action.
Share Your Repair
Real-world fixes help everyone. Share what worked and your repair becomes part of Lil Engine's community database.
Related Problems
More Side-by-Sides GuidesRelated Maintenance Articles
Related Searches
Side-by-Sides Troubleshooting
Did this help?
Your feedback helps improve guides for everyone.