Snow Blower Auger Won't Turn — Mechanical Drive & Shear Bolt Diagnosis
⚡ Quick Answer
First, inspect the shear bolts on the auger shaft; if the inner shaft is spinning but the blades are stationary, the bolts have snapped as designed to protect the gearbox. If the bolts are intact, remove the belt cover and check for a snapped, stretched, or slipped auger drive belt. Finally, verify that the engagement cable is pulling the idler pulley tight against the belt when the handle is depressed.
What do you want to do?
Most Likely Cause
Sheared Auger Bolt
The bolt connecting the auger shaft to the drive shaft is designed to snap when encountering an obstruction like a rock. If the bolt head is missing or the auger flighting spins independently of the shaft, the safety pin has done its job and must be replaced.
Start here — this is the most common reason for this symptom.
Why This Problem Happens
A snow blower auger is designed as a kinetic energy transfer system that relies on a series of mechanical linkages to turn snow-moving blades. The primary motive force comes from the engine crankshaft, which engages a drive belt—or in some high-torque models, a friction disc—to rotate the input shaft of the gearbox. When you pull the auger engagement lever, you are physically tensioning an idler pulley against the belt, forcing it to grip the auger pulley. If the auger remains stationary despite the engine running, a catastrophic disconnect has occurred within the power train. This usually manifests as either a localized mechanical failure designed to sacrifice itself, such as a sheared bolt meant to protect the gearbox from shock loads, or a high-wear failure like a stretched belt or a stripped internal gear. Physics dictates that rotational force must be transferred through these high-stress junctions; once the frictional interface of a belt slips or the mechanical bridge of a bolt or keyway is severed, the system defaults to a zero-torque state where the engine spins independently of the auger housing. Understanding this chain of command, from the drive pulley down to the spiral flighting, is critical for rapid isolation of the failure.
Common Symptoms
- Auger housing remains motionless while engine runs
- High-pitched screeching or burning rubber odor during engagement
- Engine speed remains constant when auger lever is pulled
- Auger blades rotate freely by hand when unit is off
- Distinct clunking or grinding sounds from the gearbox
Before You Buy Parts
Quick, free inspections — check these first. Most repairs don't actually need replacement parts.
Complete Resource Guide
Complete Leaf Blower Troubleshooting & Repair Guide
Repair Overview
45–90 minutes
$5–$40
First Checks — Start Here
- 1Disconnect the spark plug wire to prevent accidental starting during inspection.
- 2Check for broken shear bolts on the auger shaft (look for missing bolt heads or loose blades).
- 3Inspect the auger drive belt for snapping, glazing, or jumping off the pulley.
- 4Verify the auger engagement cable has tension and isn't snapped or disconnected.
- 5Clear any ice or debris jams between the auger housing and the impeller.
- 6Check the gearbox for oil leaks or a stripped internal worm gear.
Safety Warnings
- !Ensure the auger drive lever is locked in the disengaged position to prevent accidental recoil.
- !Never use grade 8 steel bolts as replacements, as they will not shear, causing catastrophic damage to the gearbox.
- !Over-tightening can cause the auger to spin even when the lever is released, posing a severe injury risk.
- !Pulleys can have sharp edges; wear work gloves to prevent lacerations.
- !Ensure the engine is completely cold before working near the drive pulleys.
- !Keep hands clear of the impeller while testing the auger, as the two systems are often linked.
- !Forgetting to disconnect the spark plug while inspecting the auger
Always disconnect the spark plug, work in a well-ventilated area, and consult a professional if unsure.
Most Likely Causes
Ranked by likelihood — tap each to see diagnosis details.
The bolt connecting the auger shaft to the drive shaft is designed to snap when encountering an obstruction like a rock. If the bolt head is missing or the auger flighting spins independently of the shaft, the safety pin has done its job and must be replaced.
Over time, drive belts glaze over and lose their tensioning capability, preventing the power from transferring to the auger pulley. Inspect the belt for cracks, excessive slack, or fraying along the sidewalls.
🔧 Step-by-Step Fix Guide
Safety Shutdown and Disconnect
Always remove the ignition key and disconnect the spark plug wire to ensure the engine cannot start during inspection. This is non-negotiable when working near the impeller or auger blades.
Ensure the auger drive lever is locked in the disengaged position to prevent accidental recoil.
Inspect Shear Bolts
Locate the bolts connecting the auger flighting to the center shaft. If you see a bolt snapped or missing, replace it with an OEM-spec shear bolt, never a standard hardware store bolt.
Never use grade 8 steel bolts as replacements, as they will not shear, causing catastrophic damage to the gearbox.
Adjust Auger Cable Tension
If the auger engages sluggishly or not at all, turn the adjustment barrel on the cable line to remove slack. Ensure the spring on the cable retains tension without holding the pulley permanently against the belt.
Over-tightening can cause the auger to spin even when the lever is released, posing a severe injury risk.
Check Drive Belt Integrity
Remove the belt cover shield using a 3/8-inch or 1/2-inch socket. Visually inspect the belt for glazing (a shiny surface) or missing chunks, and ensure it is properly seated in the grooves of the engine and auger pulleys.
Pulleys can have sharp edges; wear work gloves to prevent lacerations.
Verify Auger Pulley and Keyway
While the belt cover is off, pull the auger lever and watch the auger pulley. If the pulley spins but the shaft does not, the woodruff key or set screw holding the pulley to the shaft has likely sheared or backed out.
Ensure the engine is completely cold before working near the drive pulleys.
Manual Auger Rotation Test
With the spark plug disconnected, attempt to rotate the auger blades by hand. If it feels solid or gritty, the gearbox may be locked up, necessitating removal and inspection of the internal bevel gears.
Keep hands clear of the impeller while testing the auger, as the two systems are often linked.
What To Test Next
If the basics check out, verify spark, fuel delivery, and compression in that order — the three essentials of any combustion engine.
Component Reference

Carburetor & Fuel Intake
The carburetor mixes air and fuel for combustion. A clogged jet or stuck float is the #1 cause of small engine starting and surging problems.

Spark Plug & Ignition System
The spark plug ignites the air-fuel mixture. A fouled plug, wrong gap, or failing ignition coil will prevent the engine from firing.

Oil & Lubrication System
Regular oil changes are critical. Low or dirty oil causes engine wear, overheating, and eventual seizure. Check the dipstick before every season.

Drive & Cutting System
Belts, pulleys, and clutches transfer engine power to the wheels and cutting deck. A worn or thrown belt is the most common drive-system failure.
Photos for educational reference. Actual parts may vary by make and model.
Common Mistakes to Avoid
Replacing shear bolts with non-shear hardware-grade bolts
Ignoring cable stretch and only focusing on the belt
Forgetting to disconnect the spark plug while inspecting the auger
Failing to clear ice from the impeller before diagnosing drive issues
If This Didn't Fix It
Still having trouble? These are the next things to check:
Get the Exact Parts for Your Machine
Tell us your equipment's year, make, and model — we'll search for parts that actually fit, not generic ones.
Finding parts for
snow blower auger won't turn
Required Gear
Matched to your snow blower auger won't turn — click to find the exact fit on Amazon.
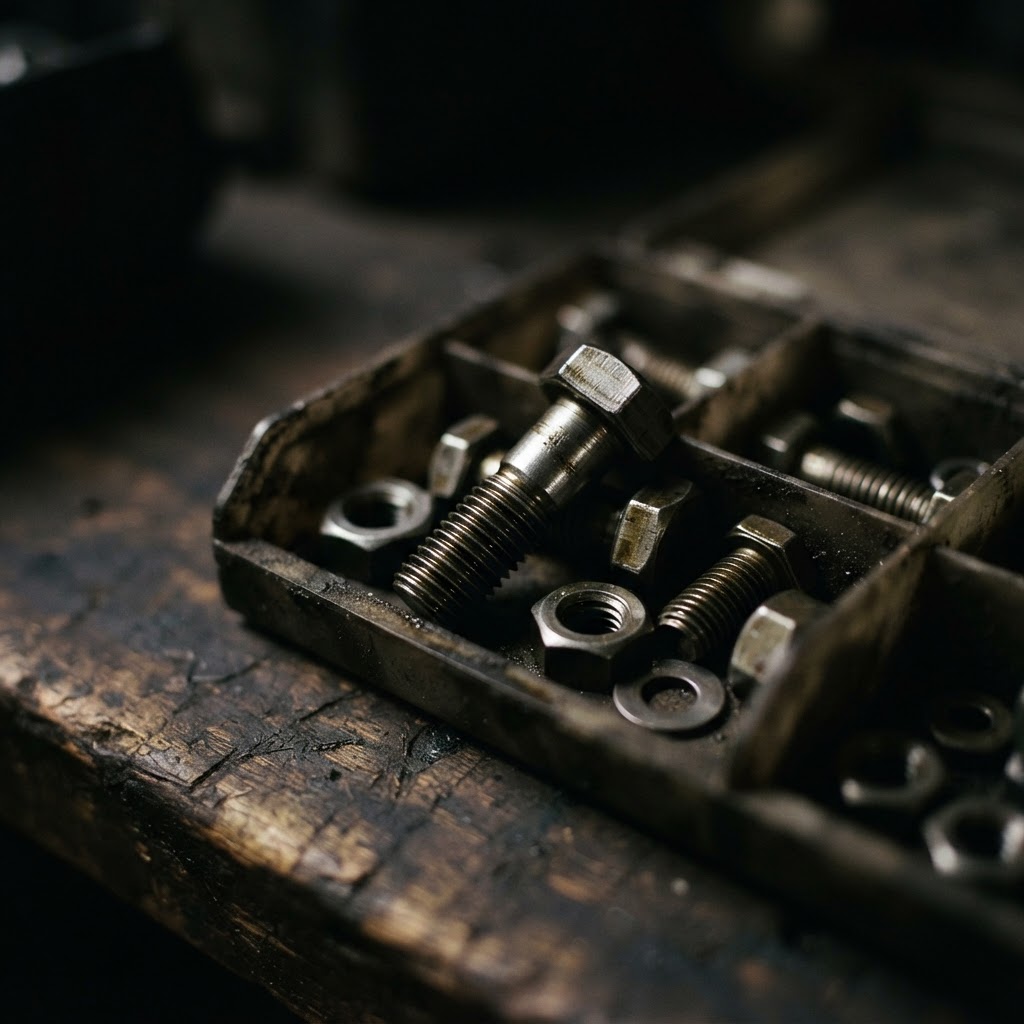
Shear Bolt Kit
If the diagnostic check confirms a broken pin, this is the primary sacrificial part required to restore the connection between the auger shaft and the auger blades.
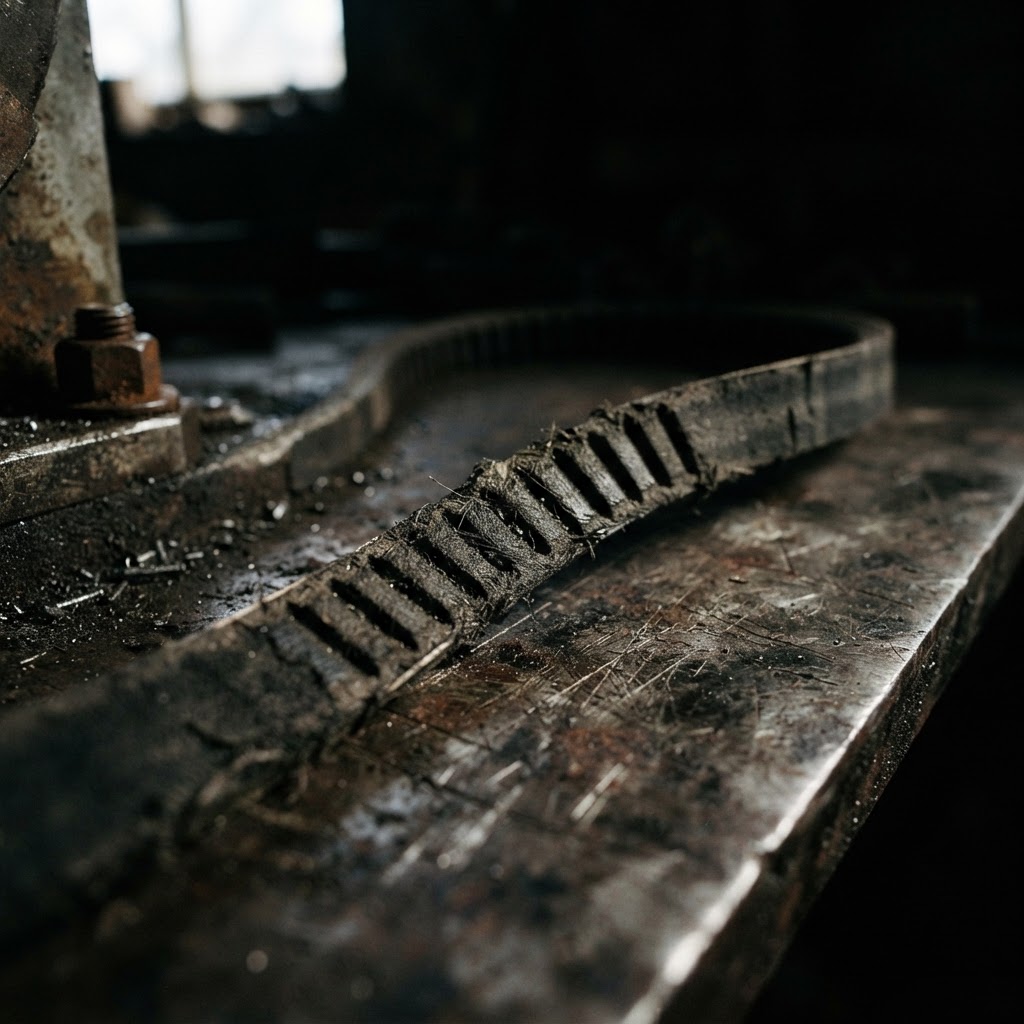
Auger Drive Belt
This is essential if your inspection reveals the original belt has stretched beyond the adjustment limit, become glazed, or snapped, which prevents power transmission to the gearbox.
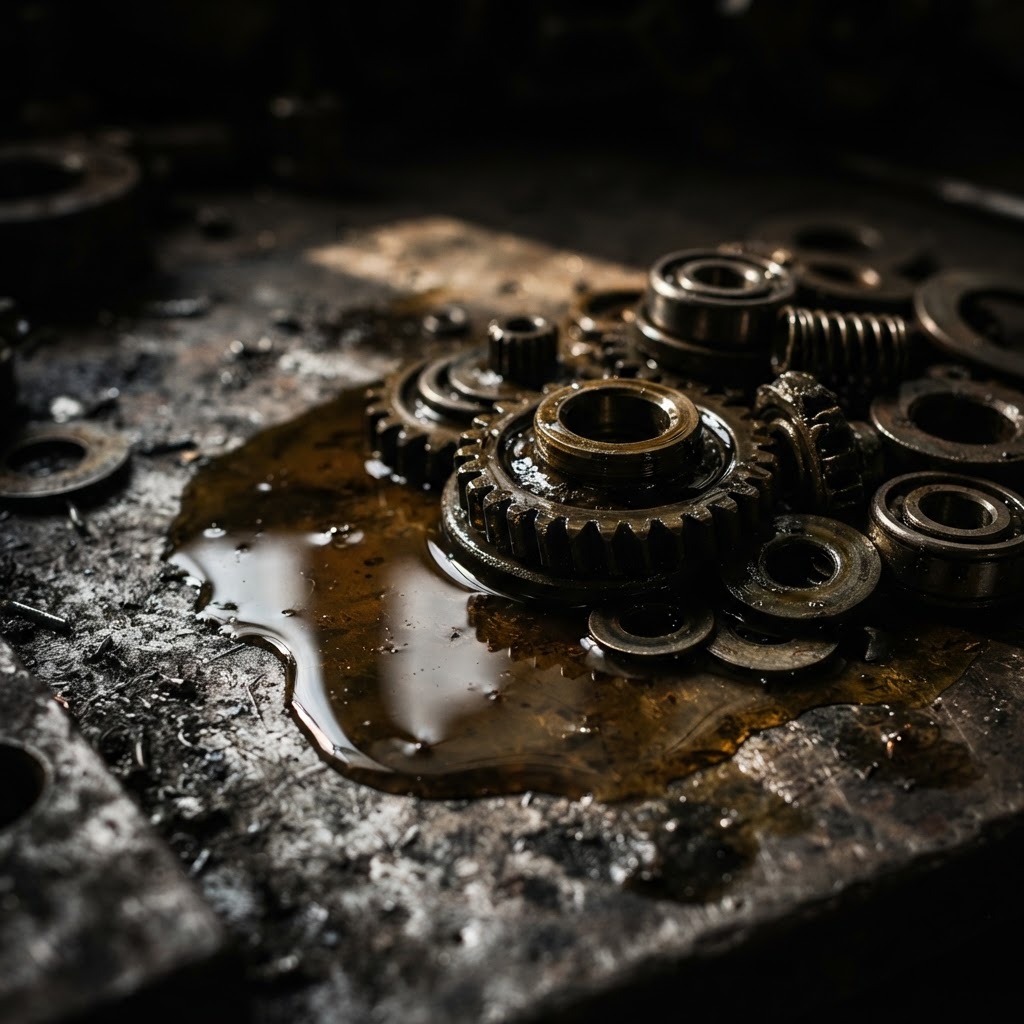
Gearbox Lubricant
If the manual rotation test indicates internal friction or after performing a gearbox service, this high-viscosity grease is required to prevent further mechanical wear.
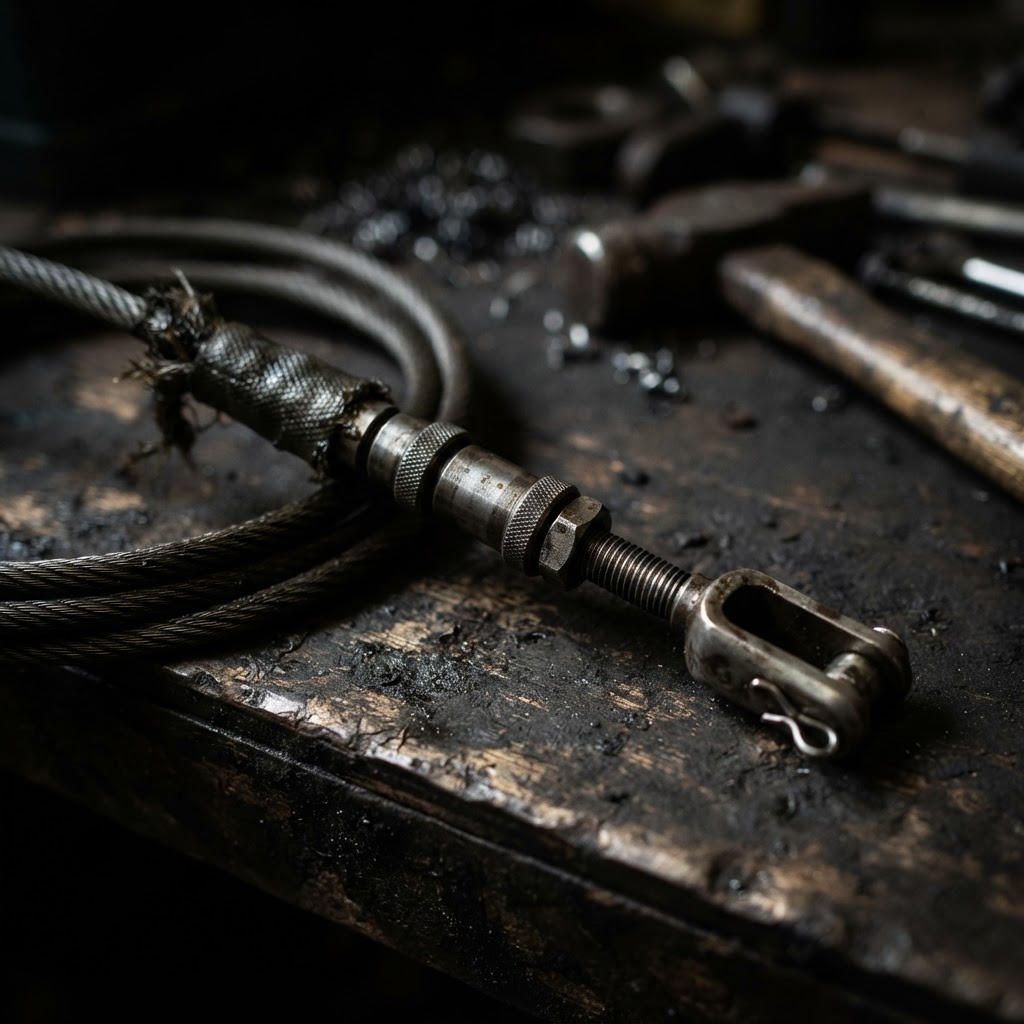
Drive Cable Assembly
If the auger cable has stretched or frayed to the point where it can no longer maintain proper tension on the idler pulley, replacing the cable is necessary to engage the drive system.
Affiliate Disclosure: Lil Engine may earn commissions from qualifying purchases.
Pro Tips from the Community
Real-world fixes from Reddit, YouTube & forums.
"Never use standard hardware bolts to replace shear pins. I've seen countless gearboxes split in half because someone used a Grade 8 bolt that refused to snap."
Reddit r/Snowblowers"If your belt keeps jumping off, check the belt guides. They should be about 1/8 inch away from the belt when engaged; if they're bent, the belt will toss itself the moment you hit heavy snow."
LawnSite.com Forum"If the auger doesn't stop spinning when you let go of the handle, your cable is too tight or the belt brake pad is worn out. This is a huge safety risk."
YouTube commentsPrevent This From Coming Back
Apply high-quality grease to the auger shaft zerk fittings twice per season
Spray silicone lubricant on the auger blades to prevent heavy snow buildup
Keep a set of spare OEM shear bolts taped to the handle of the unit
Store the machine in a dry shed to prevent moisture from causing internal gearbox rust
Check and adjust belt tension once mid-season for peak performance
Prevent This From Happening Again
While you're fixing it, stock up on the maintenance essentials that keep your leaf blowers running right.
2-Cycle Oil
Correct mix ratio prevents engine damage and starting problems.
Get on AmazonSpark Plug
A fouled plug is the #1 cause of hard starting in leaf blowers.
Get on AmazonFuel Stabilizer
Prevents fuel breakdown during off-season storage.
Get on AmazonAffiliate Disclosure: Lil Engine may earn commissions from qualifying purchases.
Frequently Asked Questions
No. A regular bolt does not have the engineered weak point designed to snap, which will cause your expensive gearbox to shatter under high-load impacts.
Video Help
Helpful videos showing these repairs in action.
Share Your Repair
Real-world fixes help everyone. Share what worked and your repair becomes part of Lil Engine's community database.
Related Problems
More Leaf Blowers GuidesRelated Maintenance Articles
Related Searches
Leaf Blowers Troubleshooting
Did this help?
Your feedback helps improve guides for everyone.