Leaf Blower Turns Over But Won't Fire — Fuel & Spark Diagnosis
⚡ Quick Answer
When a leaf blower cranks but won't start, perform a 'prime test' by spraying a 1-second burst of carburetor cleaner into the intake; if the engine fires briefly, you have a fuel delivery issue like a gummed-up carburetor or cracked fuel lines. If it doesn't fire, the most common culprit is a carbon-clogged spark arrestor screen in the muffler or a fouled spark plug. Check for a strong blue spark and ensure the exhaust can breathe before tearing into the engine.
What do you want to do?
Most Likely Cause
Degraded Diaphragm and Gaskets
The pump diaphragm inside the carburetor hardens over time, preventing it from pulsing correctly. Remove the carburetor cover to inspect for signs of brittleness or punctures.
Start here — this is the most common reason for this symptom.
Why This Problem Happens
When a leaf blower engine turns over but fails to fire, it indicates a critical interruption in the combustion triangle: spark, compression, and fuel. Because the engine rotates, we know the starter recoil and crankshaft are functional, meaning the issue resides in the timing of the spark, the stoichiometry of the air-fuel mixture, or the internal cylinder pressure. Most commonly, this is caused by phase-separated ethanol fuel degrading the internal components of the carburetor, specifically the metering diaphragm and the tiny check valves in the pump assembly. When these diaphragms stiffen or crack, the carburetor fails to draw fuel from the tank despite the pulse pressure generated by the piston stroke. Alternatively, moisture infiltration in the ignition module or a carbon-fouled spark plug can prevent the ignition system from delivering the high-voltage arc necessary to bridge the spark plug gap under the intense pressure of a compressed cylinder. When the spark is weak or mistimed due to a sheared flywheel key, the engine simply cannot initiate the chemical reaction required to sustain combustion, resulting in a healthy crank but no fire.
Common Symptoms
- Dry spark plug electrode after repeated pulling
- Engine fires briefly when using starting fluid
- Spark plug appears black, wet, or oily
- Engine pops occasionally but will not run
- Excessive resistance or binding when pulling starter cord
Before You Buy Parts
Quick, free inspections — check these first. Most repairs don't actually need replacement parts.
Complete Resource Guide
Complete Leaf Blower Troubleshooting & Repair Guide
Repair Overview
45–90 minutes
$10–$40
First Checks — Start Here
- 1Verify fuel is fresh (less than 30 days old) and mixed at the correct 50:1 or 40:1 ratio.
- 2Remove and inspect the spark arrestor screen in the muffler for carbon blockage.
- 3Check for spark using a dedicated tester—look for a crisp blue arc.
- 4Inspect the primer bulb for cracks; it should fill with fuel when pressed.
- 5Inspect fuel lines for 'melting' or hardening caused by ethanol fuel.
- 6Ensure the kill switch is in the 'ON' or 'RUN' position and the wire isn't grounded.
Safety Warnings
- !Do not spray excessive fluid; it lacks lubrication and can damage cylinder walls if used in excess.
- !Hold the plug wire by the insulated boot to avoid a painful high-voltage shock.
- !Do not over-torque the plug into an aluminum cylinder head to avoid stripping threads.
- !Work in a well-ventilated area to avoid gasoline vapor inhalation.
- !Keep track of small internal springs and check valves; they are easily lost.
- !Use an impact wrench to remove the nut, but never use a screwdriver to pry against cooling fins.
- !Using old gas that has already undergone phase separation
- !Installing a spark plug with the wrong heat range or reach
Always disconnect the spark plug, work in a well-ventilated area, and consult a professional if unsure.
Most Likely Causes
Ranked by likelihood — tap each to see diagnosis details.
The pump diaphragm inside the carburetor hardens over time, preventing it from pulsing correctly. Remove the carburetor cover to inspect for signs of brittleness or punctures.
The fine mesh screen inside the carburetor inlet filters microscopic debris that creates a physical blockage. This prevents fuel from entering the needle valve seat even if the fuel lines are clear.
🔧 Step-by-Step Fix Guide
Perform a 'Starting Fluid' Test
Spray a small amount of starting fluid into the carburetor intake. If the engine fires for a few seconds, the issue is confirmed as fuel delivery, not ignition.
Do not spray excessive fluid; it lacks lubrication and can damage cylinder walls if used in excess.
Check for Spark Quality
Remove the plug, reconnect the wire, and touch the metal base of the plug to the cylinder head while pulling the cord. Look for a sharp, blue snap of electricity; a yellow/orange spark is too weak.
Hold the plug wire by the insulated boot to avoid a painful high-voltage shock.
Replace the Spark Plug
Even if it looks okay, a plug with internal resistance failure will fail under compression. Use an OEM-specified plug and gap it correctly.
Do not over-torque the plug into an aluminum cylinder head to avoid stripping threads.
Inspect Fuel Lines and Filter
Check the tank filter for debris and look for hardened or cracked fuel lines. If the lines are stiff, they may be pulling air instead of fuel.
Work in a well-ventilated area to avoid gasoline vapor inhalation.
Clean or Rebuild the Carburetor
Remove the carburetor, disassemble the metering side, and clean the internal passages with ultrasonic cleaner or high-pressure carburetor cleaner. Replace the diaphragm kit if the current one is stiff.
Keep track of small internal springs and check valves; they are easily lost.
Verify Flywheel Alignment
Remove the blower housing and check the flywheel keyway. If the slot in the flywheel does not align perfectly with the crankshaft keyway, replace the woodruff key.
Use an impact wrench to remove the nut, but never use a screwdriver to pry against cooling fins.
What To Test Next
If fuel delivery checks out, the next thing to inspect is spark — remove the spark plug, ground its threads to the engine block, and crank the engine to look for a visible blue spark.
Component Reference

Carburetor & Fuel Intake
The carburetor mixes air and fuel for combustion. A clogged jet or stuck float is the #1 cause of small engine starting and surging problems.

Spark Plug & Ignition System
The spark plug ignites the air-fuel mixture. A fouled plug, wrong gap, or failing ignition coil will prevent the engine from firing.

Oil & Lubrication System
Regular oil changes are critical. Low or dirty oil causes engine wear, overheating, and eventual seizure. Check the dipstick before every season.

Air Filter & Intake
A clogged air filter starves the engine of air, causing rich running, power loss, and hard starting. Inspect and clean or replace it each season.
Photos for educational reference. Actual parts may vary by make and model.
Common Mistakes to Avoid
Using old gas that has already undergone phase separation
Adjusting the carburetor high/low needles before checking for vacuum leaks
Using a metallic object to clean the carburetor jet passages, which ruins the metering
Installing a spark plug with the wrong heat range or reach
If This Didn't Fix It
Still having trouble? These are the next things to check:
Get the Exact Parts for Your Machine
Tell us your equipment's year, make, and model — we'll search for parts that actually fit, not generic ones.
Finding parts for
leaf blower
Required Gear
Matched to your leaf blower — click to find the exact fit on Amazon.
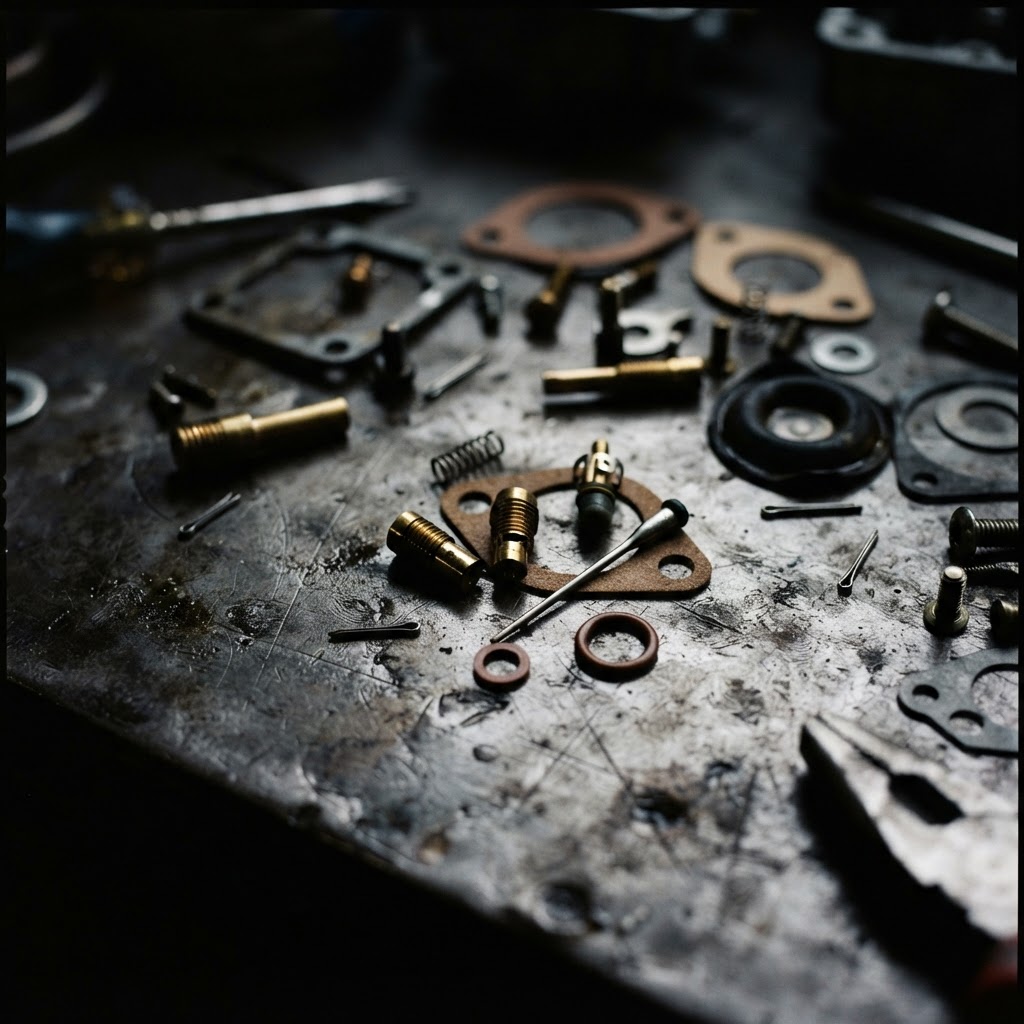
Carburetor Rebuild Kit
Contains the specific replacement diaphragms, gaskets, and internal screens necessary to restore fuel delivery disrupted by degradation or clogs.
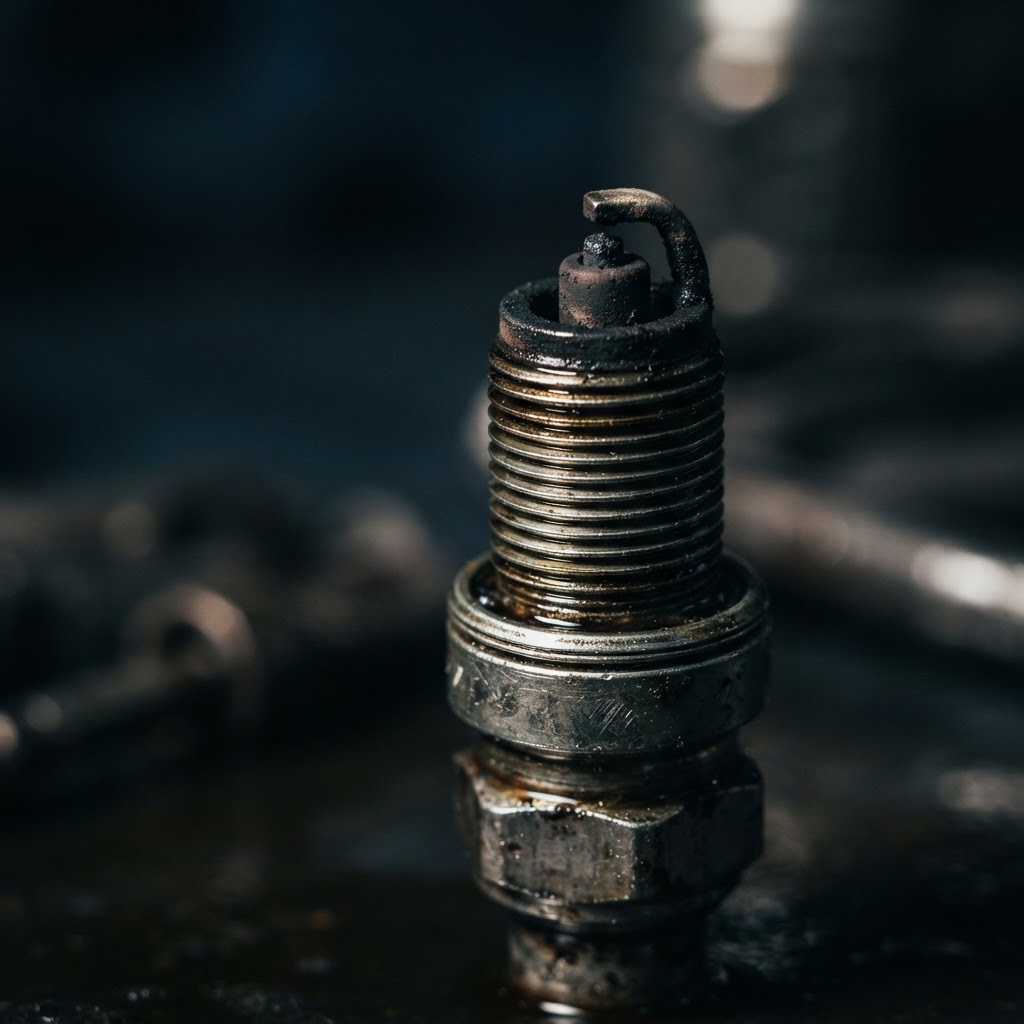
Spark Plug
A fresh plug ensures a strong, consistent ignition spark, which is required if the original was fouled or failed the spark quality test.
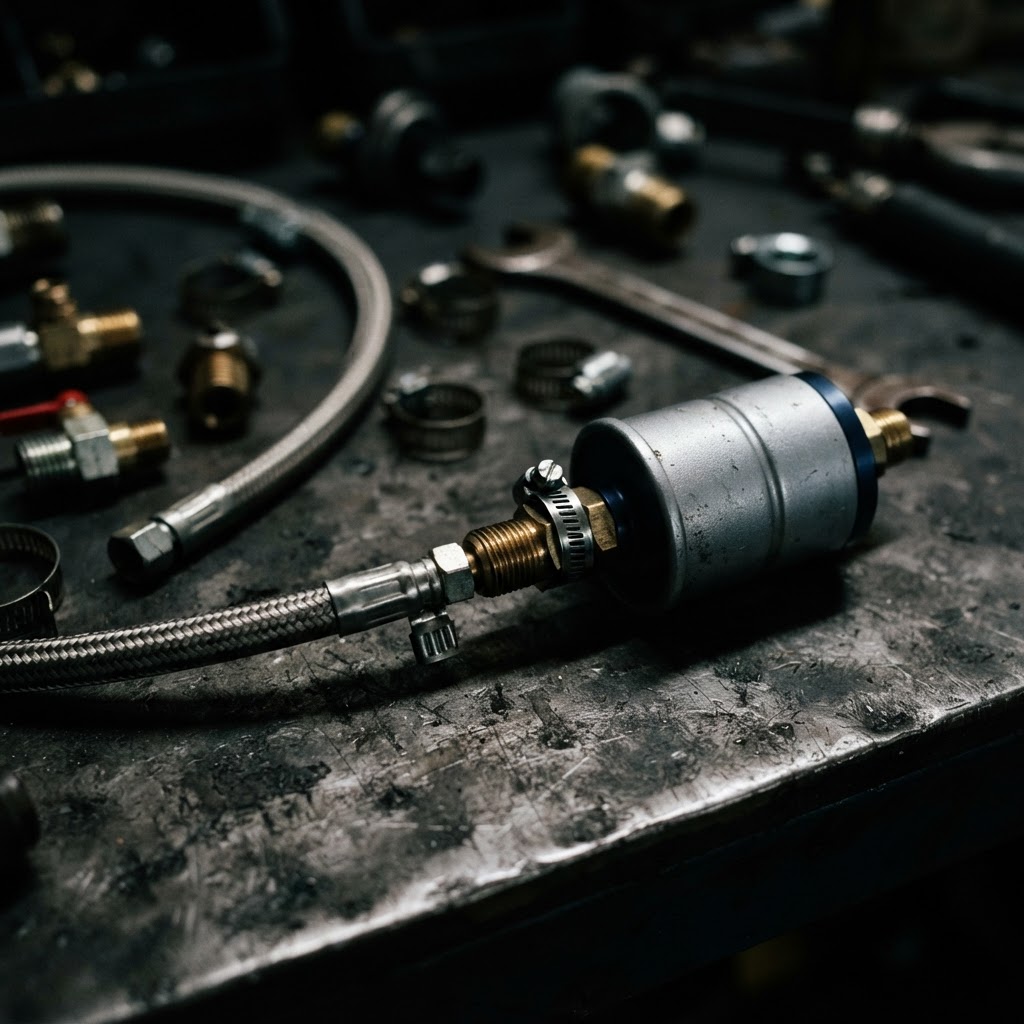
Fuel Line and Filter Maintenance Kit
Old, brittle fuel lines and clogged filters are primary causes of starting failure and must be replaced to ensure adequate fuel flow to the carburetor.

Flywheel Key
This inexpensive part is essential to replace if the engine timing was disrupted by a sheared key, which prevents the engine from firing at the correct interval.
Affiliate Disclosure: Lil Engine may earn commissions from qualifying purchases.
Pro Tips from the Community
Real-world fixes from Reddit, YouTube & forums.
"To check compression without a gauge, do the 'drop test': hold the blower by the starter rope and let it go. If the blower falls quickly to the ground, compression is low. If it hangs and drops slowly in 'steps,' compression is likely good."
YouTube comments"If your blower runs only on choke, you likely have a 'lean' condition caused by an air leak at the carburetor gasket or a partially clogged main jet. Tighten the carb mounting bolts first."
Reddit r/lawncare"Most modern handheld blowers use a 'flip' style kill switch. If you have no spark, check the wires behind the switch—they often vibrate loose or rub against the housing and short out."
DoItYourself.com ForumPrevent This From Coming Back
Always use non-ethanol fuel with a high-quality synthetic 2-cycle oil
Run the engine until dry or use a fuel stabilizer if storing for more than 30 days
Clean the air filter every 10 hours of use to prevent over-rich conditions
Replace the fuel pickup filter annually regardless of appearance
Prevent This From Happening Again
While you're fixing it, stock up on the maintenance essentials that keep your leaf blowers running right.
2-Cycle Oil
Correct mix ratio prevents engine damage and starting problems.
Get on AmazonSpark Plug
A fouled plug is the #1 cause of hard starting in leaf blowers.
Get on AmazonFuel Stabilizer
Prevents fuel breakdown during off-season storage.
Get on AmazonAffiliate Disclosure: Lil Engine may earn commissions from qualifying purchases.
Frequently Asked Questions
Absolutely not. The high ethanol content in E85 will destroy the internal rubber diaphragms and fuel lines in a leaf blower within a single season.
Video Help
Helpful videos showing these repairs in action.
Share Your Repair
Real-world fixes help everyone. Share what worked and your repair becomes part of Lil Engine's community database.
Related Problems
More Leaf Blowers GuidesRelated Maintenance Articles
Related Symptoms
Won’t Start
Carburetor / Fuel Issues
Related Searches
Leaf Blowers Troubleshooting
Did this help?
Your feedback helps improve guides for everyone.