Stihl Chainsaw Blade Keeps Coming Off
⚡ Quick Answer
A Stihl chainsaw chain consistently coming off the bar is primarily caused by improper tensioning or severe wear on the drive links and bar groove. When the chain stretches beyond its service limit or the bar rails flatten/spread, the drive tangs can no longer track securely in the guide. This creates a dangerous condition that must be addressed immediately to prevent kickback or high-velocity component failure.

What do you want to do?
Most Likely Cause
Worn or stretched chainsaw chain
A chain that has reached the end of its service life will stretch beyond the limits of the tensioner's adjustment range, causing it to sag and jump out of the bar groove. This is the most common failure because internal wear on the drive links happens gradually, making it difficult to maintain proper tension during heavy cutting.
Start here — this is the most common reason for this symptom.
Why This Problem Happens
When a Stihl chainsaw chain derails, it is almost always a failure of the tensioning system or the physical integrity of the guide bar rail. The chain relies on the 'drive links' seated deep within the groove of the guide bar to maintain its path. If the chain is loose, centrifugal force during high-speed rotation causes the chain to lift out of the groove, allowing the drive links to ride on top of the bar rails rather than inside them. This instantly results in a derailment.
Furthermore, Stihl guide bars are precision-engineered with specific rail widths to match the drive link gauge of the chain. If the bar groove has been 'pinched' or if the bottom of the groove has worn down due to inadequate lubrication, the drive links lose their lateral support. Without this support, the chain lacks the necessary constraint to stay centered, causing it to jump off the sprocket or the bar nose regardless of how much tension you apply to the adjusting screw.
Common Symptoms
- Chain sagging noticeably below the guide bar
- Visible metal shavings or burrs on the guide bar rails
- Chain stops rotating abruptly while engine is at full throttle
- Drive link tangs show signs of 'mushrooming' or flattened tips
- Inability to tighten the chain despite maximum adjustment
Before You Buy Parts
Quick, free inspections — check these first. Most repairs don't actually need replacement parts.
Diagnostic Flowchart
Follow this decision tree step-by-step to isolate the problem.
Is the chain tension set correctly?
Proceed to check the drive sprocket wear
Go to step 2
Adjust tension until a 3mm gap exists at the center of the bar
Are the drive link tangs excessively worn or mushroomed?
Replace the chain immediately
Inspect the guide bar groove
Go to step 3
Is the guide bar groove width uniform and within specification?
Check the bar mounting studs for looseness
Go to step 4
Replace or regrind the guide bar rails
Are the bar mounting nuts or studs stripped?
Replace mounting hardware
Examine the drive sprocket for scalloping
Go to step 5
Does the drive sprocket show deep 'scallops' or wear rings?
Replace the rim or spur sprocket
Consult Stihl dealer for chassis inspection
Complete Resource Guide
The Complete Chainsaw Troubleshooting & Repair Guide
Brand Resource Hub
Stihl Troubleshooting & Repair Guide
Repair Overview
30-60 minutes
$20-$80
First Checks — Start Here
- 1Verify proper chain tension adjustment
- 2Inspect the bar groove for debris or burrs
- 3Check for excessive stretching in the drive links
- 4Ensure the drive sprocket is not worn into a 'hooked' shape
- 5Tighten the bar nuts to the specified torque
- 6Verify the chain is mounted in the correct rotational direction
Safety Warnings
- !Wear thick leather gloves to avoid lacerations from sharp chain cutters and metal burrs.
- !Do not attempt to 'hammer' drive links back into shape; replace the chain if links are deformed.
- !Ensure the engine is completely off and the chain brake is disengaged before checking sprocket rotation.
- !Always double-check that the chain moves freely by hand after tightening before starting the engine.
- !Compressed air can be used for cleaning, but wear safety glasses to prevent debris from striking your eyes.
- !Keep hands well clear of the bar and chain while performing the oil discharge test.
Always disconnect the spark plug, work in a well-ventilated area, and consult a professional if unsure.
Most Likely Causes
Ranked by likelihood — tap each to see diagnosis details.
Over time, the steel of the chain stretches, eventually reaching the limit of the tensioning screw. Check this by pulling the chain away from the center of the bar; if you can pull more than half the height of the drive link out of the groove, the chain is likely stretched beyond safe use.
As the chain wears down the rail material, the groove widens, allowing the drive links to wobble. Use a bar groove cleaner tool; if the groove is too wide for the drive links to stand upright, the bar must be replaced.
🔧 Step-by-Step Fix Guide
Inspect the Guide Bar Groove
Remove the side cover and bar. Run your finger along the rails to feel for burrs and use a flat file to square them off so the chain sits level.
Wear thick leather gloves to avoid lacerations from sharp chain cutters and metal burrs.
Check Drive Link Wear
Examine the drive links for burrs or physical deformation. If the tangs are mushroomed, they will struggle to stay in the bar groove.
Do not attempt to 'hammer' drive links back into shape; replace the chain if links are deformed.
Verify Sprocket Integrity
Check the rim sprocket behind the clutch drum. If the grooves worn into the sprocket are deeper than 0.5mm, it will cause the chain to jump.
Ensure the engine is completely off and the chain brake is disengaged before checking sprocket rotation.
Correct Tensioning Technique
Loosen the bar nuts, lift the nose of the bar as high as possible, and tighten the tension screw until the chain is snug against the bottom of the bar. Tighten the bar nuts while keeping the nose lifted.
Always double-check that the chain moves freely by hand after tightening before starting the engine.
Clean the Bar Groove
Use a specialized Stihl guide bar cleaner tool to remove compacted wood chips and dried oil residue from the groove. This debris prevents the chain from seating fully.
Compressed air can be used for cleaning, but wear safety glasses to prevent debris from striking your eyes.
Lubrication System Check
Run the saw over a piece of cardboard while at high RPM to check for an oil streak. Lack of oil causes friction that stretches chains rapidly.
Keep hands well clear of the bar and chain while performing the oil discharge test.
What To Test Next
If the chain tension remains correct and the chain is not stretched, the next step is to inspect the rim sprocket for deep grooves or uneven wear that prevents the drive links from seating properly.
Component Reference

Carburetor & Fuel Intake
The carburetor mixes air and fuel for combustion. A clogged jet or stuck float is the #1 cause of small engine starting and surging problems.

Oil & Lubrication System
Regular oil changes are critical. Low or dirty oil causes engine wear, overheating, and eventual seizure. Check the dipstick before every season.

Drive & Cutting System
Belts, pulleys, and clutches transfer engine power to the wheels and cutting deck. A worn or thrown belt is the most common drive-system failure.

Engine Internals & Compression
Valves, piston rings, and the head gasket maintain compression. Low compression causes hard starting, power loss, and rough running.
Photos for educational reference. Actual parts may vary by make and model.
Common Mistakes to Avoid
Tightening the chain without lifting the guide bar nose
Replacing the chain but continuing to use a worn-out rim sprocket
Running a brand new chain on a severely worn guide bar groove
Forgetting to release the chain brake before testing tension
If This Didn't Fix It
Still having trouble? These are the next things to check:
Get the Exact Parts for Your Machine
Tell us your equipment's year, make, and model — we'll search for parts that actually fit, not generic ones.
Finding parts for
stihl chainsaw blade
Required Gear
Matched to your stihl chainsaw blade — click to find the exact fit on Amazon.
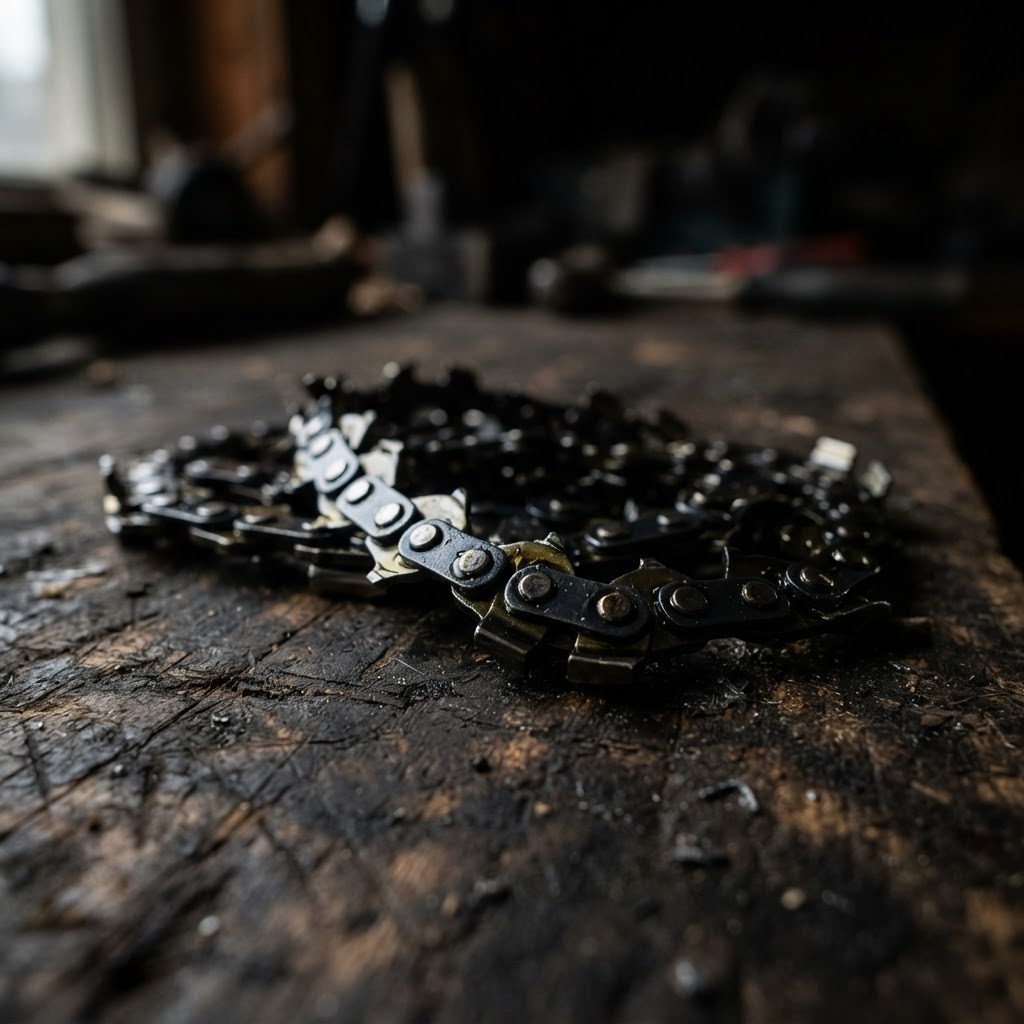
Replacement Chainsaw Chain
If the original chain is stretched beyond the adjustment limit or the drive links are worn, it will no longer track properly in the bar groove, causing it to derail.
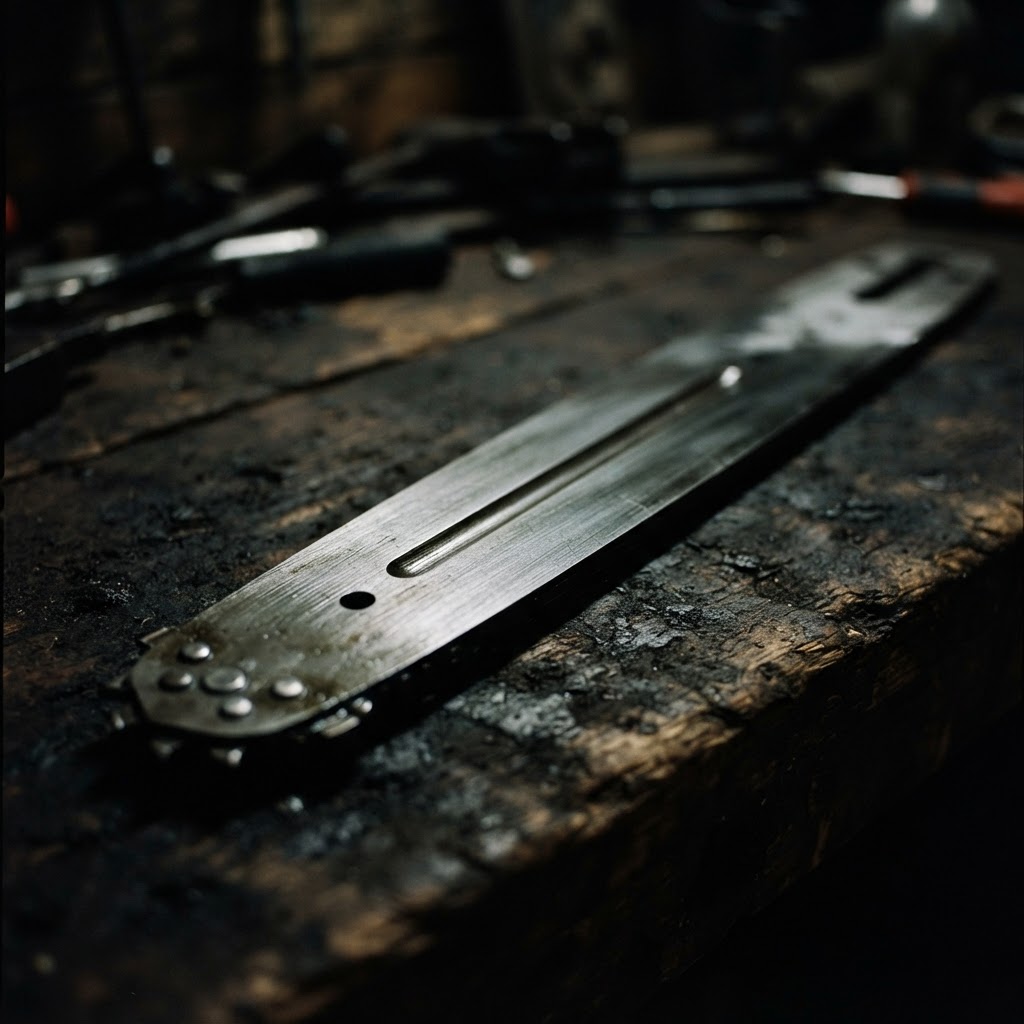
Replacement Guide Bar
When the bar rails become splayed or the groove depth is too shallow, the chain loses its structural support and will consistently throw regardless of how tight you adjust it.
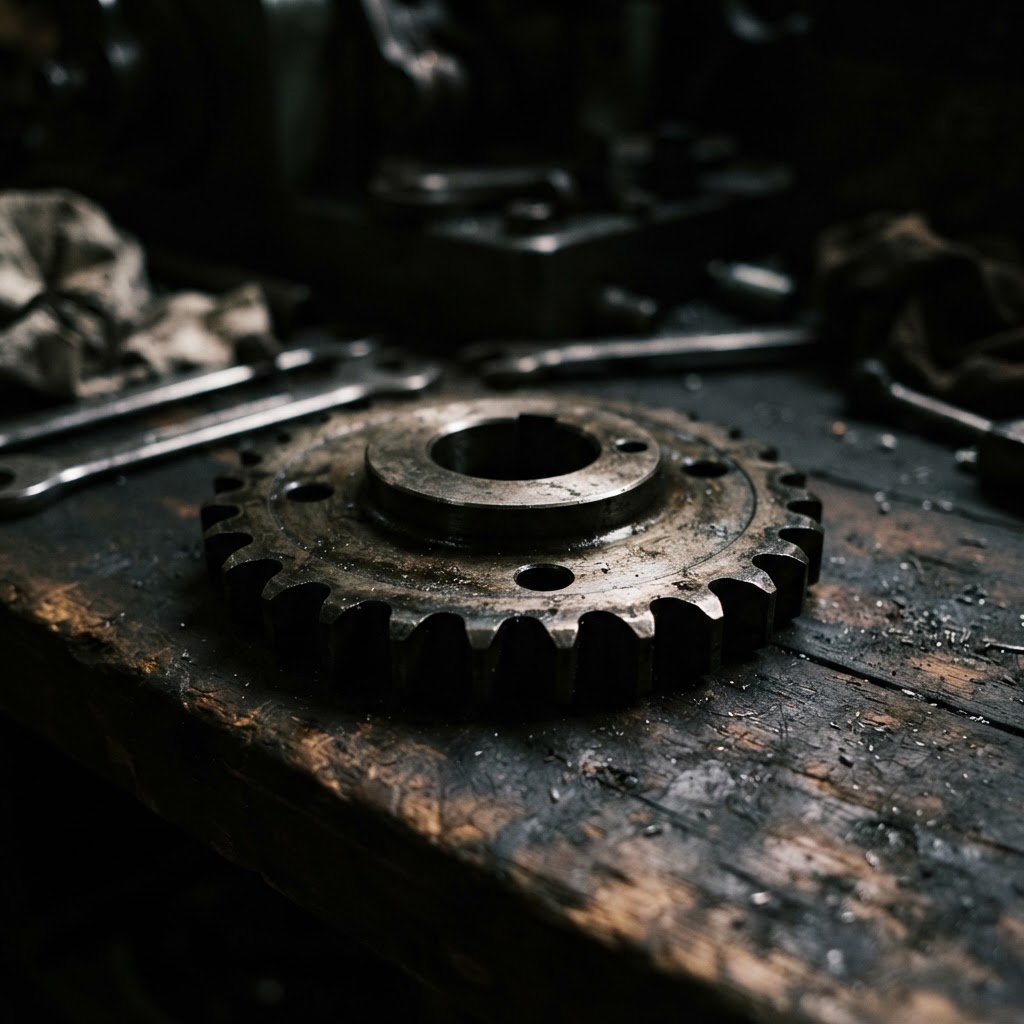
Rim or Spur Sprocket
A worn sprocket fails to engage the drive links cleanly, which can introduce erratic vibration and instability that pushes the chain off the bar during operation.
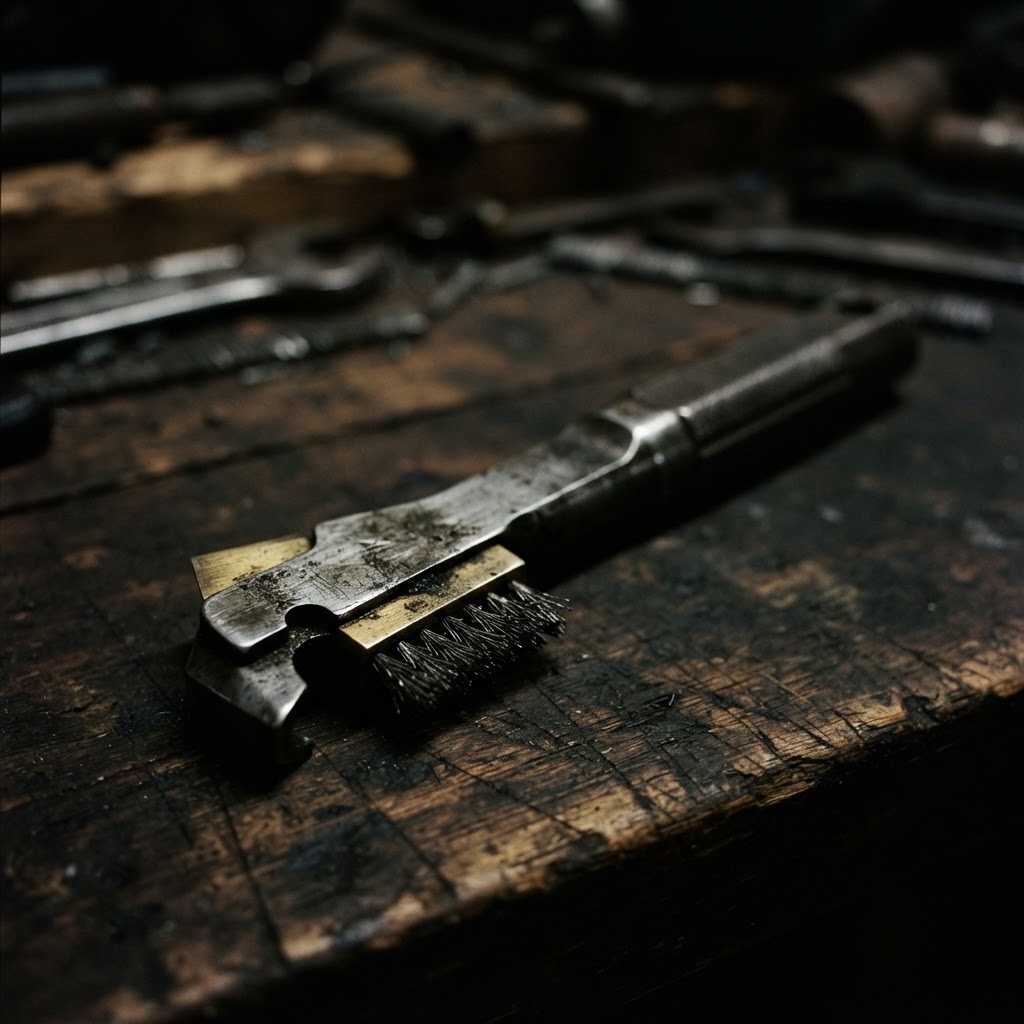
Bar Groove Cleaner
Compacted sawdust and pitch prevent the chain from seating deeply into the guide bar groove, leading to improper tensioning and a higher likelihood of the chain coming off.
Affiliate Disclosure: Lil Engine may earn commissions from qualifying purchases.
Pro Tips from the Community
Real-world fixes from Reddit, YouTube & forums.
"Make sure your chain tension is correct — a loose chain can easily come off while cutting."
LawnSite.com Forum"Check the bar for wear; a worn bar can cause the chain to slip off, especially at the nose."
Reddit r/lawncare"Inspect the chain brake — if it's malfunctioning, it can cause the chain to pop off unexpectedly."
TractorByNet"Clean the bar with a flat file to ensure the groove is clear of debris — buildup can prevent proper anchoring of the chain."
YouTube comments"Make sure you're using the correct chain type for your model — the wrong chain can lead to dangerous slip-offs."
DoItYourself.comBrand-Specific Notes
Stihl
Stihl chainsaws often use a rim sprocket system. If the rim is worn, it causes the chain to sit unevenly and derail under load.
Stihl
Many Stihl professional models use the Quick-Adjust tensioner, which can fail internally. Ensure the locking nut is fully seated.
Stihl
Stihl guide bars are precise; using aftermarket chains with incorrect drive link gauges will lead to constant derailment.
Model-Specific Variations
Stihl MS 250
Uses a spur sprocket integrated into the clutch drum. The entire drum assembly must be replaced if the sprocket teeth are worn.
Stihl MS 261 C-M
Features a floating rim sprocket system that requires specific gauge matching for the drive links. Ensure the rim matches the chain pitch (e.g., .325 vs 3/8).
Stihl MS 661
Heavy-duty dual bar nuts require higher torque settings. Loose nuts here are a common cause of bar shift under high-load bucking.
Causes of Chain Derailment
| Component | Common Failure | Diagnostic Indicator |
|---|---|---|
| Drive Sprocket | Scalloped Wear | Excessive chain slapping |
| Guide Bar | Rail Spreading | Chain hangs loose in groove |
| Tensioner | Stripped screw | Chain cannot hold tension |
Real-World Repair Examples
Situation
A user reported the chain falling off every 5 minutes during light cutting. Inspection showed the tensioner screw had vibrated loose.
Solution
Re-tensioned the chain and applied medium-strength threadlocker to the adjustment bolt. Ensured the bar mounting nuts were torqued to factory specs.
The chain remained secure through four hours of operation.
Situation
Client claimed the chain was 'stretched' and would not stay on the bar. Visual inspection revealed the guide bar rails were pinched too wide by heavy use.
Solution
Used a bar rail closer tool to squeeze the rails back into specification. Verified the groove width using a depth gauge.
Chain stayed aligned and properly seated.
Situation
Saw owner replaced the chain but it kept jumping off the sprocket. Found the new chain had the wrong drive link gauge for the existing sprocket.
Solution
Swapped the chain for the correct gauge (0.063 vs 0.050) matching the Stihl bar and rim sprocket.
No further derailments occurred.
Prevent This From Coming Back
Flip the guide bar every time you sharpen the chain to promote even wear
Clean the oiler holes at the base of the bar every time you sharpen
Maintain a sharp chain to reduce the physical tension load on the bar rails
Replace the rim sprocket every two to three chain replacements
Prevent This From Happening Again
While you're fixing it, stock up on the maintenance essentials that keep your chainsaws running right.
Bar and Chain Oil
Proper bar oil prevents chain overheating and premature wear.
Get on Amazon2-Cycle Oil
Correct fuel-oil mix is critical — use fresh 2-cycle oil every season.
Get on AmazonChainsaw Chain
Keep a sharp spare chain — a dull chain is dangerous and slow.
Get on AmazonAffiliate Disclosure: Lil Engine may earn commissions from qualifying purchases.
Frequently Asked Questions
No, this is dangerous. A stretched chain has metal fatigue, and the drive links are likely worn, meaning it will continue to derail or potentially snap under load.
Related Questions
Common variations and related questions about this repair.
Why does my chain keep coming off after I tighten it?
This is often caused by a worn-out drive sprocket or damaged guide bar rails. Even if the chain is tight, it cannot track properly if the sprocket teeth are 'hooked' or the bar groove has widened.
Can a dull chain cause derailment?
Yes, a dull chain forces the operator to apply excessive pressure, which flexes the guide bar. This flex can allow the chain to pop out of the guide groove.
How do I know if my sprocket is worn?
Inspect the drive sprocket for wear marks deeper than 0.5mm. If you see deep grooves or 'scallops' where the drive tangs sit, the sprocket needs replacement.
Does chain pitch matter?
Absolutely. If the pitch of your chain, sprocket, and bar do not match, the chain will not seat in the drive teeth. This guarantees derailment.
What happens if bar mounting nuts are loose?
Loose nuts allow the bar to shift or tilt while under load. This shifting changes the tension and alignment, allowing the chain to slip off the rails.
Is it safe to keep using a chain that fell off?
No. Once a chain derails, the drive link tangs often become bent or mushroomed. If these aren't filed smooth, they will damage the bar groove upon reinstallation.
Video Help
Helpful videos showing these repairs in action.
Share Your Repair
Real-world fixes help everyone. Share what worked and your repair becomes part of Lil Engine's community database.
Related Problems
More Chainsaws GuidesRelated Maintenance Articles
Related Searches
Stihl chainsaw Guides
Did this help?
Your feedback helps improve guides for everyone.