Chainsaw Cranks But Won't Fire — Fuel, Spark, and Compression Diagnosis
⚡ Quick Answer
First, verify the kill switch is in the 'on' position and test for a bright blue spark using an inline tester. If spark is present, spray a small amount of fresh 2-cycle mix directly into the carburetor throat—if it fires briefly, you have a fuel delivery issue, likely hardened diaphragms or a clogged fuel filter. Don't forget to check the spark arrestor screen in the muffler, as a carbon-plugged screen is a common cause of 'no-start' conditions on high-hour saws.

What do you want to do?
Most Likely Cause
Fuel System Contamination or Stale Gasoline
Modern ethanol-blended fuels degrade rapidly, often leaving behind a varnish that clogs the narrow ports of the carburetor. Since the engine cranks but fails to fire, it indicates the engine has spark and compression but is being starved of the combustible fuel mixture required for ignition.
Start here — this is the most common reason for this symptom.
Why This Problem Happens
A chainsaw that cranks but fails to fire is suffering from a fundamental disruption in the internal combustion cycle: the failure to achieve the 'fire triangle' of spark, compression, and fuel. When the piston oscillates but the engine remains dead, it indicates that the air-fuel mixture is either not present, not combustible, or the cylinder lacks the necessary atmospheric pressure to facilitate a controlled explosion. The physics of this failure often resides in the volatility of modern ethanol-blended gasoline, which degrades into varnish within weeks. This residue plugs the micro-orifices in the Zama or Walbro carburetor, preventing the venturi effect from drawing fuel into the combustion chamber. Alternatively, the issue may be electrical, where the ignition coil (magneto) fails to provide sufficient high-voltage output to bridge the spark plug gap under the pressure of the compressed air charge, or mechanical, where degraded crank seals prevent the crankcase from building the vacuum required to pull fuel into the engine. Without proper pulse pressure or a clean spark at the exact top-dead-center, the ignition sequence is impossible to trigger.
Common Symptoms
- Dry spark plug after repeated starting attempts
- Wet spark plug indicating flooding or lack of ignition
- Lack of resistance when pulling the starter rope
- Engine fires briefly with prime but dies immediately
- Intermittent spark visible on the test gap tool
Before You Buy Parts
Quick, free inspections — check these first. Most repairs don't actually need replacement parts.
Complete Resource Guide
The Complete Chainsaw Troubleshooting & Repair Guide
Repair Overview
1–2 hours
$10–$50
First Checks — Start Here
- 1Verify ignition switch is in the 'ON' or 'START' position
- 2Check spark with a tester grounded to the cylinder (expect blue spark)
- 3Inspect the spark arrestor screen in the muffler for carbon blockage
- 4Drain old fuel and replace with fresh 50:1 or 40:1 ethanol-free mix
- 5Press the primer bulb 5-7 times and check for fuel movement in the lines
- 6Remove the spark plug to see if it's 'wet' (indicating a flooded engine)
Safety Warnings
- !Ensure the fuel tank is capped and the area is clear of fumes to prevent ignition of external vapors.
- !Keep your fingers clear of the recoil starter mechanism during high-speed testing.
- !Do not over-use starting fluid as it lacks oil and can cause internal engine wear.
- !Replace all fuel lines using ethanol-resistant TYGON tubing.
- !Allow the engine to cool completely before removing the muffler to avoid burns.
- !Work on a clean, white surface to avoid losing tiny check valves or springs.
- !Using a spark plug tester set to zero gap
- !Testing for spark with the kill switch in the off position
- !Ignoring the fuel tank vent, which creates a vacuum lock
Always disconnect the spark plug, work in a well-ventilated area, and consult a professional if unsure.
Most Likely Causes
Ranked by likelihood — tap each to see diagnosis details.
Over time, the flexible Mylar or rubber diaphragms inside the carburetor harden or tear. These components function as the pulse-driven fuel pump; if they fail, fuel cannot be drawn from the tank regardless of the bulb being primed.
The tiny mesh filter inside the carburetor is prone to blockage from microscopic debris or fuel gum. If fuel cannot pass through this screen, the inlet needle will never receive the pressure required to release fuel into the venturi.
🔧 Step-by-Step Fix Guide
Spark Testing with an Adjustable Tester
Attach an adjustable ignition spark tester to the plug wire and ground it to the engine block. Crank the engine and observe for a consistent, bright blue spark across an 8mm gap.
Ensure the fuel tank is capped and the area is clear of fumes to prevent ignition of external vapors.
Compression Test
Remove the spark plug and thread in a small-engine compression tester. Pull the starter rope aggressively five times to achieve maximum pressure; a healthy saw should typically register between 110-150 PSI.
Keep your fingers clear of the recoil starter mechanism during high-speed testing.
Fuel Delivery Verification
If the saw has spark and compression, remove the air filter and spray a two-second burst of starting fluid directly into the carburetor throat. If the saw fires, your issue is definitively a fuel delivery problem.
Do not over-use starting fluid as it lacks oil and can cause internal engine wear.
Carburetor Pulse Check
Inspect the fuel line and impulse line for cracks or brittleness. A leak here prevents the crankcase from 'breathing' into the carburetor, killing the fuel pump action.
Replace all fuel lines using ethanol-resistant TYGON tubing.
Exhaust Port Inspection
Remove the muffler to inspect the piston skirt and rings. If you see vertical scoring lines, the engine has suffered a 'lean seizure' and will require a top-end rebuild.
Allow the engine to cool completely before removing the muffler to avoid burns.
Carburetor Rebuild or Replacement
If fuel delivery is the confirmed culprit, disassemble the carburetor, clean it in an ultrasonic cleaner, and install a genuine OEM rebuild kit. Ensure the metering lever height is set correctly per the service manual.
Work on a clean, white surface to avoid losing tiny check valves or springs.
What To Test Next
If the carburetor is clean and receiving fuel, the next logical step is to verify the health of the ignition system by testing for a strong blue spark at the spark plug.
Component Reference

Carburetor & Fuel Intake
The carburetor mixes air and fuel for combustion. A clogged jet or stuck float is the #1 cause of small engine starting and surging problems.

Spark Plug & Ignition System
The spark plug ignites the air-fuel mixture. A fouled plug, wrong gap, or failing ignition coil will prevent the engine from firing.

Oil & Lubrication System
Regular oil changes are critical. Low or dirty oil causes engine wear, overheating, and eventual seizure. Check the dipstick before every season.

Air Filter & Intake
A clogged air filter starves the engine of air, causing rich running, power loss, and hard starting. Inspect and clean or replace it each season.
Photos for educational reference. Actual parts may vary by make and model.
Common Mistakes to Avoid
Using a spark plug tester set to zero gap
Testing for spark with the kill switch in the off position
Ignoring the fuel tank vent, which creates a vacuum lock
Over-tightening carburetor mounting bolts and cracking the manifold block
If This Didn't Fix It
Still having trouble? These are the next things to check:
Get the Exact Parts for Your Machine
Tell us your equipment's year, make, and model — we'll search for parts that actually fit, not generic ones.
Finding parts for
chainsaw
Required Gear
Matched to your chainsaw — click to find the exact fit on Amazon.
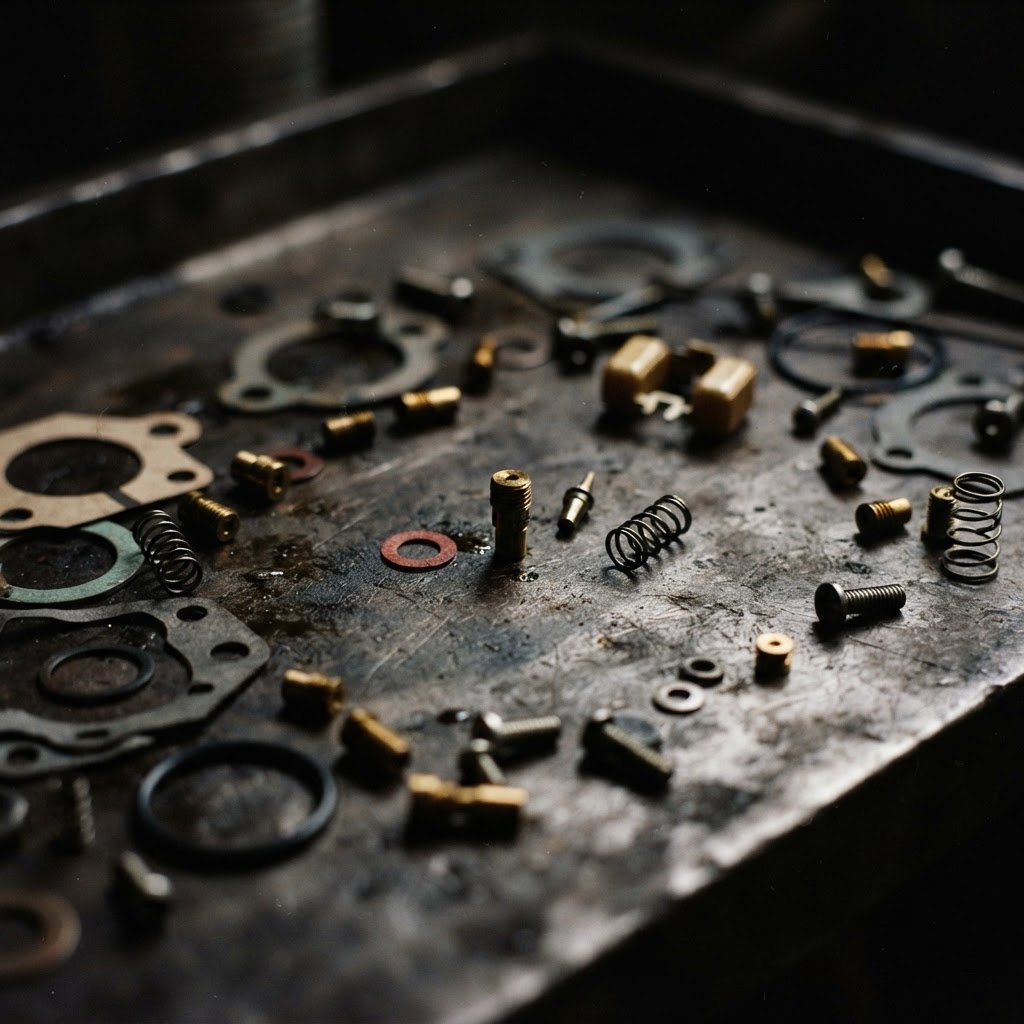
Carburetor Rebuild Kit
This kit provides the essential diaphragms, gaskets, and internal screens necessary to restore fuel metering if the original components have degraded or clogged.
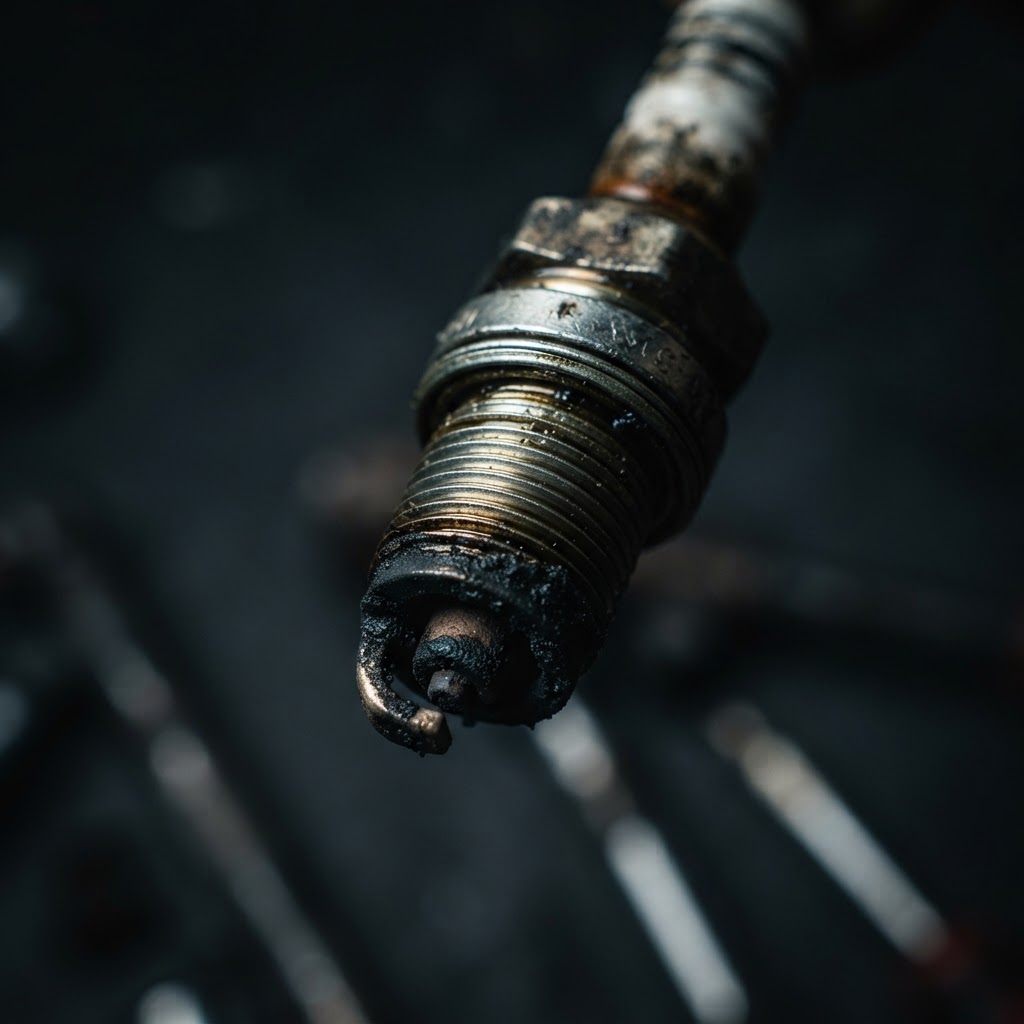
Spark Plug
Replacing the spark plug is a necessary step to rule out fouling or electrode wear when the chainsaw fails to fire despite having compression and fuel.
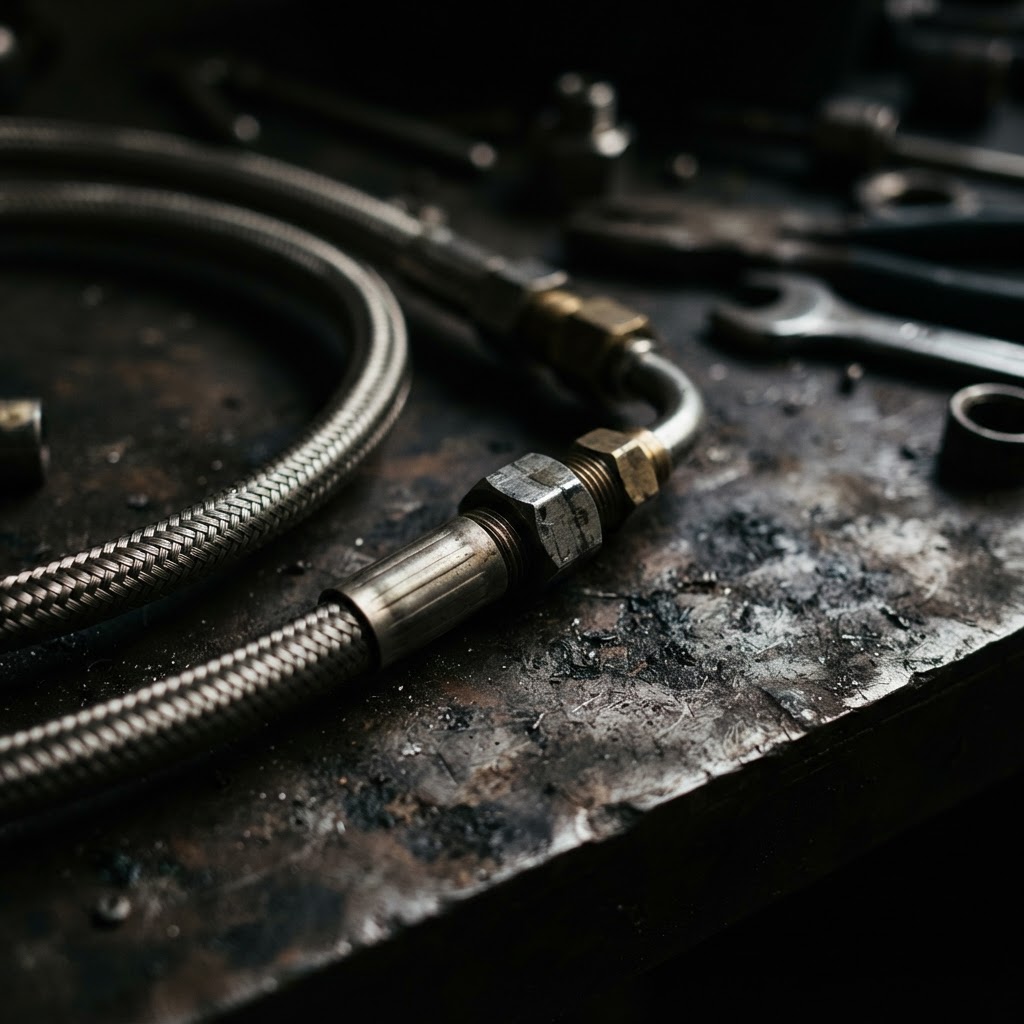
Impulse Line
A cracked or brittle impulse line prevents the carburetor from receiving the pressure pulses required to operate the fuel pump, making it a critical replacement part for starting issues.
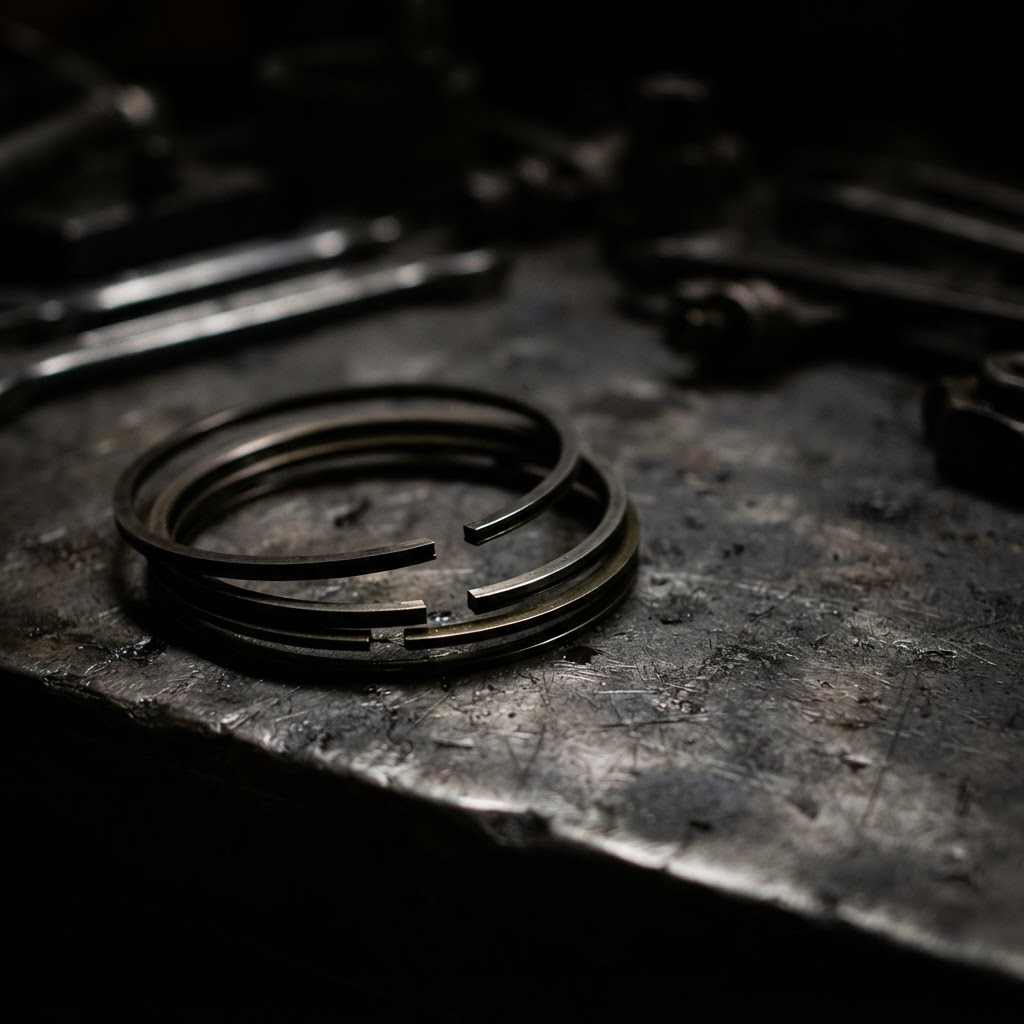
Replacement Piston Ring Set
If a compression test indicates low readings, replacing worn rings is the specific repair needed to restore the sealed combustion chamber required for the engine to fire.
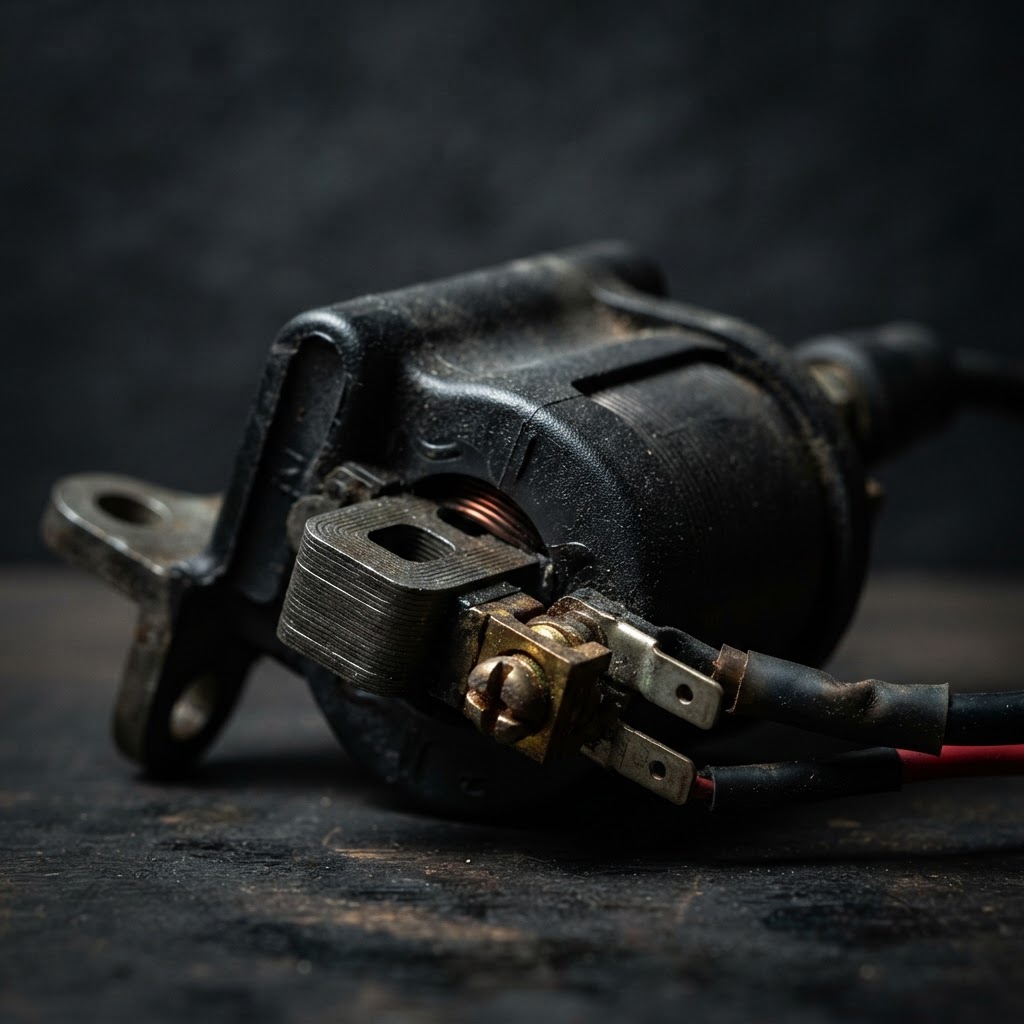
Ignition Coil
If spark testing confirms the lack of a strong, consistent blue spark, the ignition coil must be replaced to restore the high-voltage electricity needed for ignition.
Affiliate Disclosure: Lil Engine may earn commissions from qualifying purchases.
Pro Tips from the Community
Real-world fixes from Reddit, YouTube & forums.
"If the saw is flooded, hold the throttle wide open with your foot (if safe) or a helper, turn the choke OFF, and pull 10-15 times to clear the excess fuel."
Reddit r/chainsaw"You can quickly clean a carbon-fouled spark arrestor by holding it with pliers and using a propane torch to burn off the deposits until the mesh is clear."
YouTube comments"Always use a high-quality synthetic 2-cycle oil and ethanol-free fuel (Rec 90) to prevent the diaphragms from hardening prematurely."
ArboristSite.com ForumPrevent This From Coming Back
Use only 91+ octane non-ethanol fuel
Add a high-quality fuel stabilizer during every fill-up
Clean the air filter daily using compressed air from the inside out
Replace the fuel pickup filter annually to prevent sediment buildup
Prevent This From Happening Again
While you're fixing it, stock up on the maintenance essentials that keep your chainsaws running right.
Bar and Chain Oil
Proper bar oil prevents chain overheating and premature wear.
Get on Amazon2-Cycle Oil
Correct fuel-oil mix is critical — use fresh 2-cycle oil every season.
Get on AmazonChainsaw Chain
Keep a sharp spare chain — a dull chain is dangerous and slow.
Get on AmazonAffiliate Disclosure: Lil Engine may earn commissions from qualifying purchases.
Frequently Asked Questions
Yes, but you must be able to adjust the gap. A basic light-up tester is often inaccurate because it does not simulate the electrical resistance found inside a pressurized combustion chamber.
Video Help
Helpful videos showing these repairs in action.
Share Your Repair
Real-world fixes help everyone. Share what worked and your repair becomes part of Lil Engine's community database.
Related Problems
More Chainsaws GuidesRelated Maintenance Articles
Related Symptoms
Won’t Start
Related Searches
Chainsaws Troubleshooting
Did this help?
Your feedback helps improve guides for everyone.