Chainsaw Chain Won't Move — Mechanical Drive & Brake Diagnosis
⚡ Quick Answer
The most common reason a chainsaw chain won't move is an engaged chain brake; pull the front handguard back toward the handle until it clicks to disengage. If the engine revs but the chain remains stationary, your clutch drum needle bearing may be seized or the drive sprocket could be stripped. If the chain cannot be pulled around the bar by hand (with the engine off and brake off), the chain tension is likely too tight or the bar rails are pinched.
What do you want to do?
Most Likely Cause
Engaged Chain Brake
The most common cause is the chain brake band being fully clamped around the clutch drum. Even with the engine running, the brake physically prevents the drum from rotating, creating excessive heat.
Start here — this is the most common reason for this symptom.
Why This Problem Happens
When a chainsaw chain fails to rotate while the engine is revving, the failure usually stems from a breakdown in power transfer between the crankshaft and the drive sprocket. In most chainsaws, this transfer relies on a centrifugal clutch assembly that expands as engine RPM increases. The clutch shoes are forced outward by springs to grip the clutch drum, which is splined or keyed to the drive sprocket. If the clutch shoes are seized, the springs are broken, or the drum is physically locked by the chain brake, the rotational energy never reaches the bar tip. Alternatively, mechanical interference, such as a frozen drive sprocket bearing or a collapsed needle bearing cage, can create enough drag to overcome the friction of the clutch, effectively stalling the drive system regardless of engine speed. This mechanical disconnect acts as a safety bottleneck designed to protect the engine from shock loads when the chain binds in a cut. If the chain brake remains engaged or the clutch is worn past its friction limit, the engine will spin freely without moving the chain, resulting in a total lack of torque at the cutter teeth.
Common Symptoms
- Engine revs normally but chain remains stationary
- Strong smell of burning friction material from clutch cover
- Chain brake lever physically stuck or unresponsive
- Visible blue heat discoloration on the clutch drum
- Chain moves by hand but not under power
Before You Buy Parts
Quick, free inspections — check these first. Most repairs don't actually need replacement parts.
Complete Resource Guide
The Complete Chainsaw Troubleshooting & Repair Guide
Repair Overview
45–90 minutes
$0–$45
First Checks — Start Here
- 1Pull the chain brake handle back toward the operator until it clicks into the 'off' position.
- 2Verify chain tension: you should be able to lift the chain slightly but it should snap back to the bar.
- 3Attempt to pull the chain along the bar by hand (wear gloves!)—if it's seized, the issue is the bar or clutch.
- 4Remove the clutch cover to inspect for wood chip packed behind the sprocket.
- 5Check the drive sprocket for deep grooves or 'jumping' where the drive links aren't seating.
- 6Inspect the guide bar rails for 'mushrooming' or burrs that trap the chain drive links.
Safety Warnings
- !Always disconnect the spark plug wire before inspecting the drivetrain to prevent accidental starting.
- !Wear puncture-resistant gloves to avoid injury from sharp cutter teeth.
- !Do not attempt to 'bend' springs; if they are stretched, they must be replaced as a matched set.
- !Use only high-temperature lithium-based grease; standard grease will melt under operating temperatures.
- !Ensure you are using the correct sprocket size (pitch and tooth count) for your bar and chain.
- !Always check chain tension after the first few minutes of operation as the chain warms and stretches.
Always disconnect the spark plug, work in a well-ventilated area, and consult a professional if unsure.
Most Likely Causes
Ranked by likelihood — tap each to see diagnosis details.
The most common cause is the chain brake band being fully clamped around the clutch drum. Even with the engine running, the brake physically prevents the drum from rotating, creating excessive heat.
If the tension springs holding the clutch shoes in the retracted position break or lose elasticity, the clutch may never engage properly or stay partially engaged while idling. Conversely, a seized shoe pivot will prevent it from swinging outward to grip the drum.
🔧 Step-by-Step Fix Guide
Disengage and Inspect Chain Brake
Verify the chain brake lever is pulled back fully toward the handle. Inspect the brake band for debris or deformation that might prevent it from fully releasing the drum.
Always disconnect the spark plug wire before inspecting the drivetrain to prevent accidental starting.
Remove Clutch Cover and Side Plate
Use a T27 Torx or scrench to remove the side cover nuts and slide off the clutch cover. Check for compacted sawdust or resin buildup that may be physically obstructing the sprocket.
Wear puncture-resistant gloves to avoid injury from sharp cutter teeth.
Evaluate Clutch Shoe Condition
Inspect the clutch shoes for missing friction material or signs of glazing. Ensure all springs are present and under tension, and that shoes move freely on their pivots.
Do not attempt to 'bend' springs; if they are stretched, they must be replaced as a matched set.
Check Needle Bearing Function
Remove the clutch drum and slide the needle bearing off the crankshaft stub. Inspect the bearing for flat spots or seized rollers, and clean the crankshaft journal thoroughly before re-greasing.
Use only high-temperature lithium-based grease; standard grease will melt under operating temperatures.
Test Clutch Drum Integrity
Check the inner diameter of the drum for blue heat marks or significant scoring. If the drum is grooved deeply from the chain or shoe wear, replace it to ensure proper engagement.
Ensure you are using the correct sprocket size (pitch and tooth count) for your bar and chain.
Reassemble and Tension Chain
Install the drum, bearing, and cover, then properly tension the chain on the bar. The chain should be tight enough to not sag but loose enough to pull around the bar by hand.
Always check chain tension after the first few minutes of operation as the chain warms and stretches.
What To Test Next
If the basics check out, verify spark, fuel delivery, and compression in that order — the three essentials of any combustion engine.
Component Reference

Carburetor & Fuel Intake
The carburetor mixes air and fuel for combustion. A clogged jet or stuck float is the #1 cause of small engine starting and surging problems.

Spark Plug & Ignition System
The spark plug ignites the air-fuel mixture. A fouled plug, wrong gap, or failing ignition coil will prevent the engine from firing.

Oil & Lubrication System
Regular oil changes are critical. Low or dirty oil causes engine wear, overheating, and eventual seizure. Check the dipstick before every season.

Drive & Cutting System
Belts, pulleys, and clutches transfer engine power to the wheels and cutting deck. A worn or thrown belt is the most common drive-system failure.
Photos for educational reference. Actual parts may vary by make and model.
Common Mistakes to Avoid
Forcing the chain brake lever when it is jammed by debris
Replacing clutch shoes without replacing the springs
Using standard multi-purpose grease instead of high-temp bearing grease
Ignoring chain tension specifications during reassembly
If This Didn't Fix It
Still having trouble? These are the next things to check:
Get the Exact Parts for Your Machine
Tell us your equipment's year, make, and model — we'll search for parts that actually fit, not generic ones.
Finding parts for
chainsaw chain won't move
Required Gear
Matched to your chainsaw chain won't move — click to find the exact fit on Amazon.
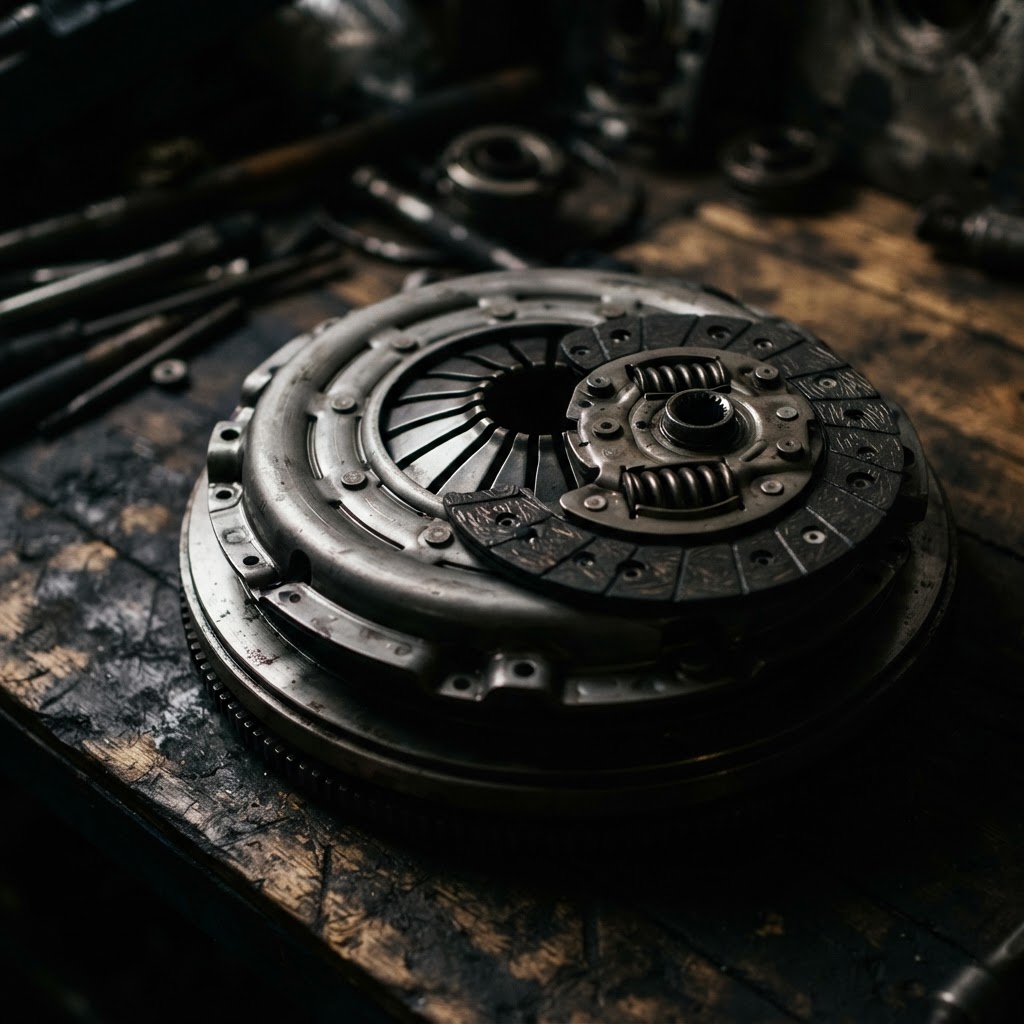
Clutch Assembly
If the clutch springs are stretched or broken, replacing the entire clutch assembly ensures proper centrifugal engagement of the drum.
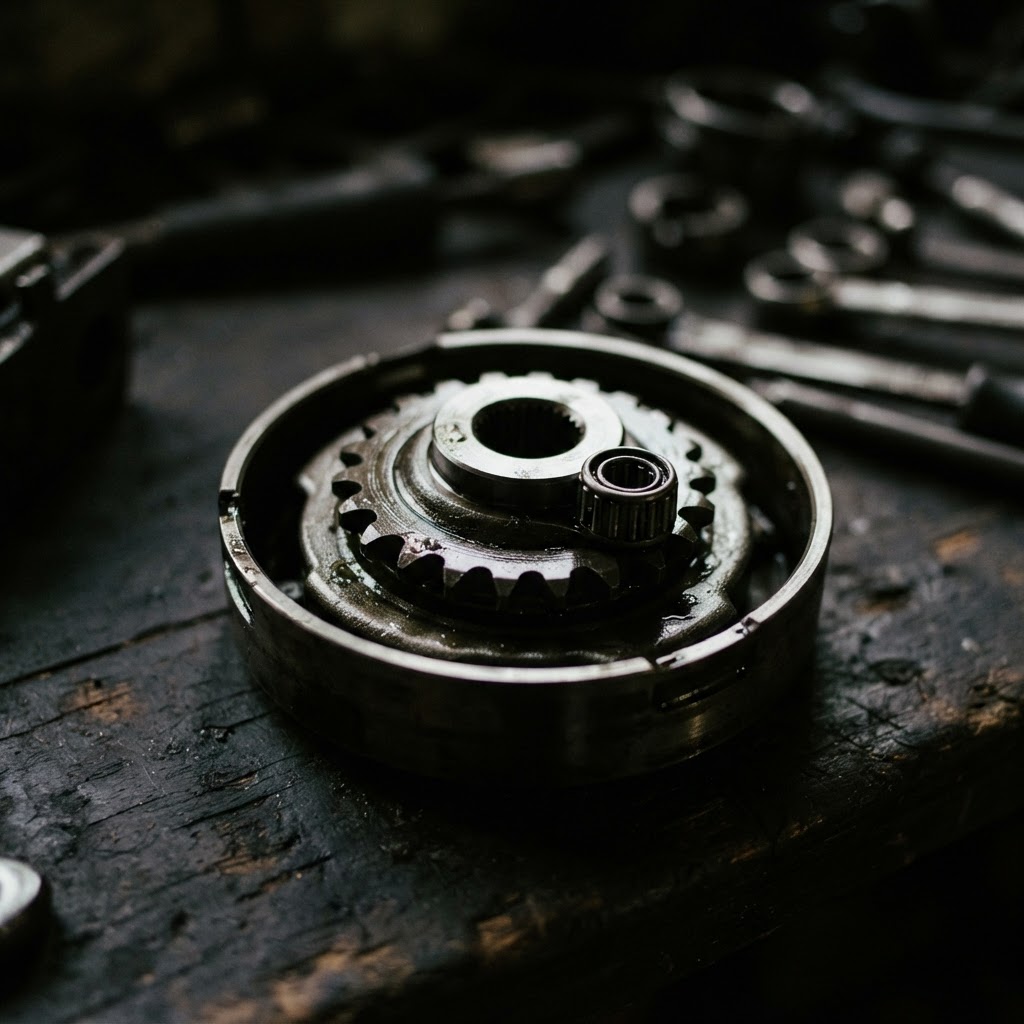
Clutch Drum and Sprocket Kit
When the sprocket is heavily grooved or the needle bearing race is damaged, this kit provides a smooth surface for the chain to engage and rotate.
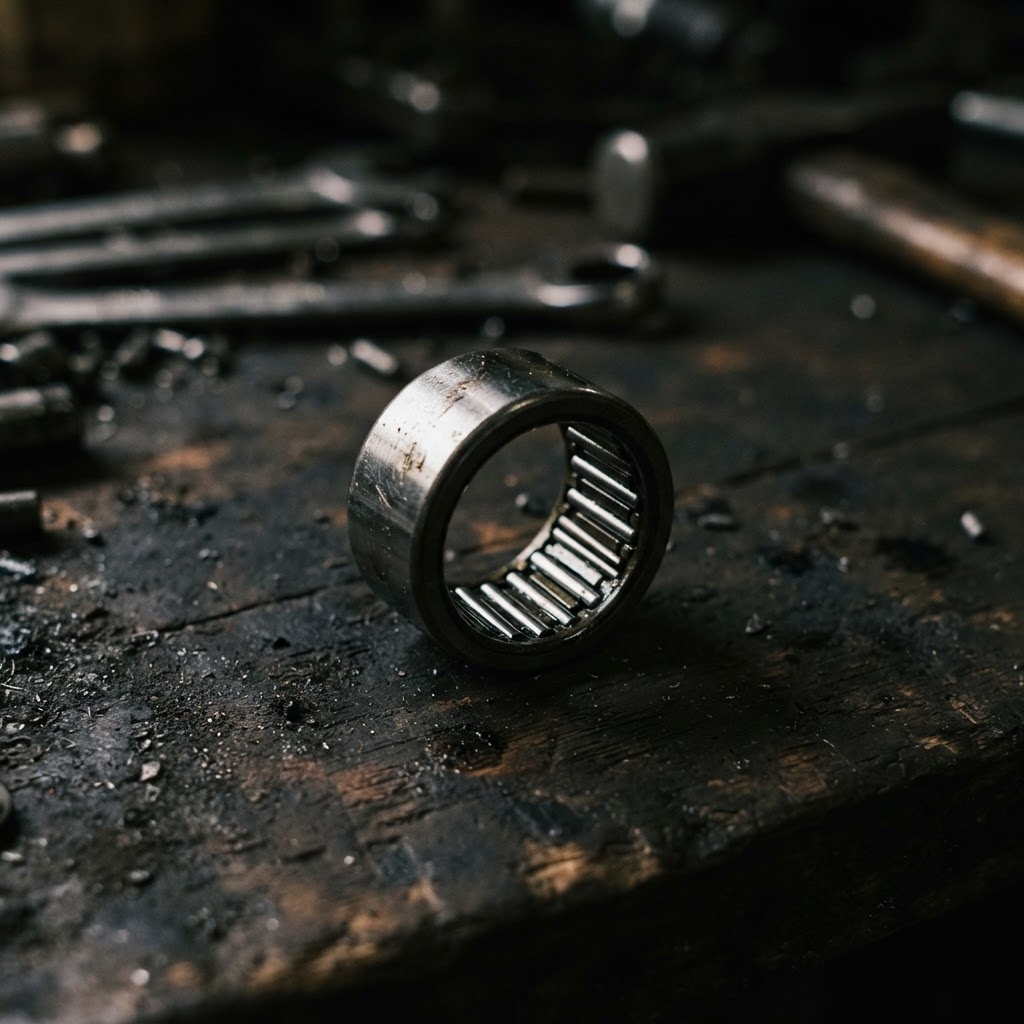
Needle Bearing
This is a high-wear component that allows the clutch drum to spin freely; replacing it prevents friction-related heat buildup and binding.
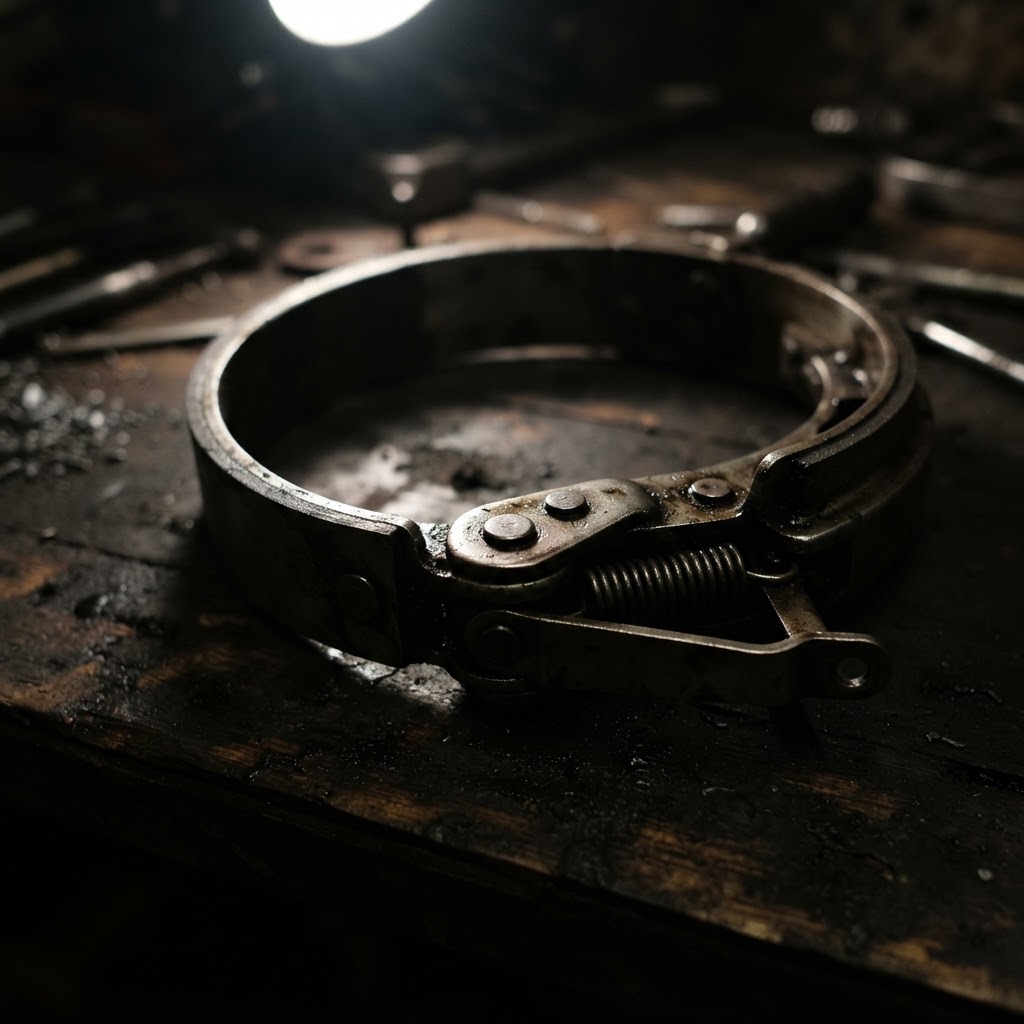
Chain Brake Band
If the brake mechanism is damaged or worn beyond adjustment, replacing the band prevents the brake from staying locked or dragging on the drum.
Affiliate Disclosure: Lil Engine may earn commissions from qualifying purchases.
Pro Tips from the Community
Real-world fixes from Reddit, YouTube & forums.
"Check the bar nose sprocket first—I've seen many people think their clutch is blown when it was just a wood chip jammed in the tip of the bar."
ArboristSite.com"If you ran the saw with the brake on for even a minute, the heat can melt the plastic oil pump gear or the clutch cover itself, locking everything up."
Reddit r/chainsaw"Mushroomed bar rails are the silent killer—take a flat file to the sides of your bar to remove the 'flared' edges so the chain can sit deep in the groove."
LawnSite.com ForumPrevent This From Coming Back
Clean the area behind the clutch cover after every tank of fuel
Lubricate the needle bearing periodically with high-temp grease
Regularly sharpen the chain to reduce strain on the clutch system
Verify the chain brake function before every work session
Prevent This From Happening Again
While you're fixing it, stock up on the maintenance essentials that keep your chainsaws running right.
Bar and Chain Oil
Proper bar oil prevents chain overheating and premature wear.
Get on Amazon2-Cycle Oil
Correct fuel-oil mix is critical — use fresh 2-cycle oil every season.
Get on AmazonChainsaw Chain
Keep a sharp spare chain — a dull chain is dangerous and slow.
Get on AmazonAffiliate Disclosure: Lil Engine may earn commissions from qualifying purchases.
Frequently Asked Questions
No, oil will contaminate the friction surfaces and cause the clutch to slip even more. Clean with a degreaser and compressed air instead.
Video Help
Helpful videos showing these repairs in action.
Share Your Repair
Real-world fixes help everyone. Share what worked and your repair becomes part of Lil Engine's community database.
Related Problems
More Chainsaws GuidesRelated Maintenance Articles
Related Symptoms
Related Searches
Chainsaws Troubleshooting
Did this help?
Your feedback helps improve guides for everyone.