Lawn Mower Leaking Oil
⚡ Quick Answer
A lawn mower leaking oil is often caused by an overfilled crankcase, a loose oil drain plug, or a degraded gasket or seal. Start by cleaning the engine area to pinpoint exactly where the oil is originating, then check your oil level and tighten any loose external fasteners.
What do you want to do?
Most Likely Cause
Compromised Crankshaft Oil Seal
The rubber lip seal behind the blade adapter often hardens or tears due to impact damage or debris ingestion. Inspect the area around the crankshaft output shaft for fresh oil streaks originating from the seal housing.
Start here — this is the most common reason for this symptom.
Why This Problem Happens
Oil leakage in push mowers typically arises from the failure of static or dynamic seals subjected to extreme thermal cycling and high-frequency vibration. In a standard four-stroke engine, internal crankcase pressure is regulated by a breather valve; when this valve clogs or sticks, the resulting positive pressure forces lubricant past the weakest sealing point, often the crankshaft oil seals or the sump gasket. Furthermore, common maintenance errors like overfilling the crankcase significantly increase internal hydraulic pressure, which literally blows out oil through the dipstick tube or the air intake assembly once the engine reaches operating temperature. Once a seal loses its elasticity due to excessive heat or sludge accumulation, it can no longer maintain a tight interface against the rotating crankshaft or the mating surface of the engine block. This degradation is accelerated if contaminated oil, containing microscopic debris or fuel dilution, is left in the engine for extended periods, as it creates an abrasive slurry that rapidly scores the surface of rubber lip seals and paper gaskets.
Common Symptoms
- Wet oil residue on the underside of the mower deck
- Puddle of oil forming under the engine block during storage
- Visible smoke venting from the exhaust during operation
- Excessive oil coating the air filter element
- Oil saturation on the mower's recoil starter assembly
Before You Buy Parts
Quick, free inspections — check these first. Most repairs don't actually need replacement parts.
Complete Resource Guide
Complete Push Mowers Troubleshooting Guide
Repair Overview
1–3 hours
$15–$60
First Checks — Start Here
- 1Check the oil level on the dipstick to ensure it is not overfilled.
- 2Wipe down the entire engine casing to find the source of the leak.
- 3Inspect the oil drain plug to see if it is loose or missing a seal.
- 4Look at the air filter housing for signs of oil blow-back.
- 5Verify the oil filter is tightened correctly if your model has one.
Safety Warnings
- !Ensure the spark plug wire is disconnected to prevent accidental starting during cleaning.
- !Wear safety glasses as the seal can pop out suddenly under spring tension.
- !Avoid using metal picks that could damage the delicate rubber reed.
- !Do not overtighten bolts as the aluminum engine block threads can easily strip.
- !Ensure no debris falls into the crankcase when the dipstick is removed.
- !Always check oil on a flat, level surface to ensure an accurate reading.
- !Using generic silicone RTV instead of a proper paper or metal gasket
Always disconnect the spark plug, work in a well-ventilated area, and consult a professional if unsure.
Most Likely Causes
Ranked by likelihood — tap each to see diagnosis details.
The rubber lip seal behind the blade adapter often hardens or tears due to impact damage or debris ingestion. Inspect the area around the crankshaft output shaft for fresh oil streaks originating from the seal housing.
The paper gasket sealing the lower crankcase can deteriorate or blow out if the bolts vibrate loose. Look for 'weeping' along the seam between the engine block and the bottom cover plate.
🔧 Step-by-Step Fix Guide
Degrease and Clean Engine
Use a specialized engine degreaser to remove all existing oil film from the exterior of the block. After cleaning, run the engine for five minutes to pinpoint the exact origin of the leak.
Ensure the spark plug wire is disconnected to prevent accidental starting during cleaning.
Replace the Crankshaft Oil Seal
Remove the blade and adapter using a breaker bar and a block of wood to stabilize the blade. Gently pry out the old seal using a seal puller, ensuring you do not score the crankshaft journal, then press in the new seal using a socket of equal diameter.
Wear safety glasses as the seal can pop out suddenly under spring tension.
Inspect and Clean Breather Valve
Remove the valve cover or breather assembly mounted on the side of the engine. Clean the reed valve with carburetor cleaner to ensure it moves freely and clears any sludge that might be restricting airflow.
Avoid using metal picks that could damage the delicate rubber reed.
Torque Sump Bolts
If the sump gasket is leaking, ensure the housing bolts are tightened to the manufacturer's specified torque pattern. If leakage persists after tightening, the gasket must be replaced to ensure a proper seal.
Do not overtighten bolts as the aluminum engine block threads can easily strip.
Replace Dipstick O-Ring
If oil is escaping from the dipstick hole, pull out the dipstick and inspect the rubber O-ring for cracks. Replace the O-ring and apply a light film of clean engine oil to help it seat properly.
Ensure no debris falls into the crankcase when the dipstick is removed.
Verify Oil Level
Drain the engine oil and refill it to the exact specification listed in your owner's manual. Use a graduated measuring cup to ensure you do not exceed the capacity.
Always check oil on a flat, level surface to ensure an accurate reading.
What To Test Next
If the fittings are dry, the next thing to inspect is the pump seal or gasket surface for weepage, then pressure-test the suspect circuit.
Component Reference

Carburetor & Fuel Intake
The carburetor mixes air and fuel for combustion. A clogged jet or stuck float is the #1 cause of small engine starting and surging problems.

Spark Plug & Ignition System
The spark plug ignites the air-fuel mixture. A fouled plug, wrong gap, or failing ignition coil will prevent the engine from firing.

Oil & Lubrication System
Regular oil changes are critical. Low or dirty oil causes engine wear, overheating, and eventual seizure. Check the dipstick before every season.

Air Filter & Intake
A clogged air filter starves the engine of air, causing rich running, power loss, and hard starting. Inspect and clean or replace it each season.
Photos for educational reference. Actual parts may vary by make and model.
Common Mistakes to Avoid
Using generic silicone RTV instead of a proper paper or metal gasket
Scratching the crankshaft surface while removing a seal
Tipping the mower with the air filter side facing down, causing oil to dump into the carburetor
Forgetting to lubricate the new oil seal lip before installation
If This Didn't Fix It
Still having trouble? These are the next things to check:
Get the Exact Parts for Your Machine
Tell us your equipment's year, make, and model — we'll search for parts that actually fit, not generic ones.
Finding parts for
Lawn mower
Required Gear
Matched to your Lawn mower — click to find the exact fit on Amazon.
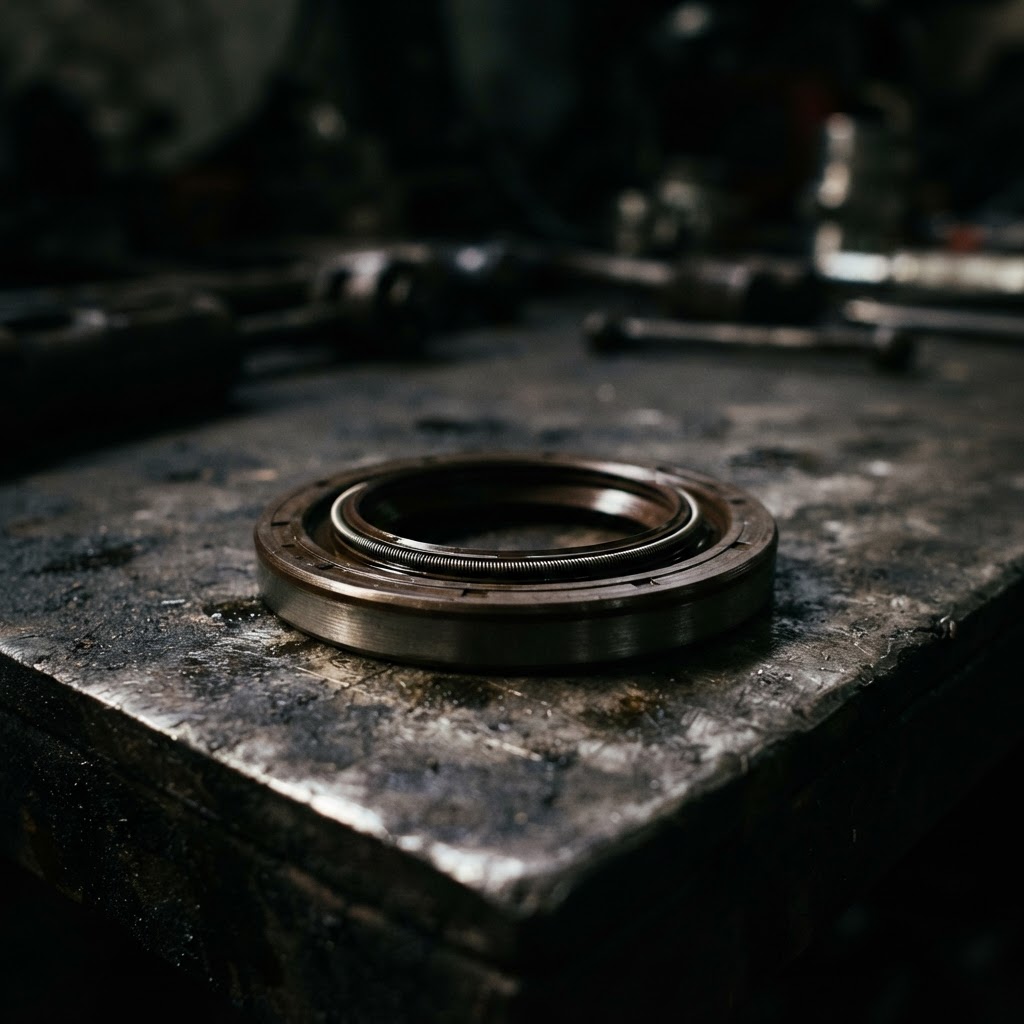
Crankshaft Oil Seal
This is the primary wear component that, when hardened or cracked, is the most common cause of oil seepage directly behind the mower blade.
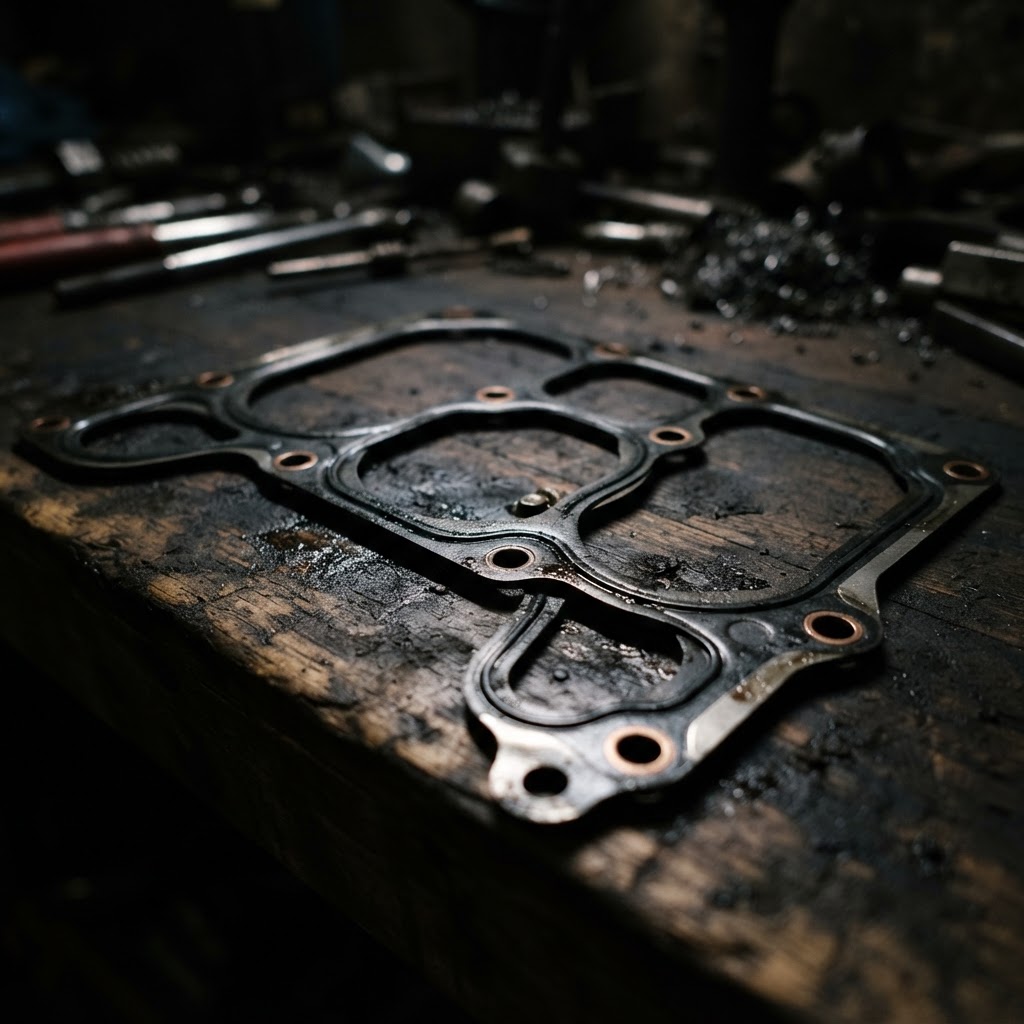
Sump-to-Block Gasket
When bolts loosen or the original material degrades, this gasket creates a critical seal to prevent oil from escaping the crankcase seam.
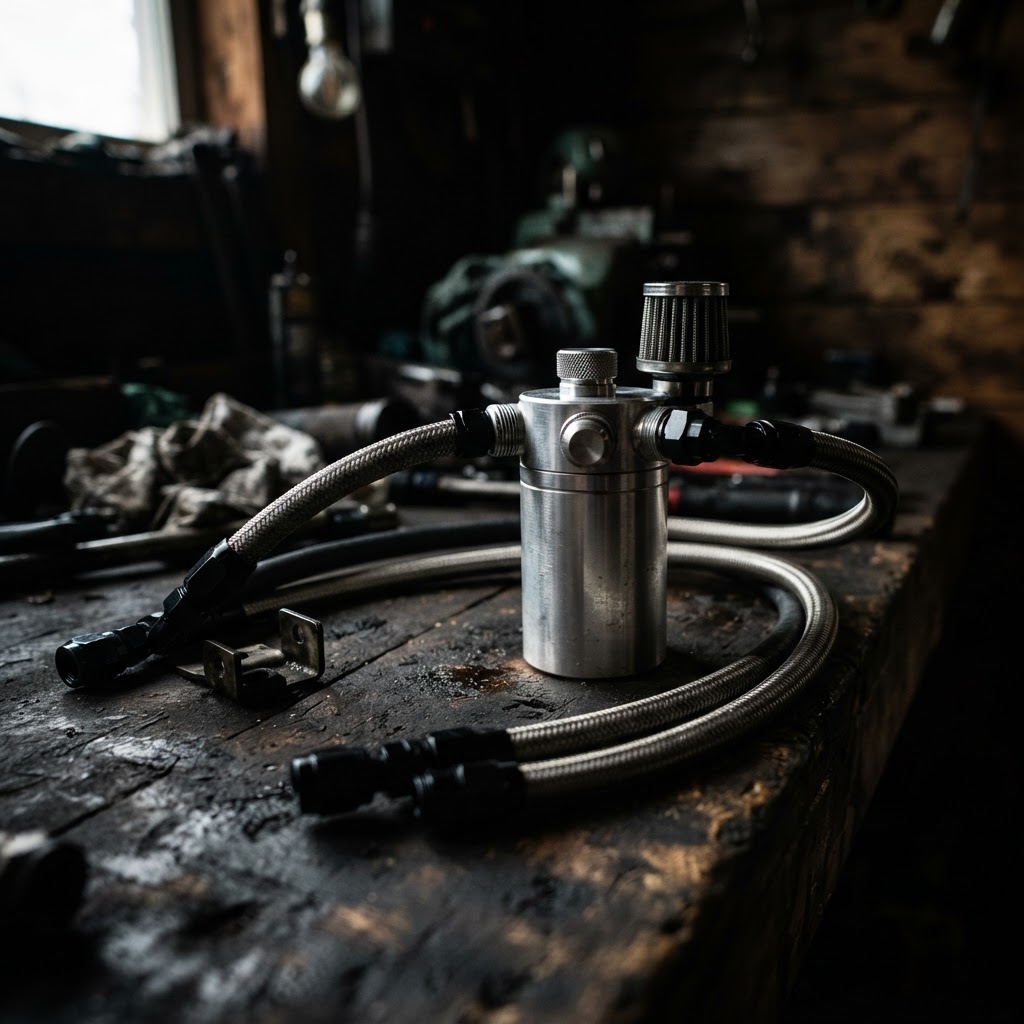
Engine Breather Kit
Replacing the internal diaphragm or filter element within the breather assembly relieves excess crankcase pressure that forces oil out of seals and gaskets.

Dipstick O-Ring
A worn or flattened O-ring fails to maintain a vacuum-tight seal, allowing oil to splash out of the tube during engine vibration.

Engine Oil (SAE 30 or 10W-30)
Since the repair involves draining the crankcase to address seals and gaskets, fresh, manufacturer-specified oil is required to refill the engine to the proper level.
Affiliate Disclosure: Lil Engine may earn commissions from qualifying purchases.
Pro Tips from the Community
Real-world fixes from Reddit, YouTube & forums.
"Check if you overfilled the crankcase; if the oil is thin or smells like gas, your carburetor needle is stuck and flooding the engine."
Reddit r/smallengines"Always inspect the crankcase breather tube before assuming a gasket is blown, as a clogged breather creates pressure that pushes oil out through the seals."
LawnSite.com Forum"If oil is dripping from the air filter housing, tip the mower only with the air filter side facing up to prevent crankcase oil from flooding the intake."
YouTube comments"Clean the entire engine block with degreaser and run it for five minutes to see exactly where the oil streak starts, rather than guessing which seal is weeping."
DoItYourself.comPrevent This From Coming Back
Change oil annually or every 50 hours of operation
Inspect and tighten external bolts once a season to combat vibration
Clean the cooling fins to prevent the engine from overheating and baking the seals
Store the mower on a level surface to prevent oil pooling against seals
Prevent This From Happening Again
While you're fixing it, stock up on the maintenance essentials that keep your push mowers running right.
Spark Plug
A fresh spark plug ensures easy starting all season. Replace yearly.
Get on AmazonAir Filter
A clean air filter prevents rich running and hard starts.
Get on AmazonSmall Engine Oil
Fresh 30W oil keeps the engine running cool and clean.
Get on AmazonAffiliate Disclosure: Lil Engine may earn commissions from qualifying purchases.
Frequently Asked Questions
This is almost always caused by a clogged crankcase breather or an overfilled crankcase that forces oil through the intake system.
Video Help
Helpful videos showing these repairs in action.
Share Your Repair
Real-world fixes help everyone. Share what worked and your repair becomes part of Lil Engine's community database.
Related Problems
More Push Mowers GuidesRelated Maintenance Articles
Related Symptoms
Oil or Fuel Leak
Related Searches
Push Mowers Troubleshooting
Did this help?
Your feedback helps improve guides for everyone.