Change Oil In Kawasaki 730 Mower Engine
⚡ Quick Answer
Changing the oil in your Kawasaki 730 mower engine is essential for maintaining its performance and longevity. Begin by gathering your tools and supplies, and follow the specific steps outlined herein to ensure a proper oil change.
What do you want to do?
Most Likely Cause
Thermal Breakdown
Air-cooled engines run hotter than liquid-cooled counterparts, causing the oil's synthetic or conventional base stock to lose molecular integrity. Check for discoloration and a burnt odor in the oil to confirm excessive heat exposure.
Start here — this is the most common reason for this symptom.
Why This Problem Happens
The Kawasaki FR730V and FS730V engines utilize a pressurized lubrication system that relies on a constant flow of 10W-30 or 10W-40 oil to mitigate extreme thermal loads generated by high-RPM operation. Over time, the internal combustion process introduces carbon blow-by and microscopic metallic particulates into the oil, which diminish the oil's shear strength and viscosity index. As the additives deplete, the oil can no longer maintain a protective film between the aluminum piston skirts and the cylinder wall or the crankshaft journals and connecting rods. Failure to replace the oil results in an accumulation of sludge that restricts the oil pickup screen and internal galleries, drastically increasing frictional heat and accelerating wear on the heavy-duty components unique to the 730 series engines. Lubricant degradation is exacerbated by the high operating temperatures inherent to air-cooled V-twin architecture. Without fresh fluid, the hydrodynamic oil wedge collapses, leading to metal-to-metal contact that irreversibly damages the bearing surfaces and causes catastrophic engine seizure.
Common Symptoms
- Increased engine valvetrain noise or ticking
- Dark, opaque, or gritty consistency of drained oil
- Oil pressure light flickering or sensor alerts
- Noticeable rise in engine operating temperature
- Thick, carbonaceous deposits on the dipstick
Before You Buy Parts
Quick, free inspections — check these first. Most repairs don't actually need replacement parts.
Complete Resource Guide
Complete Push Mowers Troubleshooting Guide
Brand Resource Hub
Kawasaki Small Engine Troubleshooting & Repair Guide
Repair Overview
30–45 minutes
$25–$45
First Checks — Start Here
- 1Gather necessary tools: wrench, funnel, oil container
- 2Locate the oil drain plug on the engine
- 3Choose appropriate oil (SAE 30 or 10W-30)
- 4Ensure the mower is on a level surface for accurate draining
Safety Warnings
- !Be cautious of hot exhaust manifolds and engine components to prevent severe skin burns.
- !Always disconnect the spark plug wires to prevent accidental engine rotation during maintenance.
- !Do not use pliers on the filter housing as they may puncture the thin metal and cause an uncontrollable spill.
- !Avoid using solvents that could enter the engine and contaminate the new oil supply.
- !Ensure the old gasket did not stick to the engine block, as a 'double-gasket' scenario will cause a massive high-pressure oil leak.
- !Do not overfill, as excess oil can lead to internal pressure issues and oil blow-by through the breather tube.
- !Immediately inspect the filter base and drain plug for any signs of weeping while the engine is running.
- !Leaving the old filter gasket stuck to the engine housing
- !Forgetting to reconnect the spark plug wires before testing
Always disconnect the spark plug, work in a well-ventilated area, and consult a professional if unsure.
Most Likely Causes
Ranked by likelihood — tap each to see diagnosis details.
Air-cooled engines run hotter than liquid-cooled counterparts, causing the oil's synthetic or conventional base stock to lose molecular integrity. Check for discoloration and a burnt odor in the oil to confirm excessive heat exposure.
Particulate matter from combustion byproducts becomes suspended in the oil, turning it into an abrasive slurry. Examine the drained oil for a metallic sheen or gritty texture to determine if internal wear has begun.
🔧 Step-by-Step Fix Guide
Warm Engine Preparation
Run the engine for three to five minutes to allow the oil to reach operating temperature, which reduces its viscosity for easier drainage. Ensure the mower is on level ground to ensure the crankcase empties completely.
Be cautious of hot exhaust manifolds and engine components to prevent severe skin burns.
Locate and Open Drain Valve
Kawasaki 730 engines typically feature a drain extension or petcock valve located at the base of the crankcase. Attach a drain hose or position a low-profile catch pan before turning the valve to prevent oil from running over the mower frame.
Always disconnect the spark plug wires to prevent accidental engine rotation during maintenance.
Remove Oil Filter
Use a specialized strap-style or end-cap oil filter wrench to loosen the filter, as it is often tucked behind the engine mounting brackets. Be prepared for a significant amount of residual oil to spill when the seal breaks.
Do not use pliers on the filter housing as they may puncture the thin metal and cause an uncontrollable spill.
Clean Mounting Surface
Wipe the engine's filter mounting boss with a clean, lint-free rag to remove old gasket debris or hardened residue. Inspect the surface for pitting or irregularities that could prevent a tight seal for the new filter.
Avoid using solvents that could enter the engine and contaminate the new oil supply.
Install New Filter
Apply a light film of fresh engine oil to the new filter's rubber gasket, then spin it onto the engine by hand until the gasket touches the base. Tighten an additional 3/4 to 1 turn; do not overtighten with a tool.
Ensure the old gasket did not stick to the engine block, as a 'double-gasket' scenario will cause a massive high-pressure oil leak.
Fill with Specified Oil
Refill the engine using high-quality 10W-30 or 10W-40 oil, typically requiring approximately 1.8 to 2.0 quarts, depending on whether the filter was changed. Use a funnel to prevent spills on the cooling fins or air intake.
Do not overfill, as excess oil can lead to internal pressure issues and oil blow-by through the breather tube.
Verify Level and Leak Check
Start the engine and run for 30 seconds to circulate oil through the filter and galleries, then shut it off. Recheck the dipstick level after two minutes and top off if necessary to ensure it reaches the 'Full' mark.
Immediately inspect the filter base and drain plug for any signs of weeping while the engine is running.
What To Test Next
If the basics check out, verify spark, fuel delivery, and compression in that order — the three essentials of any combustion engine.
Component Reference

Carburetor & Fuel Intake
The carburetor mixes air and fuel for combustion. A clogged jet or stuck float is the #1 cause of small engine starting and surging problems.

Spark Plug & Ignition System
The spark plug ignites the air-fuel mixture. A fouled plug, wrong gap, or failing ignition coil will prevent the engine from firing.

Oil & Lubrication System
Regular oil changes are critical. Low or dirty oil causes engine wear, overheating, and eventual seizure. Check the dipstick before every season.

Air Filter & Intake
A clogged air filter starves the engine of air, causing rich running, power loss, and hard starting. Inspect and clean or replace it each season.
Photos for educational reference. Actual parts may vary by make and model.
Common Mistakes to Avoid
Leaving the old filter gasket stuck to the engine housing
Overtightening the new oil filter, making it impossible to remove later
Failing to account for the oil volume held within the filter canister
Using non-detergent oil that lacks the required API specifications
Forgetting to reconnect the spark plug wires before testing
If This Didn't Fix It
Still having trouble? These are the next things to check:
Get the Exact Parts for Your Machine
Tell us your equipment's year, make, and model — we'll search for parts that actually fit, not generic ones.
Finding parts for
How to change oil in a Kawasaki 730 mower engine
Required Gear
Matched to your How to change oil in a Kawasaki 730 mower engine — click to find the exact fit on Amazon.

SAE 10W-40 4-Cycle Engine Oil
Kawasaki engines require high-quality engine oil to maintain internal lubrication and prevent the thermal breakdown that degrades engine performance.
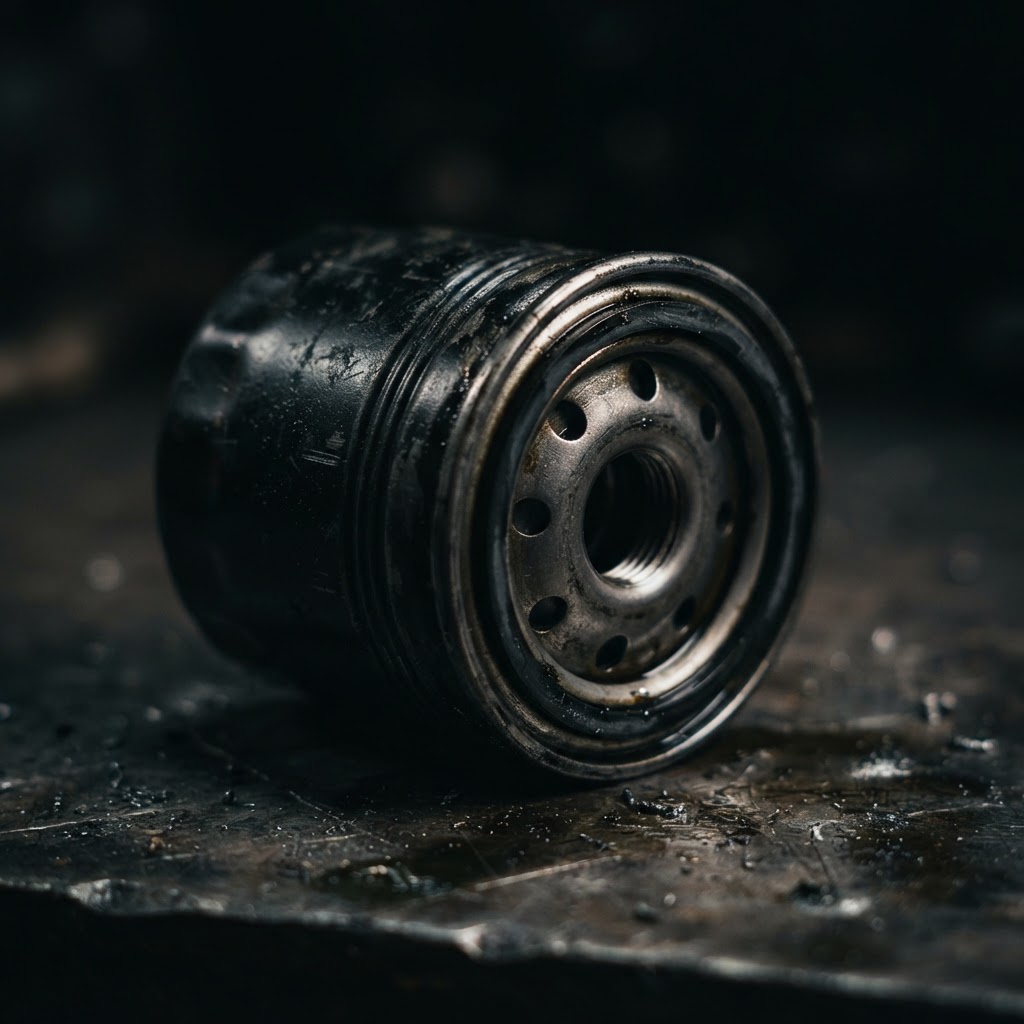
Kawasaki OEM Oil Filter
Using a genuine Kawasaki-spec filter is necessary to ensure proper bypass pressure and filtration efficiency required to keep oil contaminants from circulating through the engine.
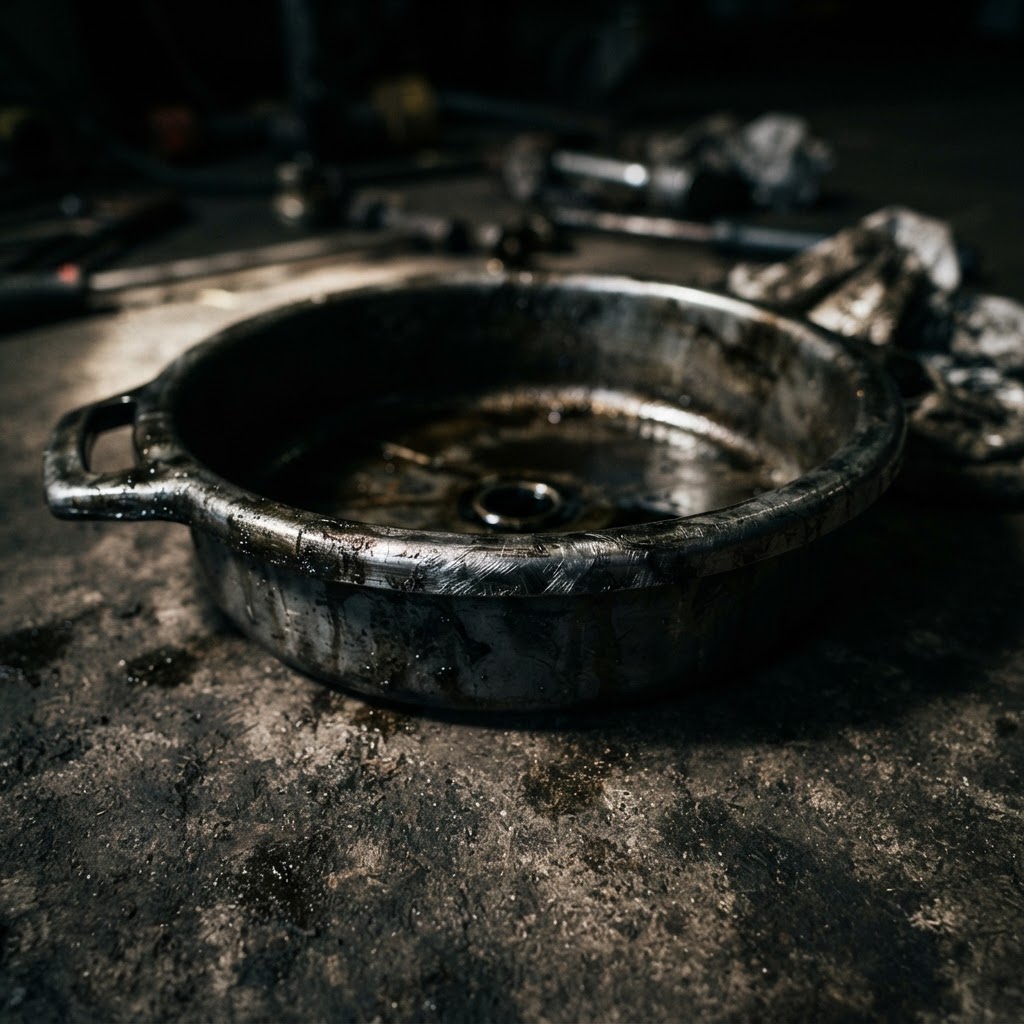
Oil Drain Pan
This container is a specialized requirement for capturing the used, contaminated oil during the drainage process to ensure environmental compliance and workspace cleanliness.
Affiliate Disclosure: Lil Engine may earn commissions from qualifying purchases.
Pro Tips from the Community
Real-world fixes from Reddit, YouTube & forums.
"Always warm up the engine by running it for a few minutes before draining the oil to ensure it flows out smoothly."
Reddit r/lawncare"Don’t forget to remove the oil fill cap while draining; it helps the old oil flow out faster without creating a vacuum."
YouTube comments"Use an oil filter wrench that's the right size to avoid stripping the filter — it's a lifesaver."
LawnSite.com Forum"For a clean change, place a cardboard box under the mower to catch any drips while you work on it; makes for easy cleanup."
TractorByNet"Check your owner's manual for specific oil types to ensure you use a compatible viscosity — not all mowers like the same oil!"
DoItYourself.comPrevent This From Coming Back
Monitor oil levels before every single use of the mower
Use a high-quality OEM Kawasaki oil filter to ensure the bypass pressure matches the pump specs
Clean the cooling fins frequently to prevent the thermal breakdown of the oil
Store the unit in a dry environment to prevent condensation from accumulating in the crankcase
Perform oil changes at the 50-hour or seasonal mark regardless of total usage hours
Prevent This From Happening Again
While you're fixing it, stock up on the maintenance essentials that keep your push mowers running right.
Spark Plug
A fresh spark plug ensures easy starting all season. Replace yearly.
Get on AmazonAir Filter
A clean air filter prevents rich running and hard starts.
Get on AmazonSmall Engine Oil
Fresh 30W oil keeps the engine running cool and clean.
Get on AmazonAffiliate Disclosure: Lil Engine may earn commissions from qualifying purchases.
Frequently Asked Questions
Yes, high-quality synthetic oil is highly recommended as it provides superior thermal stability and better flow during cold starts. Ensure it meets the API SG, SH, SJ, or SL service classifications.
Video Help
Helpful videos showing these repairs in action.
Share Your Repair
Real-world fixes help everyone. Share what worked and your repair becomes part of Lil Engine's community database.
Related Problems
More Push Mowers GuidesRelated Maintenance Articles
Related Searches
Kawasaki push mower Guides
Did this help?
Your feedback helps improve guides for everyone.