Craftsman Push Mower Cranks But Won't Start — Fuel & Spark Fix
⚡ Quick Answer
If your Craftsman push mower turns over but fails to fire, the issue is almost always a breakdown in the fuel-air delivery or the ignition system. Most often, stale gasoline has gummed up the carburetor jets or the spark plug has fouled due to carbon buildup. By systematically testing for spark and checking fuel flow from the tank to the combustion chamber, you can identify the culprit in under an hour.
What do you want to do?
Most Likely Cause
Clogged Carburetor Jet
Modern fuels contain ethanol which degrades over time and leaves behind sticky varnish that plugs the tiny fuel passages inside the carburetor. When the engine cranks but won't catch, it is usually because the fuel system is not delivering the precise atomized mixture required for combustion.
Start here — this is the most common reason for this symptom.
Why This Problem Happens
When a Craftsman mower cranks—meaning the crankshaft is rotating via the recoil starter—but refuses to fire, it indicates a failure in the combustion triangle: compression, spark, or fuel stoichiometry. Most Craftsman units utilize Briggs & Stratton or Kohler engines that rely on a fixed-jet carburetor. If the fuel has degraded, the ethanol content absorbs moisture and causes varnish to coat the microscopic passages of the main jet. This prevents the high-velocity air stream from pulling fuel into the combustion chamber, resulting in a lean condition that cannot sustain an explosion. Alternatively, the ignition system may be failing to provide sufficient voltage to bridge the spark plug gap under compression. Even if a spark appears visible while the plug is grounded to the engine block, it may be too weak to jump the gap once the cylinder pressure increases to roughly 100-120 PSI during the compression stroke. This decoupling of the firing event from the compression cycle prevents the engine from transitioning from a cranking state to a running state, leaving the user with a mower that spins freely but remains silent.
Common Symptoms
- Engine cranks over easily but makes no popping sounds
- Spark plug tip is dry despite multiple pull attempts
- Spark plug tip is saturated with dark, foul-smelling fuel
- Engine fires briefly when starter fluid is sprayed into the intake
- Noticeable lack of resistance when pulling the recoil rope
Before You Buy Parts
Quick, free inspections — check these first. Most repairs don't actually need replacement parts.
Diagnostic Flowchart
Follow this decision tree step-by-step to isolate the problem.
Is there fresh, ethanol-free fuel in the tank?
Proceed to check for spark.
Go to step 2
Drain tank and carburetor bowl; refill with fresh fuel.
Is there a strong blue spark at the spark plug wire?
Proceed to check for fuel delivery.
Go to step 3
Check ignition coil air gap or replace faulty spark plug.
Does the engine start briefly when spraying starter fluid into the intake?
Clean or rebuild the carburetor due to blocked jets.
Check for mechanical compression loss or sheared flywheel key.
Go to step 4
Is the flywheel key sheared?
Replace the flywheel key and torque to manufacturer specs.
Check valve lash and cylinder compression.
Go to step 5
Is compression below 60 PSI?
Perform a valve adjustment or inspect piston rings for wear.
Consult professional engine technician for deep internal inspection.
Complete Resource Guide
Complete Push Mowers Troubleshooting Guide
Brand Resource Hub
Craftsman Small Engine Repair & Maintenance Guide
Repair Overview
60-90 minutes
$15-$50
First Checks — Start Here
- 1Check fuel level in the tank
- 2Verify the oil level is correct
- 3Ensure the kill-switch cable tension is adequate
- 4Clean or replace the air filter element
- 5Test for spark using an inline ignition spark tester
- 6Confirm the fuel shut-off valve is open
- 7Attempt a 'prime' using fresh fuel or starting fluid
Safety Warnings
- !Keep face away from the intake and never use starting fluid while the spark plug is removed.
- !Ensure the spark plug is grounded to the engine block to prevent coil damage.
- !Do not overtighten; use a torque wrench to reach the manufacturer-recommended spec.
- !Wear safety glasses, as carburetor cleaner is highly caustic to the eyes.
- !Perform this in a well-ventilated area away from open flames or hot surfaces.
- !The flywheel nut is torqued very high; use an impact wrench to prevent turning the engine over while loosening.
- !Replacing the carburetor without first draining the contaminated fuel tank
- !Over-tightening the spark plug and stripping the cylinder head threads
- !Ignoring the fuel cap vent as a possible cause for vacuum locks
Always disconnect the spark plug, work in a well-ventilated area, and consult a professional if unsure.
Most Likely Causes
Ranked by likelihood — tap each to see diagnosis details.
Ethanol-based fuel left over winter leaves a gummy residue in the carburetor bowl. This obstructs the brass main jet, preventing the engine from drawing fuel during the intake stroke.
If a plug is carbon-fouled or if the porcelain insulator has cracked, the electricity will find a path to ground before reaching the electrode. Inspect the tip for black soot or a hairline fracture.
🔧 Step-by-Step Fix Guide
Perform a 'Squirt Test'
Remove the air filter and spray a two-second burst of starting fluid into the carburetor throat. Attempt to start; if it runs for a few seconds, you have confirmed a fuel delivery issue.
Keep face away from the intake and never use starting fluid while the spark plug is removed.
Test for Spark
Attach an inline spark tester between the spark plug wire and the plug. Pull the recoil rope; the bulb should flash brightly, indicating the magneto is generating adequate voltage.
Ensure the spark plug is grounded to the engine block to prevent coil damage.
Replace the Spark Plug
Even if it looks clean, install a new, correctly gapped plug (typically .030 inches). This rules out internal damage that is invisible to the naked eye.
Do not overtighten; use a torque wrench to reach the manufacturer-recommended spec.
Clean or Replace the Carburetor
Remove the float bowl and use carburetor cleaner and a thin copper wire to clear the jet orifice. If the internal passages are heavily corroded, replace the unit as a whole assembly.
Wear safety glasses, as carburetor cleaner is highly caustic to the eyes.
Check Fuel Flow
Disconnect the fuel line at the carburetor and verify a strong, consistent stream of fuel flows from the tank. If it merely drips, check the fuel cap vent or the inline filter.
Perform this in a well-ventilated area away from open flames or hot surfaces.
Inspect the Flywheel Key
Remove the blower housing and visually inspect the flywheel keyway alignment. If the key is offset from the notch in the crankshaft, the ignition timing is off.
The flywheel nut is torqued very high; use an impact wrench to prevent turning the engine over while loosening.
What To Test Next
If fuel delivery checks out as adequate, the next logical step is to inspect the spark plug for fouling or a lack of ignition spark.
Component Reference

Carburetor & Fuel Intake
The carburetor mixes air and fuel for combustion. A clogged jet or stuck float is the #1 cause of small engine starting and surging problems.

Spark Plug & Ignition System
The spark plug ignites the air-fuel mixture. A fouled plug, wrong gap, or failing ignition coil will prevent the engine from firing.

Oil & Lubrication System
Regular oil changes are critical. Low or dirty oil causes engine wear, overheating, and eventual seizure. Check the dipstick before every season.

Air Filter & Intake
A clogged air filter starves the engine of air, causing rich running, power loss, and hard starting. Inspect and clean or replace it each season.
Photos for educational reference. Actual parts may vary by make and model.
Common Mistakes to Avoid
Using starting fluid while the air filter is still attached
Replacing the carburetor without first draining the contaminated fuel tank
Over-tightening the spark plug and stripping the cylinder head threads
Ignoring the fuel cap vent as a possible cause for vacuum locks
Attempting to clean jets with metal needles that enlarge the opening
If This Didn't Fix It
Still having trouble? These are the next things to check:
Get the Exact Parts for Your Machine
Tell us your equipment's year, make, and model — we'll search for parts that actually fit, not generic ones.
Finding parts for
Craftsman push mower cranks but
Required Gear
Matched to your Craftsman push mower cranks but — click to find the exact fit on Amazon.
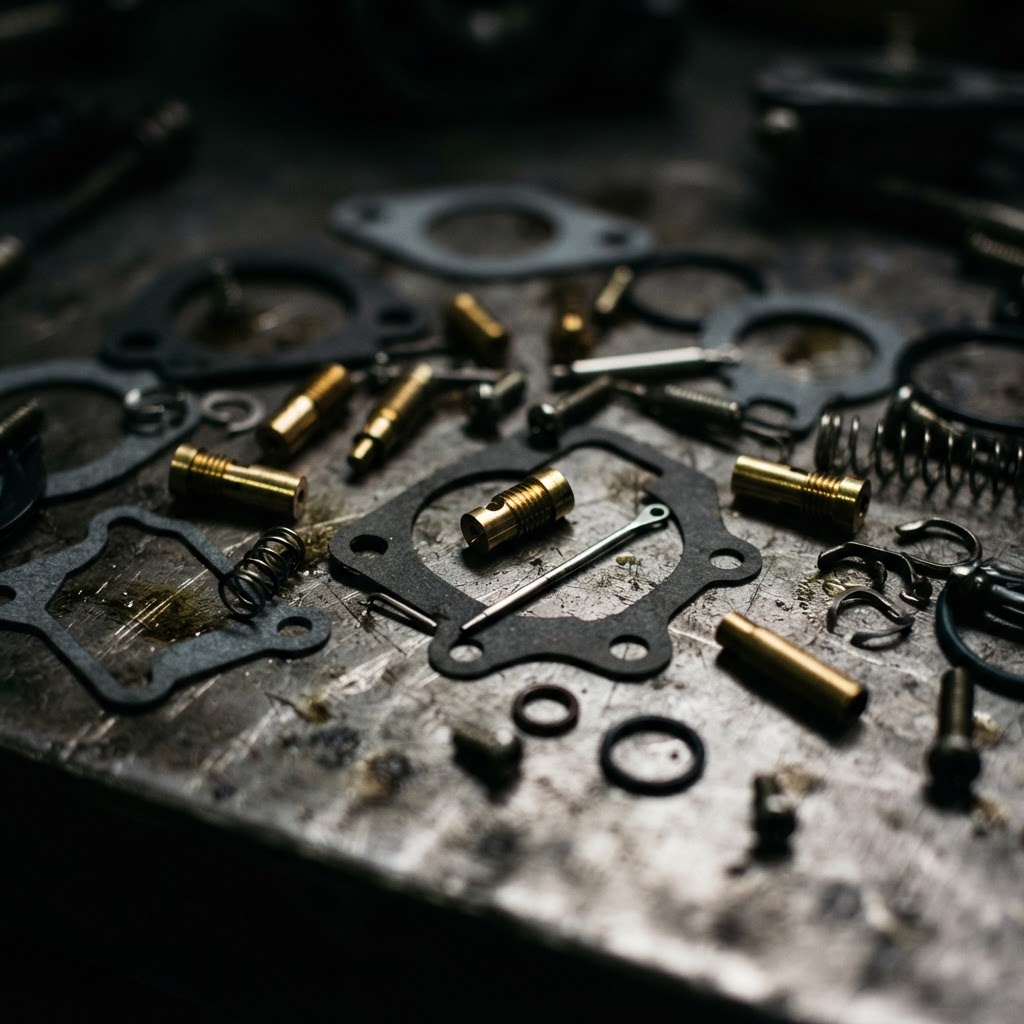
Carburetor Rebuild Kit
Contains the necessary gaskets, seals, and a new main jet to resolve the clogging issues identified during the squirt test.
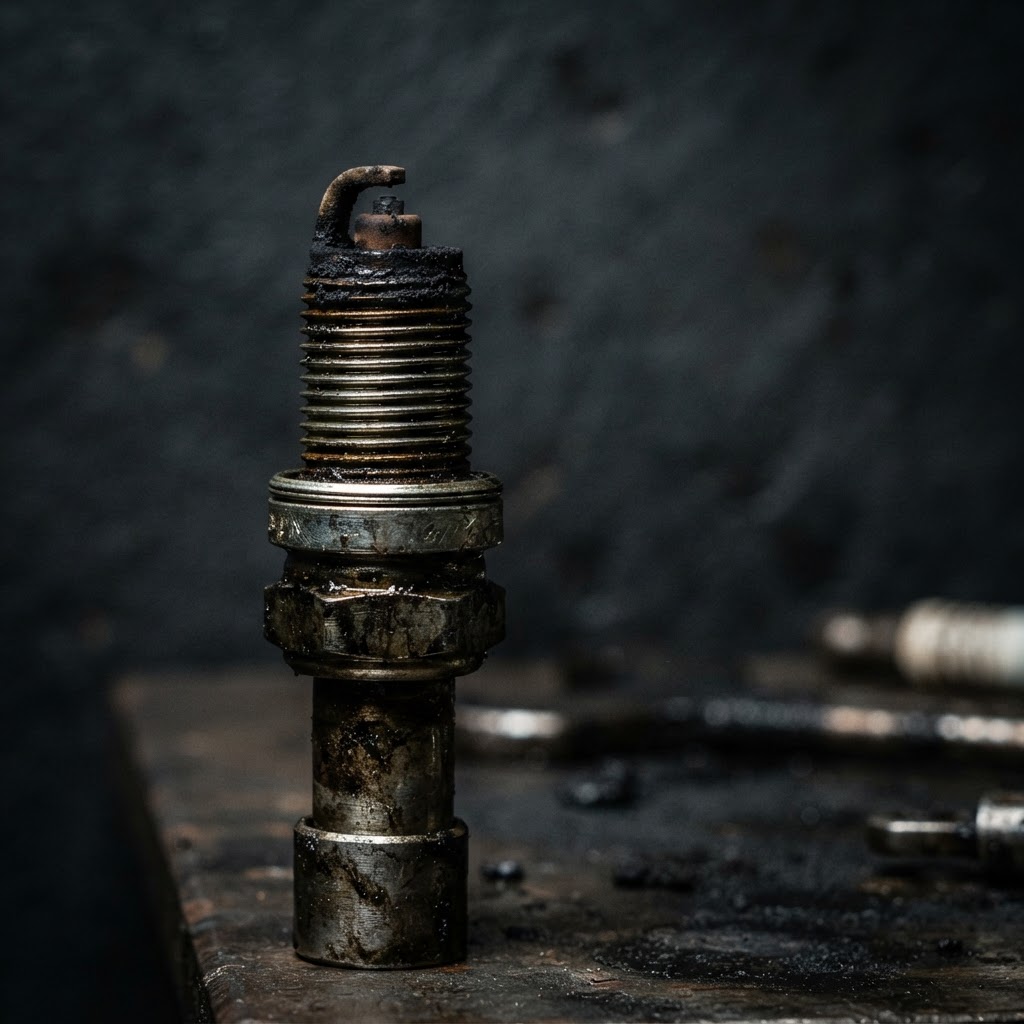
Spark Plug
Directly replaces the fouled or carbon-tracked plug to ensure the ignition system produces a strong enough spark for combustion.
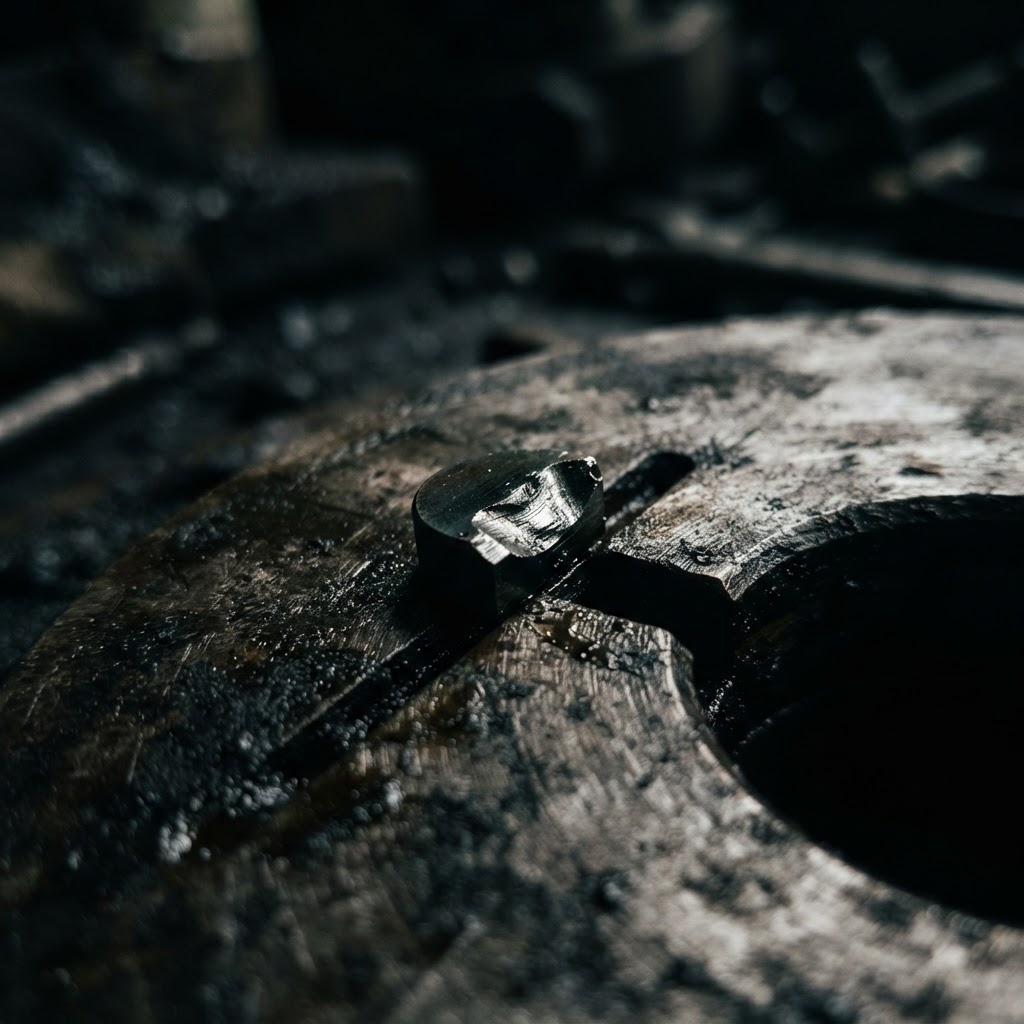
Flywheel Key
Required to restore correct ignition timing if the original key sheared due to a sudden impact or engine seizure.
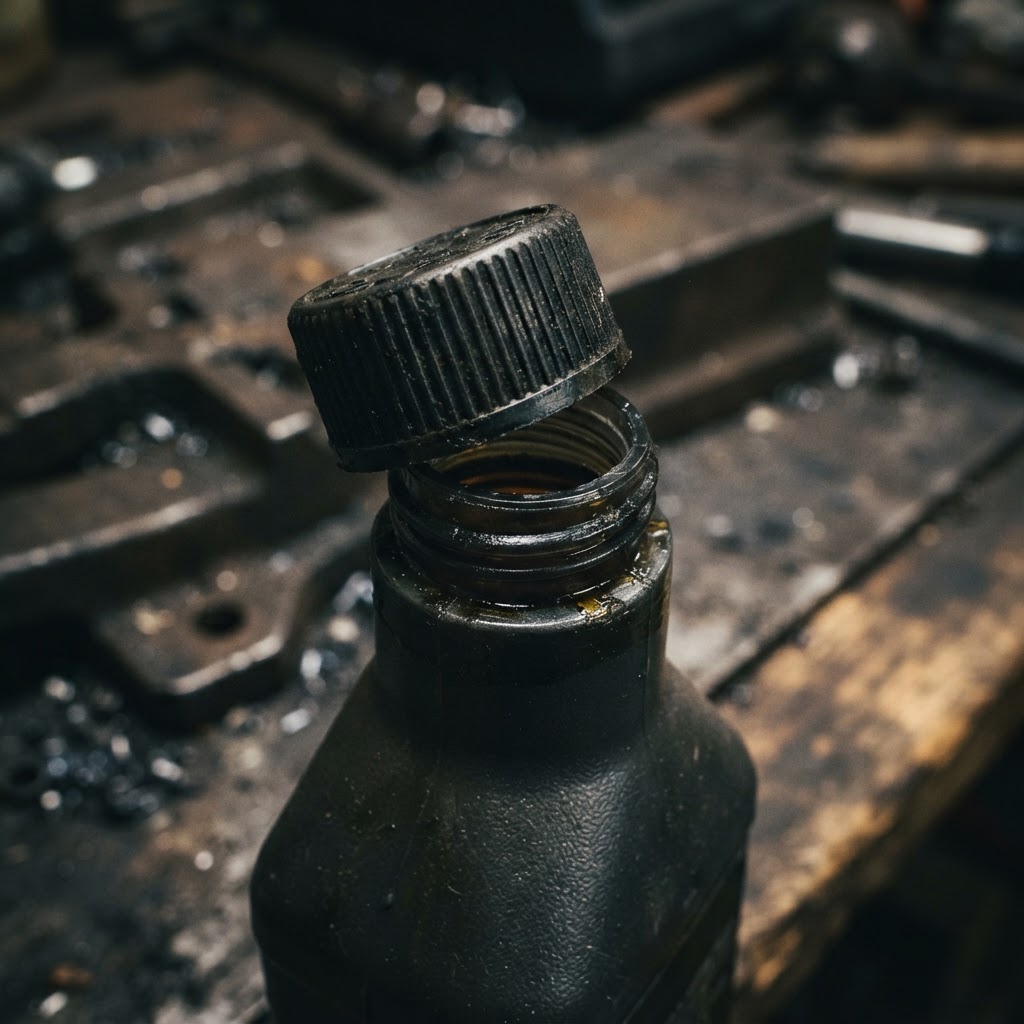
Fuel Stabilizer
Essential for neutralizing the effects of stale fuel and preventing future gumming of the carburetor jets after the repair.
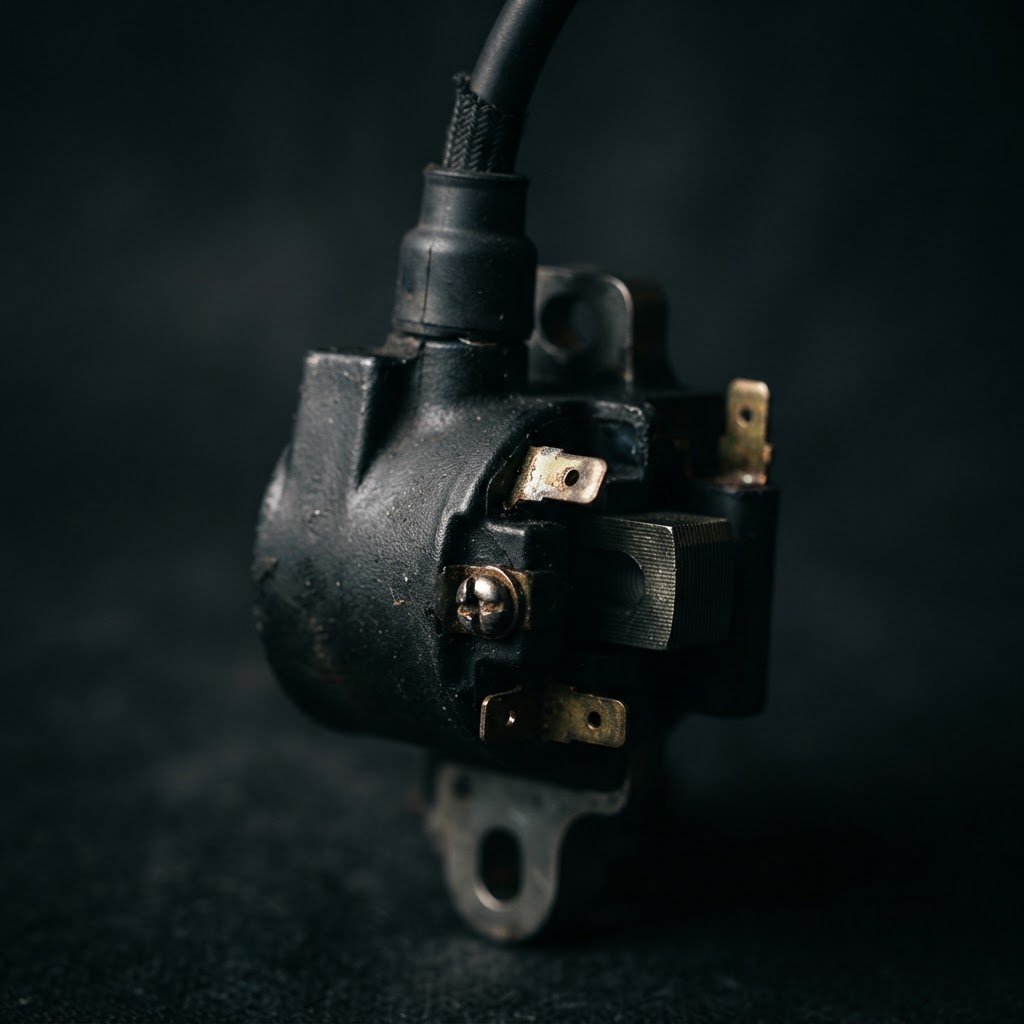
Ignition Coil
Necessary for replacement if the spark test confirms the unit has failed and is no longer able to trigger the spark plug.
Affiliate Disclosure: Lil Engine may earn commissions from qualifying purchases.
Pro Tips from the Community
Real-world fixes from Reddit, YouTube & forums.
"On many Craftsman mowers with the plastic Briggs carb, the O-ring on the main jet nozzle often swells or tears. If it's not perfect, the engine will never draw fuel correctly."
Reddit r/lawncare"Check the auto-choke linkage if your mower has no primer bulb. Often the thermal wax actuator or the linkage rod gets bent or dirty, preventing the choke plate from closing fully for a cold start."
LawnSite.com Forum"If the pull cord is hard to pull or yanks out of your hand, the flywheel key is almost certainly sheared. This is the engine's 'mechanical fuse' protecting the crank."
YouTube commentsBrand-Specific Notes
Briggs & Stratton
Most Craftsman mowers use Briggs E-Series engines. They are notorious for 'gumming up' if fuel sits for more than 30 days due to fine jet orifices in the integrated plastic carburetors.
Kohler
Kohler Courage engines on Craftsman walk-behinds often suffer from debris buildup in the cooling fins, leading to overheating and premature ignition module failure. Always verify the module gap is set to .010 inches.
Honda (GCV Series)
These engines use an automatic decompression system. If you hear a 'clack' during cranking, the valve clearance is likely out of spec, preventing the engine from generating enough pressure to fire.
Model-Specific Variations
Craftsman 625 Series
Uses an auto-choke system with a thermal element. If the thermal element is stuck, the engine will receive too much or too little fuel, preventing cold starts.
Craftsman Platinum 190cc
Features a pressurized fuel system. If the fuel cap vent is clogged, the engine will crank and potentially fire once before vacuum stalls the engine immediately.
Craftsman V60 Cordless
Not applicable to internal combustion issues. This model relies entirely on battery voltage and the safety switch continuity rather than carburetor fuel delivery.
Troubleshooting Path Comparison
| Symptom | Primary Suspect | Estimated Cost | Difficulty |
|---|---|---|---|
| No Spark | Ignition Coil | $25-$40 | Moderate |
| No Fuel Flow | Dirty Carburetor | $10-$50 | Intermediate |
| Bad Timing | Sheared Key | $5 | Hard |
Real-World Repair Examples
Situation
Customer complained of a mower that cranks but dies after two seconds. Fuel was fresh but the tank had visible sediment.
Solution
Disassembled the carburetor float bowl and cleaned the main jet needle with compressed air and carb cleaner.
Engine started on the first pull and maintained a steady idle.
Situation
Mower would not spark despite a new plug. The owner had recently hit a thick root.
Solution
Removed the starter housing to find the flywheel key had shifted 10 degrees due to the impact shock.
Replaced the flywheel key, restoring proper ignition timing.
Situation
Engine failed to fire after winter storage. The primer bulb felt soft and lacked resistance.
Solution
Replaced the cracked primer bulb and the associated fuel line, which had become brittle.
Fuel primed successfully and the engine fired immediately.
Prevent This From Coming Back
Always use a fuel stabilizer like STA-BIL for every gallon of gas purchased
Empty the fuel tank completely before long-term storage
Replace the fuel filter and air filter every spring regardless of appearance
Store the mower in a dry shed to prevent electrical corrosion on the kill switch and coil
Prevent This From Happening Again
While you're fixing it, stock up on the maintenance essentials that keep your push mowers running right.
Spark Plug
A fresh spark plug ensures easy starting all season. Replace yearly.
Get on AmazonAir Filter
A clean air filter prevents rich running and hard starts.
Get on AmazonSmall Engine Oil
Fresh 30W oil keeps the engine running cool and clean.
Get on AmazonAffiliate Disclosure: Lil Engine may earn commissions from qualifying purchases.
Frequently Asked Questions
No. Ethanol attracts water, which settles at the bottom of the tank and corrodes the carburetor internal components.
Related Questions
Common variations and related questions about this repair.
Why does my Craftsman mower spark plug look wet?
A wet spark plug indicates the engine is flooded or receiving too much fuel. This happens if the primer bulb is overused or the carburetor needle is stuck open.
Is starter fluid safe for small engines?
Starter fluid is safe in small, controlled bursts. Excessive use can strip oil from the cylinder walls and cause internal scoring, so only use it as a diagnostic tool.
How often should I change my lawn mower air filter?
Air filters should be replaced every 50 hours of operation or at the start of every season. A dirty filter chokes the engine and causes a 'cranks but won't start' condition.
What is the correct gap for a mower spark plug?
Most Craftsman small engines require a spark plug gap of .020 to .030 inches. Always check your specific engine manual as incorrect gaps lead to weak, yellow sparks.
Can bad oil cause a mower to not start?
While oil does not cause combustion, extremely low or contaminated oil can trigger internal friction or seize the engine. If the engine is hard to pull, check the oil levels immediately.
How do I know if my ignition coil is bad?
Use an inline spark tester; if you see no light while pulling the cord, the coil is likely faulty. Ensure the kill switch wire is disconnected during this test to rule out a bad safety switch.
Video Help
Helpful videos showing these repairs in action.
Share Your Repair
Real-world fixes help everyone. Share what worked and your repair becomes part of Lil Engine's community database.
Related Problems
More Push Mowers GuidesRelated Maintenance Articles
Related Symptoms
Won’t Start
Carburetor / Fuel Issues
Related Searches
Craftsman push mower Guides
Did this help?
Your feedback helps improve guides for everyone.