String Trimmer Engine Running But Spool Isn't Spinning
⚡ Quick Answer
If your engine is running but the trimmer head is not spinning, the problem is almost certainly a mechanical disconnect within the power transmission system. This is usually caused by a sheared drive shaft spline, a worn or broken clutch assembly, or a failure in the gear head box. Inspecting the drive cable and clutch housing will generally reveal the specific point of failure.

What do you want to do?
Most Likely Cause
Sheared or missing drive pin/key
The drive pin or key serves as the mechanical link between the internal drive shaft and the trimmer head assembly. If this pin shears or falls out due to wear or impact, the shaft will spin freely while the head remains stationary, preventing power transfer to the cutting line.
Start here — this is the most common reason for this symptom.
Why This Problem Happens
The power transfer from a string trimmer engine to the cutting head relies on a drivetrain system that converts rotational crankshaft energy into torque at the spindle. In most common residential models like Stihl, Echo, or Husqvarna, the engine's clutch assembly—comprising weighted shoes and tension springs—must engage the clutch drum at a specific RPM. If these shoes are worn, or the clutch spring has snapped, the shoes will fail to expand, leaving the engine revving in a neutral-like state without transferring power to the drive shaft. Furthermore, the drivetrain utilizes either a flexible steel cable or a solid splined shaft housed within the trimmer boom. These shafts transmit torque from the clutch drum to the gearbox at the bottom of the trimmer. If the square-drive ends of the cable have rounded off, or the shaft has suffered a shear failure, the engine will spin the clutch, but the connection to the gear head is physically interrupted, resulting in a stationary spool despite high engine speeds.
Common Symptoms
- Engine revs freely without spool rotation
- Audible mechanical grinding at the trimmer head
- Complete lack of torque at the cutting head
- Engine vibration changes under load
- Trimmer head rotates erratically or slips
Before You Buy Parts
Quick, free inspections — check these first. Most repairs don't actually need replacement parts.
Diagnostic Flowchart
Follow this decision tree step-by-step to isolate the problem.
Is the trimmer head physically obstructed by tall grass or debris?
Clear the debris and test operation.
Proceed to internal drive inspection.
Go to step 2
Does the drive shaft rotate when the engine is revved?
Inspect the trimmer head connection bolt and adapter.
Go to step 3
Investigate clutch assembly or internal drive shaft.
Go to step 4
Is the trimmer head arbor nut stripped or loose?
Tighten or replace the arbor nut and retaining washer.
Check for sheared splines on the drive shaft.
Go to step 5
Are the clutch shoes engaged with the clutch drum?
Check for internal transmission failure.
Replace broken clutch springs or worn shoes.
Are the splines at the ends of the drive shaft stripped?
Replace the drive shaft.
Inspect the gearbox internal gears for stripping.
Complete Resource Guide
Complete Weed Eaters Troubleshooting & Repair Guide
Repair Overview
60-120 minutes
$20-$80
First Checks — Start Here
- 1Check for tangled debris wrapped around the spool shaft
- 2Verify the trimmer head nut is tight and not stripped
- 3Inspect the clutch drum for excessive play or wobble
- 4Listen for grinding noises coming from the gear head
- 5Check if the inner drive shaft is properly seated in the coupler
- 6Verify the engine is reaching full operating RPM to engage the clutch
Safety Warnings
- !Always disconnect the spark plug wire to prevent accidental engine startup during disassembly.
- !Wear protective gloves to avoid sharp metal burrs or grease-covered components.
- !Ensure the trimmer head is not loaded with tangled line that could create false resistance.
- !Clean the area with compressed air; wear eye protection to avoid flying metal debris.
- !Ensure all housing bolts are torqued evenly to prevent vibration misalignment.
- !Do not over-grease, as excess lubricant can force its way into the clutch assembly and cause slippage.
- !Forgetting to disconnect the spark plug while working on the drive train
Always disconnect the spark plug, work in a well-ventilated area, and consult a professional if unsure.
Most Likely Causes
Ranked by likelihood — tap each to see diagnosis details.
Centrifugal clutch springs maintain tension on the clutch shoes. If a spring breaks, the shoe stays retracted, preventing it from grabbing the clutch drum and transferring power.
The drive shaft connects the engine to the gear head via splined or square ends. If these ends become rounded due to constant load, they will spin inside the female receiver without turning the spool.
🔧 Step-by-Step Fix Guide
Remove and Inspect the Clutch Assembly
Remove the trimmer engine housing to access the clutch. Inspect the clutch shoes for excessive thinning and verify that the garter spring is still intact and holding the shoes together.
Always disconnect the spark plug wire to prevent accidental engine startup during disassembly.
Check the Drive Shaft Integrity
Separate the trimmer boom from the engine assembly. Pull the drive shaft out to inspect both ends for rounded, worn, or twisted splines that indicate a failure to lock into the drive receiver.
Wear protective gloves to avoid sharp metal burrs or grease-covered components.
Test Gearbox Resistance
While the gear head is disconnected from the boom, attempt to turn the head manually. If it turns freely without feeling the internal gear mesh, the internal bevel gears are stripped.
Ensure the trimmer head is not loaded with tangled line that could create false resistance.
Examine the Clutch Drum
Ensure the clutch drum spins freely on its bearing. If the drum is seized or shows severe scoring inside, it will prevent engagement and must be replaced.
Clean the area with compressed air; wear eye protection to avoid flying metal debris.
Verify Shaft Seating
When reassembling, ensure the drive shaft is fully seated into the clutch drum female spline. An improperly seated shaft will fail immediately under load.
Ensure all housing bolts are torqued evenly to prevent vibration misalignment.
Lubricate the Drive Shaft
Use a high-temperature lithium-based grease on the drive shaft before reinstallation. This prevents friction-induced heat that leads to premature spline wear.
Do not over-grease, as excess lubricant can force its way into the clutch assembly and cause slippage.
What To Test Next
If the drive pin is intact, remove the gear head cover to inspect the internal gears for stripped teeth or debris buildup.
Component Reference

Carburetor & Fuel Intake
The carburetor mixes air and fuel for combustion. A clogged jet or stuck float is the #1 cause of small engine starting and surging problems.

Spark Plug & Ignition System
The spark plug ignites the air-fuel mixture. A fouled plug, wrong gap, or failing ignition coil will prevent the engine from firing.

Oil & Lubrication System
Regular oil changes are critical. Low or dirty oil causes engine wear, overheating, and eventual seizure. Check the dipstick before every season.

Drive & Cutting System
Belts, pulleys, and clutches transfer engine power to the wheels and cutting deck. A worn or thrown belt is the most common drive-system failure.
Photos for educational reference. Actual parts may vary by make and model.
Common Mistakes to Avoid
Replacing the clutch when the actual issue is a stripped drive shaft spline
Applying grease to the clutch shoes, which causes massive slippage
Forgetting to disconnect the spark plug while working on the drive train
Using generic grease that melts and migrates into the clutch drum
If This Didn't Fix It
Still having trouble? These are the next things to check:
Get the Exact Parts for Your Machine
Tell us your equipment's year, make, and model — we'll search for parts that actually fit, not generic ones.
Finding parts for
string trimmer engine running but string spool trimmer head
Required Gear
Matched to your string trimmer engine running but string spool trimmer head — click to find the exact fit on Amazon.
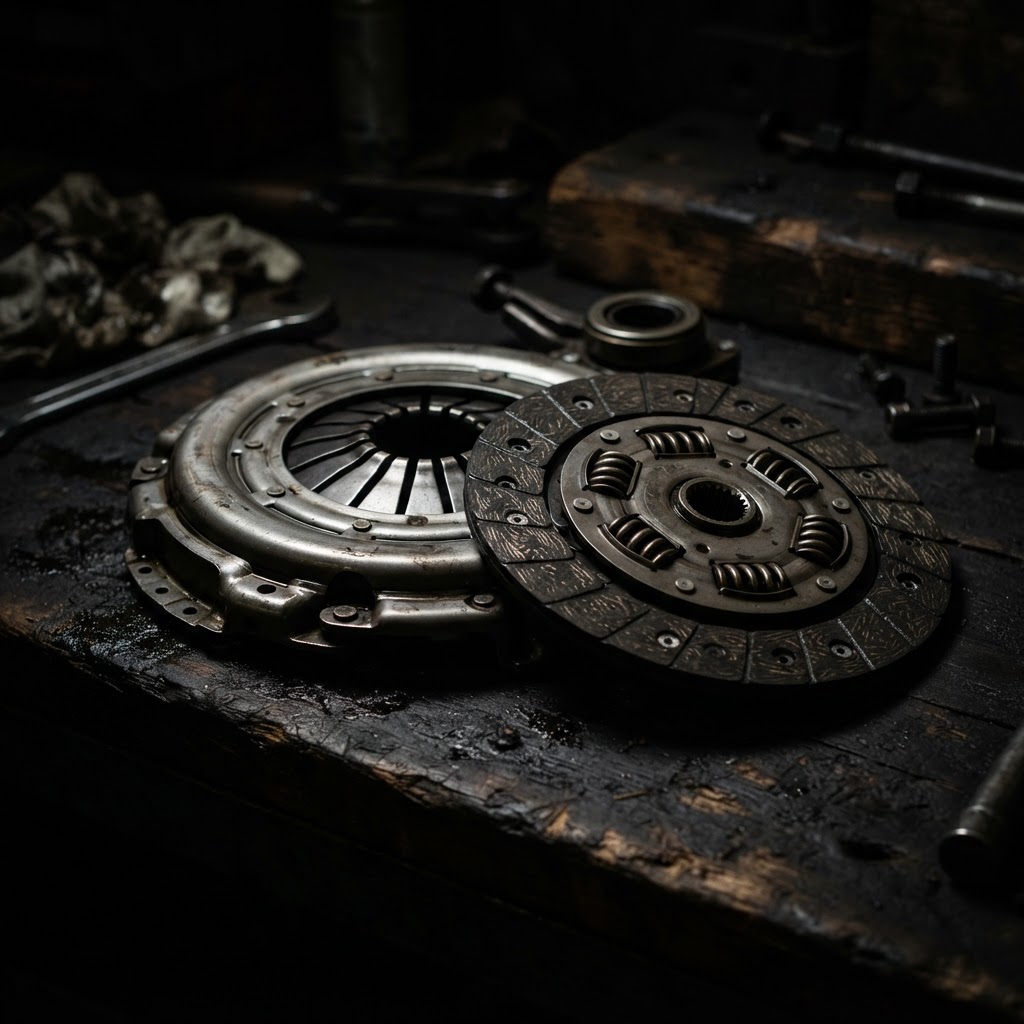
Clutch Assembly Kit
If the clutch springs have failed or the shoes are worn, the engine cannot engage the drive shaft, making a complete assembly replacement the most reliable fix.
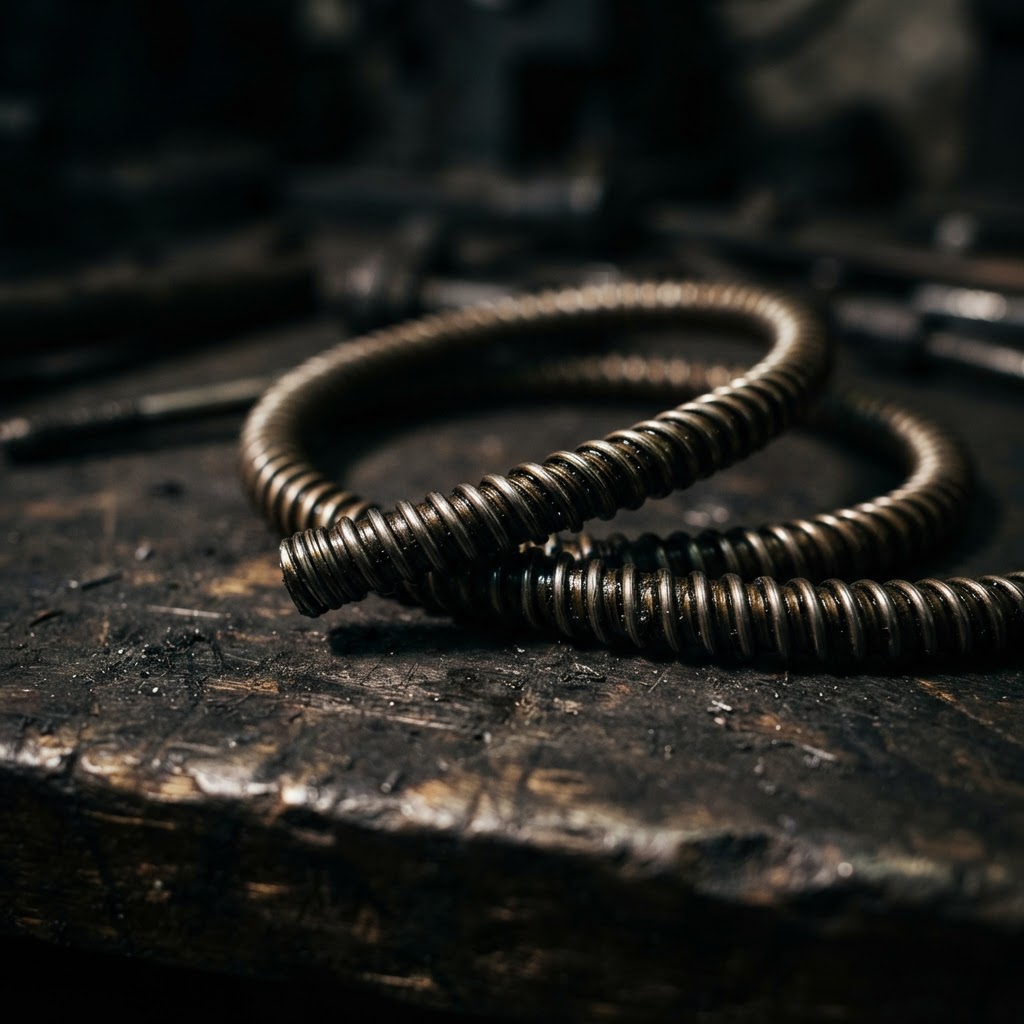
Flexible Drive Cable
The flexible cable often snaps or becomes rounded at the tips due to high torque, requiring a direct replacement to restore power transfer from the engine to the gearbox.
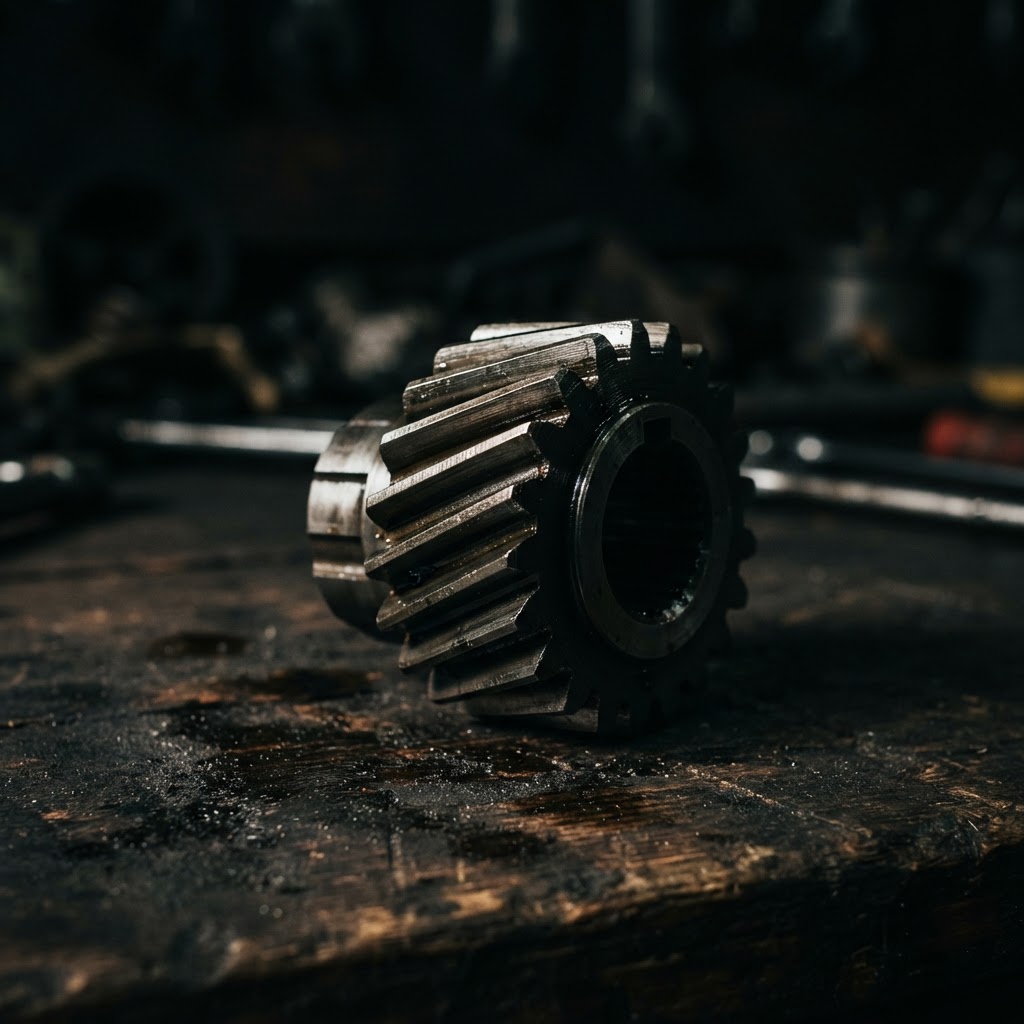
Gearbox Pinion Gear
If the gearbox internals are damaged, replacing the pinion gear is essential to restore the rotational drive to the trimmer head assembly.
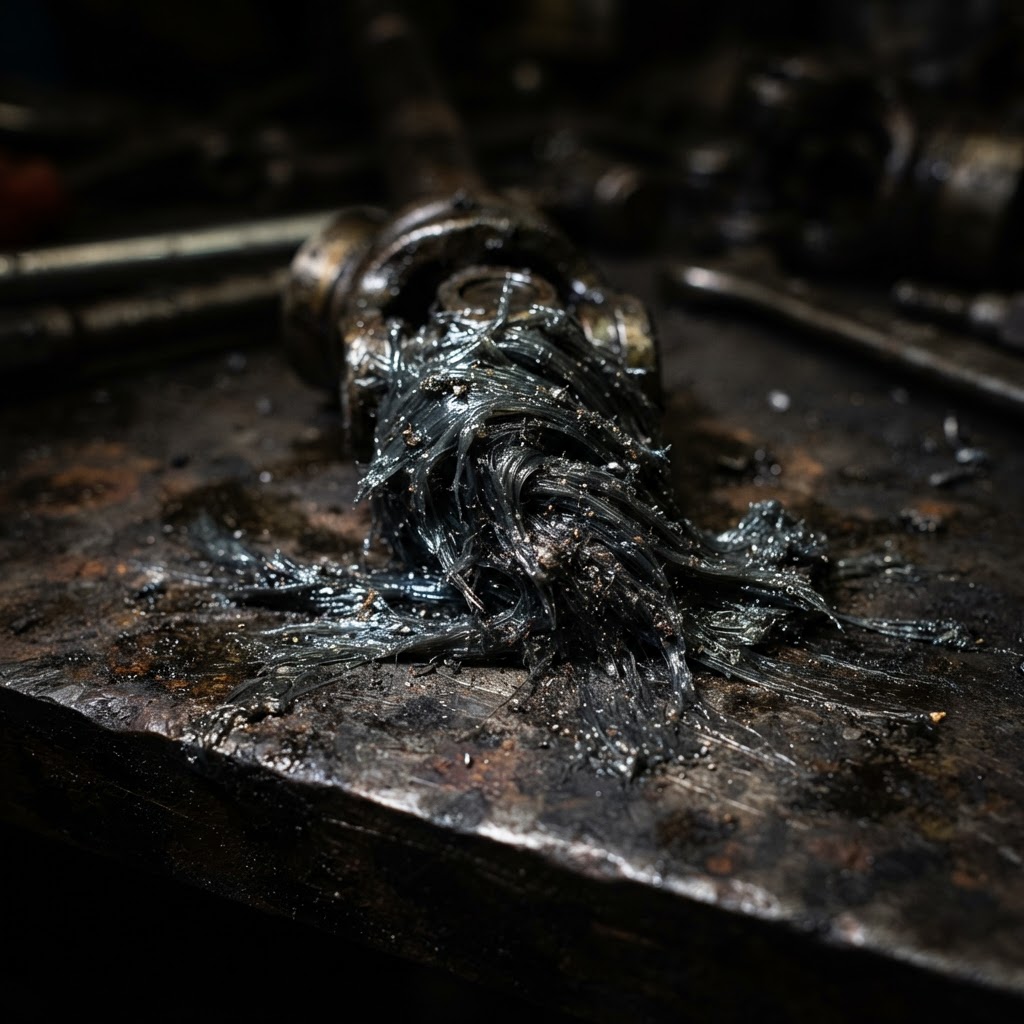
Lithium-Based Drive Shaft Grease
This specific lubricant is required to prevent friction and heat buildup between the drive shaft and the outer housing, which is critical after reinstalling a new cable.
Affiliate Disclosure: Lil Engine may earn commissions from qualifying purchases.
Pro Tips from the Community
Real-world fixes from Reddit, YouTube & forums.
"Check the spool for tangles or jams; even small debris can prevent it from spinning."
YouTube comments"Make sure the drive shaft isn’t stripped or broken—no power means no spin."
LawnSite.com Forum"Inspect the clutch; a broken or worn clutch can cause the head to not engage even if the engine is running."
Reddit r/lawncare"Try applying some grease to the drive shaft; a lack of lubrication can sometimes cause it to seize or slip."
TractorByNet"Replace the wear parts, like the drive cup or spool, if they’re worn out; they can affect power transmission significantly."
DoItYourself.comBrand-Specific Notes
Stihl
Stihl FS series trimmers often use a square-drive flex shaft. If the square ends become rounded, they will fail to engage the head even if the engine revs perfectly.
Echo
Echo trimmers frequently use a solid steel drive shaft connected via a floating clutch. Ensure the clutch drum isn't seized, which is a common failure point after excessive heat buildup.
Husqvarna
Many Husqvarna models feature a split-boom design with a coupling mechanism. Often the failure is not the engine or the head, but the coupler sleeve that has slid out of position.
Model-Specific Variations
Stihl FS 56 RC-E
Utilizes a flexible drive cable rather than a solid shaft. This model requires regular greasing to prevent the cable from snapping under load.
Echo SRM-225
Features a direct-drive clutch system mounted to the engine crank. The most common variation issue is spring fatigue on the clutch shoes preventing engagement at idle.
Husqvarna 128LD
Equipped with a detachable trimmer head system. The locking mechanism in the mid-tube must be fully engaged, otherwise, the shaft will spin without transferring power to the spool.
Drive Failure Diagnostics
| Symptom | Primary Suspect | Required Action | Repair Complexity |
|---|---|---|---|
| Shaft spins, head does not | Arbor/Nut | Tighten/Replace Nut | Low |
| Engine revs, shaft does not spin | Clutch Shoes | Replace Springs/Shoes | Moderate |
| Grinding noise in head | Gearbox | Replace Gearbox | High |
Real-World Repair Examples
Situation
The operator reported the engine sounded normal but the head stayed still. Inspection revealed the arbor bolt had backed out due to vibration.
Solution
Cleaned the threads, applied blue threadlocker, and torqued the bolt to manufacturer specifications.
Trimmer head resumed normal operation.
Situation
A Stihl trimmer would not spin the head despite high engine RPM. The drive cable was found to be snapped inside the shaft housing.
Solution
Removed the split-boom housing, extracted the broken cable segments, and installed a new OEM flexible drive cable.
Full rotational power restored.
Situation
A commercial trimmer lost drive capability after overheating. The clutch drum was found to be heat-warped.
Solution
Replaced the clutch assembly and the drum, ensuring the grease port was cleaned to prevent future overheating.
Transmission efficiency returned to factory standards.
Prevent This From Coming Back
Remove and grease the internal drive shaft every 50 hours of operation
Avoid tapping the trimmer head on hard concrete surfaces while spinning
Perform a visual check of the clutch springs during annual air filter changes
Keep the gear head mounting bolts tightened to prevent vibration-induced spline stripping
Prevent This From Happening Again
While you're fixing it, stock up on the maintenance essentials that keep your weed eaters running right.
Trimmer Line/String
Quality trimmer line breaks less and cuts cleaner.
Get on Amazon2-Cycle Oil
Fresh fuel mix prevents carb diaphragm hardening and starting issues.
Get on AmazonSpark Arrestor Screen
A clogged spark arrestor causes power loss — clean or replace it.
Get on AmazonAffiliate Disclosure: Lil Engine may earn commissions from qualifying purchases.
Frequently Asked Questions
No. A carburetor issue affects engine performance, such as stalling or lack of power, but it would not cause the engine to run while the spool remains stationary.
Related Questions
Common variations and related questions about this repair.
Why does my weed eater engine run but the head won't spin?
This is typically caused by a mechanical disconnection in the drive train. Check the clutch, the drive shaft, or the connection point at the trimmer head.
Is it safe to replace a clutch on a string trimmer?
Yes, provided you have the correct puller tool and follow torque specs. Always disconnect the spark plug wire before working on the engine output shaft.
Can a loose drive shaft cause the head to stop spinning?
Yes, if the drive shaft splines have slipped out of the coupler or the clutch drum, power will not transfer. Re-aligning or replacing the shaft usually fixes this.
How do I know if my trimmer's clutch is bad?
If the engine reaches high RPM but the trimmer head remains motionless, the clutch shoes are likely stuck, broken, or the clutch drum is spinning freely.
What is a 'trimmer gearbox' and how do I fix it?
The gearbox sits at the bottom of the shaft and converts shaft rotation to spool rotation. If you hear grinding, the internal gears are likely stripped and the entire gearbox unit must be replaced.
Why does the string head spin slowly but lack power?
This often points to a slipping clutch or a worn-out drive cable. The connection has enough friction to move the head at idle but fails to hold under the load of cutting.
Video Help
Helpful videos showing these repairs in action.
Share Your Repair
Real-world fixes help everyone. Share what worked and your repair becomes part of Lil Engine's community database.
Related Problems
More Weed Eaters GuidesRelated Maintenance Articles
Related Searches
Weed Eaters Troubleshooting
Did this help?
Your feedback helps improve guides for everyone.