Weed Eater Primer Bulb Won't Hold Gas
⚡ Quick Answer
When a weed eater primer bulb won't fill, won't hold fuel, or stays empty after you press it, the cause is almost always an air leak on the suction side of the fuel circuit — not the bulb itself. The three most common culprits, in order, are: hardened or cracked fuel lines that have lost their vacuum seal, a split or pinhole-leaking primer bulb, and stuck internal check valves inside the carburetor gummed up by old fuel varnish. A bulb that pushes fuel through but won't draw it back usually means the return line is cracked or a check valve is stuck open. Replacing the bulb alone will not fix the problem if the real leak is in a fuel line or the carburetor check valves — diagnose the suction side first.
What do you want to do?
Most Likely Cause
Air leak on the suction side of the fuel circuit
If the primer bulb won't fill or hold fuel, it is almost always sucking air instead of fuel from the tank. The three most common sources, in order, are degraded or cracked fuel lines that have lost their vacuum seal, a split or pinhole-leaking primer bulb, and stuck carburetor check valves gummed up with fuel varnish. Identify which one before replacing parts — a new bulb will not fix a cracked line or a stuck check valve.
Start here — this is the most common reason for this symptom.
Why This Problem Happens
A primer bulb is essentially a simple manual diaphragm pump that relies on two one-way check valves to create a vacuum, pull fuel from the tank, and force it into the carburetor metering chamber. When the bulb refuses to fill with fuel or remains collapsed, it indicates a breach in the vacuum seal or a complete blockage in the fuel circuit. The system depends on a hermetic seal between the rubber bulb, the carburetor body, and the flexible fuel lines; if air enters the suction side due to a cracked return line or a hardened bulb gasket, the pressure differential required to pull fuel is never achieved. Furthermore, internal check valves within the carburetor casting can become stuck due to fuel varnish buildup, preventing the pulse flow necessary for the bulb to cycle. Essentially, you are trying to pump a fluid through a system that is currently 'sucking air' or physically obstructed. Once the integrity of that pneumatic loop is compromised, the bulb can only cycle air, leading to the 'squishy' feeling and failure to return to its original shape, as there is no fluid column to maintain the necessary hydraulic resistance within the primer circuit.
Common Symptoms
- Bulb remains collapsed after pressing
- No visual fuel flow in return line
- Bulb feels air-filled and spongy
- Engine fails to start or dies immediately
- Dry fuel lines visible leading to primer
Before You Buy Parts
Quick, free inspections — check these first. Most repairs don't actually need replacement parts.
Diagnostic Flowchart
Follow this decision tree step-by-step to isolate the problem.
Is the primer bulb visibly cracked or hardened?
Replace the primer bulb assembly immediately
Inspect fuel lines for cracks or leaks
Go to step 2
Are the fuel supply and return lines clear of debris and airtight?
Proceed to test carburetor check valves
Go to step 3
Replace fuel lines and fuel filter
Does fuel pull into the bulb but fail to return to the tank?
Clean or replace carburetor internal diaphragm
Check the fuel tank vent for blockage
Go to step 4
Is the fuel tank vent blocked, creating a vacuum?
Clear vent or replace fuel cap
Examine carburetor for internal leakage
Go to step 5
Is there visible wetness around the carburetor gasket area?
Replace carburetor mounting gaskets
Perform complete carburetor rebuild
Repair Overview
45-90 minutes
$15-$60
First Checks — Start Here
- 1Check the fuel tank cap vent for clogs.
- 2Inspect external fuel lines for cracks or pinholes.
- 3Ensure the fuel filter in the tank is submerged.
- 4Verify the primer bulb is not split or cracked.
- 5Check the tank grommet for airtight sealing.
- 6Tighten the carburetor mounting bolts.
Safety Warnings
- !Wear safety glasses to protect against pressurized fuel spray during inspection.
- !Drain the fuel tank completely before opening the system to avoid environmental contamination.
- !Ensure the engine is cool to prevent ignition of any spilled fuel vapors.
- !Do not overtighten screws, as the plastic carburetor body strips very easily.
- !Keep a fire extinguisher nearby when working on open fuel systems.
- !Work in a well-ventilated area, as carburetor cleaner is highly toxic and flammable.
- !Using generic fuel line that is not compatible with ethanol
- !Ignoring the fuel tank vent which creates a vacuum lock
- !Replacing only the primer bulb when the real leak is in a cracked fuel line or a stuck carburetor check valve
Always disconnect the spark plug, work in a well-ventilated area, and consult a professional if unsure.
Most Likely Causes
Ranked by likelihood — tap each to see diagnosis details.
Ethanol-blended fuels degrade rubber lines over time, causing micro-cracks that allow air to be sucked into the system. Check the return line especially, as a leak here prevents the vacuum needed to pull fuel from the tank.
The rubber bulb is exposed to extreme heat and UV rays, causing it to become brittle and eventually split. Even a hairline crack prevents the bulb from building the pressure required to move fuel.
🔧 Step-by-Step Fix Guide
Inspect the Fuel Lines and Primer Bulb
Trace both fuel lines from the tank to the carburetor and look for yellowed, hardened, or cracked tubing — especially where the lines slide over the barbs. Then examine the primer bulb itself: press it and watch whether it snaps back. A bulb that stays flat, feels spongy, or shows hairline cracks is drawing air instead of fuel. This visual check separates a bulb problem from a fuel-line problem before you replace anything.
Wear safety glasses to protect against pressurized fuel spray during inspection.
Check the Fuel Cap Vent and In-Tank Pickup Filter
A clogged fuel cap vent creates a vacuum lock that stops fuel flow, so the bulb can't draw fuel even when the lines are good. Loosen the cap and try priming again — if the bulb fills, the vent is the culprit. Next, use a hooked wire to pull the in-tank fuel filter up to the cap opening. If the filter is discolored or brittle, or the pickup line has rotted off the filter, the bulb is pulling air from inside the tank.
Drain the fuel tank completely before opening the system to avoid environmental contamination.
Test for Suction-Side Air Leaks
Remove the fuel cap and use a hand-held vacuum pump (Mityvac or similar) on the fuel line leading from the tank. If you cannot pull a vacuum, the fuel line inside the tank has likely rotted off the pickup filter or has a pinhole. A few small bubbles during the first prime are normal, but bubbles that persist while pumping confirm an air leak on the suction side.
Ensure the engine is cool to prevent ignition of any spilled fuel vapors.
Replace the Primer Bulb If It Is Cracked or Spongy
If the bulb shows visible cracking or fails to snap back when released, replace the bulb and its gasket. Tighten the mounting screws in a cross-pattern to seal evenly. Note: a new bulb will not fix the problem if the real leak is in a cracked fuel line or a stuck carburetor check valve — confirm those first with the steps above, or you will be repeating this repair.
Do not overtighten screws, as the plastic carburetor body strips very easily.
Isolate the Fault with a Pressure Test
Using a small syringe filled with fuel, inject fuel directly into the primer intake port. If the bulb fills and the engine starts, the fault is confirmed on the suction side (tank, lines, or filter) rather than in the carburetor. If the bulb still will not hold fuel, the problem is inside the carburetor's check-valve circuit.
Keep a fire extinguisher nearby when working on open fuel systems.
Clean and Verify the Carburetor Check Valves
Remove the carburetor and use carburetor cleaner to blast through the primer inlet port. If the bulb still will not prime after cleaning, the internal check valves are fused shut by varnish and require a carburetor rebuild kit or replacement. This is the most involved step and is only needed when the lines, bulb, and filter have all been confirmed good.
Work in a well-ventilated area, as carburetor cleaner is highly toxic and flammable.
What To Test Next
If the lines and bulb are intact, the next logical step is to verify the carburetor internal check valves are not stuck or damaged, preventing the fuel from being pulled through the metering chamber.
Component Reference

Carburetor & Fuel Intake
The carburetor mixes air and fuel for combustion. A clogged jet or stuck float is the #1 cause of small engine starting and surging problems.

Spark Plug & Ignition System
The spark plug ignites the air-fuel mixture. A fouled plug, wrong gap, or failing ignition coil will prevent the engine from firing.

Air Filter & Intake
A clogged air filter starves the engine of air, causing rich running, power loss, and hard starting. Inspect and clean or replace it each season.

Fuel System
Stale fuel is the most common cause of seasonal starting failures. Fuel breaks down in 30 days, leaving varnish that clogs carburetor jets and fuel filters.
Photos for educational reference. Actual parts may vary by make and model.
Common Mistakes to Avoid
Using generic fuel line that is not compatible with ethanol
Over-tightening primer housing screws causing the plastic to crack
Forgetting to bleed air out of the system after a carb cleaning
Ignoring the fuel tank vent which creates a vacuum lock
Replacing only the primer bulb when the real leak is in a cracked fuel line or a stuck carburetor check valve
Get the Exact Parts for Your Machine
Tell us your equipment's year, make, and model — we'll search for parts that actually fit, not generic ones.
Finding parts for
weed eater prime bulb will not hold gas when I push it
Required Gear
Matched to your weed eater prime bulb will not hold gas when I push it — click to find the exact fit on Amazon.
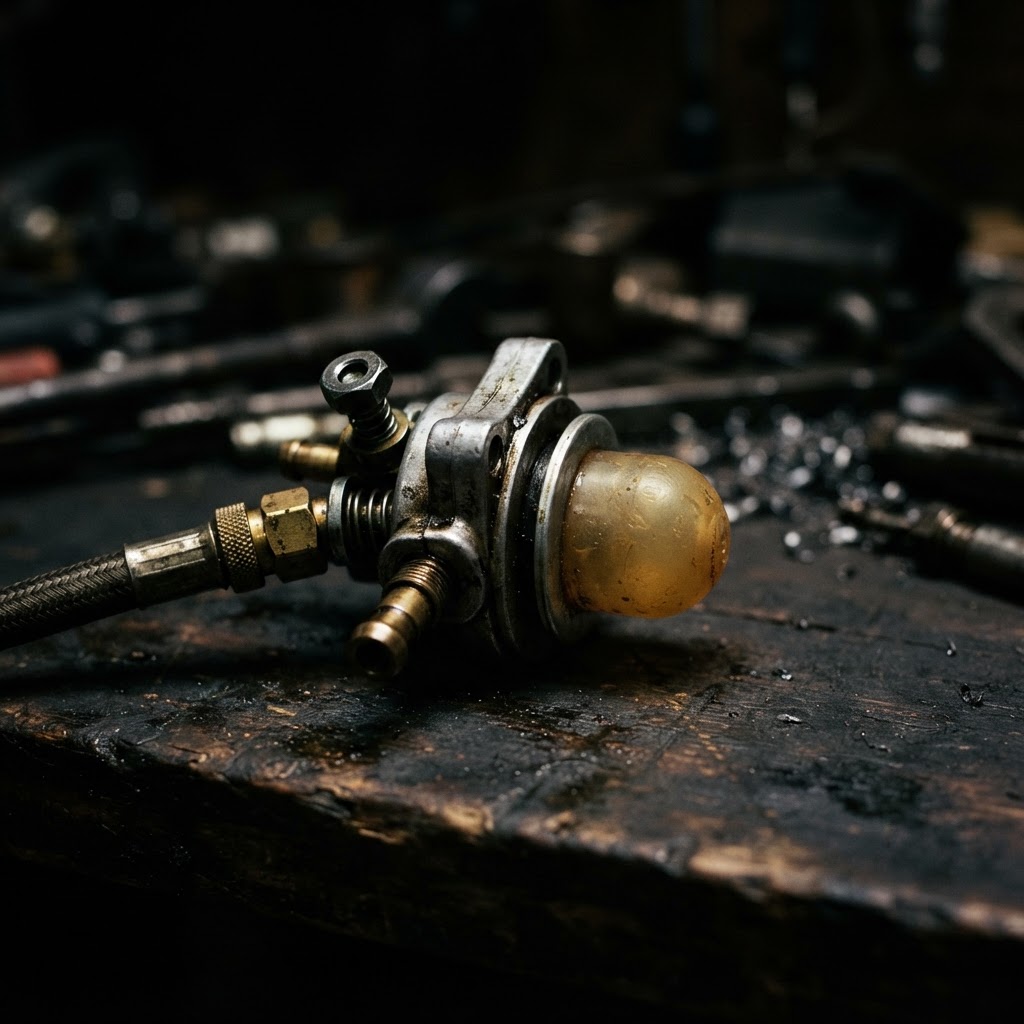
Primer Bulb Assembly
The existing bulb is likely perforated or has lost its elasticity, preventing the vacuum necessary to draw fuel into the carburetor.
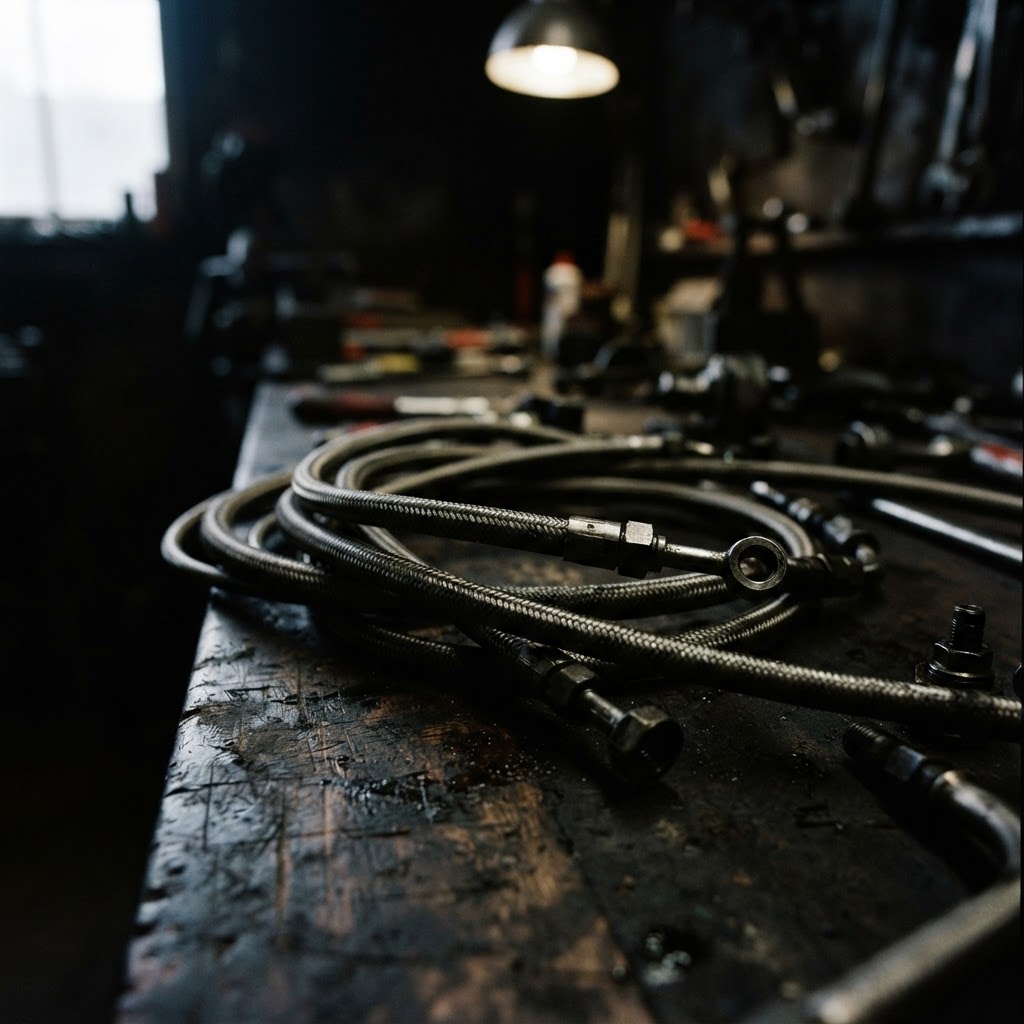
Replacement Fuel Lines
Hardened or cracked lines often allow air to bypass the fuel path, preventing the primer from maintaining a solid column of fuel.
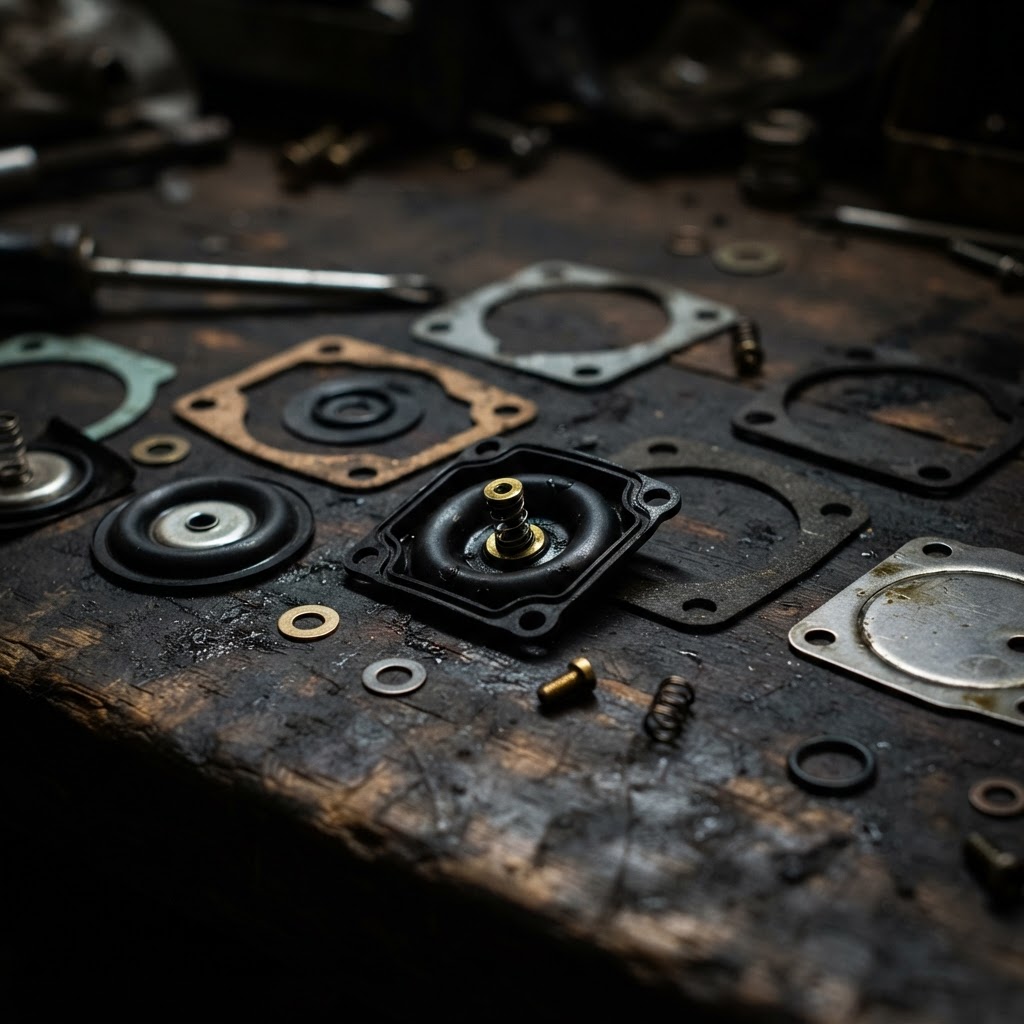
Carburetor Gasket and Diaphragm Kit
Damaged internal gaskets or a hardened diaphragm will cause a vacuum leak, rendering the primer system incapable of pumping fuel effectively.
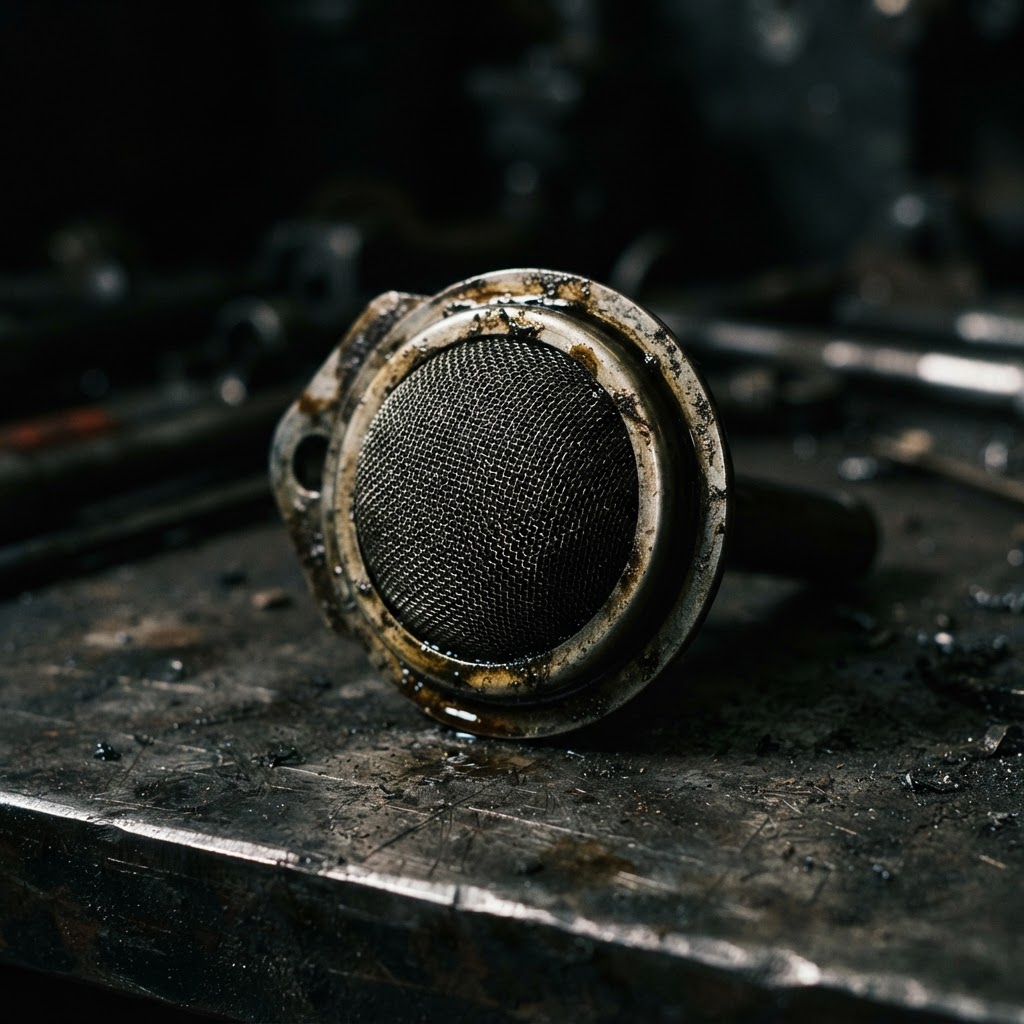
Fuel Tank Pickup Filter
A clogged or restricted filter puts excessive strain on the primer system and fuel lines, often leading to air intake issues during the priming process.
Affiliate Disclosure: Lil Engine may earn commissions from qualifying purchases.
Pro Tips from the Community
Real-world fixes from Reddit, YouTube & forums.
"Check for cracks in the primer bulb or fuel line; even tiny ones can cause it to lose suction."
Reddit r/lawncare"Make sure your fuel tank cap is venting properly; a vacuum can prevent fuel from reaching the bulb."
YouTube comments"Inspect the fuel filter; a clogged filter can cause poor fuel flow to the primer bulb."
LawnSite.com Forum"Try replacing the fuel lines if they’re old or hardened; they'll often collapse under vacuum."
TractorByNet"If there's debris in the carburetor, it can block fuel flow; a good cleaning can help solve the issue."
DoItYourself.comBrand-Specific Notes
Stihl
Stihl trimmers often use a specialized purge bulb integrated into the carburetor housing. These units are highly sensitive to ethanol damage, requiring the replacement of the entire metering diaphragm set if the bulb fails to prime.
Echo
Echo units frequently utilize a dual-line fuel system where the return line is very short. If the return line inside the tank has hardened or cracked, the bulb will move air rather than fuel, requiring an internal tank line replacement.
Ryobi
Ryobi units often feature a simplified primer bulb assembly held by a plastic retainer ring. Over time, this retainer can warp, allowing air to bypass the seal and preventing a proper vacuum state even with a new bulb.
Model-Specific Variations
Echo SRM-225
Features a specific clear primer line routing; if the lines are reversed, the bulb will never fill correctly. Always verify the intake line draws from the fuel filter side.
Stihl FS 56
Uses a vacuum-operated carb; ensure the impulse line is clear, as a weak pulse from the crankcase will prevent the internal pump from assisting the primer bulb.
Ryobi Expand-It
Often uses a translucent fuel tank design where the grommet seating is prone to leaking; check the seal where the fuel lines enter the tank before assuming the bulb is faulty.
Causes of Primer Bulb Failure
| Root Cause | Frequency | Repair Complexity |
|---|---|---|
| Dry Rot/Aging | High | Low |
| Clogged Fuel Line | Medium | Medium |
| Internal Carb Seal Failure | Low | High |
Real-World Repair Examples
Situation
A weed eater was stored for two years with gasoline in the tank. The primer bulb remained compressed and would not expand.
Solution
Replaced the fuel lines, filter, and primer bulb as a complete kit.
Engine started on the third pull.
Situation
The operator reported the bulb felt soft and would not push fuel, even though the bulb was new.
Solution
Discovered the fuel pickup line had detached from the filter inside the tank.
Reattached line and engine primed perfectly.
Prevent This From Coming Back
Use non-ethanol fuel to prevent carburetor varnish
Add a quality fuel stabilizer to every gallon of gas
Replace all fuel lines every 2-3 years as a standard service item
Run the engine dry before long-term seasonal storage
Prevent This From Happening Again
While you're fixing it, stock up on the maintenance essentials that keep your weed eaters running right.
Trimmer Line/String
Quality trimmer line breaks less and cuts cleaner.
Get on Amazon2-Cycle Oil
Fresh fuel mix prevents carb diaphragm hardening and starting issues.
Get on AmazonSpark Arrestor Screen
A clogged spark arrestor causes power loss — clean or replace it.
Get on AmazonAffiliate Disclosure: Lil Engine may earn commissions from qualifying purchases.
Frequently Asked Questions
No. Using high-pressure air can blow out delicate internal check valves or rupture the tank grommet, causing a major leak.
Related Questions
Common variations and related questions about this repair.
Why does my primer bulb stay compressed?
A primer bulb that stays compressed usually indicates a blockage in the return line or a vacuum issue in the fuel tank. Check for pinched hoses or a clogged tank vent to restore proper airflow.
Does ethanol gas damage the primer bulb?
Yes, high-ethanol fuel blends (E10 or E15) degrade the rubber compounds in primer bulbs over time, causing them to crack or lose elasticity. Using ethanol-free fuel or a fuel stabilizer is recommended for storage.
What is the order of fuel lines on a primer bulb?
Generally, the intake line goes from the fuel filter to the carburetor, and the return line goes from the carburetor back into the tank. Always consult the specific repair manual for your model to confirm the routing.
Video Help
Helpful videos showing these repairs in action.
Share Your Repair
Real-world fixes help everyone. Share what worked and your repair becomes part of Lil Engine's community database.
Related Problems
More Weed Eaters GuidesRelated Maintenance Articles
Did this help?
Your feedback helps improve guides for everyone.