Weed Eater Turns Over But Won't Fire — Fuel & Spark Diagnosis
⚡ Quick Answer
To diagnose a weed eater that pulls but won't fire, first verify spark with a tester and then perform a 'prime test' by adding a teaspoon of fuel directly into the carburetor throat. If it fires briefly, you have a fuel delivery issue caused by clogged carb diaphragms or cracked fuel lines. Additionally, check the spark arrestor screen in the muffler for carbon blockage, which is a common but overlooked cause of no-start conditions in 2-stroke engines.
What do you want to do?
Most Likely Cause
Carburetor Varnish Obstruction
Ethanol in pump gasoline degrades and leaves sticky deposits inside the carburetor's micro-passages. You can verify this by checking if the primer bulb fails to draw fuel or stays collapsed.
Start here — this is the most common reason for this symptom.
Why This Problem Happens
When a weed eater turns over but refuses to fire, you are experiencing a failure of the internal combustion triad: compression, fuel delivery, or ignition timing. Because the unit is 'turning over,' the starter recoil and crankshaft are functional, confirming the engine is not physically seized. The lack of ignition usually stems from a breakdown in the air-fuel mixture or the timing of the spark event. In modern 2-cycle string trimmers, the small-bore carburetor is highly susceptible to fuel varnish from ethanol-blended gasoline, which obstructs the high-speed and idle circuits. If the fuel cannot atomize properly to reach the combustion chamber, or if the ignition coil fails to provide a high-voltage discharge at the exact moment the piston reaches Top Dead Center, the engine will spin indefinitely without sustaining combustion. This failure is often compounded by excessive carbon buildup on the spark arrestor screen, which increases backpressure and prevents fresh intake charges from clearing the combustion chamber, effectively choking the engine from the exhaust side.
Common Symptoms
- Engine cranks smoothly but no ignition pulses
- Spark plug tip remains dry after repeated cranking
- Noticeable loss of resistance when pulling the recoil
- Exhaust port shows signs of heavy oil soot or blockage
- Engine 'pops' or backfires briefly then dies
Before You Buy Parts
Quick, free inspections — check these first. Most repairs don't actually need replacement parts.
Complete Resource Guide
Complete Weed Eaters Troubleshooting & Repair Guide
Repair Overview
45–90 minutes
$10–$40
First Checks — Start Here
- 1Check fuel for age and ethanol separation; replace with fresh 50:1 or 40:1 mix if older than 30 days.
- 2Confirm spark by grounding the plug against the cylinder; look for a crisp blue arc.
- 3Inspect the primer bulb for cracks or if it fails to draw fuel into the lines.
- 4Check fuel lines inside the tank for softening, cracks, or a detached fuel filter.
- 5Clean the spark arrestor screen in the muffler using a propane torch or wire brush.
- 6Inspect the air filter for oil soaking or dirt blockage that could be choking the intake.
Safety Warnings
- !Wear insulated pliers to hold the plug to avoid a significant high-voltage shock.
- !Ensure the muffler is cool to the touch before attempting removal to prevent thermal burns.
- !Keep open fuel lines contained to prevent a fire hazard in the workspace.
- !Be careful of sharp metal cooling fins on the flywheel while manipulating the coil.
- !Avoid doing this near an open flame, as fuel vapors will be present.
- !Do not use starting fluid, as it lacks the lubrication required for two-stroke internals.
- !Replacing the carburetor before checking the spark arrestor screen
- !Using old gasoline that has lost its octane and volatility
- !Failing to replace the gasket between the carb and engine block
Always disconnect the spark plug, work in a well-ventilated area, and consult a professional if unsure.
Most Likely Causes
Ranked by likelihood — tap each to see diagnosis details.
Ethanol in pump gasoline degrades and leaves sticky deposits inside the carburetor's micro-passages. You can verify this by checking if the primer bulb fails to draw fuel or stays collapsed.
Carbon deposits can create a conductive path that shorts the spark across the ceramic insulator rather than jumping the electrode gap. Inspect the tip for wet oil residue or hard black crust.
🔧 Step-by-Step Fix Guide
Perform an Ignition Spark Test
Remove the spark plug, reattach the boot, and hold the threaded body against the cylinder head while cranking. You must see a sharp, bright blue spark; a faint yellow or orange spark indicates a weak coil.
Wear insulated pliers to hold the plug to avoid a significant high-voltage shock.
Check and Clean the Spark Arrestor
Remove the muffler exhaust cover and pull out the wire mesh screen. If it is caked with carbon, heat it with a torch until glowing red or soak it in carb cleaner to restore airflow.
Ensure the muffler is cool to the touch before attempting removal to prevent thermal burns.
Inspect Carburetor Pulse Port
Remove the carburetor from the engine and check the gasket interface on the cylinder block for a small hole. Ensure this hole is clear of debris to allow crankcase pressure to reach the carb pump.
Keep open fuel lines contained to prevent a fire hazard in the workspace.
Reset Ignition Coil Air Gap
Loosen the mounting bolts on the ignition coil and slide a .010-inch feeler gauge between the coil legs and the flywheel magnets. Tighten the bolts while holding the coil against the gauge, then rotate the flywheel to remove the gauge.
Be careful of sharp metal cooling fins on the flywheel while manipulating the coil.
Verify Fuel Tank Venting
Open the fuel cap while cranking; if the engine fires, the fuel tank vent is clogged, creating a vacuum that prevents fuel flow. Replace the fuel cap or clear the vent check valve.
Avoid doing this near an open flame, as fuel vapors will be present.
Perform a 'Squirt' Test
Remove the air filter and squirt a small amount of mixed fuel directly into the carburetor throat. If the engine fires momentarily, your problem is confirmed as a fuel delivery failure, not an ignition issue.
Do not use starting fluid, as it lacks the lubrication required for two-stroke internals.
What To Test Next
If fuel delivery checks out, the next thing to inspect is spark — remove the spark plug, ground its threads to the engine block, and crank the engine to look for a visible blue spark.
Component Reference

Carburetor & Fuel Intake
The carburetor mixes air and fuel for combustion. A clogged jet or stuck float is the #1 cause of small engine starting and surging problems.

Spark Plug & Ignition System
The spark plug ignites the air-fuel mixture. A fouled plug, wrong gap, or failing ignition coil will prevent the engine from firing.

Oil & Lubrication System
Regular oil changes are critical. Low or dirty oil causes engine wear, overheating, and eventual seizure. Check the dipstick before every season.

Air Filter & Intake
A clogged air filter starves the engine of air, causing rich running, power loss, and hard starting. Inspect and clean or replace it each season.
Photos for educational reference. Actual parts may vary by make and model.
Common Mistakes to Avoid
Using ether-based starting fluid which washes oil off the cylinder walls
Replacing the carburetor before checking the spark arrestor screen
Over-tightening carburetor mounting bolts causing intake air leaks
Using old gasoline that has lost its octane and volatility
Failing to replace the gasket between the carb and engine block
If This Didn't Fix It
Still having trouble? These are the next things to check:
Get the Exact Parts for Your Machine
Tell us your equipment's year, make, and model — we'll search for parts that actually fit, not generic ones.
Finding parts for
weed eater
Required Gear
Matched to your weed eater — click to find the exact fit on Amazon.
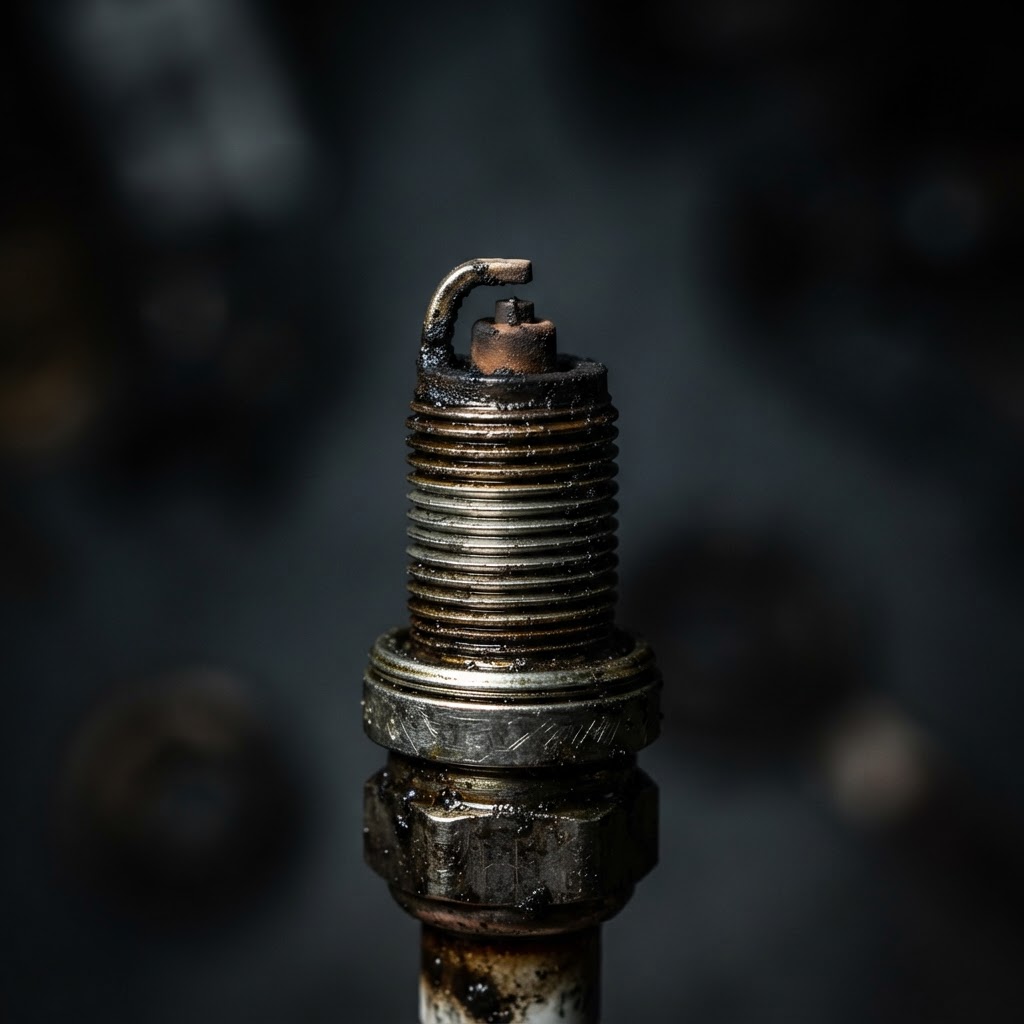
Spark Plug
A fouled or carbon-bridged plug prevents ignition even when a spark test shows life; a fresh plug ensures a reliable electrical arc for combustion.
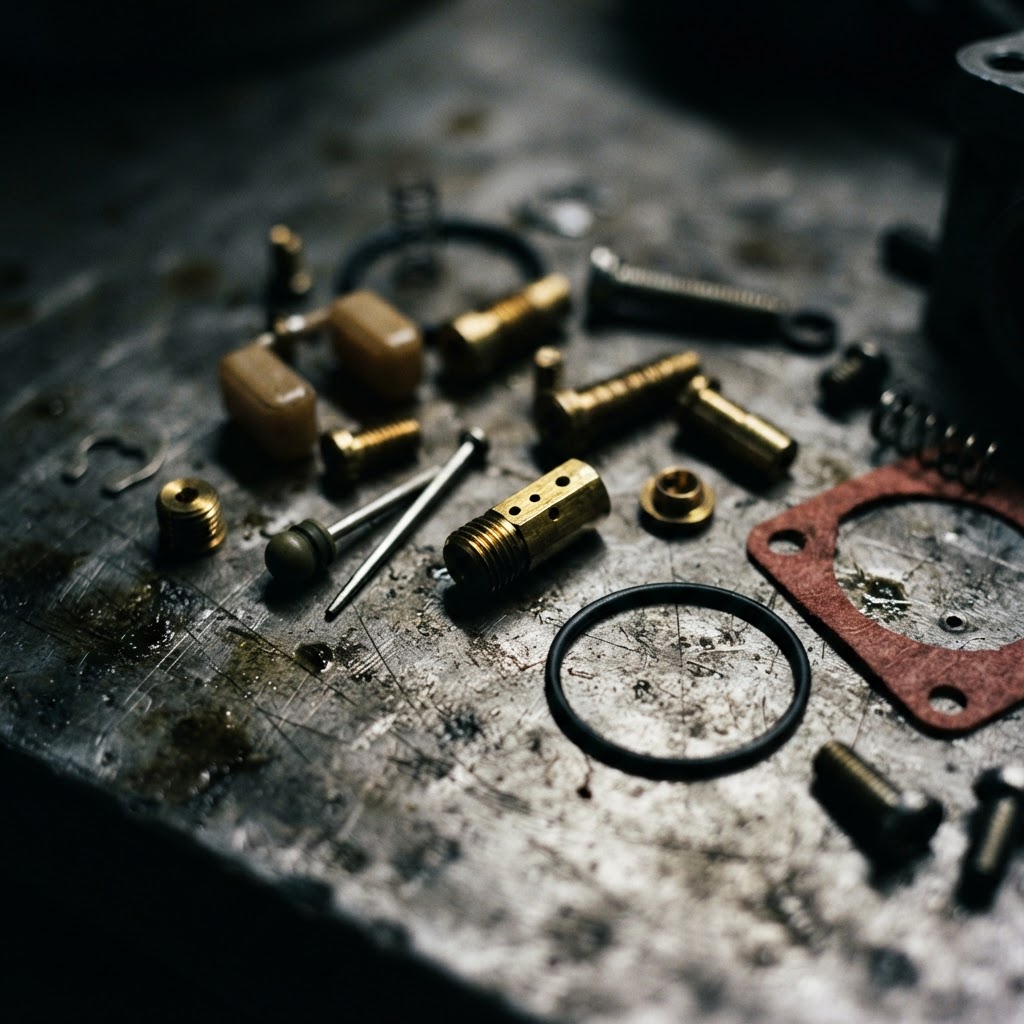
Carburetor Rebuild Kit
Internal varnish obstructions in the metering needles or passages cannot be cleaned externally, necessitating new diaphragms and gaskets to restore proper fuel flow.
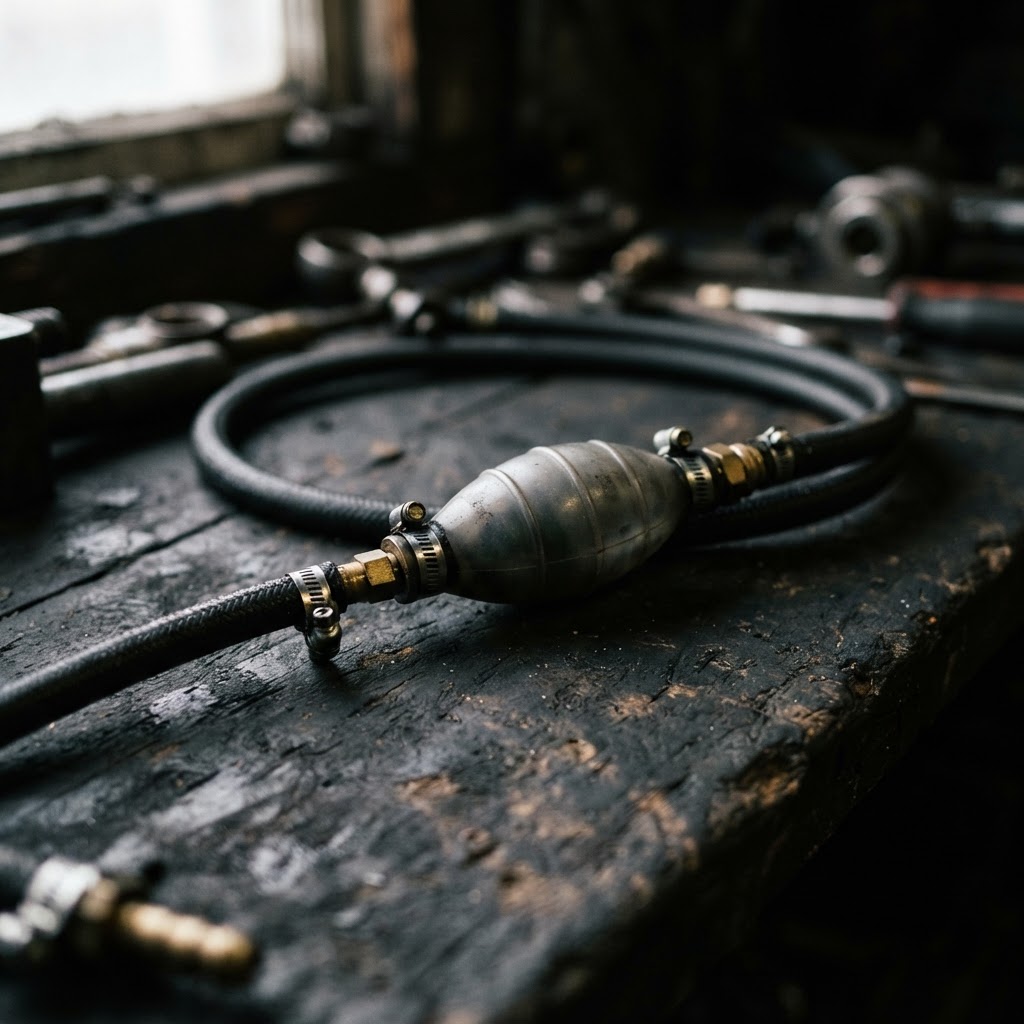
Fuel Line and Primer Bulb Kit
Deteriorated fuel lines often crack or lose seal at the tank grommet, preventing the pulse system from drawing fuel into the carburetor, while a split primer bulb causes an air leak that prevents engine priming.
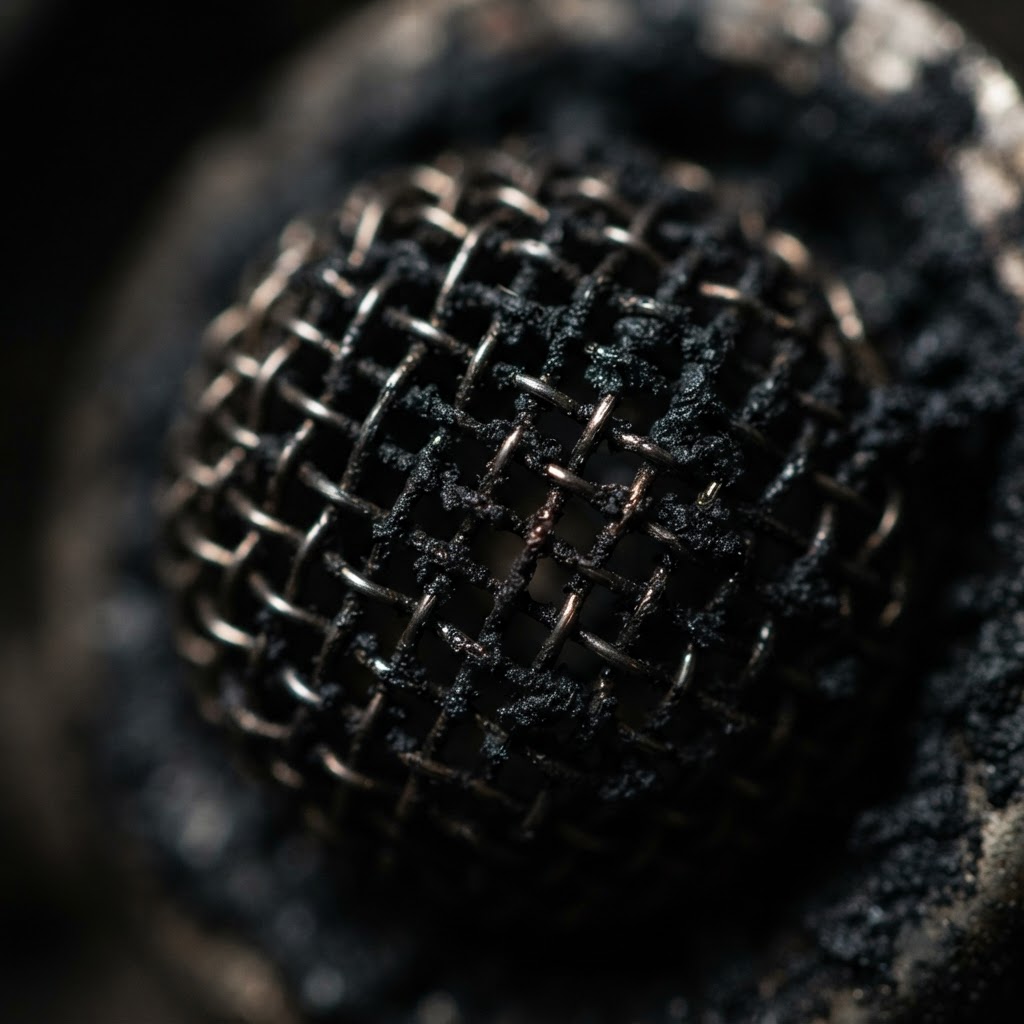
Spark Arrestor Screen
If the screen is heavily carbon-packed, it creates backpressure that stifles the engine, preventing it from firing even if the ignition and fuel systems are functional.
Affiliate Disclosure: Lil Engine may earn commissions from qualifying purchases.
Pro Tips from the Community
Real-world fixes from Reddit, YouTube & forums.
"If it only runs on half-choke, you definitely have a partially clogged main jet or an air leak in the fuel lines. Don't just leave it on choke; you'll eventually overheat and seize the engine."
Reddit r/lawncare"The screen in the muffler is the most overlooked part. I've 'fixed' hundreds of trimmers just by burning the carbon off that screen with a torch. If the engine can't breathe out, it can't breathe in."
YouTube comments"Check your flywheel key if you've recently hit a fence or a thick sapling. If the key is slightly sheared, the timing will be off. It'll have spark and fuel, but it'll never fire at the right time to start."
LawnSite.com ForumPrevent This From Coming Back
Always use ethanol-free fuel mixed with high-quality synthetic 2-cycle oil
Run the engine until it runs out of fuel before long-term storage
Replace the fuel filter inside the tank at the start of every season
Periodically inspect and clean the air filter to prevent running 'rich'
Store the unit in a climate-controlled environment to reduce condensation
Prevent This From Happening Again
While you're fixing it, stock up on the maintenance essentials that keep your weed eaters running right.
Trimmer Line/String
Quality trimmer line breaks less and cuts cleaner.
Get on Amazon2-Cycle Oil
Fresh fuel mix prevents carb diaphragm hardening and starting issues.
Get on AmazonSpark Arrestor Screen
A clogged spark arrestor causes power loss — clean or replace it.
Get on AmazonAffiliate Disclosure: Lil Engine may earn commissions from qualifying purchases.
Frequently Asked Questions
This usually indicates the engine is getting just enough fuel to ignite once, but a restriction in the carburetor's high-speed jet prevents a steady stream. Clean the carburetor or verify fuel lines are not kinked.
Video Help
Helpful videos showing these repairs in action.
Share Your Repair
Real-world fixes help everyone. Share what worked and your repair becomes part of Lil Engine's community database.
Related Problems
More Weed Eaters GuidesRelated Maintenance Articles
Related Symptoms
Won’t Start
Carburetor / Fuel Issues
Related Searches
Weed Eaters Troubleshooting
Did this help?
Your feedback helps improve guides for everyone.