Weed Eater String Won't Auto Dispense
⚡ Quick Answer
Most trimmer head feeding issues stem from centrifugal force failure caused by internal spool friction, improper line winding, or damaged bump-knob components. When the line welds itself together inside the spool due to engine heat or poor quality monofilament, the auto-feed mechanism lacks the force to advance the string. Addressing this requires a thorough cleaning of the head assembly, inspecting for debris, and ensuring the line is wound with proper tension and orientation.
What do you want to do?
Most Likely Cause
Fused or Tangled Trimmer Line
Trimmer line often gets welded together or tangles deep within the spool due to heat buildup or improper winding. This creates too much friction for the centrifugal force to overcome, preventing the line from advancing when the bump head is engaged.
Start here — this is the most common reason for this symptom.
Why This Problem Happens
Automatic trimmer heads rely on centrifugal force and specific friction points to manage line feed. Inside the head, a spring-loaded spool is held in place by locking tabs or cam-style latches. When the operator 'taps' the head against the ground, the internal spool compresses the return spring, momentarily disengaging these locking mechanisms. This allows centrifugal force to pull additional line through the eyelets. When the head is lifted, the spring re-seats the spool into the locking teeth, halting the feed. If the line fails to dispense, it is almost always due to the line being fused to itself on the spool or mechanical resistance preventing the spool from sliding freely on its shaft. When line becomes tightly wound or overlap happens, it creates a 'locked' bundle that exceeds the strength of the centrifugal force to unspool. Alternatively, debris ingress like dirt, dried grass, or sap can act as a binding agent, effectively 'gluing' the spool to the head housing, preventing the axial movement necessary for the auto-feed release. In advanced cases, the internal tension spring may collapse or lose its temper, meaning it no longer provides the necessary force to push the spool back into the engaged position once a tap is performed.
Common Symptoms
- Trimmer head fails to feed line despite repeated hard taps
- Audible thumping or dragging sound from the cutting head
- Line appears 'welded' or stuck together on the spool
- Spool requires manual intervention to pull line out
- Inconsistent vibration or chatter during operation
Before You Buy Parts
Quick, free inspections — check these first. Most repairs don't actually need replacement parts.
Diagnostic Flowchart
Follow this decision tree step-by-step to isolate the problem.
Is the trimmer line tangled or welded together inside the spool?
Untangle and rewind the line properly
Proceed to check the feed mechanism
Go to step 2
Does the bump head spring have proper tension?
Proceed to check for debris
Go to step 3
Replace the damaged or collapsed spring
Is the spool head assembly free of grass and dirt buildup?
Proceed to check line eyelets
Go to step 4
Clean the head assembly thoroughly
Are the line eyelets (grommets) worn down or grooved?
Replace the worn eyelets
Inspect the line quality/diameter
Go to step 5
Is the trimmer line diameter correct for the model?
Check for internal mechanism wear
Replace with manufacturer-specified gauge
Complete Resource Guide
Complete Weed Eaters Troubleshooting & Repair Guide
Repair Overview
20-40 minutes
$5-$30
First Checks — Start Here
- 1Check for visible debris or grass packed inside the head.
- 2Verify the spool rotates freely by hand.
- 3Inspect the bump knob for excessive wear or flat spots.
- 4Confirm the line is not welded together from heat.
- 5Ensure the trimmer head is tight on the shaft.
- 6Check that the line is wound in the correct direction.
- 7Remove and re-spool with high-quality trimmer line.
Safety Warnings
- !Always remove the spark plug wire before working on the cutting head to prevent accidental startup.
- !Be prepared for the internal spring to launch out if the head is under high pressure.
- !Wear safety goggles to protect your eyes from flying debris while using compressed air.
- !Do not reuse brittle line as it may snap during operation, creating a projectile hazard.
- !Ensure the line ends are properly secured in the spool notches before reassembling.
- !Do not enlarge the eyelet diameter beyond factory specs, as this can cause the line to feed too fast.
- !Ensure the spring is seated perfectly in the center hub during reassembly to avoid jamming the spool.
Always disconnect the spark plug, work in a well-ventilated area, and consult a professional if unsure.
Most Likely Causes
Ranked by likelihood — tap each to see diagnosis details.
High-speed friction causes the nylon line to melt and fuse to the layers below. Inspect the spool for discolored, flat, or fused sections that prevent the line from unwinding under tension.
The internal tension spring responsible for resetting the spool loses its spring rate over time. If the spring cannot return the spool to the 'locked' position, the head may either not feed or continuously dump all the line.
🔧 Step-by-Step Fix Guide
Perform a Functional Inspection
With the engine off, check if the head rotates freely and if the spool can be depressed against the internal spring. If it feels gritty or refuses to depress, the head requires disassembly.
Always remove the spark plug wire before working on the cutting head to prevent accidental startup.
Disassemble the Trimmer Head
Remove the bump knob or retaining cap to access the spool. On most Husqvarna or Echo models, you must twist the head counter-clockwise while holding the shaft to release it.
Be prepared for the internal spring to launch out if the head is under high pressure.
Clean Internal Components
Use a nylon brush and compressed air to remove all caked-on debris from the spool cavity and the housing. Apply a light dry-film lubricant if the plastic shows signs of heavy friction, but avoid wet greases that attract dirt.
Wear safety goggles to protect your eyes from flying debris while using compressed air.
Inspect for Line Fusion
Unwind the entire length of line and inspect it for signs of heat damage. If sections are brittle or fused, discard the line and replace it with fresh, high-quality monofilament.
Do not reuse brittle line as it may snap during operation, creating a projectile hazard.
Re-spool According to Manufacturer Specifications
Wind the line tightly and evenly onto the spool following the directional arrows molded into the plastic. Do not cross the lines, as this is the primary cause of internal binding.
Ensure the line ends are properly secured in the spool notches before reassembling.
Check Eyelet Integrity
Use a pick or small file to smooth out any deep grooves in the plastic or metal eyelets. If the eyelets are significantly gouged, they must be replaced to prevent future binding.
Do not enlarge the eyelet diameter beyond factory specs, as this can cause the line to feed too fast.
Test Spring Tension
Check the spring for uneven coils or rust. If the spring feels weak or has lost its original height compared to a new one, replace it to ensure reliable locking and unlocking behavior.
Ensure the spring is seated perfectly in the center hub during reassembly to avoid jamming the spool.
What To Test Next
If the spool is wound correctly and free of tangles, the next step is to inspect the bump head spring and internal mechanism for signs of physical wear or structural damage.
Component Reference

Carburetor & Fuel Intake
The carburetor mixes air and fuel for combustion. A clogged jet or stuck float is the #1 cause of small engine starting and surging problems.

Spark Plug & Ignition System
The spark plug ignites the air-fuel mixture. A fouled plug, wrong gap, or failing ignition coil will prevent the engine from firing.

Oil & Lubrication System
Regular oil changes are critical. Low or dirty oil causes engine wear, overheating, and eventual seizure. Check the dipstick before every season.

Electrical & Starting System
The battery, solenoid, and starter motor work together to crank the engine. A weak battery or corroded connection is often mistaken for a fuel or spark problem.
Photos for educational reference. Actual parts may vary by make and model.
Common Mistakes to Avoid
Using line that is too thick for the specific trimmer head capacity
Winding the line loosely, causing it to tangle and wedge during centrifugal rotation
Ignoring the directional arrows during the spooling process
Using oil-based lubricants that attract dirt and turn into an abrasive paste
Over-tightening the bump knob, which prevents the internal spring from compressing
If This Didn't Fix It
Still having trouble? These are the next things to check:
Get the Exact Parts for Your Machine
Tell us your equipment's year, make, and model — we'll search for parts that actually fit, not generic ones.
Finding parts for
weed eater string
Required Gear
Matched to your weed eater string — click to find the exact fit on Amazon.
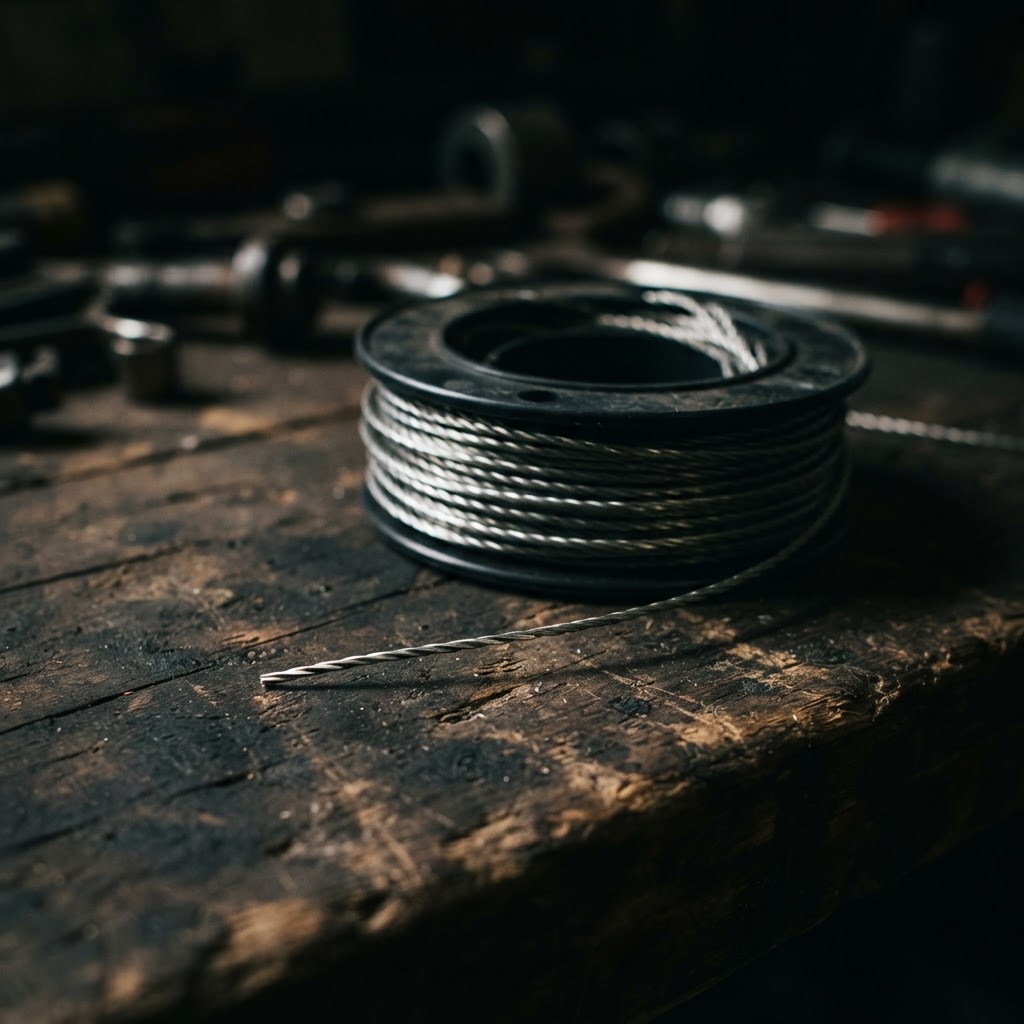
Trimmer Line
If the existing line is welded or brittle due to age, fresh, high-quality line is required to prevent re-fusing inside the head during operation.
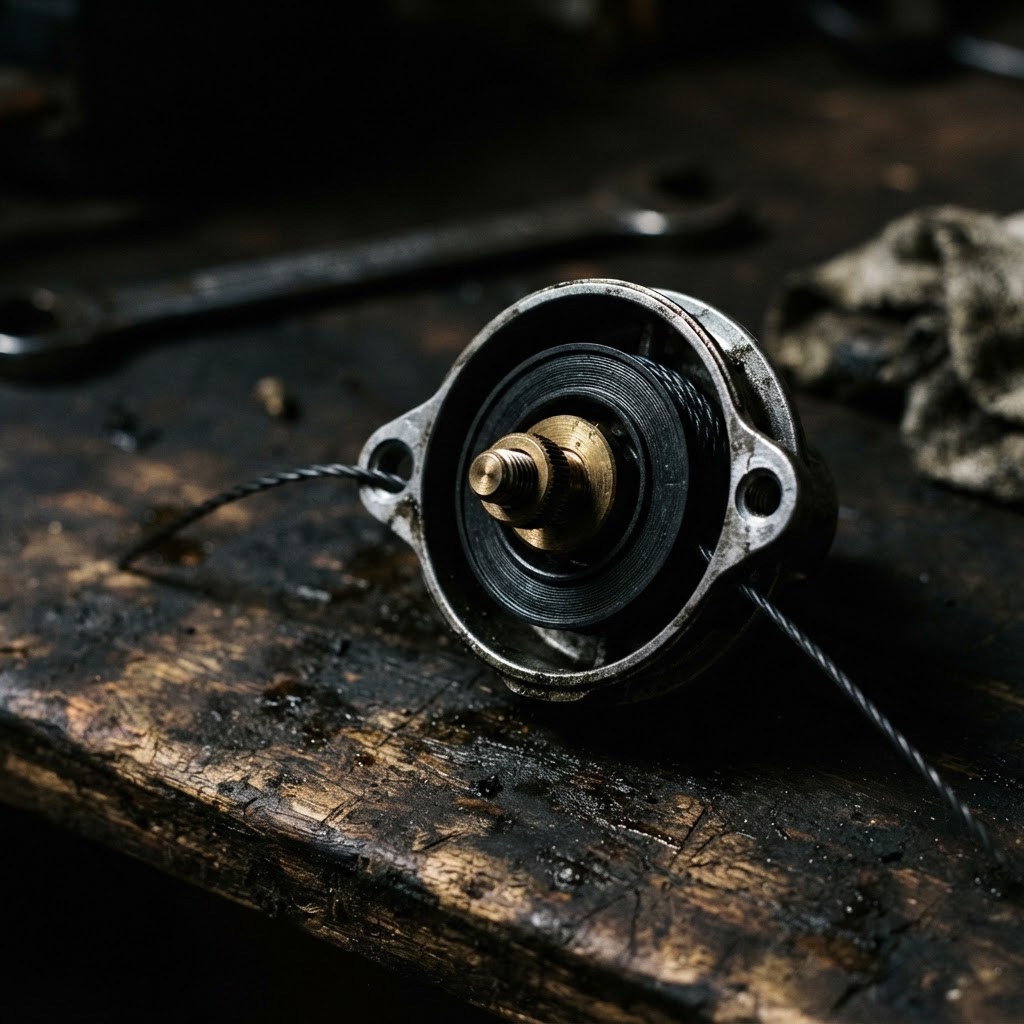
Replacement Trimmer Head
If the internal locking tabs or the feed mechanism are damaged beyond repair, a complete head assembly ensures the auto-feed function operates as designed.
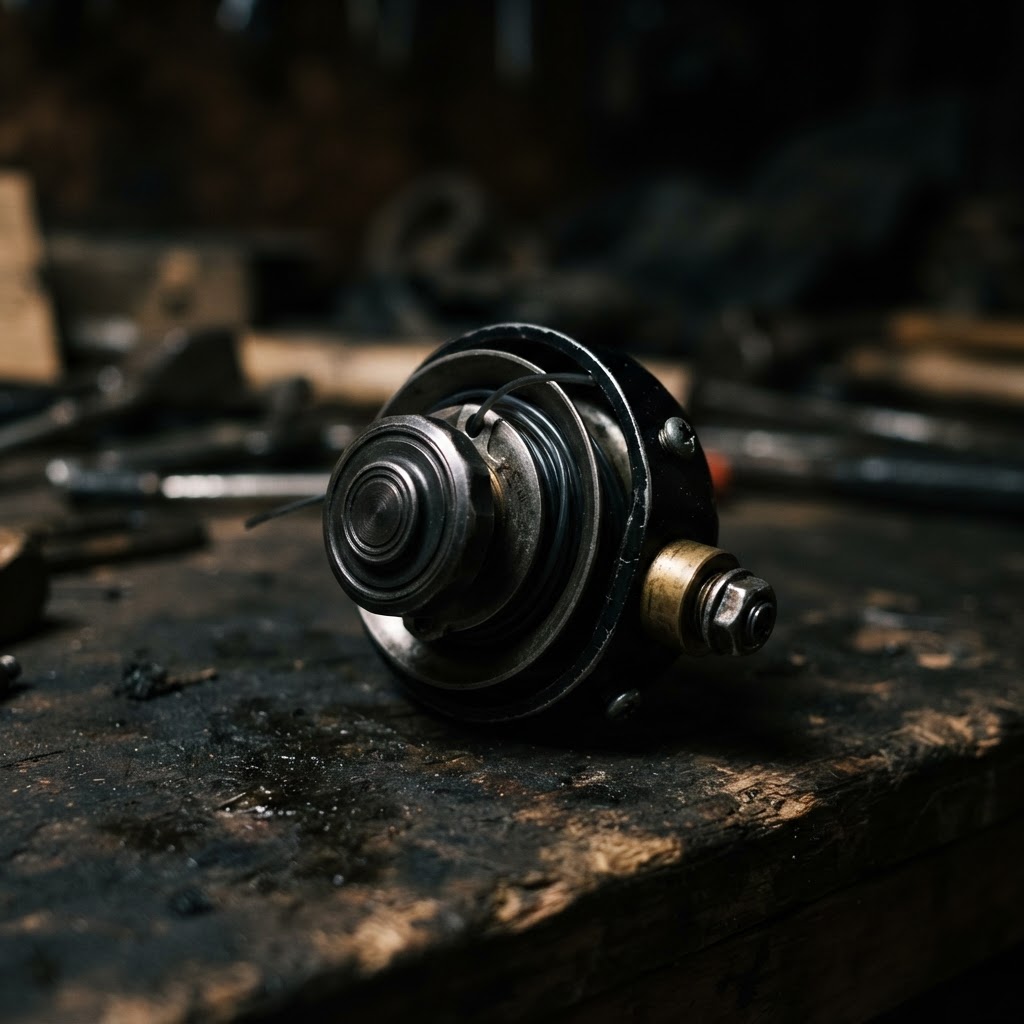
Bump Knob/Feed Spool
Wear on the bump knob or the internal spool tracks can cause the line release mechanism to bind, preventing the head from dispensing line correctly.
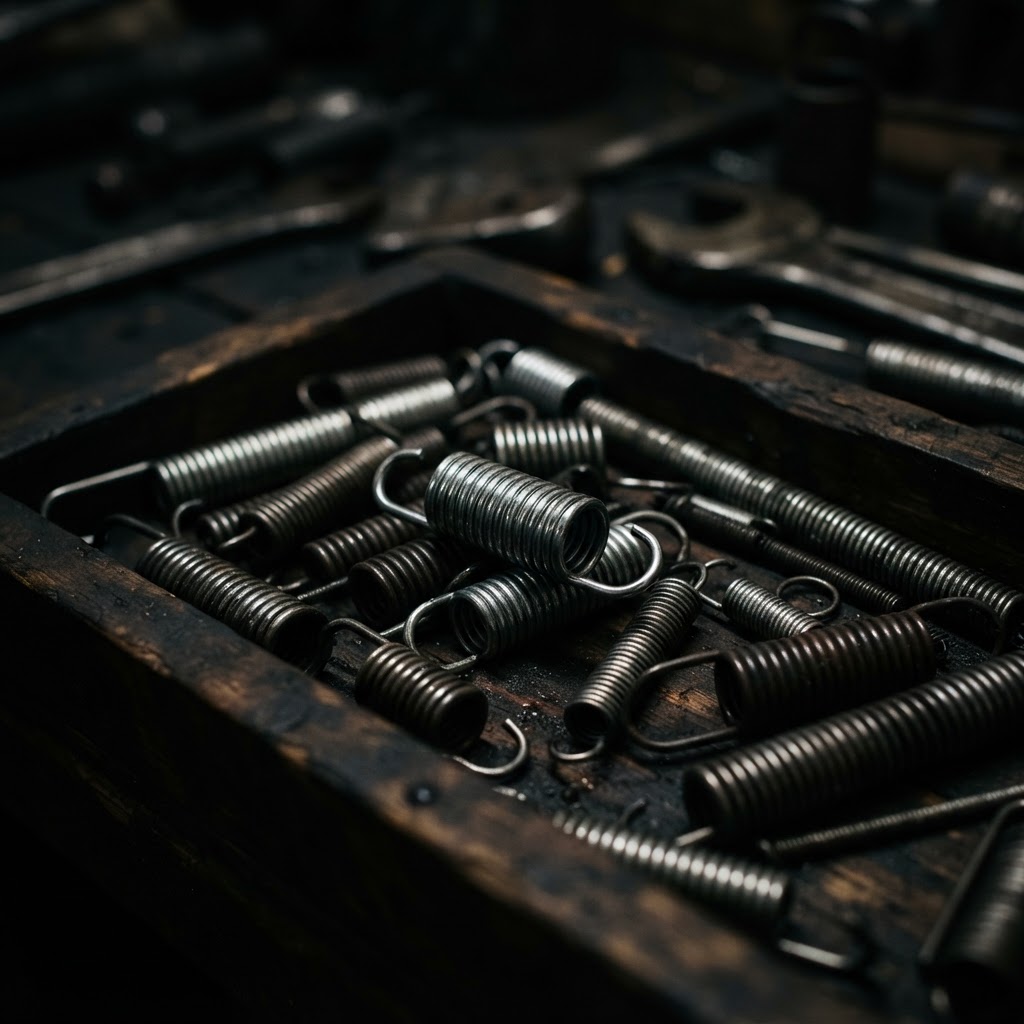
Spring Tension Kit
If the internal spring has lost its original compression force, the head will fail to unlock the spool, necessitating a direct replacement to restore proper spring tension.
Affiliate Disclosure: Lil Engine may earn commissions from qualifying purchases.
Pro Tips from the Community
Real-world fixes from Reddit, YouTube & forums.
"Check the spool for tangling; if the line is knotted, it won’t feed properly."
Reddit r/lawncare"Make sure the line is the correct diameter for your model; using the wrong size won’t allow it to feed."
YouTube comments"Sometimes the spring that controls the spool tension can wear out; check that it’s still intact and springy."
LawnSite.com Forum"Inspect the bump head; dirt and debris can cause it to jam, preventing the line from feeding properly."
TractorByNetBrand-Specific Notes
Stihl
Stihl AutoCut heads rely heavily on the integrity of the internal spring. If the head strikes concrete frequently, the spring can lose tension, failing to trigger the cam-lock release.
Echo
Echo Speed-Feed heads are modular and prone to debris ingress between the base and the spool. Regular cleaning of the internal locking tabs is essential for consistent auto-dispense performance.
Husqvarna
Husqvarna T25 and T35 heads often struggle if the line is wound too tightly. They require a balanced, loose winding pattern to allow the centrifugal force to release the line.
Model-Specific Variations
Stihl FS 56 RC-E
Utilizes the AutoCut C 26-2 head which requires a specific push-and-twist assembly method. Incorrect seating during reassembly prevents the internal cam from depressing.
Echo SRM-225
Uses the Rapid Loader or Speed-Feed 400. Unlike traditional spoolers, the line is threaded through rather than wrapped, making it sensitive to debris clogging the entry path.
Husqvarna 128LD
Equipped with the T25 Tap Advance head. This model uses a small internal plastic gear that wears out if the bump force is too aggressive against hard surfaces.
Causes of Dispense Failure
| Root Cause | Technical Indicator | Primary Fix |
|---|---|---|
| Line Welding | Heat marks on line | Replace spool |
| Spring Fatigue | Head remains compressed | Replace spring |
| Eyelet Wear | Deep grooves in grommet | Replace eyelet |
| Over-filling | Excessive friction/bind | Remove excess line |
Real-World Repair Examples
Situation
A Stihl FS 56 would not release line despite aggressive bumping. Inspection revealed the internal spring was compressed and stuck due to dirt.
Solution
Cleaned the interior housing with compressed air and lubricated the pivot points with silicone spray.
The trimmer successfully dispensed line upon the first tap.
Situation
User reported that their Echo SRM-225 was jamming constantly. The line was melting and welding to itself inside the spool.
Solution
Identified that the user was using a line diameter that was too thick for the head, causing excessive heat buildup.
Corrected the line gauge and the jamming ceased.
Situation
A Husqvarna trimmer head was failing to dispense because the plastic eyelets were heavily grooved from years of use.
Solution
Replaced the worn eyelets with new OEM parts, allowing the line to slide freely without friction resistance.
Auto-dispense functionality returned to factory specifications.
Prevent This From Coming Back
Soak your spool of trimmer line in water for 24 hours to keep it supple and reduce breakage
Blow out the trimmer head with compressed air after every use to prevent debris buildup
Replace the entire trimmer head assembly every two to three seasons if plastic housing shows wear
Use only high-quality, manufacturer-recommended line gauges to prevent internal stress
Prevent This From Happening Again
While you're fixing it, stock up on the maintenance essentials that keep your weed eaters running right.
Trimmer Line/String
Quality trimmer line breaks less and cuts cleaner.
Get on Amazon2-Cycle Oil
Fresh fuel mix prevents carb diaphragm hardening and starting issues.
Get on AmazonSpark Arrestor Screen
A clogged spark arrestor causes power loss — clean or replace it.
Get on AmazonAffiliate Disclosure: Lil Engine may earn commissions from qualifying purchases.
Frequently Asked Questions
This is usually caused by a damaged or missing spring that can no longer hold the spool in the 'locked' position. Inspect the spring and ensure the locking tabs on the housing are not snapped off.
Related Questions
Common variations and related questions about this repair.
Why does my weed eater line keep snapping inside the head?
This is usually caused by using a line that is too brittle or old. Try soaking your spool of trimmer line in water overnight to restore its flexibility.
Is it better to use thick or thin trimmer line?
Always follow the manufacturer's specified gauge. Using line that is too thick will bind the head, while line that is too thin will break prematurely.
How often should I clean the trimmer head?
You should clear debris from the head every time you refill the spool. If you work in dry or sandy conditions, clean it every few uses to prevent internal binding.
What is 'line welding' in a trimmer head?
Line welding occurs when friction generates enough heat to partially melt the plastic line segments together. This is caused by over-winding or using the wrong line size.
Can I replace just the spring in a trimmer head?
Yes, most major brands like Stihl and Echo sell service kits containing the spring and internal cam. It is often cheaper than replacing the entire head assembly.
Does my bumping technique affect the head's lifespan?
Yes. You only need a light tap on the ground to release the line. Bumping too hard against rocks or concrete damages the internal locking mechanism.
Video Help
Helpful videos showing these repairs in action.
Share Your Repair
Real-world fixes help everyone. Share what worked and your repair becomes part of Lil Engine's community database.
Related Problems
More Weed Eaters GuidesRelated Maintenance Articles
Related Searches
Weed Eaters Troubleshooting
Did this help?
Your feedback helps improve guides for everyone.