Zero Turn Engine Doesn't Start
⚡ Quick Answer
When a zero-turn mower fails to elicit any response from the engine upon turning the key, the issue is almost always located in the safety interlock circuit or the starting system. Start by confirming the battery voltage and verifying that the control levers are in the neutral (outward) position, as these are the most common points of failure. If the battery is healthy and the circuit is complete, the fault likely lies in a faulty starter solenoid, a seized starter motor, or a failed ignition switch.
What do you want to do?
Most Likely Cause
Safety Interlock System Failure
Zero-turn mowers are equipped with multiple safety switches that must be closed to complete the starting circuit. Because these switches are exposed to vibration, dirt, and moisture, one of them—most commonly the seat or neutral-lock switch—is the most frequent reason the starter will not engage even with a good battery.
Start here — this is the most common reason for this symptom.
Why This Problem Happens
When a zero-turn engine remains completely unresponsive to the ignition switch, the primary issue is a failure in the low-voltage safety interlock system or a complete power interruption at the solenoid. Zero-turn mowers are heavily dependent on a complex matrix of microswitches connected to the parking brake, PTO engagement lever, lap bars, and the seat presence sensor. If any of these circuits remain open, the ground path required for the ignition relay to energize the starter solenoid will never close. Essentially, the machine is physically preventing current from reaching the B+ terminal of the starter motor to avoid accidental engagement while the operator is not seated or the deck is spinning. In cases where the ignition switch itself is functional, the physical breakdown of the electrical circuit occurs because these safety switches are exposed to heavy vibration and organic debris, which corrodes contacts and prevents the flow of the 12-volt signal required to engage the starter drive gear. When you turn the key, you are simply completing a loop that requires absolute electrical continuity through every safety device; a high-resistance connection caused by oxidation or a mechanical failure of a plunger switch renders the entire starting system dead, resulting in the silence you hear.
Common Symptoms
- Complete absence of audible solenoid click
- Dashboard instrumentation remains dark upon ignition
- No engine turnover or crank attempt
- Neutral position indicator fails to illuminate
- Starter motor remains silent when key is turned
Before You Buy Parts
Quick, free inspections — check these first. Most repairs don't actually need replacement parts.
Diagnostic Flowchart
Follow this decision tree step-by-step to isolate the problem.
Does the engine crank or turn over at all?
Check fuel delivery and spark system.
Go to step 4
Check battery and safety switches.
Go to step 2
Is the battery voltage above 12.4V?
Proceed to test the starter solenoid.
Go to step 3
Charge or replace battery and clean terminals.
Do the safety interlocks (seat, PTO, brake) show continuity?
Check starter motor for power signal.
Bypass or replace faulty microswitch.
Is there spark at the spark plug wire?
Check fuel supply and carburetor condition.
Go to step 5
Test ignition coil and kill wire ground.
Is fuel reaching the carburetor bowl?
Perform carburetor cleaning or rebuild.
Replace fuel filter or check fuel pump vacuum pulse.
Complete Resource Guide
Ultimate Zero-Turn Mower Troubleshooting & Repair Guide
Repair Overview
60-120 minutes
$20-$150
First Checks — Start Here
- 1Verify the parking brake is set
- 2Ensure both steering levers are in the 'out' neutral position
- 3Check for loose or corroded battery terminal connections
- 4Confirm the PTO switch is in the 'off' position
- 5Test battery voltage with a multimeter (must be above 12.4V)
- 6Check for blown fuses in the mower's wiring harness
- 7Ensure the seat switch connection is plugged in
Safety Warnings
- !Always disconnect the negative cable first to prevent accidental shorting with your wrench.
- !Never replace a fuse with one of a higher amperage as this creates a significant fire hazard.
- !Keep your hands clear of the drive tires when testing linkage functionality.
- !Only perform this bypass for testing purposes; never leave a jumper wire installed permanently.
- !Turn the ignition switch to OFF before disconnecting any electrical components.
- !Remove the key from the ignition before probing the back of the switch.
- !Replacing the starter motor when the problem is actually an electrical safety switch.
- !Using steel wool to clean battery terminals, which leaves conductive debris behind.
Always disconnect the spark plug, work in a well-ventilated area, and consult a professional if unsure.
Most Likely Causes
Ranked by likelihood — tap each to see diagnosis details.
The seat switch acts as a normally-closed or normally-open relay depending on the manufacturer. If the weight-sensing mechanism fails or the connector vibrates loose, the circuit stays open, effectively cutting the ground path for the ignition system.
Visible sulfuric acid crystallization or heavy oxidation creates high resistance that prevents the low-amperage current needed to trigger the starter solenoid. Check for white or blue powder buildup at the terminal lugs.
🔧 Step-by-Step Fix Guide
Check Battery Voltage and Terminal Integrity
Use a digital multimeter to verify you have at least 12.4V across the battery posts. Remove and clean both positive and negative cable ends with a wire brush to ensure a clean metal-to-metal contact.
Always disconnect the negative cable first to prevent accidental shorting with your wrench.
Test the Main System Fuse
Locate the fuse holder near the starter solenoid or battery box. Pull the fuse and visually inspect the internal wire bridge; if it is broken or the plastic is charred, replace it with the exact same amperage rating.
Never replace a fuse with one of a higher amperage as this creates a significant fire hazard.
Verify Neutral Safety Interlock
Ensure the lap bars are fully locked into the outer neutral slots. Gently wiggle the bars while holding the key in the start position to see if the engine catches, which indicates a loose or failing neutral switch.
Keep your hands clear of the drive tires when testing linkage functionality.
Inspect the PTO Clutch Switch
Ensure the PTO lever is in the 'OFF' position. You can use a jumper wire across the PTO switch terminals temporarily to bypass it; if the engine cranks, the switch is confirmed faulty.
Only perform this bypass for testing purposes; never leave a jumper wire installed permanently.
Check the Seat Sensor Connector
Locate the connector underneath the seat pan. Unplug it, clean the pins with electrical contact cleaner, and ensure the connector is fully seated to guarantee the safety circuit is closed.
Turn the ignition switch to OFF before disconnecting any electrical components.
Test Ignition Switch Continuity
Access the back of the ignition switch and use a multimeter in continuity mode. Touch the leads to the B (Battery) and S (Starter) terminals while turning the key to start; if there is no beep or reading, the switch is dead.
Remove the key from the ignition before probing the back of the switch.
What To Test Next
If the safety switches test as functioning correctly, the next step is to bypass the solenoid to see if the starter motor itself will spin.
Component Reference

Carburetor & Fuel Intake
The carburetor mixes air and fuel for combustion. A clogged jet or stuck float is the #1 cause of small engine starting and surging problems.

Spark Plug & Ignition System
The spark plug ignites the air-fuel mixture. A fouled plug, wrong gap, or failing ignition coil will prevent the engine from firing.

Electrical & Starting System
The battery, solenoid, and starter motor work together to crank the engine. A weak battery or corroded connection is often mistaken for a fuel or spark problem.

Drive & Cutting System
Belts, pulleys, and clutches transfer engine power to the wheels and cutting deck. A worn or thrown belt is the most common drive-system failure.
Photos for educational reference. Actual parts may vary by make and model.
Common Mistakes to Avoid
Using a screwdriver to jump the solenoid without checking if the mower is in neutral.
Replacing the starter motor when the problem is actually an electrical safety switch.
Ignoring the parking brake requirement which is mandatory on many models.
Using steel wool to clean battery terminals, which leaves conductive debris behind.
If This Didn't Fix It
Still having trouble? These are the next things to check:
Get the Exact Parts for Your Machine
Tell us your equipment's year, make, and model — we'll search for parts that actually fit, not generic ones.
Finding parts for
zero turn engine
Required Gear
Matched to your zero turn engine — click to find the exact fit on Amazon.
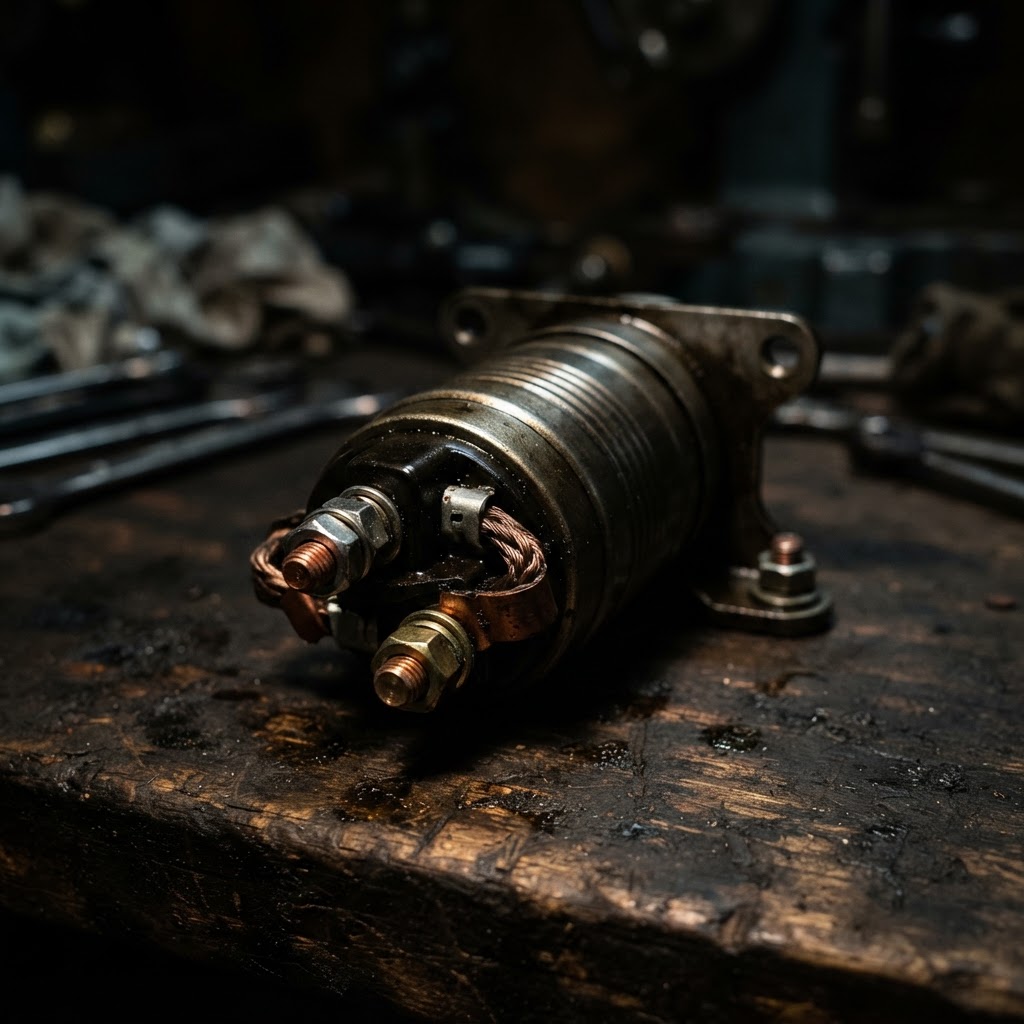
Replacement Starter Solenoid
If the ignition switch tests functional but the starter remains unresponsive, the solenoid is the most common failed component responsible for engaging the starter motor.
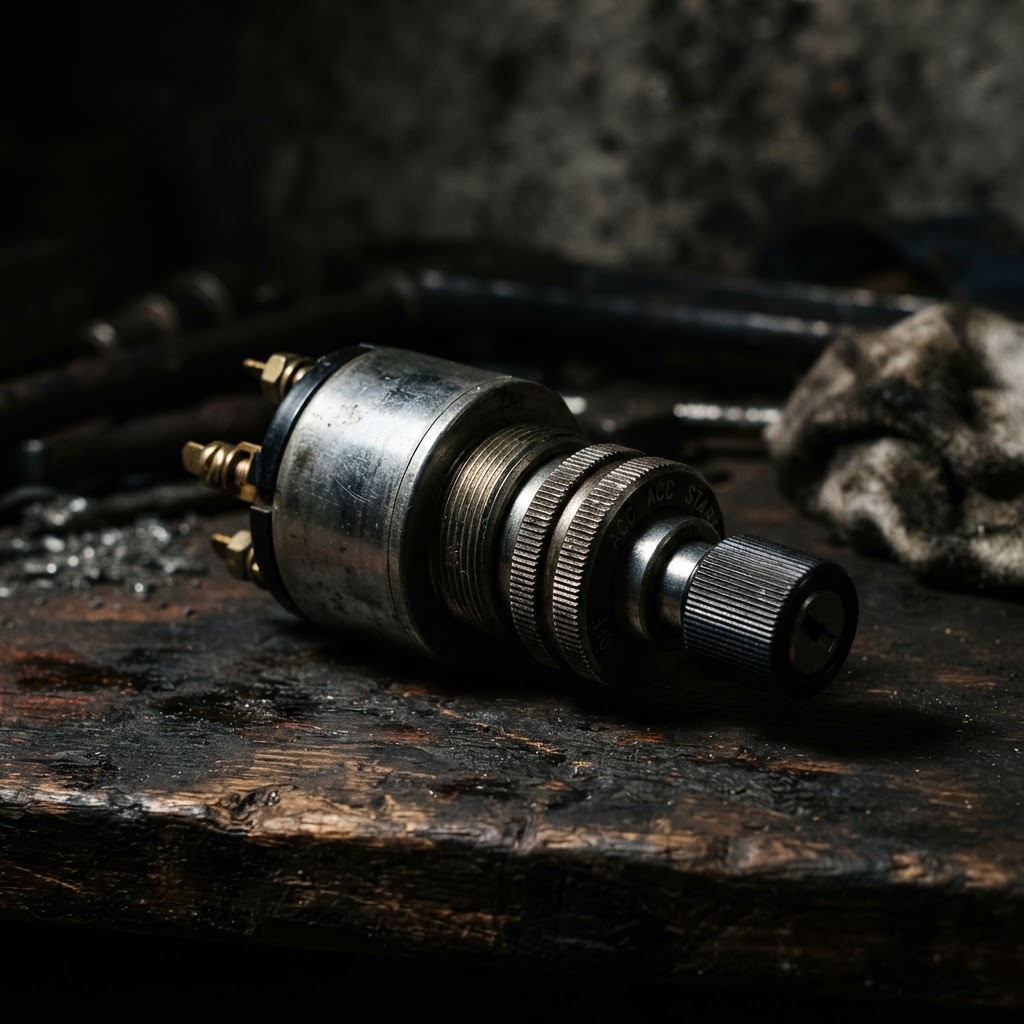
Replacement Ignition Switch
If continuity tests fail during troubleshooting, the internal contacts of the ignition switch have likely worn out and require replacement to restore the starting circuit.
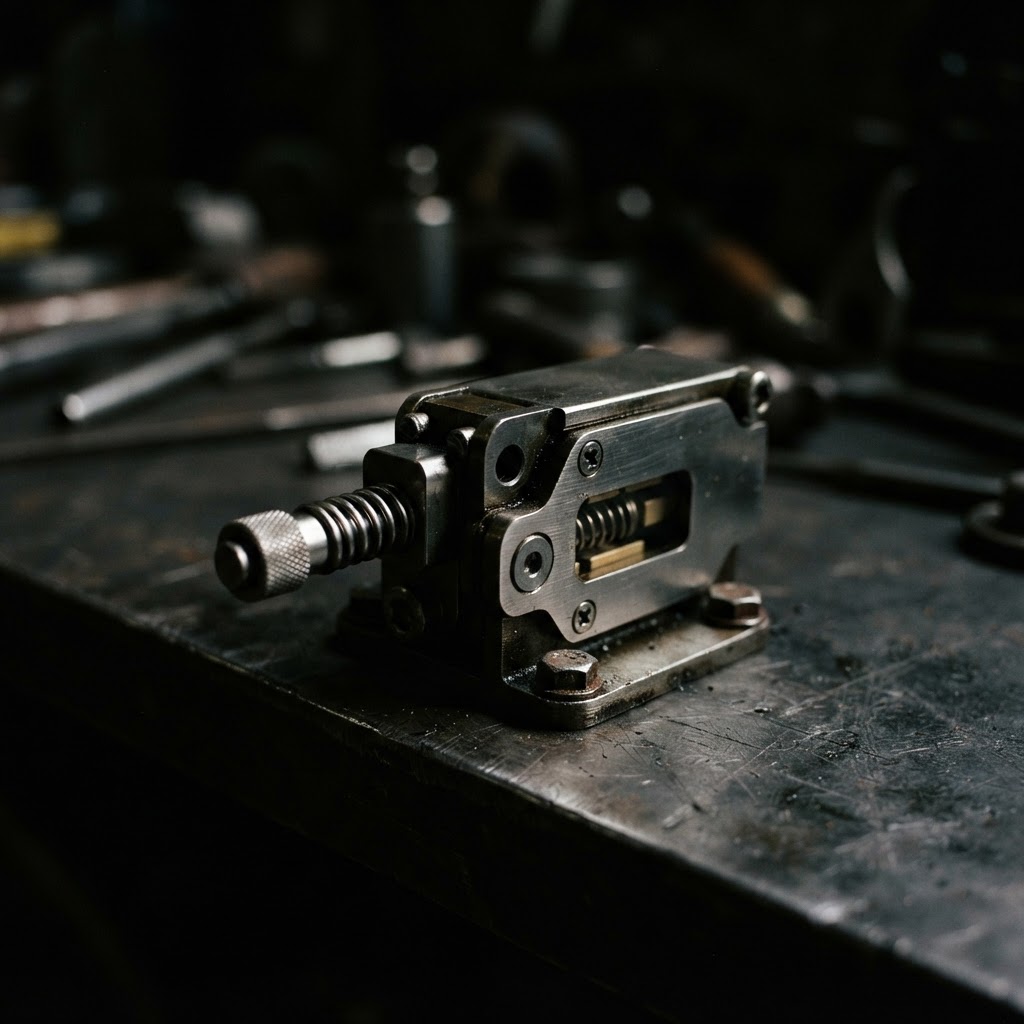
Universal Safety Interlock Switch
Once the failed seat or neutral switch is identified during testing, this component must be replaced to bypass the open circuit preventing the engine from cranking.

Replacement Automotive-Style Blade Fuse
If the main system fuse is found to be blown during inspection, replacing it with an identical amperage fuse is required to restore power to the ignition and safety systems.

Battery Terminal Cleaning Brush
Since corroded terminals interrupt the high-amperage flow needed for the starter, this tool is required to ensure a clean, conductive connection between the battery and the engine starter.
Affiliate Disclosure: Lil Engine may earn commissions from qualifying purchases.
Pro Tips from the Community
Real-world fixes from Reddit, YouTube & forums.
"Check the safety switches; if the seat or blade switch is faulty, it won't start — bypass them temporarily to test."
LawnSite.com Forum"Make sure the battery is fully charged; a weak battery won't generate enough power to start the engine, even if it seems fine."
TractorByNet"Inspect for loose or damaged wiring; a quick visual check can reveal corroded connections that may prevent starting."
YouTube comments"Try jumping the starter solenoid directly; if it cranks, the solenoid or associated wiring might be the issue."
Reddit r/lawncare"Listen for a click from the solenoid when you turn the key; no click indicates a faulty solenoid or wiring issue."
DoItYourself.comBrand-Specific Notes
Kohler
Kohler Command series engines often have a specific SMART-CHOKE system that fails if the linkage is gummed up. Check the solenoid actuator on the carb bowl if it cranks but won't catch.
Briggs & Stratton
Intek V-Twins frequently suffer from valve clearance issues which prevent compression release. If it cranks slowly or 'clicks' at the top of the stroke, check the lash settings immediately.
Kawasaki
Kawasaki FR/FS series engines are sensitive to oil pressure sensors. If the oil level is low, the ECU will inhibit the ignition circuit, preventing the engine from firing even if it cranks.
Model-Specific Variations
Briggs Intek V-Twin
Requires precise .004-.006 inch valve clearance. Excessive lash prevents the compression release from engaging, leading to starter failure.
Kohler Courage
Uses a plastic cam gear that can strip teeth. If the engine spins too fast with no resistance, the cam gear timing may be lost.
Honda GXV series
Features an oil alert sensor that grounds the ignition coil. Ensure the oil is full before diagnosing the starting system as dead.
No-Start Symptom Matrix
| Symptom | Primary Suspect | Diagnostic Tool |
|---|---|---|
| Silent Turn | Battery/Solenoid | Multimeter |
| Rapid Clicking | Low Battery/Ground | Load Tester |
| Cranks but no fire | Fuel/Ignition | Spark Tester |
| Slow/Straining | Valves/Starter | Compression Gauge |
Real-World Repair Examples
Situation
A Husqvarna Z-Turn wouldn't click when the key was turned. The battery showed 12.6V, but the solenoid showed no voltage on the S-terminal.
Solution
Traced the safety wire back to the seat switch. Found a corroded spade connector under the seat deck.
The mower started immediately after cleaning the connector and applying dielectric grease.
Situation
A John Deere mower with a Kohler engine would crank but never fire. Spark was present.
Solution
Removed the fuel line from the pump and found no flow. The fuel pickup tube inside the tank had cracked.
Replacing the pickup tube restored consistent fuel flow.
Prevent This From Coming Back
Apply dielectric grease to all electrical connectors and safety switch plugs annually.
Keep the battery terminals tight and coated with a corrosion inhibitor spray.
Periodically blow out debris from under the seat and around the lap bar linkage area.
Store the mower in a dry environment to prevent moisture-induced corrosion in the ignition harness.
Prevent This From Happening Again
While you're fixing it, stock up on the maintenance essentials that keep your zero-turn mowers running right.
Hydrostatic Transmission Fluid
Hydro pumps need fresh fluid to maintain drive power and prevent whine.
Get on AmazonDeck Belt
Keep a spare deck belt — they fail at the worst time mid-mow.
Get on AmazonAir Filter
Replace annually to prevent power loss and rough running.
Get on AmazonAffiliate Disclosure: Lil Engine may earn commissions from qualifying purchases.
Frequently Asked Questions
Bypassing safety switches is extremely dangerous and is not recommended. It removes critical protection that prevents the machine from starting while in gear or when the operator is not seated properly.
Related Questions
Common variations and related questions about this repair.
Why does my zero turn click but not start?
This is usually caused by insufficient amperage to engage the starter solenoid or a bad ground connection. Check your battery terminals for oxidation and verify the battery has sufficient cranking amps.
Can a bad seat switch prevent starting?
Yes, the seat switch is a critical part of the safety interlock circuit. If the circuit is open, the mower will not allow the starter relay to energize.
How do I test a starter solenoid?
With the ignition in the start position, bridge the two large terminals on the solenoid with an insulated screwdriver. If the engine cranks, the solenoid is faulty.
Is my ignition coil bad if I have no spark?
Not necessarily. Check that the kill wire from the engine is disconnected to ensure no safety switch is grounding the coil out. If you still have no spark with the kill wire disconnected, the coil is likely failed.
Why is my engine cranking slowly?
Slow cranking is often due to a weak battery, dirty battery cables, or improper valve lash settings. On V-Twin engines, excessive valve clearance prevents the automatic compression release from working.
What is the first thing to check on a silent mower?
Always verify the PTO switch is in the OFF position and the motion control levers are locked in the neutral park position. Most modern zero-turns will disable the starter circuit unless these conditions are met.
Video Help
Helpful videos showing these repairs in action.
Share Your Repair
Real-world fixes help everyone. Share what worked and your repair becomes part of Lil Engine's community database.
Related Problems
More Zero-Turn Mowers GuidesRelated Maintenance Articles
Related Searches
Zero-Turn Mowers Troubleshooting
Did this help?
Your feedback helps improve guides for everyone.