Zero Turn Mower Won't Crank — Dead Starting Circuit Diagnosis
⚡ Quick Answer
A zero-turn mower that won't crank is strictly an electrical issue; focus on the battery, safety interlock circuit, and starter solenoid. First, verify the battery has 12.4V+ and the PTO switch is pushed down, as an engaged blade prevents cranking. If the solenoid clicks but the engine doesn't turn, check for corroded battery cables or a weak battery that fails under load.
What do you want to do?
Most Likely Cause
Safety Interlock Switch Failure
The brake or neutral switches are the most frequent culprits. Use a multimeter to verify continuity across the switch pins when the lever is pulled; if there is no path, the switch is stuck open.
Start here — this is the most common reason for this symptom.
Why This Problem Happens
A zero-turn mower failing to crank is almost exclusively an electrical failure within the safety interlock circuit or the starting circuit. These machines rely on a series of normally open and normally closed switches—such as the parking brake, neutral position control levers, and PTO engagement switch—that must complete a circuit to the starter solenoid. When you turn the key to 'start,' 12V DC current must pass through all these safety gates to energize the solenoid coil, which then pulls a heavy-duty contact plate against the battery and starter motor cables. If a single switch is misaligned, oxidized, or if the solenoid coil has developed an open circuit, the high-amperage current necessary to spin the flywheel never arrives. Furthermore, modern zero-turns often utilize a relay-logic system; a faulty ignition module or a blown fuse can interrupt this handshake, effectively turning the mower into an inert piece of machinery despite a fully charged battery.
Common Symptoms
- Complete lack of audible solenoid click when turning key
- Rapid clicking noise emanating from the engine bay
- Engine cranks only when control levers are manually wiggled
- Dash lights remain lit but extinguish upon turning key to start
- Starter motor engages but fails to rotate the flywheel
Before You Buy Parts
Quick, free inspections — check these first. Most repairs don't actually need replacement parts.
Complete Resource Guide
Ultimate Zero-Turn Mower Troubleshooting & Repair Guide
Repair Overview
45–90 minutes
$0–$50
First Checks — Start Here
- 1Verify battery voltage is at least 12.4V using a multimeter
- 2Ensure the PTO (blade engage) switch is in the OFF position
- 3Check that the parking brake is fully engaged and handles are in neutral
- 4Inspect the main fuse (usually 20A) located near the battery or solenoid
- 5Clean all battery terminal connections until they are bright and shiny metal
- 6Jump the starter solenoid terminals with an insulated screwdriver to test the starter motor
Safety Warnings
- !Wear safety glasses to prevent injury from battery acid or potential sparks.
- !Ensure the mower is in neutral and the parking brake is engaged, as the engine will turn over immediately upon contact.
- !Do not touch the positive post while testing the small terminal to avoid shorting the circuit.
- !Remove the battery ground cable before disconnecting any electrical plugs to prevent shorting pins to the frame.
- !Always verify the ignition key is removed before handling the starter mounting bolts.
- !Only replace fuses with the exact amperage rating specified by the manufacturer.
- !Testing voltage without a load, which gives false positives for battery health
- !Bypassing safety switches permanently rather than replacing the faulty component
Always disconnect the spark plug, work in a well-ventilated area, and consult a professional if unsure.
Most Likely Causes
Ranked by likelihood — tap each to see diagnosis details.
The brake or neutral switches are the most frequent culprits. Use a multimeter to verify continuity across the switch pins when the lever is pulled; if there is no path, the switch is stuck open.
The internal contact disc inside the solenoid can pit or burn out over time. If you hear a click but the starter doesn't spin, bridge the two large terminals with an insulated screwdriver to bypass the solenoid.
🔧 Step-by-Step Fix Guide
Battery Voltage Load Test
Use a digital multimeter to ensure the battery holds at least 12.6V under no load. If it drops below 10V while trying to crank, the battery is the cause, not the circuit.
Wear safety glasses to prevent injury from battery acid or potential sparks.
Bypassing the Solenoid
Use a heavy-duty insulated screwdriver to bridge the two large posts on the solenoid. If the starter spins, the solenoid is likely faulty or not receiving the activation signal.
Ensure the mower is in neutral and the parking brake is engaged, as the engine will turn over immediately upon contact.
Checking for 12V Signal at Solenoid
Connect your multimeter to the small 'S' terminal wire on the solenoid. Have an assistant turn the key to start; if you do not see 12V, the fault is in the safety switches or ignition switch.
Do not touch the positive post while testing the small terminal to avoid shorting the circuit.
Continuity Test on Safety Switches
Unplug the neutral lever switches and brake switch. Set your meter to the continuity/ohms setting and check if the circuit closes when the switch is activated manually.
Remove the battery ground cable before disconnecting any electrical plugs to prevent shorting pins to the frame.
Inspecting the Ground Path
The starter motor grounds through its housing to the engine block. Ensure the mounting bolts are tight and there is no paint or rust preventing a clean metal-to-metal connection.
Always verify the ignition key is removed before handling the starter mounting bolts.
Tracing the Fuse Block
Locate the main fuse (usually 20-30 amp) on the wiring harness near the battery. Check the fuse element visually or with a continuity test, as a blown fuse will kill the entire starting circuit.
Only replace fuses with the exact amperage rating specified by the manufacturer.
What To Test Next
If fuel delivery checks out, the next thing to inspect is spark — remove the spark plug, ground its threads to the engine block, and crank the engine to look for a visible blue spark.
Component Reference

Carburetor & Fuel Intake
The carburetor mixes air and fuel for combustion. A clogged jet or stuck float is the #1 cause of small engine starting and surging problems.

Spark Plug & Ignition System
The spark plug ignites the air-fuel mixture. A fouled plug, wrong gap, or failing ignition coil will prevent the engine from firing.

Electrical & Starting System
The battery, solenoid, and starter motor work together to crank the engine. A weak battery or corroded connection is often mistaken for a fuel or spark problem.

Drive & Cutting System
Belts, pulleys, and clutches transfer engine power to the wheels and cutting deck. A worn or thrown belt is the most common drive-system failure.
Photos for educational reference. Actual parts may vary by make and model.
Common Mistakes to Avoid
Replacing the starter motor before verifying the solenoid signal
Ignoring the negative ground cable while focusing only on the positive side
Testing voltage without a load, which gives false positives for battery health
Bypassing safety switches permanently rather than replacing the faulty component
If This Didn't Fix It
Still having trouble? These are the next things to check:
Get the Exact Parts for Your Machine
Tell us your equipment's year, make, and model — we'll search for parts that actually fit, not generic ones.
Finding parts for
zero turn mower
Required Gear
Matched to your zero turn mower — click to find the exact fit on Amazon.
Starter Solenoid
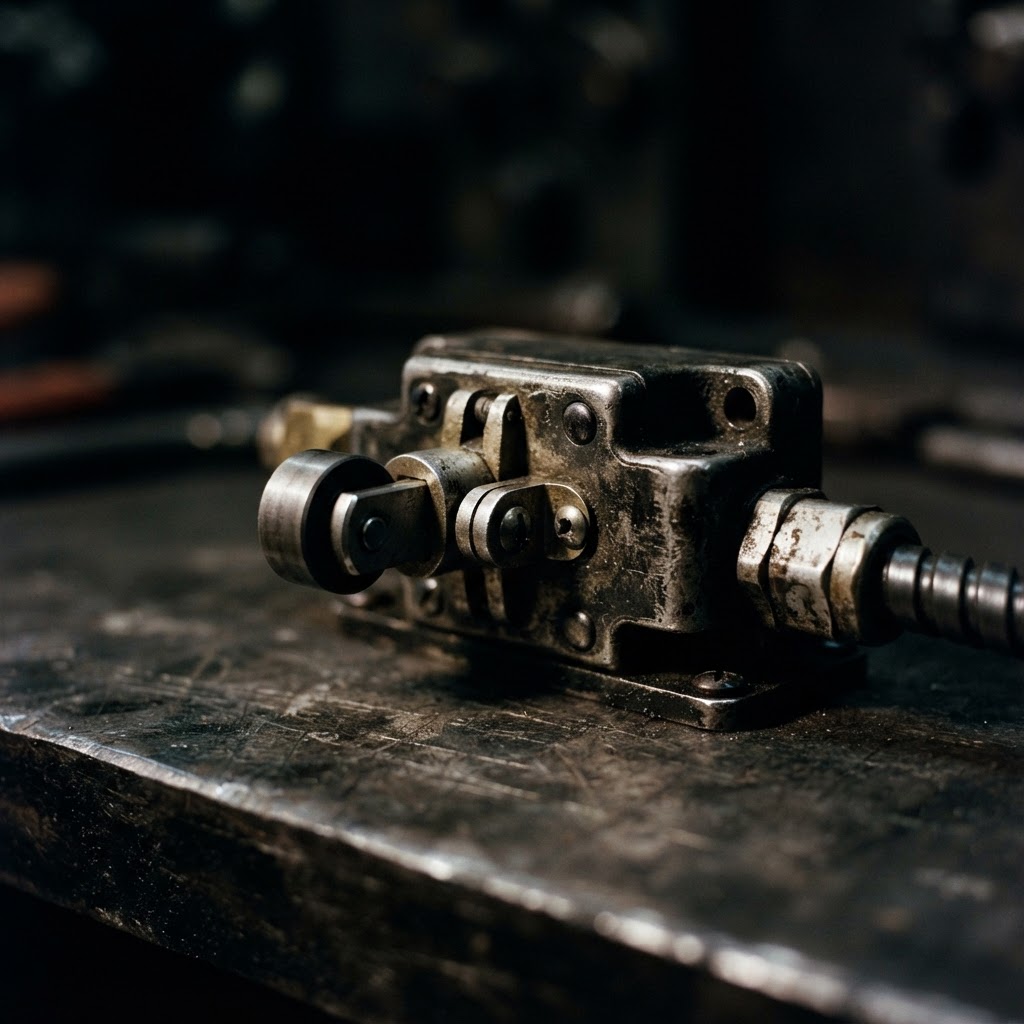
If the solenoid fails to engage after receiving the 12V signal, replacing this component is necessary to restore the electrical connection to the starter motor.
Safety Interlock Switch
Once a continuity test confirms the seat, brake, or lever switches are faulty, replacing the specific failed switch is required to close the safety loop and allow the engine to crank.
Ignition Switch
If the internal contacts are worn or burned, the ignition switch will fail to send the start signal to the solenoid, requiring a direct replacement to restore starting functionality.
Battery Terminal Cleaning Brush
Used to remove deep oxidation and corrosion from terminals that prevent a solid ground or positive connection, which is a common cause for 'no crank' symptoms.
In-line Automotive Fuse
If the diagnostic test reveals a blown fuse as the cause for the open circuit, this specific replacement part is required to protect the new starting circuit components.
Affiliate Disclosure: Lil Engine may earn commissions from qualifying purchases.
Pro Tips from the Community
Real-world fixes from Reddit, YouTube & forums.
"If you're stuck in the field, sometimes tapping the starter solenoid with a screwdriver handle while turning the key can unstick the internal contacts for one last start."
YouTube comments"The PTO switch is the silent killer—I've seen many owners buy new batteries when the only problem was the yellow knob was pulled up an 1/8th of an inch."
LawnSite.com Forum"Check the wiring harness where it passes near the steering levers; the constant movement of the arms can chafe the wires and short out the safety circuit."
Reddit r/lawncarePrevent This From Coming Back
Apply dielectric grease to all harness connectors to prevent moisture-induced corrosion
Keep battery terminals clean and coated with a corrosion inhibitor spray
Check the tightness of the starter mounting bolts during every annual oil change
Cycle the PTO switch and parking brake occasionally to keep the internal contact points from seizing
Prevent This From Happening Again
While you're fixing it, stock up on the maintenance essentials that keep your zero-turn mowers running right.
Hydrostatic Transmission Fluid
Hydro pumps need fresh fluid to maintain drive power and prevent whine.
Get on AmazonDeck Belt
Keep a spare deck belt — they fail at the worst time mid-mow.
Get on AmazonAir Filter
Replace annually to prevent power loss and rough running.
Get on AmazonAffiliate Disclosure: Lil Engine may earn commissions from qualifying purchases.
Frequently Asked Questions
This is almost always a sign of a weak battery or a poor high-amperage connection. The solenoid is engaging, but the starter motor isn't getting enough current to rotate the engine.
Video Help
Helpful videos showing these repairs in action.
Share Your Repair
Real-world fixes help everyone. Share what worked and your repair becomes part of Lil Engine's community database.
Related Problems
More Zero-Turn Mowers GuidesRelated Maintenance Articles
Related Searches
Zero-Turn Mowers Troubleshooting
Did this help?
Your feedback helps improve guides for everyone.