Echo String Trimmer Head Won't Spin — Mechanical Drive Diagnosis
⚡ Quick Answer
When an Echo engine revs but the head fails to spin, the mechanical link between the clutch and the gear head is broken. Most commonly, this is a snapped flexible drive cable or a stripped trimmer head spline. Remove the gear head and verify if the internal drive cable rotates when the engine is running; if it doesn't, the issue lies in the centrifugal clutch or the drum adapter.
What do you want to do?
Most Likely Cause
Sheared Driveshaft Splines
High-torque stalling often strips the splines at either the clutch drum end or the gear case end. Inspect for metal shavings or smoothed-out teeth on the driveshaft ends.
Start here — this is the most common reason for this symptom.
Why This Problem Happens
An Echo string trimmer fails to spin because the transfer of rotational kinetic energy from the engine crankshaft to the cutting head has been interrupted. In these trimmers, a centrifugal clutch assembly engages once engine RPMs reach a specific threshold, forcing spring-loaded clutch shoes outward against the clutch drum. If the clutch pads are worn or the return springs are fatigued, the drum will not rotate. Alternatively, the issue may lie further down the drivetrain in the flexible or rigid driveshaft that connects the clutch drum to the gearbox. The driveshaft can suffer from shear failure at the splines, snapping due to fatigue, or losing engagement with the pinion gear inside the gear case at the trimmer head. When the engine revs up but the gear case remains stationary, the kinetic energy is lost to mechanical disconnect within the power transmission path. This failure often stems from the high-torque demand placed on the drivetrain when cutting thick brush, leading to metal fatigue or friction-related component failure.
Common Symptoms
- Engine revs freely but the head remains stationary
- Grinding or screeching noises coming from the gear case
- Vibrations felt in the driveshaft housing while throttling
- Total lack of resistance when manually rotating the trimmer head
- Sudden 'pop' followed by loss of power to the head
Before You Buy Parts
Quick, free inspections — check these first. Most repairs don't actually need replacement parts.
Repair Overview
30–60 minutes
$20–$55
First Checks — Start Here
- 1Check for grass or debris wrapped around the spindle behind the trimmer head.
- 2Verify the trimmer head is tight and the internal splines are not stripped.
- 3Remove the gear head mounting screw and check if the drive cable is snapped.
- 4Ensure the engine is reaching full throttle to engage the centrifugal clutch shoes.
- 5Inspect the clutch drum for a rounded-out shaft adapter socket.
- 6Verify the gear head output arbor turns freely by hand without binding.
Safety Warnings
- !Always disconnect the spark plug wire before performing any internal engine or drivetrain inspections.
- !Wear safety glasses, as clutch springs can snap violently if they are brittle.
- !Ensure the engine is completely cool to avoid burns on the cylinder housing.
- !Do not stick fingers into the gear housing; use a probe tool to check for gear integrity.
- !Use only professional-grade equipment lubricant to prevent overheating during high-RPM operation.
- !Keep all bystanders at least 50 feet away during the initial test run after repairs.
Always disconnect the spark plug, work in a well-ventilated area, and consult a professional if unsure.
Most Likely Causes
Ranked by likelihood — tap each to see diagnosis details.
High-torque stalling often strips the splines at either the clutch drum end or the gear case end. Inspect for metal shavings or smoothed-out teeth on the driveshaft ends.
If the clutch shoes are broken or the springs have snapped, the shoes won't make contact with the drum. Check the clutch assembly by removing the outer housing.
🔧 Step-by-Step Fix Guide
Verify Driveshaft Engagement
Remove the gear case from the lower shaft and pull the flex cable out. Inspect both ends of the cable for twisted or smoothed splines, and check the cable length to ensure it hasn't snapped.
Always disconnect the spark plug wire before performing any internal engine or drivetrain inspections.
Inspect Centrifugal Clutch
Remove the plastic fan cover and clutch housing to expose the clutch shoes. Check that the return springs are intact and the shoes move freely when pulled outward.
Wear safety glasses, as clutch springs can snap violently if they are brittle.
Check Clutch Drum Function
With the engine off, manually rotate the clutch drum by hand. If it binds or feels gritty, the needle bearing inside the drum is likely seized.
Ensure the engine is completely cool to avoid burns on the cylinder housing.
Gear Case Inspection
Remove the trimmer head and look into the gear case output. Use a small screwdriver to rotate the input spline; if the output shaft does not turn, the internal bevel gears are destroyed.
Do not stick fingers into the gear housing; use a probe tool to check for gear integrity.
Cable Lubrication
If the driveshaft appears functional but felt sluggish during use, remove it, clean with degreaser, and apply a light coat of high-quality lithium grease.
Use only professional-grade equipment lubricant to prevent overheating during high-RPM operation.
Testing After Reassembly
Once components are reinstalled, start the engine at low idle to ensure the head does not spin prematurely. Slowly increase the throttle to ensure full engagement.
Keep all bystanders at least 50 feet away during the initial test run after repairs.
What To Test Next
If the basics check out, verify spark, fuel delivery, and compression in that order — the three essentials of any combustion engine.
Component Reference

Carburetor & Fuel Intake
The carburetor mixes air and fuel for combustion. A clogged jet or stuck float is the #1 cause of small engine starting and surging problems.

Spark Plug & Ignition System
The spark plug ignites the air-fuel mixture. A fouled plug, wrong gap, or failing ignition coil will prevent the engine from firing.

Oil & Lubrication System
Regular oil changes are critical. Low or dirty oil causes engine wear, overheating, and eventual seizure. Check the dipstick before every season.

Drive & Cutting System
Belts, pulleys, and clutches transfer engine power to the wheels and cutting deck. A worn or thrown belt is the most common drive-system failure.
Photos for educational reference. Actual parts may vary by make and model.
Common Mistakes to Avoid
Using generic automotive grease that melts at trimmer operating temperatures
Forgetting to reinstall the driveshaft retaining circlip
Over-tightening the gear case housing bolts which can crack the aluminum casting
Replacing only one clutch shoe when the set is clearly worn
Get the Exact Parts for Your Machine
Tell us your equipment's year, make, and model — we'll search for parts that actually fit, not generic ones.
Finding parts for
Echo string trimmer
Required Gear
Matched to your Echo string trimmer — click to find the exact fit on Amazon.
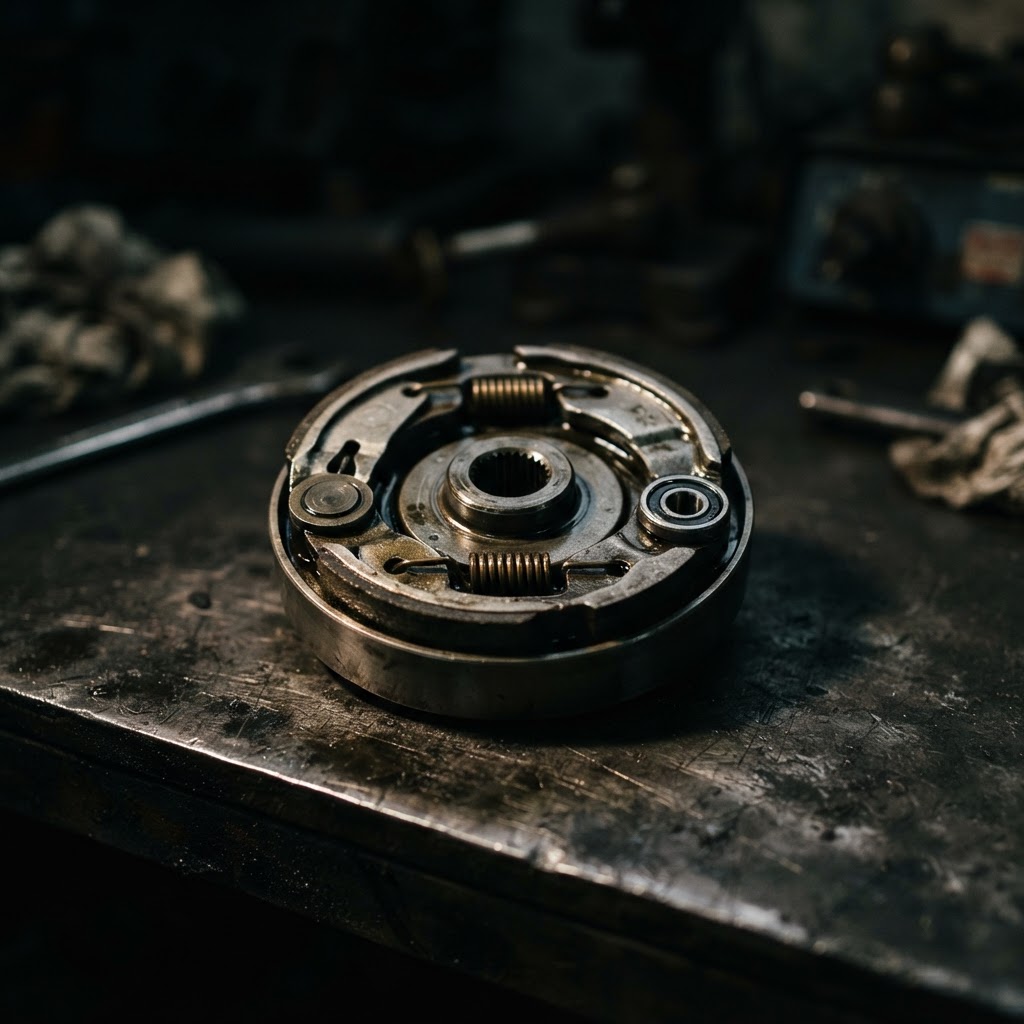
Replacement Centrifugal Clutch Assembly
If the clutch shoes have worn down or springs have snapped, the assembly will fail to engage the drum, necessitating a full replacement to restore power transfer.
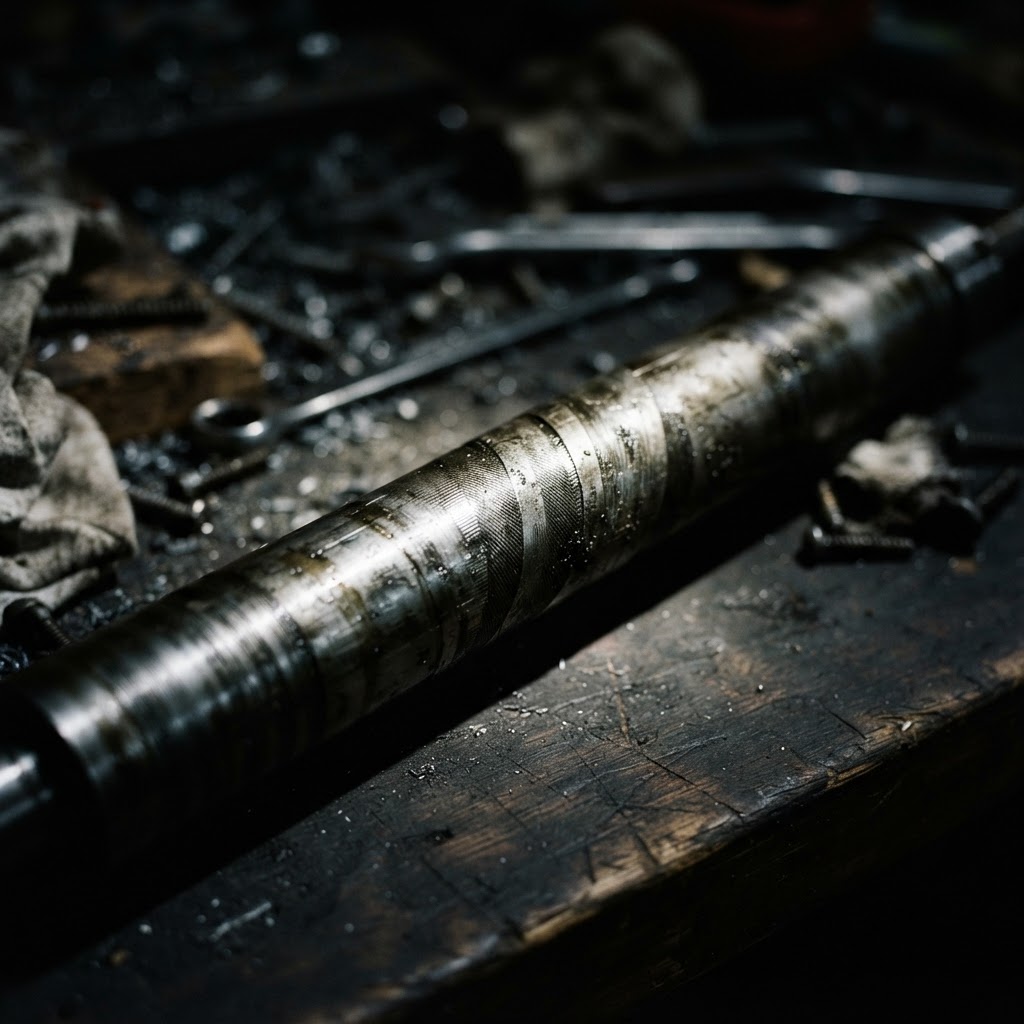
Trimmer Driveshaft
When the splines on the end of the driveshaft have sheared off or the shaft has snapped due to fatigue, it must be replaced to physically transmit power from the engine to the gear case.
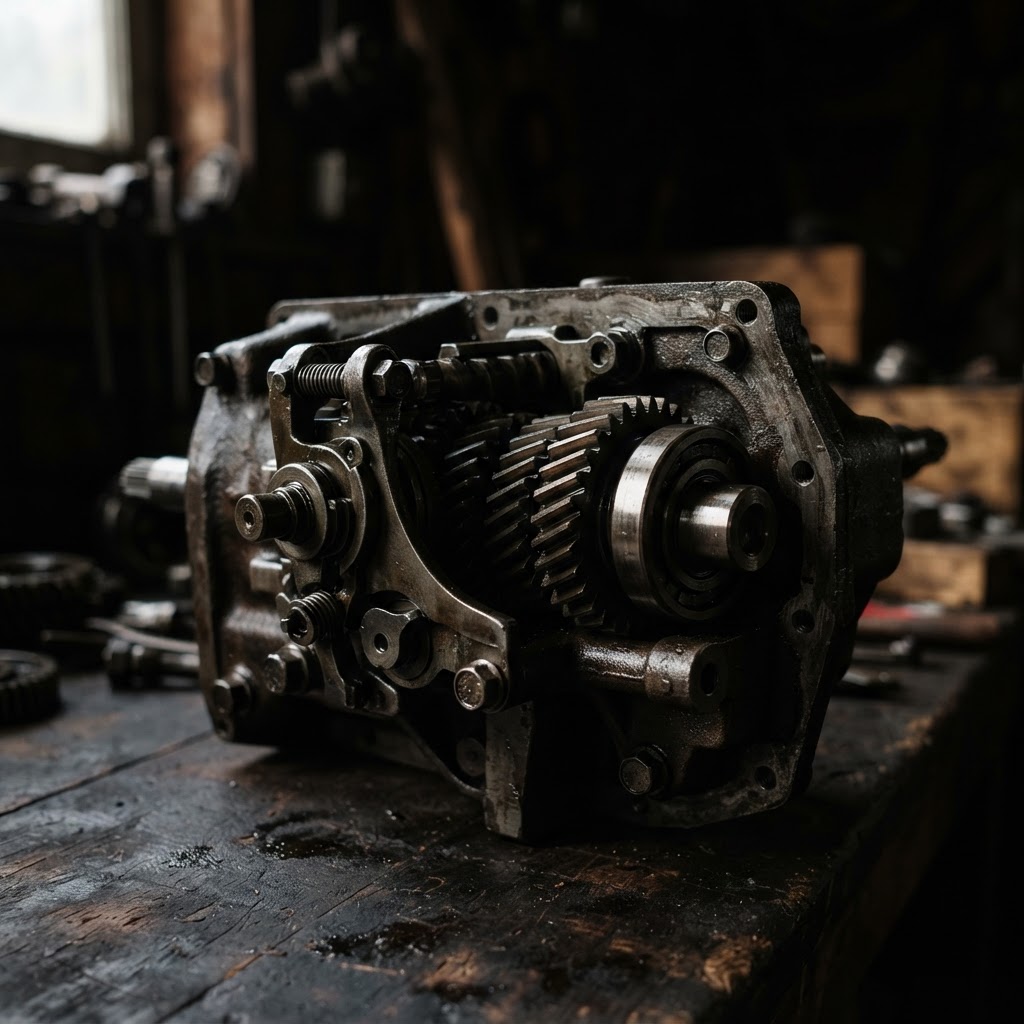
Gear Case Assembly
If the internal gears have stripped teeth or the bearings have seized, the entire gear case unit is the required replacement component to resolve the mechanical drive failure.
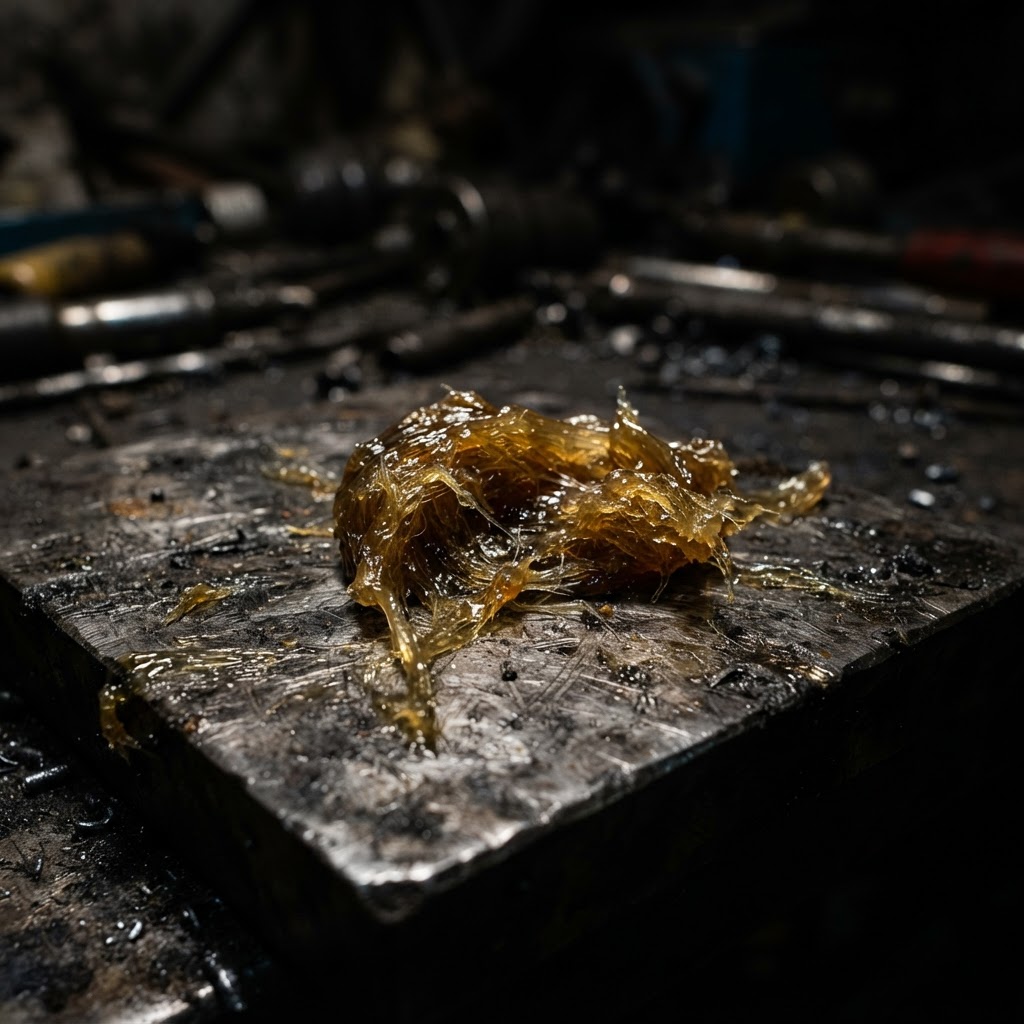
High-Temperature Lithium Grease
This specific lubricant is required for the driveshaft and internal gear case assembly to reduce friction and prevent premature wear of new replacement parts.
Affiliate Disclosure: Lil Engine may earn commissions from qualifying purchases.
Pro Tips from the Community
Real-world fixes from Reddit, YouTube & forums.
"Echo trimmers use a flex cable that MUST be greased once a season; if you ignore this, the cable will heat up, soften, and eventually snap under load."
Reddit r/lawncare"If your head spins at idle but stops when you hit grass, your clutch springs are likely stretched or the shoes are glazed over with oil."
LawnSite.com Forum"Always check the 'D' washer or thrust plate behind the head; if it's missing, the trimmer head will tighten against the gear box and won't spin even if the shaft is fine."
YouTube commentsPrevent This From Coming Back
Grease the gear case every 25 hours of operation
Lubricate the flex shaft every 50 hours of heavy use
Avoid 'bumping' the head against solid concrete or rocks
Use the proper diameter trimmer line to reduce engine load
Prevent This From Happening Again
While you're fixing it, stock up on the maintenance essentials that keep your weed eaters running right.
Trimmer Line/String
Quality trimmer line breaks less and cuts cleaner.
Get on Amazon2-Cycle Oil
Fresh fuel mix prevents carb diaphragm hardening and starting issues.
Get on AmazonSpark Arrestor Screen
A clogged spark arrestor causes power loss — clean or replace it.
Get on AmazonAffiliate Disclosure: Lil Engine may earn commissions from qualifying purchases.
Frequently Asked Questions
This is usually caused by the idle RPM being set too high or broken clutch springs. Adjust your idle speed screw first, then check the springs.
Video Help
Helpful videos showing these repairs in action.
Share Your Repair
Real-world fixes help everyone. Share what worked and your repair becomes part of Lil Engine's community database.
Related Problems
More Weed Eaters GuidesRelated Maintenance Articles
Did this help?
Your feedback helps improve guides for everyone.