2017 Honda Pioneer 700-4 Cranks But Won't Start — Fuel System Diagnosis
⚡ Quick Answer
On the 2017 Honda Pioneer 700-4, the fuel pump relay is located in the main fuse/relay box under the hood. If the engine cranks but won't fire, first verify the fuel pump primes for 2 seconds when the key is turned to 'ON'. Use a multimeter to check for 12V at the fuel pump connector; if power is present but the pump is silent, the pump module is likely failed.
What do you want to do?
Most Likely Cause
Failed Fuel Pump Module
The internal fuel pump motor often fails due to sediment or electrical burnout. Confirm by checking for 12V at the pump connector; if power is present but the pump does not run, the module (16700-HL3-A02) must be replaced.
Start here — this is the most common reason for this symptom.
Before You Buy Parts
Quick, free inspections — check these first. Most repairs don't actually need replacement parts.
Complete Resource Guide
Complete Small Engines Troubleshooting Guide
Brand Resource Hub
The Ultimate Honda Small Engine Repair & Service Hub
Repair Overview
1–2 hours
$20–$150
First Checks — Start Here
- 1Verify fuel level and listen for the 2-second fuel pump prime sound when key is turned to ON
- 2Check the 'FUEL PUMP' fuse in the under-hood fuse box for continuity
- 3Swap the fuel pump relay with an identical relay (e.g., fan relay) to rule out a faulty relay
- 4Check for 12V at the fuel pump connector (under the seat/bed) while cranking
- 5Verify the PGM-FI indicator light on the dash for any stored fault codes
Safety Warnings
- !Ensure the ignition is OFF before pulling or inserting relays to prevent electrical arcing.
- !Do not use a test light on sensitive ECU-controlled circuits; use a high-impedance digital multimeter.
- !Never replace a fuse with a higher amperage rating than specified, as this can cause a fire.
- !Do not attempt to bypass the ECU or jump the fuel pump directly to the battery for extended periods.
- !Fuel systems are pressurized; wear eye protection and keep a fire extinguisher nearby when disconnecting fuel lines.
- !Replacing the fuel pump before verifying 12V power at the connector
- !Forgetting to relieve fuel pressure before opening the system
Always disconnect the spark plug, work in a well-ventilated area, and consult a professional if unsure.
Most Likely Causes
Ranked by likelihood — tap each to see diagnosis details.
The internal fuel pump motor often fails due to sediment or electrical burnout. Confirm by checking for 12V at the pump connector; if power is present but the pump does not run, the module (16700-HL3-A02) must be replaced.
The relay contacts can pit or corrode, preventing power from reaching the pump. Test by swapping it with a known-good relay of the same part number from the fuse block.
🔧 Step-by-Step Fix Guide
Locate and Test the Fuel Pump Relay
Access the fuse/relay box under the hood. Identify the fuel pump relay using the diagram on the cover. Pull the relay and test for coil resistance or simply swap it with the fan relay to see if the pump primes.
Ensure the ignition is OFF before pulling or inserting relays to prevent electrical arcing.
Check Fuel Pump Power Supply
Locate the fuel pump connector under the seat. Use a multimeter to check for 12V DC between the power wire and ground while the key is in the ON position. If you have 12V but no pump noise, the pump is dead.
Do not use a test light on sensitive ECU-controlled circuits; use a high-impedance digital multimeter.
Inspect Fuel Pump Fuse
Check the fuse block for the 'FUEL PUMP' labeled fuse. A blown fuse indicates a high-current draw, likely from a seized pump motor or a pinched wire in the harness.
Never replace a fuse with a higher amperage rating than specified, as this can cause a fire.
Verify PGM-FI System Status
Turn the key to ON and watch the dash. If the PGM-FI light stays on or flashes, the ECU has detected a fault. Count the flashes to determine the diagnostic trouble code (DTC).
Do not attempt to bypass the ECU or jump the fuel pump directly to the battery for extended periods.
Fuel Pressure Test
If the pump runs but the engine won't start, verify fuel pressure at the fuel rail. The Pioneer 700 requires specific pressure to open the injectors; low pressure indicates a clogged filter or failing pump regulator.
Fuel systems are pressurized; wear eye protection and keep a fire extinguisher nearby when disconnecting fuel lines.
What To Test Next
If fuel delivery checks out, the next thing to inspect is spark — remove the spark plug, ground its threads to the engine block, and crank the engine to look for a visible blue spark.
Component Reference

Spark Plug & Ignition System
The spark plug ignites the air-fuel mixture. A fouled plug, wrong gap, or failing ignition coil will prevent the engine from firing.

Oil & Lubrication System
Regular oil changes are critical. Low or dirty oil causes engine wear, overheating, and eventual seizure. Check the dipstick before every season.

Air Filter & Intake
A clogged air filter starves the engine of air, causing rich running, power loss, and hard starting. Inspect and clean or replace it each season.

Fuel System
Stale fuel is the most common cause of seasonal starting failures. Fuel breaks down in 30 days, leaving varnish that clogs carburetor jets and fuel filters.
Photos for educational reference. Actual parts may vary by make and model.
Common Mistakes to Avoid
Replacing the fuel pump before verifying 12V power at the connector
Ignoring the PGM-FI dash light codes
Forgetting to relieve fuel pressure before opening the system
Using a generic relay that does not match the amperage rating of the original
If This Didn't Fix It
Still having trouble? These are the next things to check:
Get the Exact Parts for Your Machine
Tell us your equipment's year, make, and model — we'll search for parts that actually fit, not generic ones.
Finding parts for
Where is the fuel pump relay on a 2017 700-4 Honda Pioneer
Required Gear
Matched to your Where is the fuel pump relay on a 2017 700-4 Honda Pioneer — click to find the exact fit on Amazon.
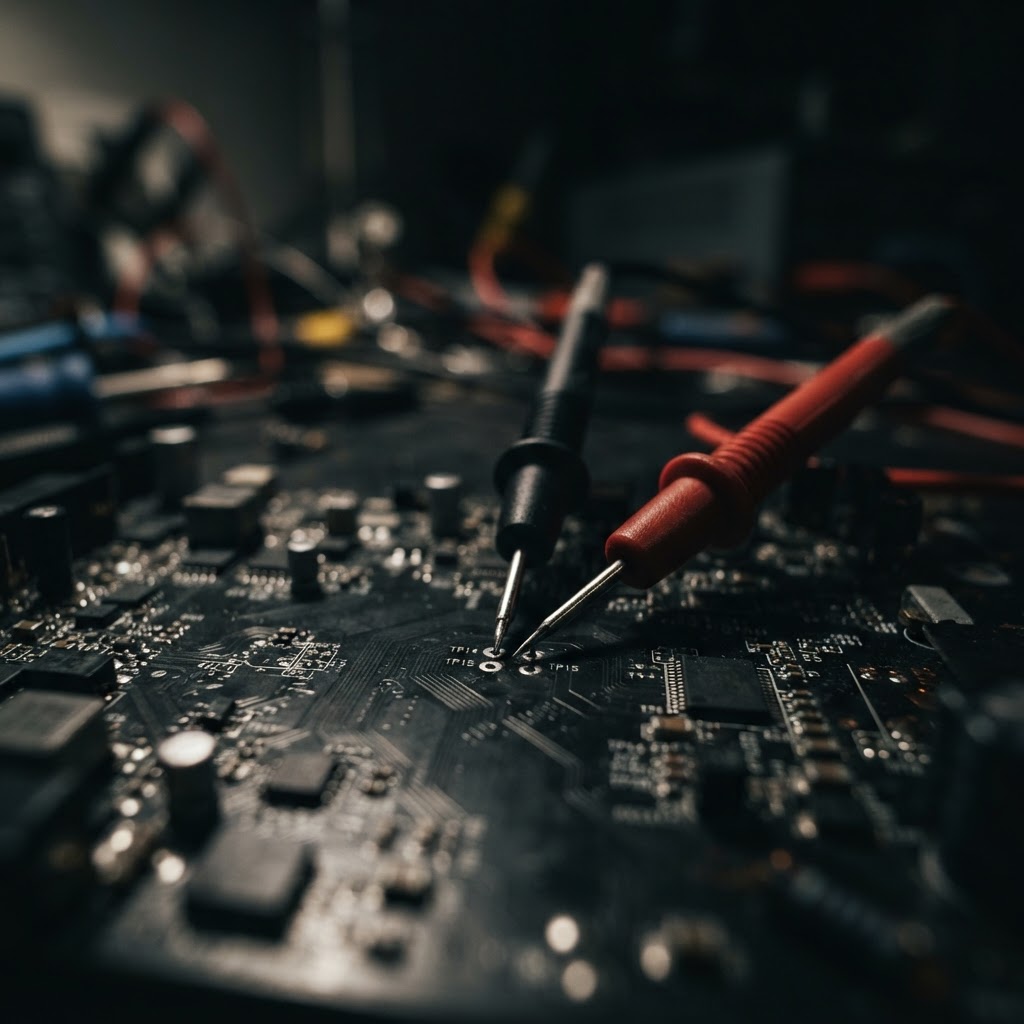
Multimeter
Essential for testing relay voltage and fuse continuity. Look for a model with a low-impedance setting for automotive circuits.
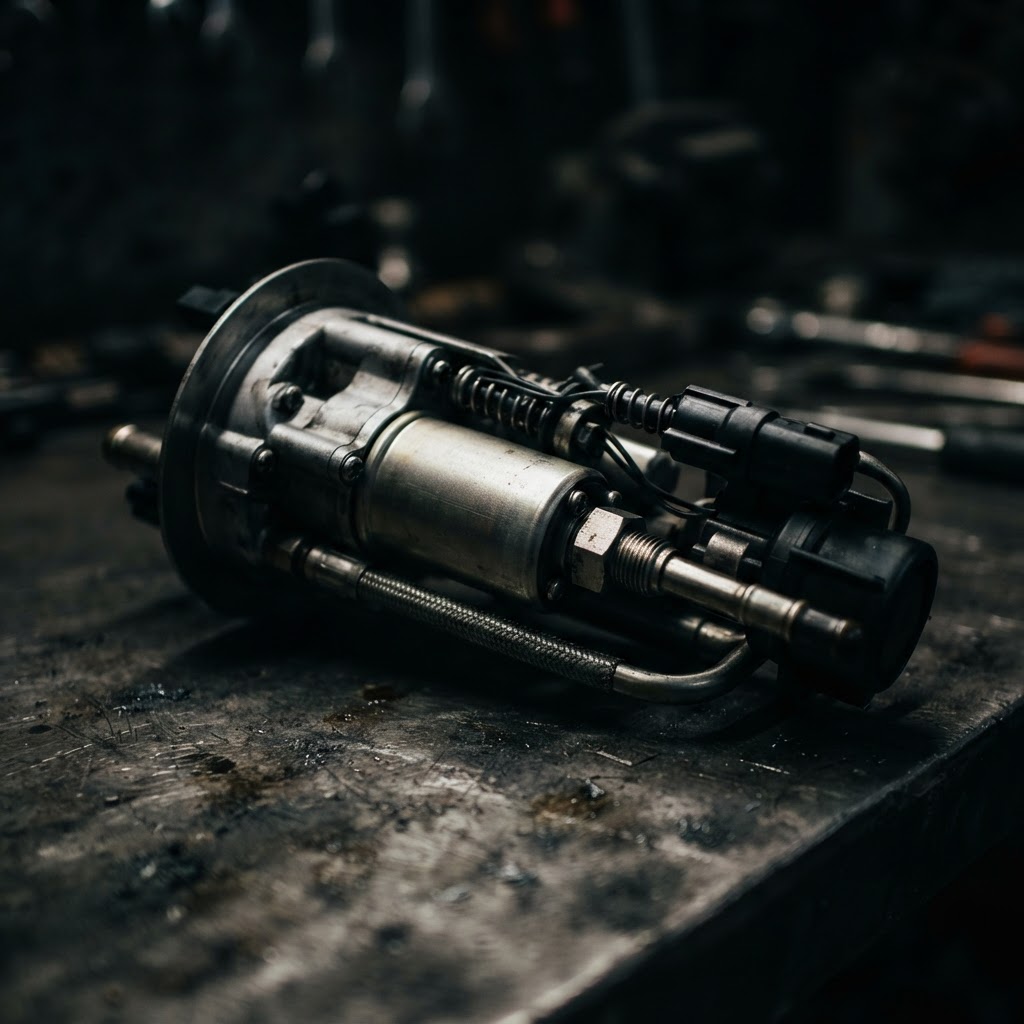
Fuel Pump Module
The complete assembly (16700-HL3-A02) is the standard replacement for a failed pump. Ensure you get the correct fitment for the 2017 Pioneer 700.
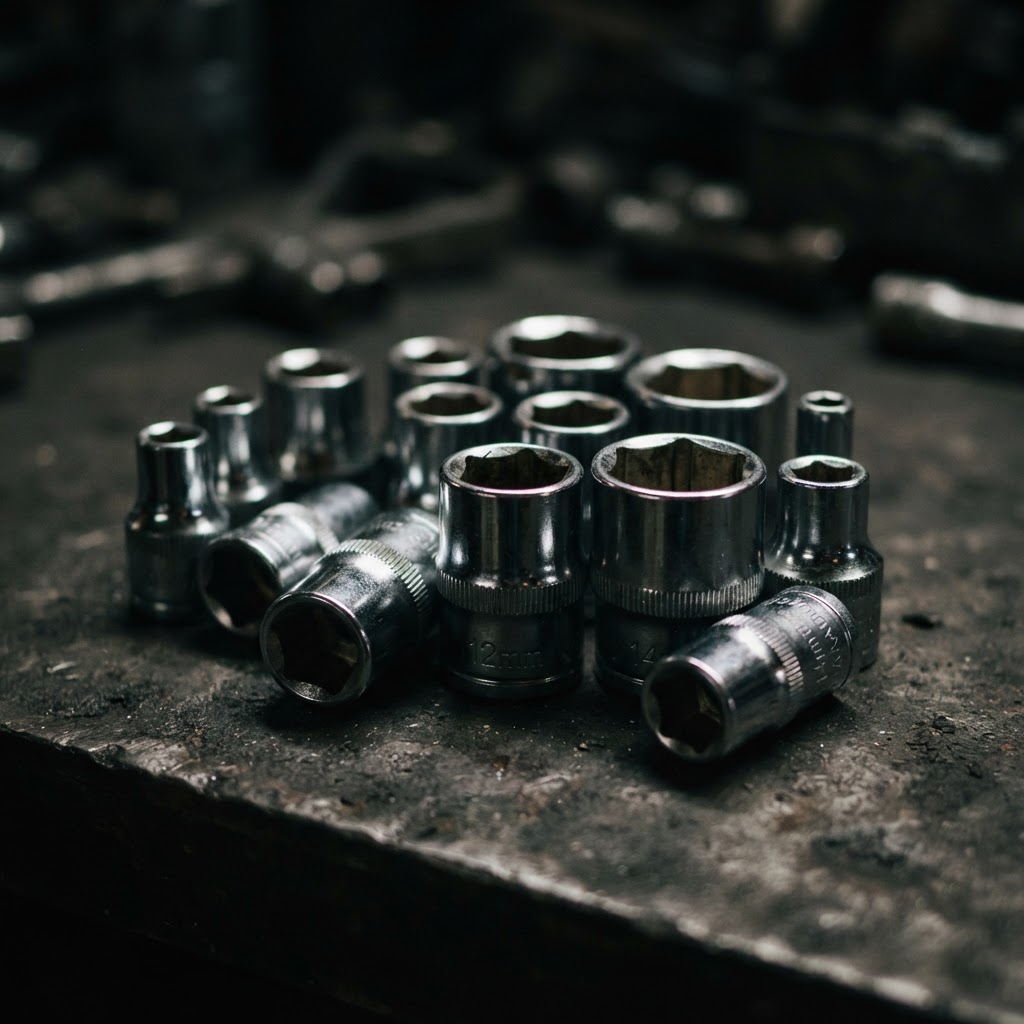
Socket Set
Required to remove the seat, bed, or access panels to reach the fuel pump and fuse box. A 1/4" or 3/8" drive metric set is standard for Honda UTVs.
Fuel Stabilizer
Prevents fuel varnish from clogging the pump and injectors during storage. Use this to prevent future fuel system failures.
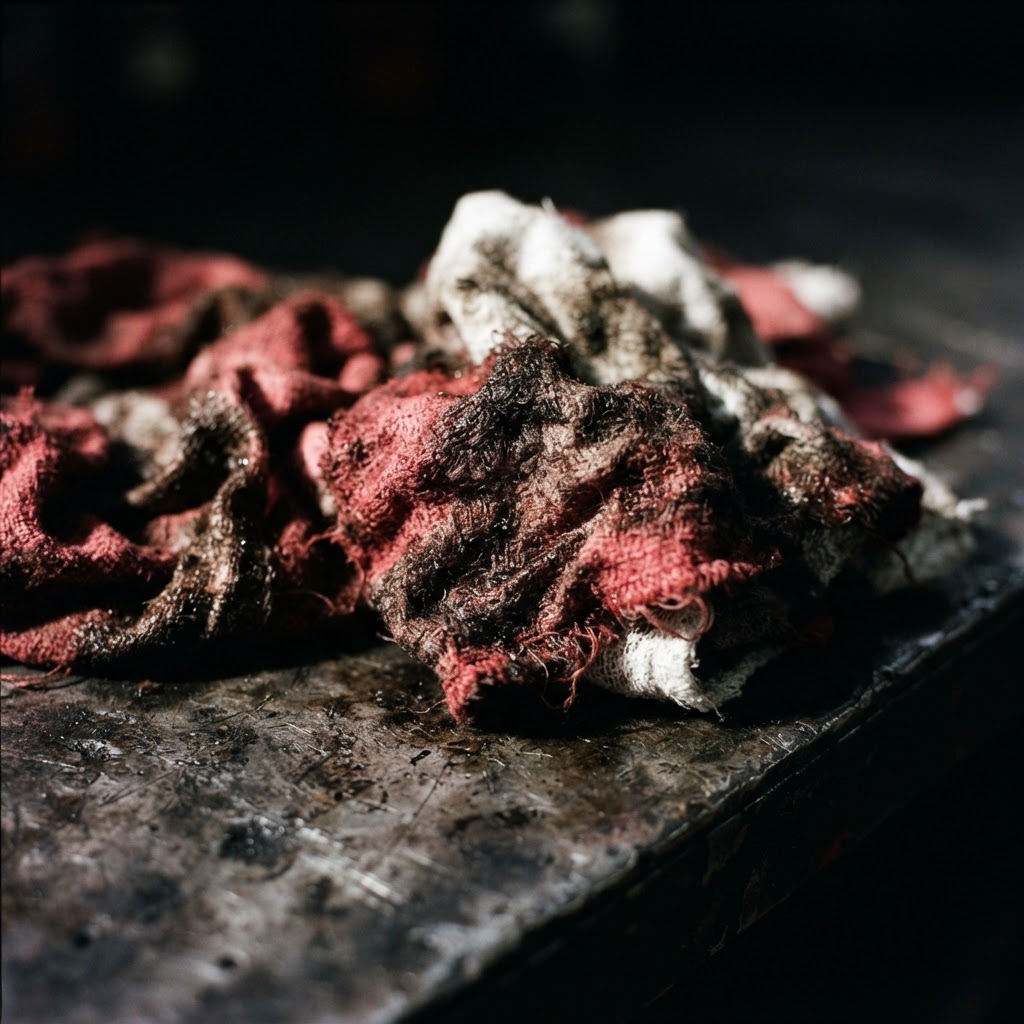
Shop Towels
Necessary for cleaning up fuel spills when checking pressure or replacing the pump. Always keep a clean workspace.
Affiliate Disclosure: Lil Engine may earn commissions from qualifying purchases.
Pro Tips from the Community
Real-world fixes from Reddit, YouTube & forums.
"If the pump doesn't prime, check the ground wire at the frame near the pump; Honda frames often have paint buildup that causes poor grounds."
HondaSxS Club"Always check the battery voltage first; if the battery is below 12.2V, the ECU may not trigger the fuel pump relay even if the starter turns."
Reddit r/UTV"The fuel pump relay is identical to the fan relay. If you are stuck on the trail, swap them to get home."
YouTube commentsPrevent This From Coming Back
Use high-quality fuel and add stabilizer for every tank if the machine sits for more than 2 weeks
Keep the battery fully charged to ensure the ECU functions correctly
Inspect the fuel pump wiring harness for signs of rubbing or heat damage annually
Prevent This From Happening Again
While you're fixing it, stock up on the maintenance essentials that keep your small engines running right.
Spark Plug
The cheapest, fastest fix for most small engine starting problems.
Get on AmazonCarburetor Cleaner
Cleaning the carb is the #1 fix for surging and stalling engines.
Get on AmazonFuel Stabilizer
Prevents the stale fuel problems that cause most seasonal no-starts.
Get on AmazonAffiliate Disclosure: Lil Engine may earn commissions from qualifying purchases.
Frequently Asked Questions
You can jump the load terminals of the relay socket to force the pump on, but only do this for a few seconds to verify pump operation.
Video Help
Helpful videos showing these repairs in action.
Share Your Repair
Real-world fixes help everyone. Share what worked and your repair becomes part of Lil Engine's community database.
Related Problems
More Small Engines GuidesRelated Maintenance Articles
Related Symptoms
Related Searches
Honda small engine Guides
Did this help?
Your feedback helps improve guides for everyone.