Honda HRX217 Pulls But Won't Fire — Fuel & Spark Diagnosis
⚡ Quick Answer
The most common reason a Honda HRX217 pulls but won't fire is a clogged pilot jet in the carburetor or a failed auto-choke wax element. First, ensure the fuel shut-off valve is turned to the ON position and the fuel is fresh; then, perform a 'shot test' by spraying carburetor cleaner into the air intake. If the engine fires briefly on the spray, the issue is fuel delivery, specifically the carburetor or the auto-choke linkage which often sticks due to debris.
What do you want to do?
Most Likely Cause
Main Jet Obstruction
The tiny aperture in the brass main jet clogs easily from ethanol-derived gum. Inspect by removing the float bowl; if you cannot see light through the jet, the fuel delivery is effectively choked.
Start here — this is the most common reason for this symptom.
Why This Problem Happens
The Honda GCV190 or GCV200 engine powering the HRX217 series relies on an extremely precise balance of air-fuel mixture and ignition timing. Because these engines utilize a small-diameter brass main jet in the carburetor, even microscopic varnish deposits from ethanol-blended gasoline can restrict fuel flow, leading to a lean condition that prevents combustion. The idle circuit is particularly sensitive, often becoming obstructed if the machine sits for as little as thirty days without a fuel stabilizer. Furthermore, the GCV series employs an ignition coil with an integrated electronic advance. If the air gap between the flywheel magnets and the coil is compromised by debris or corrosion, the spark intensity drops significantly at the low RPMs experienced during a manual pull start, resulting in no ignition even if fuel is present. Essentially, the combination of tight tolerances in the fixed-jet carburetor and the sensitivity of the ignition system to magnetic resistance creates a scenario where the engine lacks the raw energy required to bridge the compression gap during the initial pull. If fuel is stale, the chemical volatility is insufficient to ignite under the GCV's high-compression cycle, leaving the combustion chamber flooded or bone-dry.
Common Symptoms
- Repeated pulling with no intermittent firing
- Spark plug appears dry after multiple pull attempts
- Backfiring through the carburetor intake
- Engine sputters briefly then dies immediately
- Smell of raw fuel around the air box
Before You Buy Parts
Quick, free inspections — check these first. Most repairs don't actually need replacement parts.
Complete Resource Guide
Complete Small Engines Troubleshooting Guide
Brand Resource Hub
The Ultimate Honda Small Engine Repair & Service Hub
Repair Overview
45–90 minutes
$15–$50
First Checks — Start Here
- 1Check fuel shut-off valve — ensure it is turned fully counter-clockwise (ON)
- 2Inspect air filter — if soaked in oil or fuel, the engine is 'choking' and won't breathe
- 3Perform spray test — spray carb cleaner into intake; if it fires, clean the carb
- 4Test for spark — pull the recoil with the plug grounded; gap must be 0.030"
- 5Verify auto-choke movement — the choke plate must be fully closed when the engine is cold
- 6Check fuel quality — drain the carb bowl into a glass jar to check for water/ethanol separation
Safety Warnings
- !Ensure you are working in a well-ventilated area away from open flames or water heaters.
- !Do not over-torque the plug; hand-tighten plus a quarter turn is sufficient to prevent stripping the aluminum cylinder head.
- !Wear safety glasses; carb cleaner is pressurized and will spray back when flushing orifices.
- !Keep fingers away from the flywheel perimeter as it may have sharp cooling fins.
- !Ensure the engine is completely cold to avoid heat-soak false readings on the thermal actuator.
- !Never hold the spark plug wire while pulling the cord; use rubber-insulated pliers if necessary.
- !Forgetting to reset the fuel petcock to the open position
Always disconnect the spark plug, work in a well-ventilated area, and consult a professional if unsure.
Most Likely Causes
Ranked by likelihood — tap each to see diagnosis details.
The tiny aperture in the brass main jet clogs easily from ethanol-derived gum. Inspect by removing the float bowl; if you cannot see light through the jet, the fuel delivery is effectively choked.
If the air gap between the flywheel and coil magnet is too wide due to vibration or improper clearance, the spark becomes too weak. Use a feeler gauge to verify the standard gap, usually around 0.010 to 0.015 inches.
🔧 Step-by-Step Fix Guide
Fuel Quality Verification
Drain the tank and float bowl completely into a fuel-safe container. Refill with fresh 87-octane non-ethanol fuel treated with a high-quality stabilizer like Sea Foam.
Ensure you are working in a well-ventilated area away from open flames or water heaters.
Spark Plug Replacement
Remove the BPR5ES spark plug using a 13/16 inch socket. Inspect the electrode for 'wet fouling' which indicates a flooded cylinder or 'dry black' which indicates a rich condition.
Do not over-torque the plug; hand-tighten plus a quarter turn is sufficient to prevent stripping the aluminum cylinder head.
Carburetor Bowl Cleaning
Remove the 10mm bolt at the bottom of the float bowl. Use a small wire or compressed air to clear the central main jet and the idle port before reassembling with a clean gasket.
Wear safety glasses; carb cleaner is pressurized and will spray back when flushing orifices.
Ignition Coil Gap Adjustment
Remove the recoil starter and flywheel cover. Loosen the coil bolts, insert a feeler gauge between the magnet and the core, then tighten the bolts while holding the coil against the gauge.
Keep fingers away from the flywheel perimeter as it may have sharp cooling fins.
Auto Choke Linkage Inspection
Observe the plastic linkage connected to the carburetor throttle shaft while moving the engine speed lever to the 'Start/Choke' position. If it doesn't snap the choke butterfly shut, manually manipulate it to test for startability.
Ensure the engine is completely cold to avoid heat-soak false readings on the thermal actuator.
Inline Spark Testing
Use an adjustable gap spark tester set to 1/4 inch. If the spark jumps the gap with a strong blue color, your ignition system is healthy; yellow or orange indicates a weak coil.
Never hold the spark plug wire while pulling the cord; use rubber-insulated pliers if necessary.
What To Test Next
If fuel delivery checks out, the next thing to inspect is spark — remove the spark plug, ground its threads to the engine block, and crank the engine to look for a visible blue spark.
Component Reference

Carburetor & Fuel Intake
The carburetor mixes air and fuel for combustion. A clogged jet or stuck float is the #1 cause of small engine starting and surging problems.

Spark Plug & Ignition System
The spark plug ignites the air-fuel mixture. A fouled plug, wrong gap, or failing ignition coil will prevent the engine from firing.

Oil & Lubrication System
Regular oil changes are critical. Low or dirty oil causes engine wear, overheating, and eventual seizure. Check the dipstick before every season.

Air Filter & Intake
A clogged air filter starves the engine of air, causing rich running, power loss, and hard starting. Inspect and clean or replace it each season.
Photos for educational reference. Actual parts may vary by make and model.
Common Mistakes to Avoid
Using generic carburetor cleaner instead of dedicated solvent
Forgetting to reset the fuel petcock to the open position
Over-tightening the plastic bowl nut and causing it to crack
Ignoring the specific BPR5ES plug requirement and using an incompatible range
If This Didn't Fix It
Still having trouble? These are the next things to check:
Get the Exact Parts for Your Machine
Tell us your equipment's year, make, and model — we'll search for parts that actually fit, not generic ones.
Finding parts for
Honda HRX217
Required Gear
Matched to your Honda HRX217 — click to find the exact fit on Amazon.
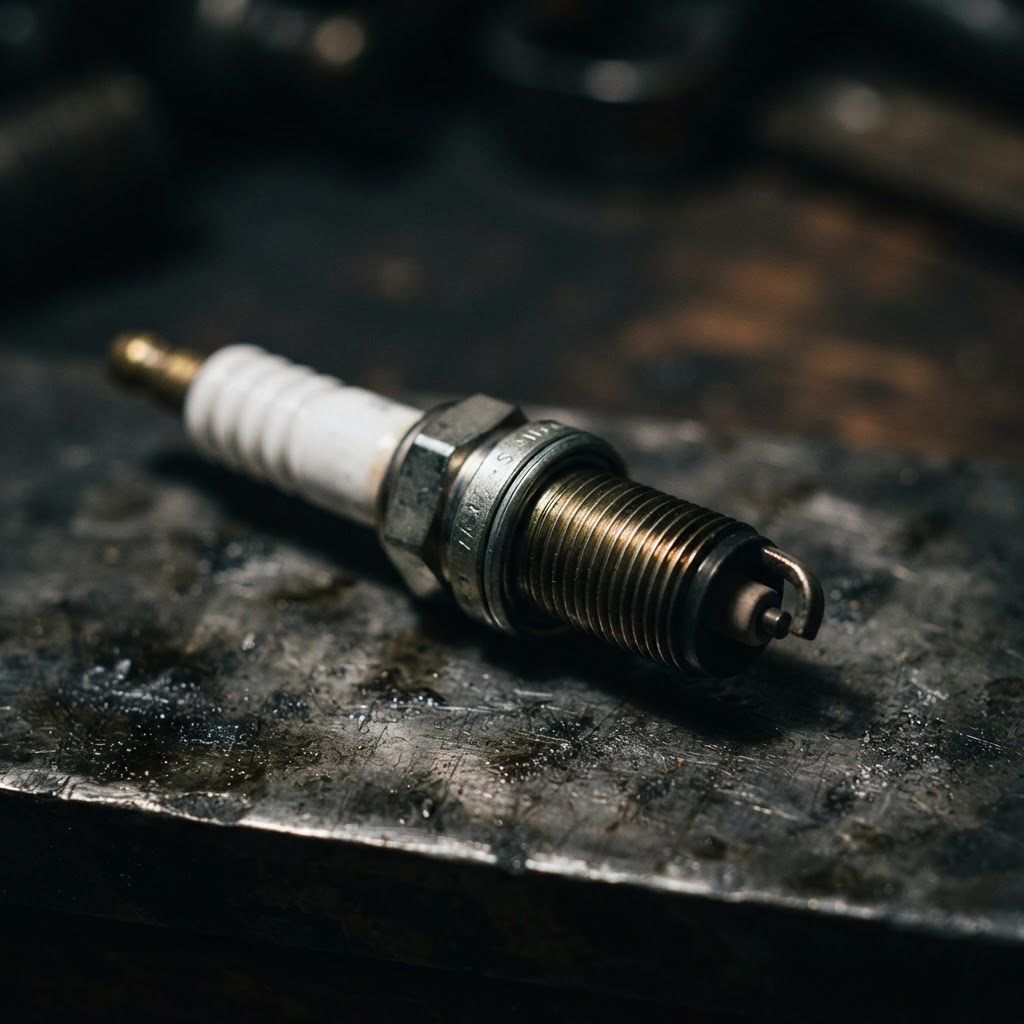
NGK BPR5ES Spark Plug
Replacing the spark plug is essential to rule out carbon fouling or an internal resistor failure, which is a common cause for no-start conditions in the Honda GCV engine series.
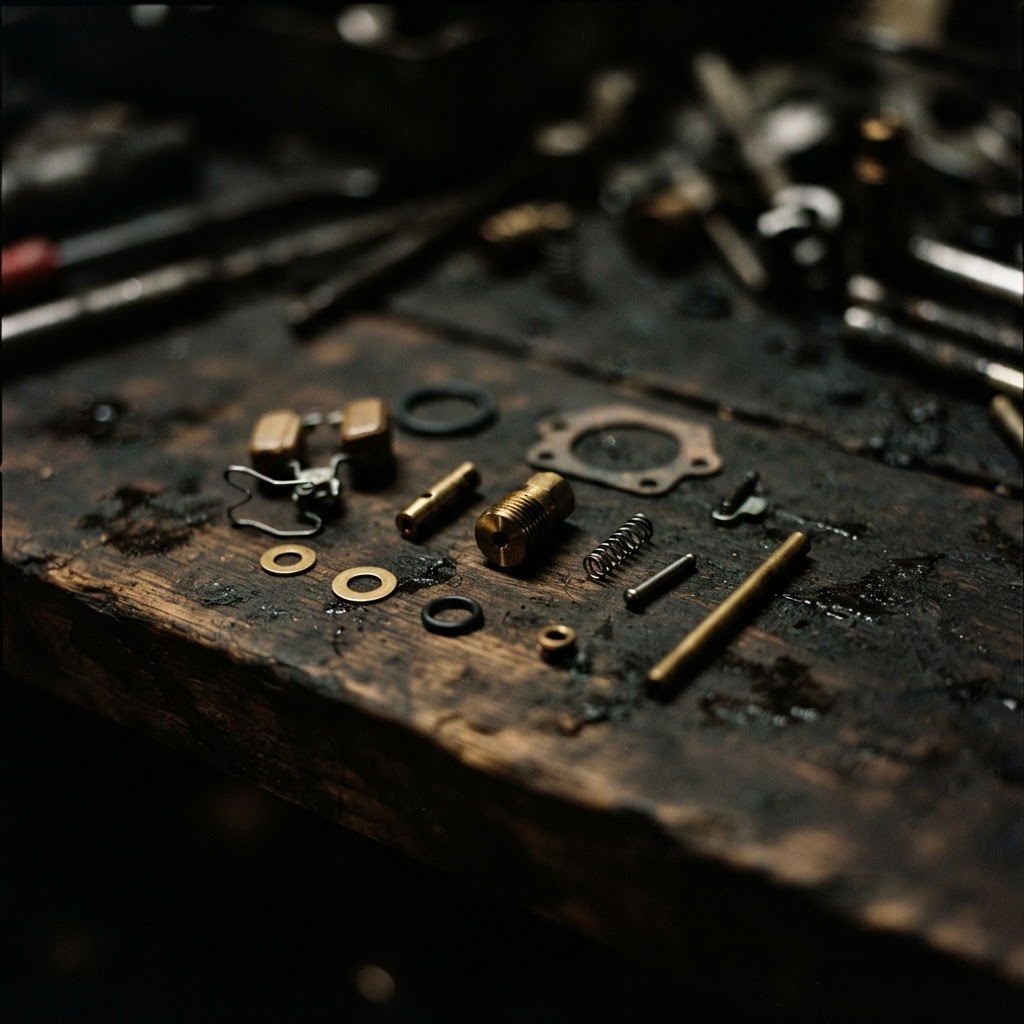
Honda GCV Carburetor Overhaul Kit
Since main jet obstruction is identified as a primary cause, this kit provides the specific gaskets and jets needed to properly clean or replace components restricted by degraded fuel.

Fuel System Cleaner/Stabilizer
After cleaning the carburetor, this additive helps break down lingering varnish in the fuel lines and ensures that the fresh fuel does not immediately degrade in the bowl.
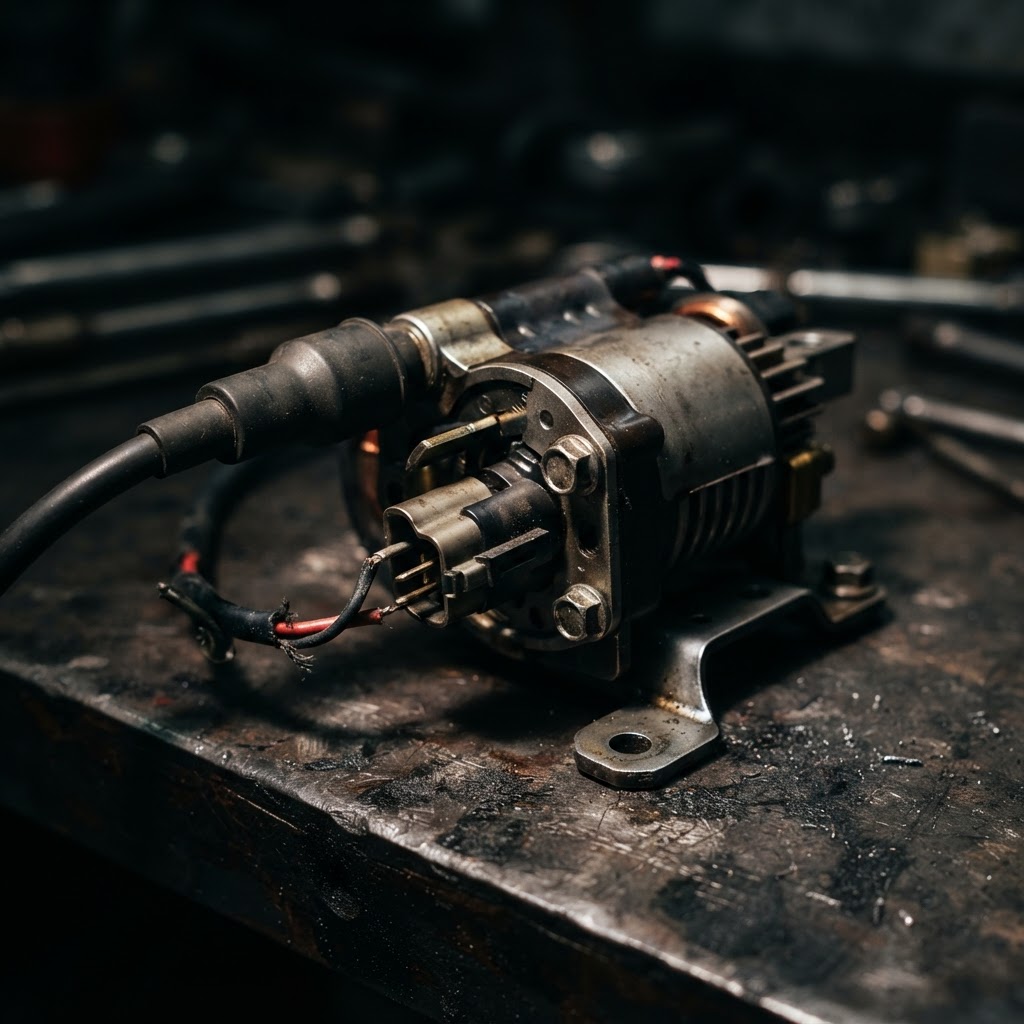
Ignition Coil Assembly
If the air gap adjustment fails to produce a consistent blue spark, the internal coil windings may have failed due to thermal fatigue, requiring a direct replacement of the ignition module.
Affiliate Disclosure: Lil Engine may earn commissions from qualifying purchases.
Pro Tips from the Community
Real-world fixes from Reddit, YouTube & forums.
"If your HRX217 starts but immediately dies, 9 times out of 10 it's the pilot jet under the idle screw. You don't even have to take the carb off to clean it."
Reddit r/lawncare"Check the auto-choke wax element on the GCV190. If the pin doesn't retract when cold, the choke won't close and it will never start on the first pull."
YouTube comments"Honda GCV engines are notorious for getting water in the carb bowl. Use the angled 10mm drain bolt to purge the bowl every spring before the first start."
LawnSite.com ForumPrevent This From Coming Back
Use only non-ethanol gasoline to prevent jet varnish
Run the fuel tank dry before winter storage
Replace the air filter every 50 hours to prevent mixture imbalance
Apply a light coat of dielectric grease to the spark plug boot
Prevent This From Happening Again
While you're fixing it, stock up on the maintenance essentials that keep your small engines running right.
Spark Plug
The cheapest, fastest fix for most small engine starting problems.
Get on AmazonCarburetor Cleaner
Cleaning the carb is the #1 fix for surging and stalling engines.
Get on AmazonFuel Stabilizer
Prevents the stale fuel problems that cause most seasonal no-starts.
Get on AmazonAffiliate Disclosure: Lil Engine may earn commissions from qualifying purchases.
Frequently Asked Questions
Avoid using starting fluid. It lacks lubrication and can cause premature wear on the GCV engine's piston rings and cylinder wall.
Video Help
Helpful videos showing these repairs in action.
Share Your Repair
Real-world fixes help everyone. Share what worked and your repair becomes part of Lil Engine's community database.
Related Problems
More Small Engines GuidesRelated Maintenance Articles
Related Symptoms
Won’t Start
Carburetor / Fuel Issues
Related Searches
Honda small engine Guides
Did this help?
Your feedback helps improve guides for everyone.