Honda GCV160 Cranks But Won't Start — Fuel & Spark Diagnosis
⚡ Quick Answer
On a Honda GCV160, the most common reason it turns over but won't fire is a failed auto-choke wax motor or a clogged pilot jet in the carburetor. First, verify the choke plate is fully closed when cold; if it is open, the engine won't draw enough fuel to ignite. If the choke is working, use a shot of carburetor cleaner in the intake to confirm a fuel delivery issue, then proceed to clean the main and pilot jets.
What do you want to do?
Most Likely Cause
Clogged Pilot Jet
The tiny passage inside the main jet is restricted by varnish buildup. Identify this by removing the carburetor bowl and inspecting the jet orifice with a magnifying glass for light penetration.
Start here — this is the most common reason for this symptom.
Why This Problem Happens
The Honda GCV160 utilizes a gravity-fed carburetor system and an overhead cam (OHC) valvetrain that is sensitive to fuel varnish and valve lash tolerance. The GCV series is notorious for its internal carburetor passage configuration, which features incredibly small pilot jets that are easily obstructed by ethanol-blended fuel left in the system during off-season storage. When fuel evaporates, it leaves behind sticky deposits that clog the idle circuit and the main nozzle, preventing the air-fuel mixture from reaching the cylinder during the intake stroke. Without this combustible charge, even a perfect spark cannot achieve ignition. Furthermore, the GCV160 features a plastic-housed carburetor mounted directly to a phenolic intake manifold. These units are prone to air leaks at the insulator gaskets; if the gasket fails or the mounting bolts loosen, the engine will pull excess unmetered air, leaning out the mixture to the point of non-combustion. The mechanical auto-choke system, actuated by the thermal element on the side of the engine, can also fail to fully close the butterfly plate when cold, resulting in a lean condition that prevents starting.
Common Symptoms
- Engine cranks with high velocity but shows no firing signs
- Spark plug appears bone-dry after repeated pulling
- Engine attempts to start only when using a shot of starter fluid
- Distinct smell of old gasoline or varnish in the fuel tank
- Excessive resistance when pulling the recoil starter rope
- Engine runs briefly on choke then dies immediately
Before You Buy Parts
Quick, free inspections — check these first. Most repairs don't actually need replacement parts.
Repair Overview
45–90 minutes
$15–$50
First Checks — Start Here
- 1Verify the flywheel brake handle is fully depressed to unground the ignition coil.
- 2Check fuel for 'sour' smell or water contamination (drain if older than 30 days).
- 3Inspect the air filter for oil soaking, which often happens if the mower was tilted the wrong way.
- 4Confirm the choke butterfly valve is 100% closed when the engine is cold.
- 5Check for spark using a dedicated tester or a fresh NGK BPR6ES plug gapped to 0.030 inches.
- 6Ensure the fuel shut-off valve (if equipped) is in the 'On' position.
Safety Warnings
- !Keep hands away from the spark plug terminal while cranking to prevent high-voltage shock.
- !Work in a well-ventilated area away from open flames or hot engine components.
- !Ensure the spark plug wire is disconnected if you are adjusting linkage near moving cooling fans.
- !Carburetor cleaner is highly flammable and toxic; wear safety goggles and gloves.
- !Ensure the engine is stone-cold before performing valve lash adjustments to avoid heat-expansion errors.
- !Do not overtighten these bolts, as the plastic carburetor housing can easily crack.
- !Using a wire brush to clean the jet, which enlarges the hole and causes over-rich running
- !Replacing the entire carburetor before verifying fuel flow from the tank
Always disconnect the spark plug, work in a well-ventilated area, and consult a professional if unsure.
Most Likely Causes
Ranked by likelihood — tap each to see diagnosis details.
The tiny passage inside the main jet is restricted by varnish buildup. Identify this by removing the carburetor bowl and inspecting the jet orifice with a magnifying glass for light penetration.
The wax-actuated thermal element fails to close the choke plate when the engine is cold. Check this by manually moving the linkage to ensure the butterfly valve is fully closed before starting.
🔧 Step-by-Step Fix Guide
Check Spark Quality
Attach an inline ignition spark tester to the spark plug wire and ground the other end to the cylinder head. Pull the recoil briskly; you should see a strong, consistent blue spark.
Keep hands away from the spark plug terminal while cranking to prevent high-voltage shock.
Inspect Fuel Delivery
Disconnect the fuel line from the carburetor and place it into a container. Open the fuel valve and verify a steady, high-volume flow of gasoline from the tank.
Work in a well-ventilated area away from open flames or hot engine components.
Manual Choke Test
Locate the choke linkage on the side of the carburetor and move it manually to the 'closed' position. If the engine fires with the choke held closed, the auto-choke thermal element is faulty.
Ensure the spark plug wire is disconnected if you are adjusting linkage near moving cooling fans.
Clean the Carburetor Jet
Remove the float bowl using a 10mm socket, unscrew the main jet, and use a strand of copper wire or carburetor cleaner to clear the orifice. Reassemble with a new bowl gasket to ensure no leaks.
Carburetor cleaner is highly flammable and toxic; wear safety goggles and gloves.
Verify Valve Clearance
The GCV160 requires precise valve lash (Intake .006", Exhaust .009") for the auto-decompression mechanism to function. If valves are too tight, the engine will not build enough compression to start.
Ensure the engine is stone-cold before performing valve lash adjustments to avoid heat-expansion errors.
Check for Intake Vacuum Leaks
Check the two bolts securing the carburetor to the engine block for tightness. Replace the paper gaskets if they are brittle or show signs of gasoline seepage.
Do not overtighten these bolts, as the plastic carburetor housing can easily crack.
What To Test Next
If fuel delivery checks out, the next thing to inspect is spark — remove the spark plug, ground its threads to the engine block, and crank the engine to look for a visible blue spark.
Component Reference

Carburetor & Fuel Intake
The carburetor mixes air and fuel for combustion. A clogged jet or stuck float is the #1 cause of small engine starting and surging problems.

Spark Plug & Ignition System
The spark plug ignites the air-fuel mixture. A fouled plug, wrong gap, or failing ignition coil will prevent the engine from firing.

Oil & Lubrication System
Regular oil changes are critical. Low or dirty oil causes engine wear, overheating, and eventual seizure. Check the dipstick before every season.

Air Filter & Intake
A clogged air filter starves the engine of air, causing rich running, power loss, and hard starting. Inspect and clean or replace it each season.
Photos for educational reference. Actual parts may vary by make and model.
Common Mistakes to Avoid
Using a wire brush to clean the jet, which enlarges the hole and causes over-rich running
Forgetting to drain the tank when storing for more than 30 days
Replacing the entire carburetor before verifying fuel flow from the tank
Adjusting the throttle stop screw, which is factory-set and should not be moved
Get the Exact Parts for Your Machine
Tell us your equipment's year, make, and model — we'll search for parts that actually fit, not generic ones.
Finding parts for
Honda GCV160 engine
Required Gear
Matched to your Honda GCV160 engine — click to find the exact fit on Amazon.
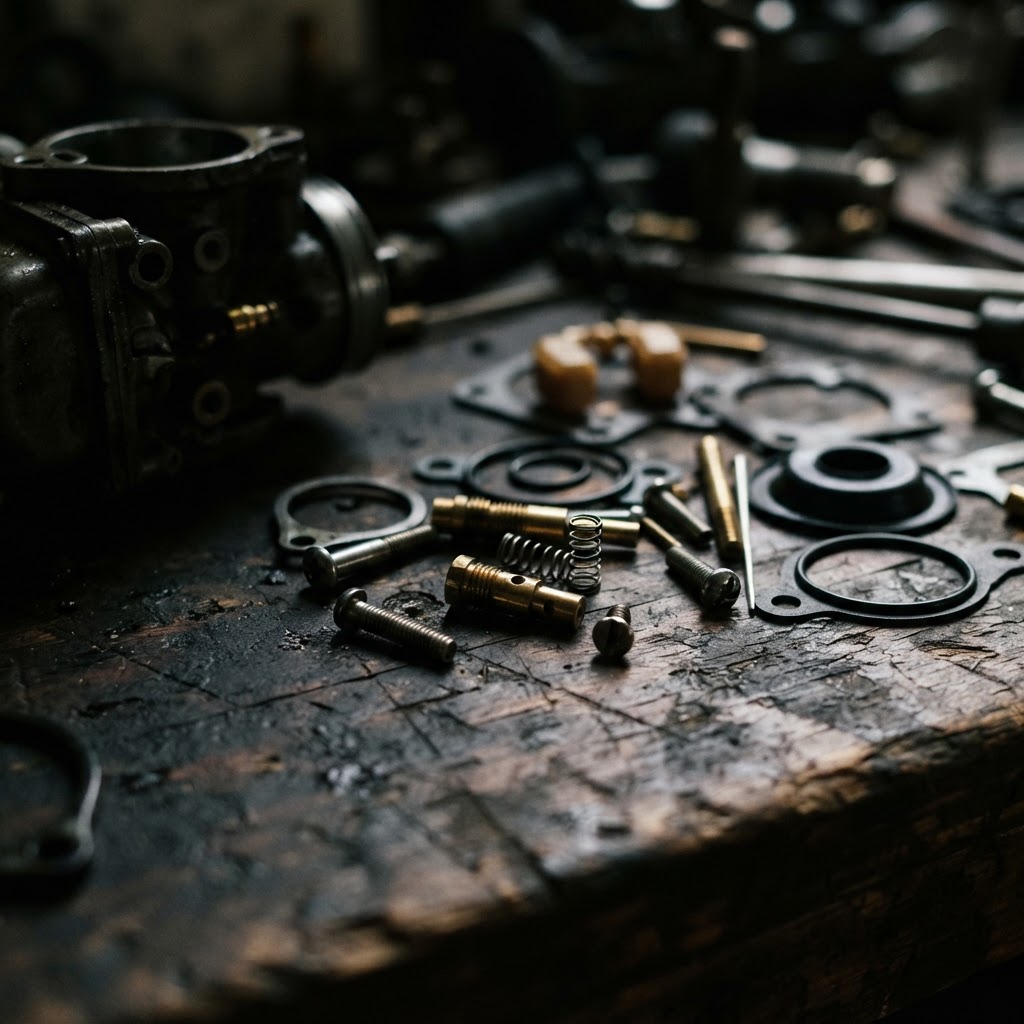
Carburetor Overhaul Kit
This kit provides the essential gaskets, seals, and the specific pilot jet needed to resolve the fuel starvation caused by clogs.
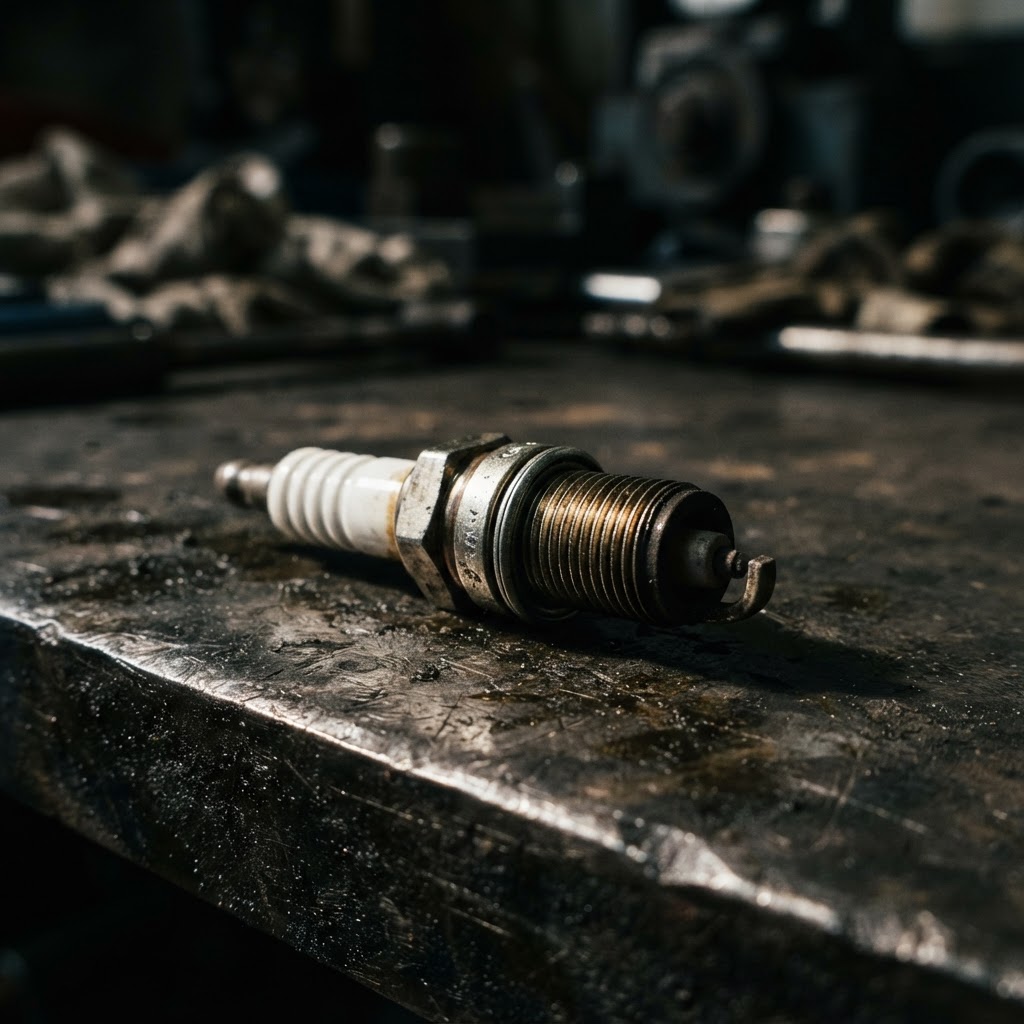
NGK BPR6ES Spark Plug
Replacing the spark plug is the most effective way to eliminate fouling or internal resistance failures identified during the spark quality inspection.
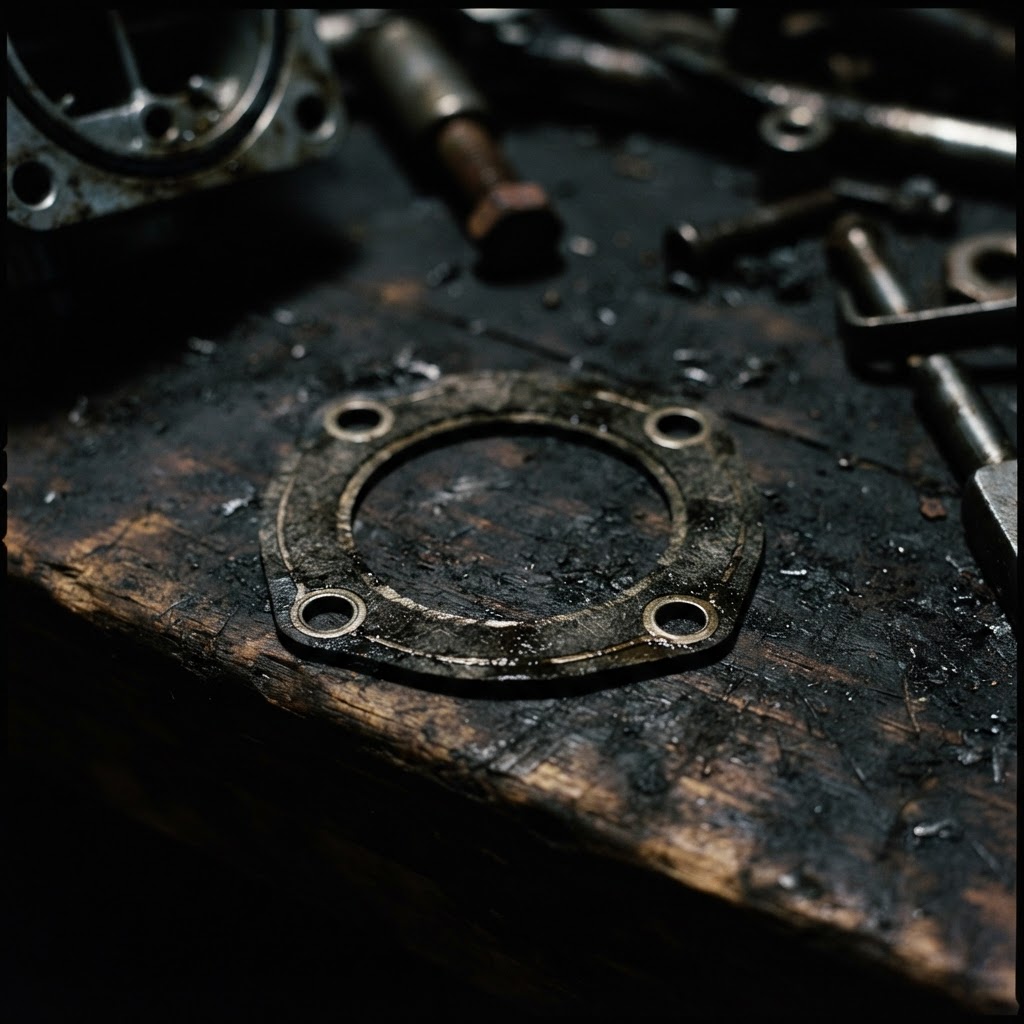
Carburetor Insulator Gasket
Replacing this gasket ensures a proper vacuum seal between the carburetor and cylinder head, preventing the air leaks that cause hard-starting conditions.
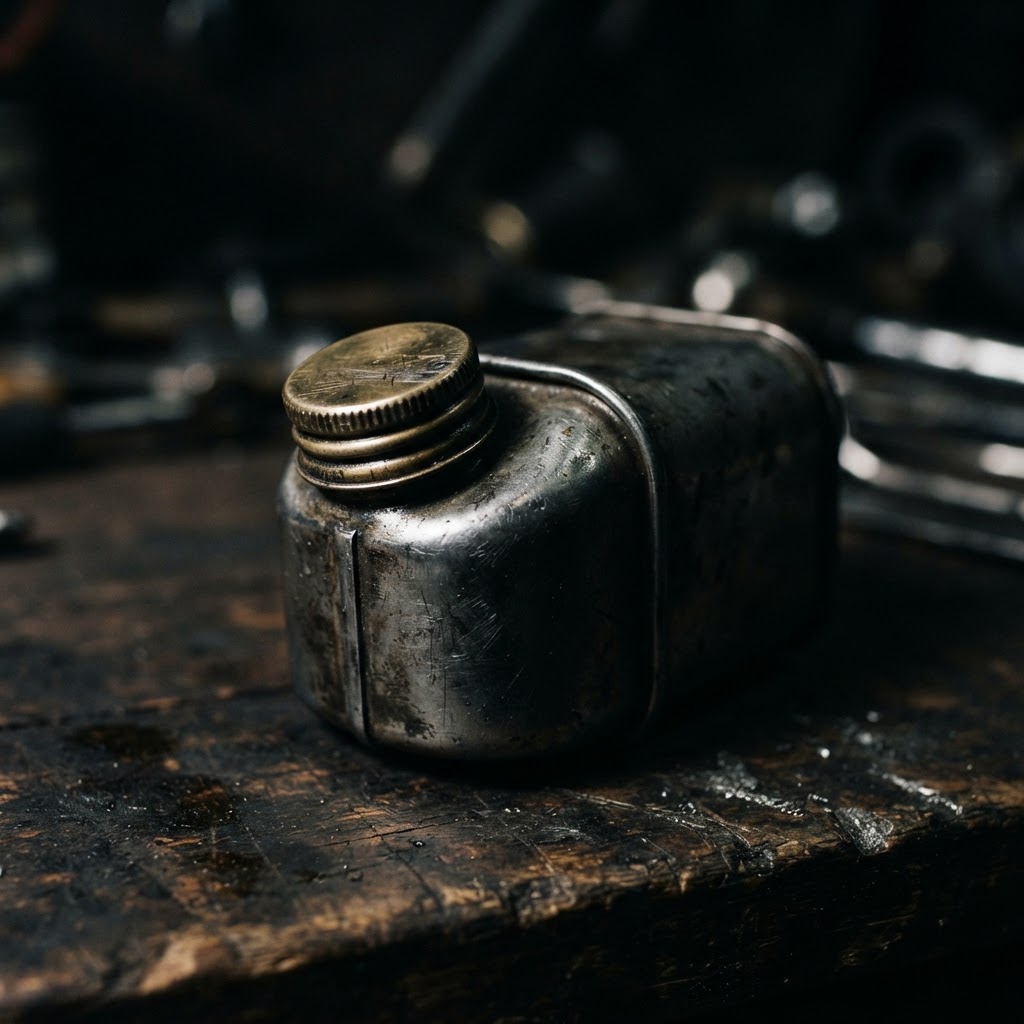
Small Engine Fuel Stabilizer
Adding this to the tank prevents future gum and varnish buildup from the old fuel that likely clogged the pilot jet in the first place.
Affiliate Disclosure: Lil Engine may earn commissions from qualifying purchases.
Pro Tips from the Community
Real-world fixes from Reddit, YouTube & forums.
"Most Honda GCV no-start issues are actually just the pilot jet. You don't even have to take the carb off—just remove the plastic idle screw on top and poke a wire down the hole."
Reddit r/lawnmowers"If your GCV160 air filter is soaked in oil, you probably tipped the mower onto the air filter side. Clean the carb and replace the filter, or it'll never breathe enough to start."
YouTube comments"The auto-choke wax motor is a high-failure item. If it's warm out and the mower starts but then dies, or won't start cold, check if that choke plate is moving freely."
LawnSite.com ForumBrand-Specific Notes
Honda
The GCV160 uses an overhead-cam (OHC) valvetrain and a gravity-fed carburetor. It has an automatic choke wax motor that should hold the choke plate fully closed when cold; if it fails open, the engine won't draw enough fuel to ignite. The pilot and main jets are very small and easily obstructed by fuel varnish, and valve-lash tolerance affects compression.
Model-Specific Variations
Honda GCV160
OHC valvetrain; gravity-fed carburetor; automatic choke wax motor (closed when cold); very small pilot and main jets; intake insulator gasket prone to air leaks.
Prevent This From Coming Back
Use only ethanol-free gasoline if possible
Add a high-quality fuel stabilizer to the gas can upon purchase
Run the engine dry or turn off the fuel valve and let it idle until it dies before storage
Replace the BPR6ES spark plug annually regardless of hours used
Prevent This From Happening Again
While you're fixing it, stock up on the maintenance essentials that keep your small engines running right.
Spark Plug
The cheapest, fastest fix for most small engine starting problems.
Get on AmazonCarburetor Cleaner
Cleaning the carb is the #1 fix for surging and stalling engines.
Get on AmazonFuel Stabilizer
Prevents the stale fuel problems that cause most seasonal no-starts.
Get on AmazonAffiliate Disclosure: Lil Engine may earn commissions from qualifying purchases.
Frequently Asked Questions
This confirms the engine has spark and compression but is suffering from a fuel starvation issue, usually a clogged pilot jet inside the carburetor.
Video Help
Helpful videos showing these repairs in action.
Share Your Repair
Real-world fixes help everyone. Share what worked and your repair becomes part of Lil Engine's community database.
Related Problems
More Small Engines GuidesRelated Maintenance Articles
Did this help?
Your feedback helps improve guides for everyone.