Honda Pioneer 700 Cranks But Won't Start — Fuel & Spark Diagnosis
⚡ Quick Answer
On the fuel-injected Honda Pioneer 700 (SXS700), the most common causes for cranking without starting are a fouled NGK BKR6E-11 spark plug or a failed fuel pump. First, listen for the 2-second fuel pump prime when the key is turned to 'ON'; if silent, check the 10A fuel pump fuse and relay. If the pump primes, verify spark and check for stored PGM-FI fault codes via the dashboard MIL blink codes.
What do you want to do?
Most Likely Cause
Fuel Pump Assembly Failure
The in-tank pump motor may have burnt out or seized due to ethanol-corrosion. Verify by listening for the two-second priming buzz when the ignition is switched to the ON position.
Start here — this is the most common reason for this symptom.
Why This Problem Happens
The Honda Pioneer 700 utilizes a sophisticated PGM-FI (Programmed Fuel Injection) system controlled by the Electronic Control Module (ECM) which relies on precise sensor data to initiate combustion. When the unit cranks but refuses to fire, it is usually due to a breakdown in the 'fire triangle'—specifically a lack of high-pressure fuel delivery or a compromised ignition sequence. Because this engine uses an in-tank fuel pump assembly with a dedicated pressure regulator, any restriction in the filter or a failing pump motor prevents the fuel rail from reaching the required 43-50 PSI. The ECU will cycle the pump upon ignition, but if the internal check valve fails or the nozzle is obstructed, the cylinder remains dry regardless of crank speed. Electrical faults are equally likely, often stemming from the Bank Angle Sensor (BAS) or the crankshaft position sensor, which may be sending erratic signals that cause the ECU to cut spark timing to protect the engine. Unlike carbureted machines, the Pioneer's closed-loop system requires the fuel pump, injector, and coil to operate in perfect electrical harmony to overcome the initial compression stroke.
Common Symptoms
- Fuel pump fails to prime audibly when key is turned
- Spark plug dry after repeated cranking attempts
- Engine sputters momentarily then dies
- MIL (Malfunction Indicator Light) flashes codes
- Strong odor of unburnt fuel absent near exhaust
Before You Buy Parts
Quick, free inspections — check these first. Most repairs don't actually need replacement parts.
Complete Resource Guide
Complete Small Engines Troubleshooting Guide
Brand Resource Hub
The Ultimate Honda Small Engine Repair & Service Hub
Repair Overview
1–3 hours
$20–$150
First Checks — Start Here
- 1Listen for the fuel pump 'whirr' for 2 seconds when the key is turned to ON
- 2Check the 10A Fuel Pump fuse in the front fuse box under the hood
- 3Inspect the NGK BKR6E-11 spark plug for carbon fouling or fuel soaking
- 4Verify battery voltage is at least 12.4V (low voltage can spin the starter but not trigger the ECU)
- 5Check for a clogged air intake or rodent nests in the airbox
- 6Ensure the machine is in Neutral and the brake is depressed if required by your specific year's safety logic
Safety Warnings
- !Ensure you are in a well-ventilated area to avoid fuel vapor buildup.
- !Wrap a rag around the fitting during disconnection to catch pressurized fuel spray.
- !Ground the spark tester securely to the engine block to avoid electrical shock.
- !Do not attempt to bypass the BAS with a jumper wire, as this creates a dangerous safety risk.
- !Disconnect the battery negative terminal before manipulating ECU connectors.
- !Keep hands clear of the cooling fan, which may engage during electrical testing.
- !Using a generic fuel pump that lacks the pressure rating for the PGM-FI system
- !Replacing the fuel pump without checking for blown fuses or corroded pins
- !Assuming the spark plug is good simply because it looks clean
Always disconnect the spark plug, work in a well-ventilated area, and consult a professional if unsure.
Most Likely Causes
Ranked by likelihood — tap each to see diagnosis details.
The in-tank pump motor may have burnt out or seized due to ethanol-corrosion. Verify by listening for the two-second priming buzz when the ignition is switched to the ON position.
The Pioneer has a fine mesh strainer on the pump intake. If the fuel has been sitting, sediment clogs this screen, preventing the pump from pulling enough fuel to build rail pressure.
🔧 Step-by-Step Fix Guide
Check for Fuel Pump Priming
Turn the ignition switch to ON and listen near the fuel tank filler neck. If you do not hear a 2-second hum, check the FI fuse in the front distribution block.
Ensure you are in a well-ventilated area to avoid fuel vapor buildup.
Test Fuel Pressure
Disconnect the fuel line at the rail and install a Honda-compatible fuel pressure gauge using a T-fitting. The system should hold approximately 45 PSI while cranking.
Wrap a rag around the fitting during disconnection to catch pressurized fuel spray.
Inspect Spark Plug and Lead
Remove the spark plug using a 5/8-inch deep socket and check for fouling or a wet tip. Use a spark tester between the plug wire and the cylinder head to check for a strong blue arc.
Ground the spark tester securely to the engine block to avoid electrical shock.
Verify Bank Angle Sensor Function
Locate the BAS behind the front body panel. Use a multimeter to check for continuity; if it fails the tilt test, the unit will not start.
Do not attempt to bypass the BAS with a jumper wire, as this creates a dangerous safety risk.
Check ECU Wiring Harness
Inspect the gray and black ECU connectors for signs of corrosion or pushed-out pins. Clean with electrical contact cleaner and apply a light dielectric grease.
Disconnect the battery negative terminal before manipulating ECU connectors.
Check Crankshaft Position Sensor
The CKP sensor tells the ECU when to fire the plug. Measure the resistance of the sensor lead; out-of-spec readings indicate a failed sensor.
Keep hands clear of the cooling fan, which may engage during electrical testing.
What To Test Next
If fuel delivery checks out, the next thing to inspect is spark — remove the spark plug, ground its threads to the engine block, and crank the engine to look for a visible blue spark.
Component Reference

Carburetor & Fuel Intake
The carburetor mixes air and fuel for combustion. A clogged jet or stuck float is the #1 cause of small engine starting and surging problems.

Spark Plug & Ignition System
The spark plug ignites the air-fuel mixture. A fouled plug, wrong gap, or failing ignition coil will prevent the engine from firing.

Oil & Lubrication System
Regular oil changes are critical. Low or dirty oil causes engine wear, overheating, and eventual seizure. Check the dipstick before every season.

Air Filter & Intake
A clogged air filter starves the engine of air, causing rich running, power loss, and hard starting. Inspect and clean or replace it each season.
Photos for educational reference. Actual parts may vary by make and model.
Common Mistakes to Avoid
Using a generic fuel pump that lacks the pressure rating for the PGM-FI system
Replacing the fuel pump without checking for blown fuses or corroded pins
Assuming the spark plug is good simply because it looks clean
Ignoring the MIL light blink codes which pinpoint the exact sensor fault
If This Didn't Fix It
Still having trouble? These are the next things to check:
Get the Exact Parts for Your Machine
Tell us your equipment's year, make, and model — we'll search for parts that actually fit, not generic ones.
Finding parts for
Honda Pioneer 700 cranks but
Required Gear
Matched to your Honda Pioneer 700 cranks but — click to find the exact fit on Amazon.
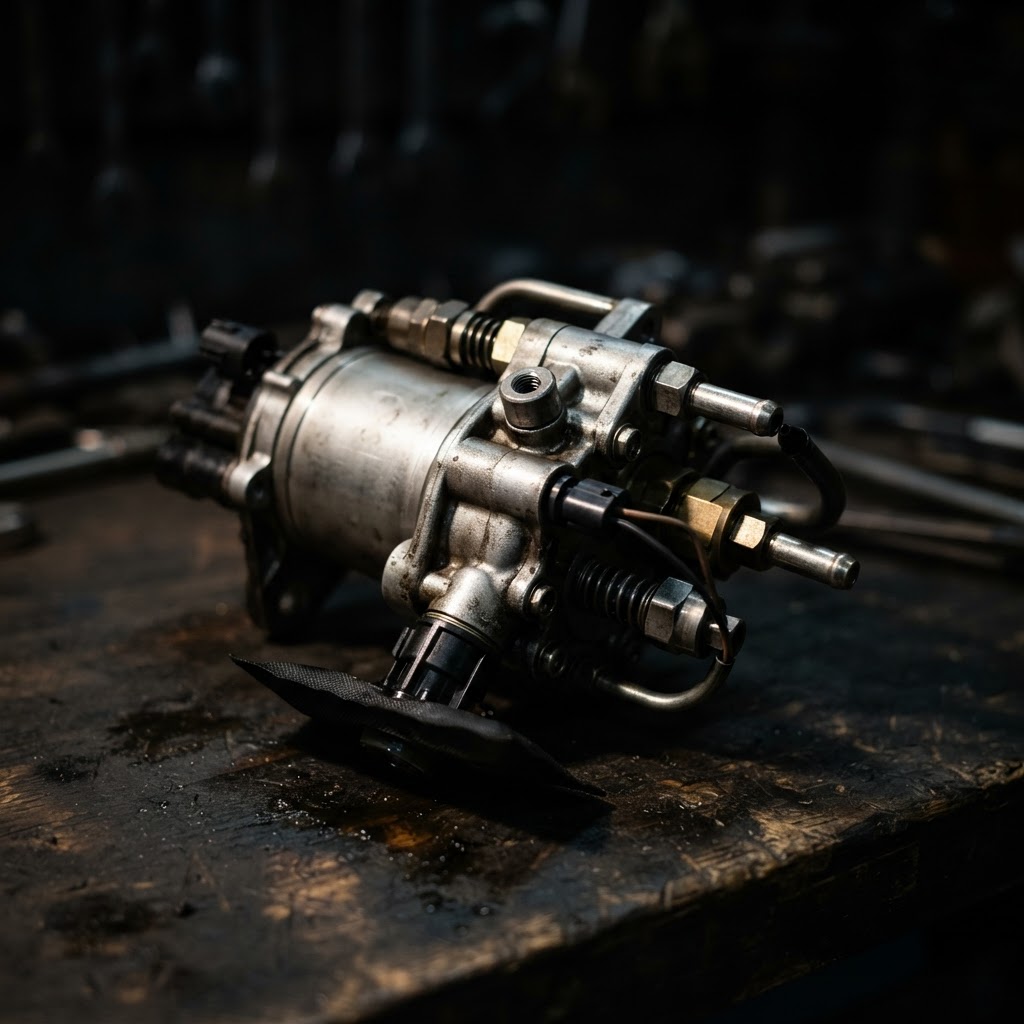
Fuel Pump Assembly
If the pump fails to prime or maintain required pressure during your diagnostic test, replacing the complete fuel pump assembly is the only permanent fix to ensure consistent fuel delivery.
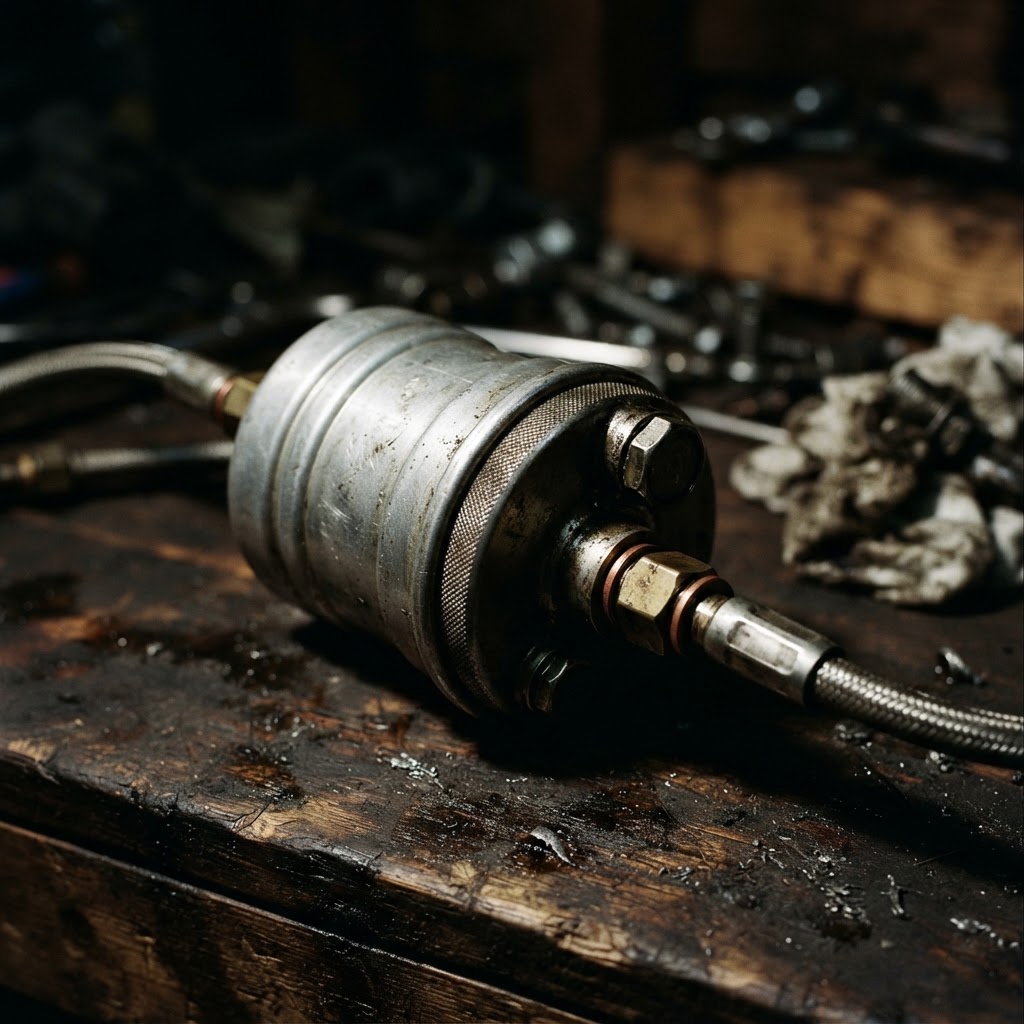
Fuel Filter/Strainer
Debris commonly restricts flow in the fuel pump pickup; replacing this component restores proper fuel pressure and protects the new pump from premature failure.
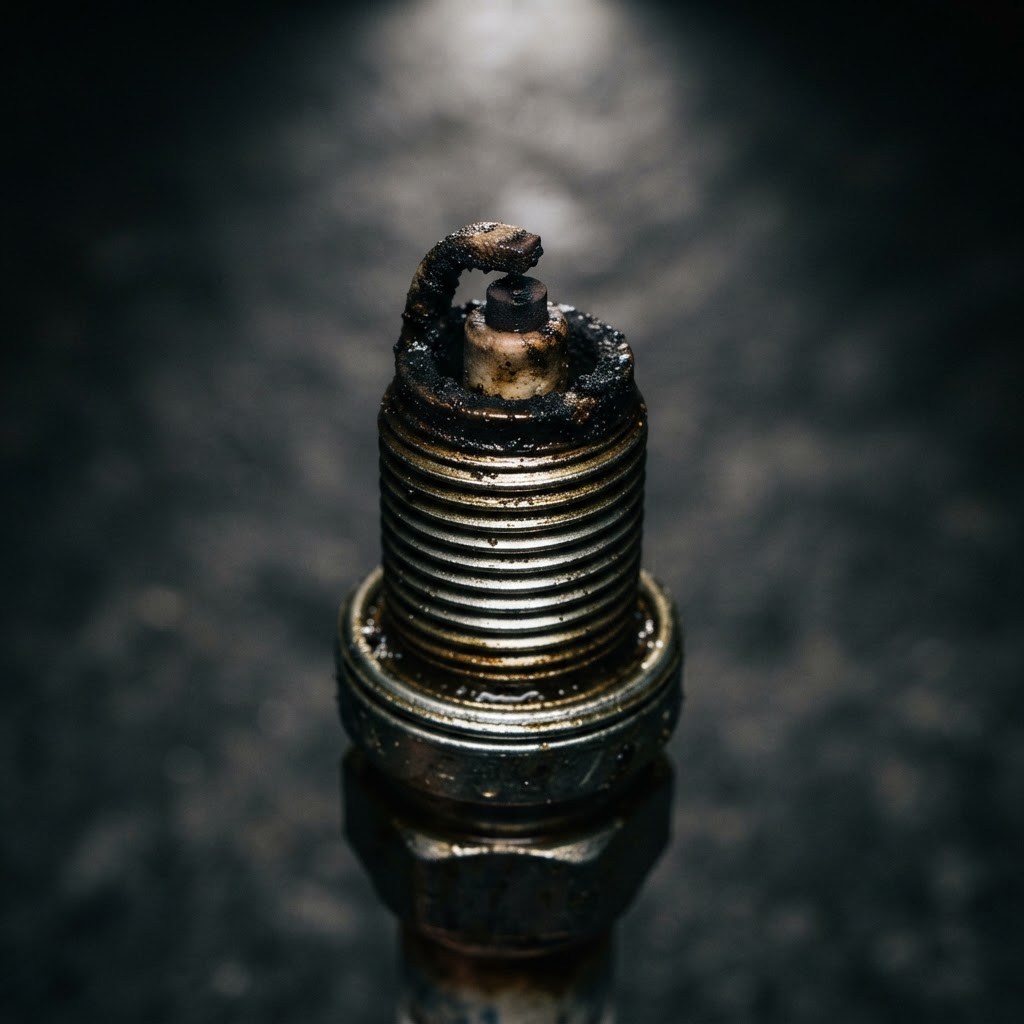
Spark Plug
Given that a no-start condition often involves fouled or worn electrodes, installing a fresh spark plug is the essential first step to verifying ignition integrity.
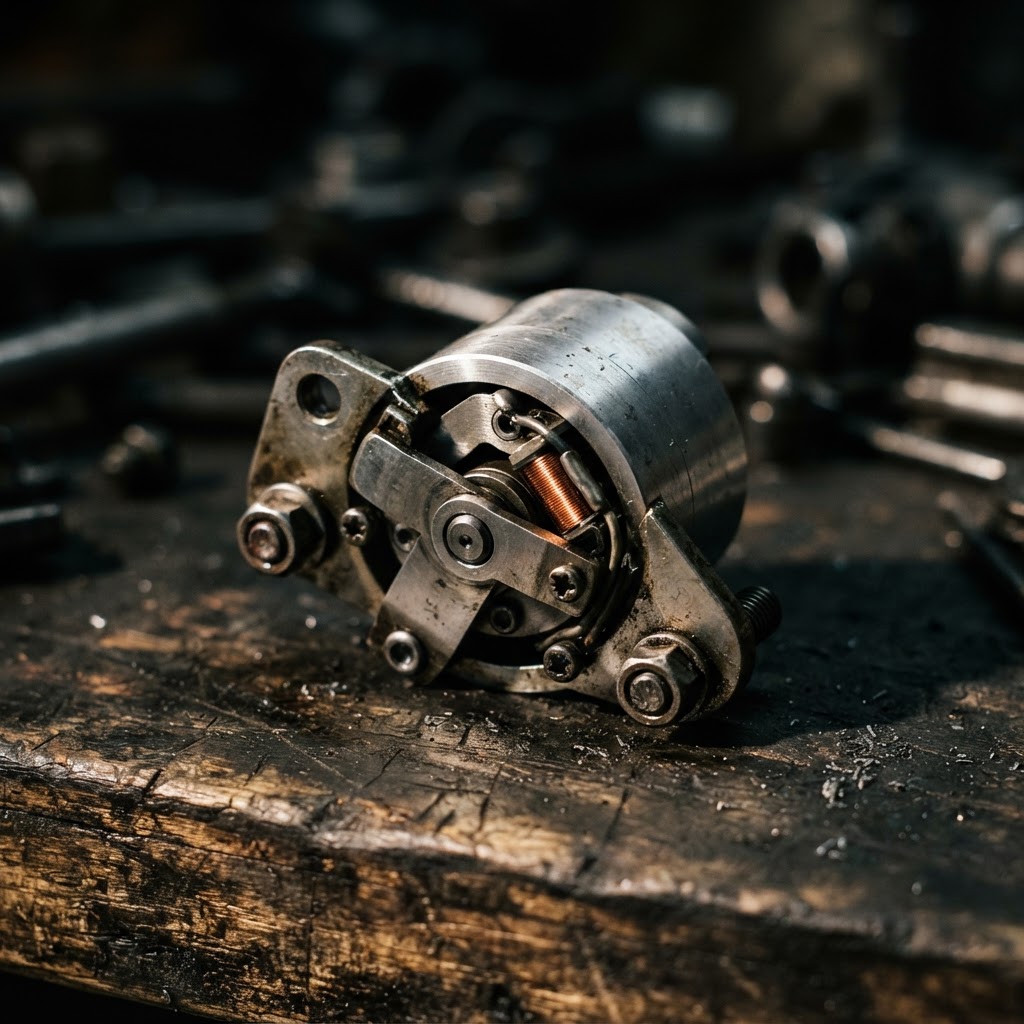
Bank Angle Sensor (BAS)
If the sensor is damaged or stuck in a tripped position, the ECU will cut fuel pump power, requiring a direct replacement of this sensor to restore the ignition circuit.
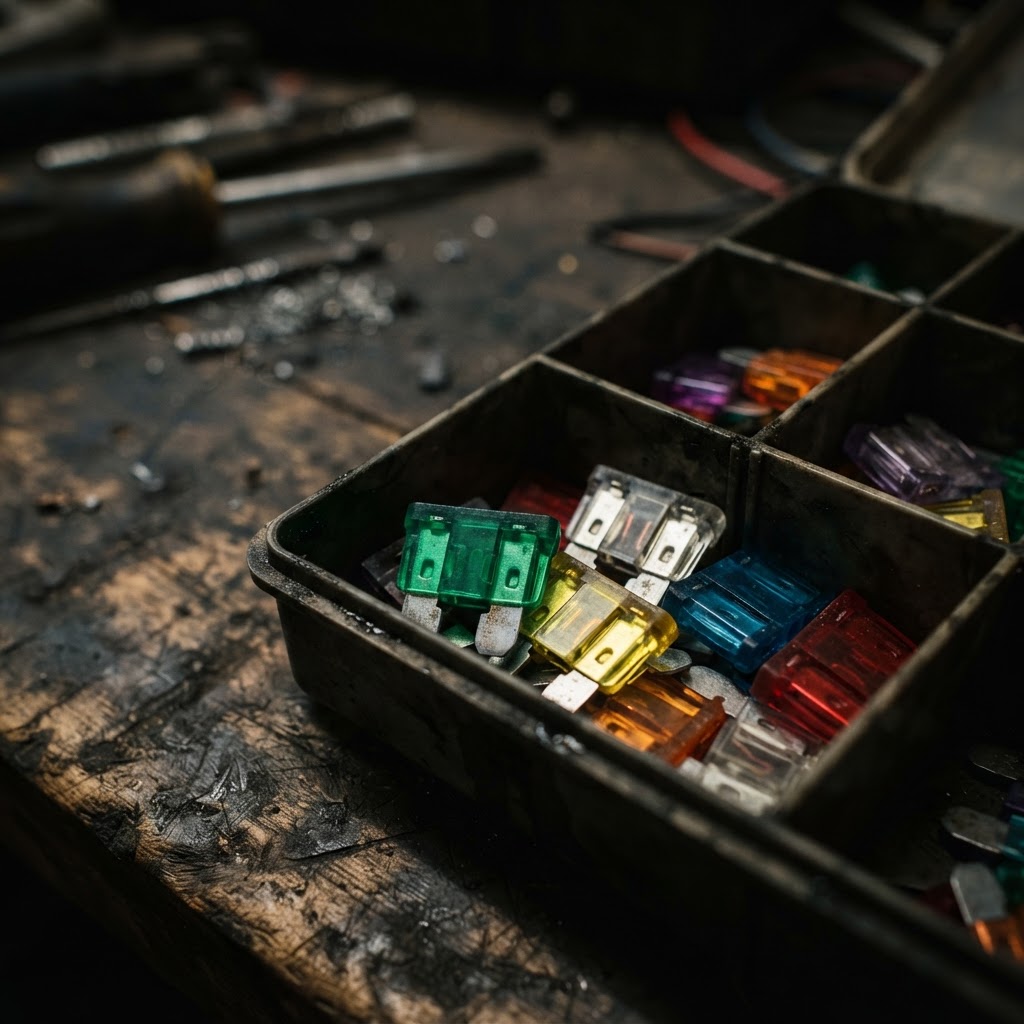
ATO/ATC Automotive Fuse Kit
If your troubleshooting identified a blown ignition or fuel pump circuit, a replacement fuse is required to complete the repair and protect the electrical system.
Affiliate Disclosure: Lil Engine may earn commissions from qualifying purchases.
Pro Tips from the Community
Real-world fixes from Reddit, YouTube & forums.
"If you flooded the engine, try 'Clear Flood Mode': Hold the throttle wide open (100%) and crank the engine for 5 seconds. This tells the ECU to cut fuel delivery so you can clear the excess gas out of the cylinder."
HondaSxS.com Forum"The fuel pump relay in the Pioneer 700 is identical to the fan relay. If you suspect a bad fuel relay, swap it with the fan relay to see if the pump starts priming again."
YouTube comments"Check the wiring harness near the battery and fuel tank for signs of rodent damage. Squirrels love the soy-based wire insulation on newer Hondas, which often causes intermittent starting issues."
Reddit r/ATVPrevent This From Coming Back
Use fuel stabilizer in every tank if the vehicle sits for more than 30 days
Replace the spark plug every 500 hours or two years
Keep the fuel tank full during storage to prevent condensation buildup
Inspect and clean the battery terminal connections annually to prevent voltage drop
Prevent This From Happening Again
While you're fixing it, stock up on the maintenance essentials that keep your small engines running right.
Spark Plug
The cheapest, fastest fix for most small engine starting problems.
Get on AmazonCarburetor Cleaner
Cleaning the carb is the #1 fix for surging and stalling engines.
Get on AmazonFuel Stabilizer
Prevents the stale fuel problems that cause most seasonal no-starts.
Get on AmazonAffiliate Disclosure: Lil Engine may earn commissions from qualifying purchases.
Frequently Asked Questions
Yes, the PGM-FI system requires a minimum voltage to operate the fuel injector and ECU. If the battery is below 12.2 volts, the engine may crank slowly but fail to provide enough current for the fuel injection cycle.
Video Help
Helpful videos showing these repairs in action.
Share Your Repair
Real-world fixes help everyone. Share what worked and your repair becomes part of Lil Engine's community database.
Related Problems
More Small Engines GuidesRelated Maintenance Articles
Related Symptoms
Won’t Start
Related Searches
Honda small engine Guides
Did this help?
Your feedback helps improve guides for everyone.