String Trimmer Line Keeps Breaking
⚡ Quick Answer
String trimmer line usually breaks because it has become brittle from age or because you are hitting hard objects like fence posts and rocks. Start by soaking your new trimmer line in water to restore flexibility and ensuring you are using the correct diameter for your specific model.
What do you want to do?
Most Likely Cause
Incompatible or Low-Quality Line
Using a line diameter that exceeds the manufacturer's specification for the trimmer head can cause excessive drag and snap-off. Low-grade, older, or dry-rotted line lacks the necessary plasticizers to remain flexible and will shatter upon impact.
Start here — this is the most common reason for this symptom.
Why This Problem Happens
String trimmer line breakage is fundamentally a failure of the material's tensile strength against kinetic energy and thermal degradation. When line is subjected to high-velocity impacts against hard surfaces like chain-link fences or concrete edging, the copolymer structure undergoes extreme localized stress. If the line is brittle or of an incorrect gauge, it fails instantly upon contact. Furthermore, heat buildup from the centrifugal force and internal friction causes the polymer to undergo a glass transition, losing its elasticity and becoming prone to weld-welding within the spool or snapping under the load of the cutting head's RPM. When a spool is tightly wound or contains 'welded' line due to heat, the line cannot feed properly, causing the remaining exposed portion to whip violently and snap at the eyelet. This creates a mechanical feedback loop where the line is held too tautly, loses its flexibility, and disintegrates upon the slightest contact with vegetation or obstacles.
Common Symptoms
- Line snaps off flush with the eyelet
- Line welds together inside the trimmer head
- Excessive vibration during operation
- Line brittle and cracks when bent
- Rapid line depletion during light trimming
Before You Buy Parts
Quick, free inspections — check these first. Most repairs don't actually need replacement parts.
Complete Resource Guide
Complete Weed Eaters Troubleshooting & Repair Guide
Repair Overview
15–30 minutes
$0–$15
First Checks — Start Here
- 1Check the trimmer line for brittleness or dry rot
- 2Ensure you are using the correct line diameter for your head
- 3Inspect the trimmer head eyelets for sharp metal edges
- 4Soak your spool of line in water for 24 hours
- 5Avoid cutting directly against chain-link fences or rocks
Safety Warnings
- !Always ensure the trimmer is powered down and the spark plug wire is disconnected before performing any maintenance.
- !Wear safety glasses when filing, as metal shards can become airborne.
- !Ensure the housing is free of debris to prevent the bump mechanism from jamming during use.
- !Keep fingers away from the spring-loaded release mechanism while winding.
- !Never force a thicker line through an eyelet not sized for it.
- !The cutoff blade is extremely sharp; handle with heavy-duty work gloves.
Always disconnect the spark plug, work in a well-ventilated area, and consult a professional if unsure.
Most Likely Causes
Ranked by likelihood — tap each to see diagnosis details.
Using a line diameter that exceeds the manufacturer's specification for the trimmer head can cause excessive drag and snap-off. Low-grade, older, or dry-rotted line lacks the necessary plasticizers to remain flexible and will shatter upon impact.
If the line is wound with crossovers or in a tangled pattern, it creates localized tension points that prevent smooth feeding. This causes the trimmer to whip the line until it snaps due to the inability to release length under load.
🔧 Step-by-Step Fix Guide
Hydrate the Trimmer Line
If your line is brittle, soak it in a bucket of clean water for 24 hours. This replenishes the moisture content in the nylon copolymer, restoring its elasticity and impact resistance.
Always ensure the trimmer is powered down and the spark plug wire is disconnected before performing any maintenance.
Inspect and Clean Eyelets
Use a small jeweler's file to smooth out any burrs or grooves inside the metal eyelets. If the eyelets are worn through, replace them entirely to prevent the line from being sliced during rotation.
Wear safety glasses when filing, as metal shards can become airborne.
Clean and Lubricate the Spool Housing
Remove the trimmer head and scrub away debris, sap, and melted plastic residue from the spool housing. A thin layer of food-grade silicone spray can help reduce friction inside the head.
Ensure the housing is free of debris to prevent the bump mechanism from jamming during use.
Correct the Winding Pattern
Wind the line tightly and evenly in the direction indicated by the arrows on the spool. Avoid any overlapping strands, as these create internal friction that snaps the line.
Keep fingers away from the spring-loaded release mechanism while winding.
Verify Line Gauge Compatibility
Check the owner's manual to verify the maximum diameter of line recommended for your specific head. Using a 0.105 inch line in a head rated for 0.080 inch causes excessive load and premature breakage.
Never force a thicker line through an eyelet not sized for it.
Replace Worn Cutting Blades
If your head includes a skirt-mounted line cutter blade, ensure it is sharp. A dull blade can fray the line end as it extends, causing it to snap immediately upon restarting.
The cutoff blade is extremely sharp; handle with heavy-duty work gloves.
What To Test Next
If the basics check out, verify spark, fuel delivery, and compression in that order — the three essentials of any combustion engine.
Component Reference

Carburetor & Fuel Intake
The carburetor mixes air and fuel for combustion. A clogged jet or stuck float is the #1 cause of small engine starting and surging problems.

Spark Plug & Ignition System
The spark plug ignites the air-fuel mixture. A fouled plug, wrong gap, or failing ignition coil will prevent the engine from firing.

Oil & Lubrication System
Regular oil changes are critical. Low or dirty oil causes engine wear, overheating, and eventual seizure. Check the dipstick before every season.

Electrical & Starting System
The battery, solenoid, and starter motor work together to crank the engine. A weak battery or corroded connection is often mistaken for a fuel or spark problem.
Photos for educational reference. Actual parts may vary by make and model.
Common Mistakes to Avoid
Winding the line too tightly or in a messy, crisscross pattern
Leaving the spool of line in direct, intense sunlight for extended periods
Using a line diameter that is too heavy for the trimmer's motor capacity
Running the trimmer at half-throttle which prevents the line from fully extending
If This Didn't Fix It
Still having trouble? These are the next things to check:
Get the Exact Parts for Your Machine
Tell us your equipment's year, make, and model — we'll search for parts that actually fit, not generic ones.
Finding parts for
String trimmer line keeps breaking
Required Gear
Matched to your String trimmer line keeps breaking — click to find the exact fit on Amazon.
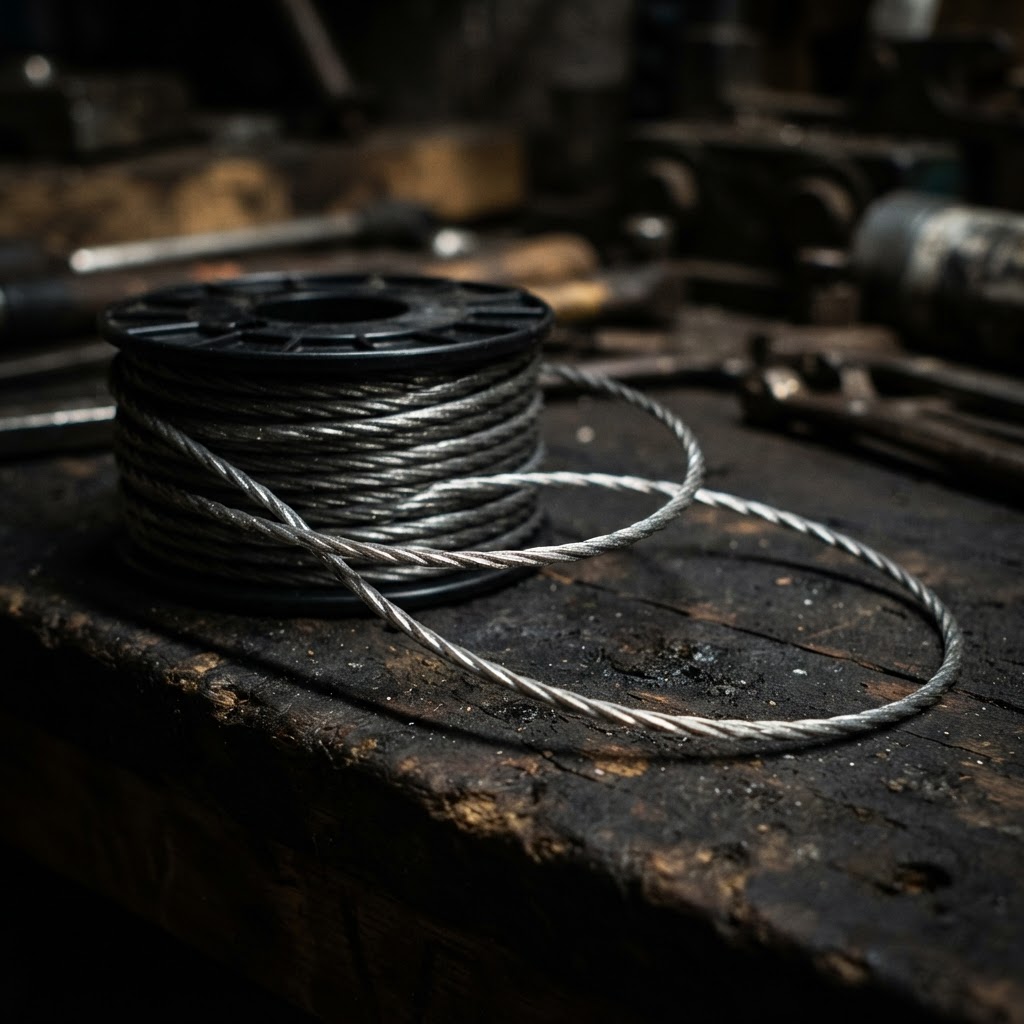
High-Quality Professional Grade Trimmer Line
Replacing old or brittle string with fresh, properly hydrated line is the most direct fix for frequent snapping caused by low-quality or aged material.

Trimmer Head Eyelet Inserts
These metal or hard-plastic inserts are wear items that develop grooves over time; replacing them reduces friction and prevents the line from fraying or breaking prematurely.
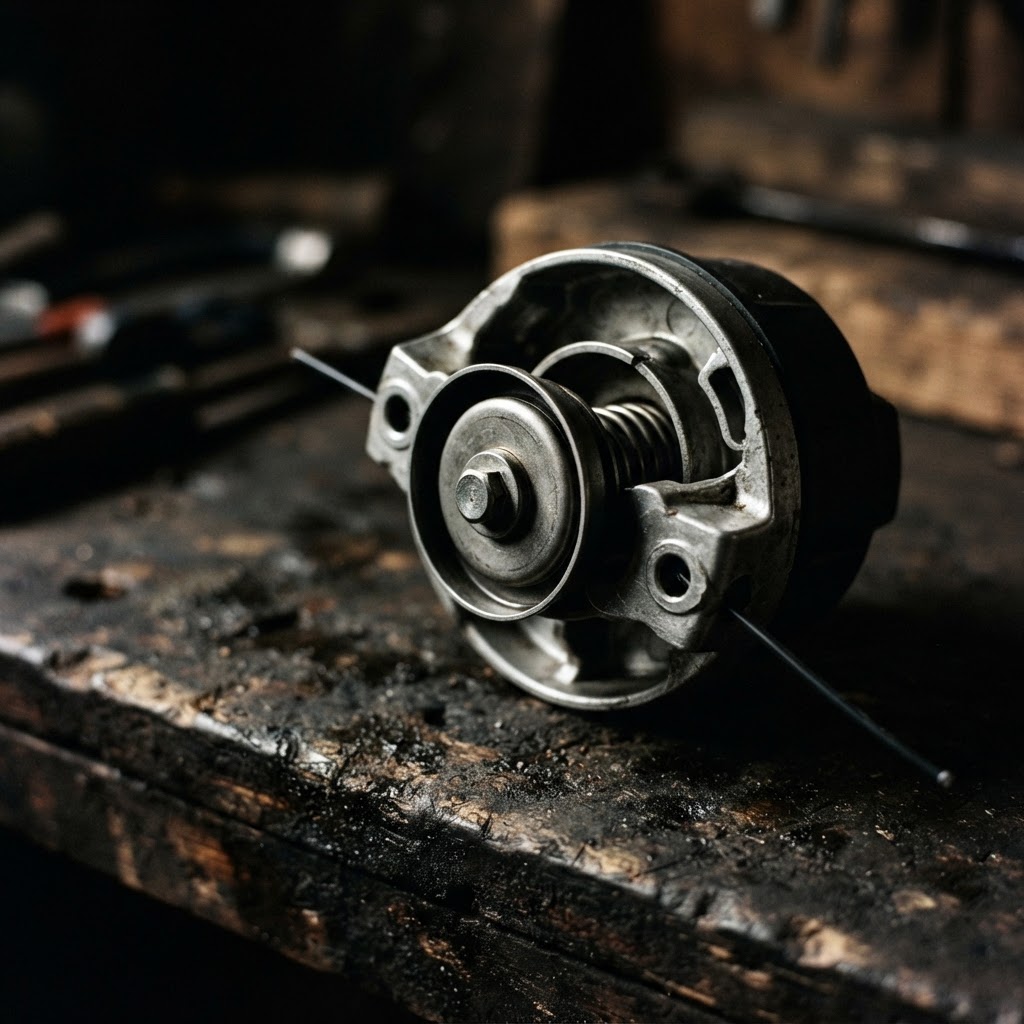
Replacement Trimmer Head
If the internal spool housing or feed mechanism is damaged or heat-warped, a full head replacement ensures the line feeds correctly without binding.
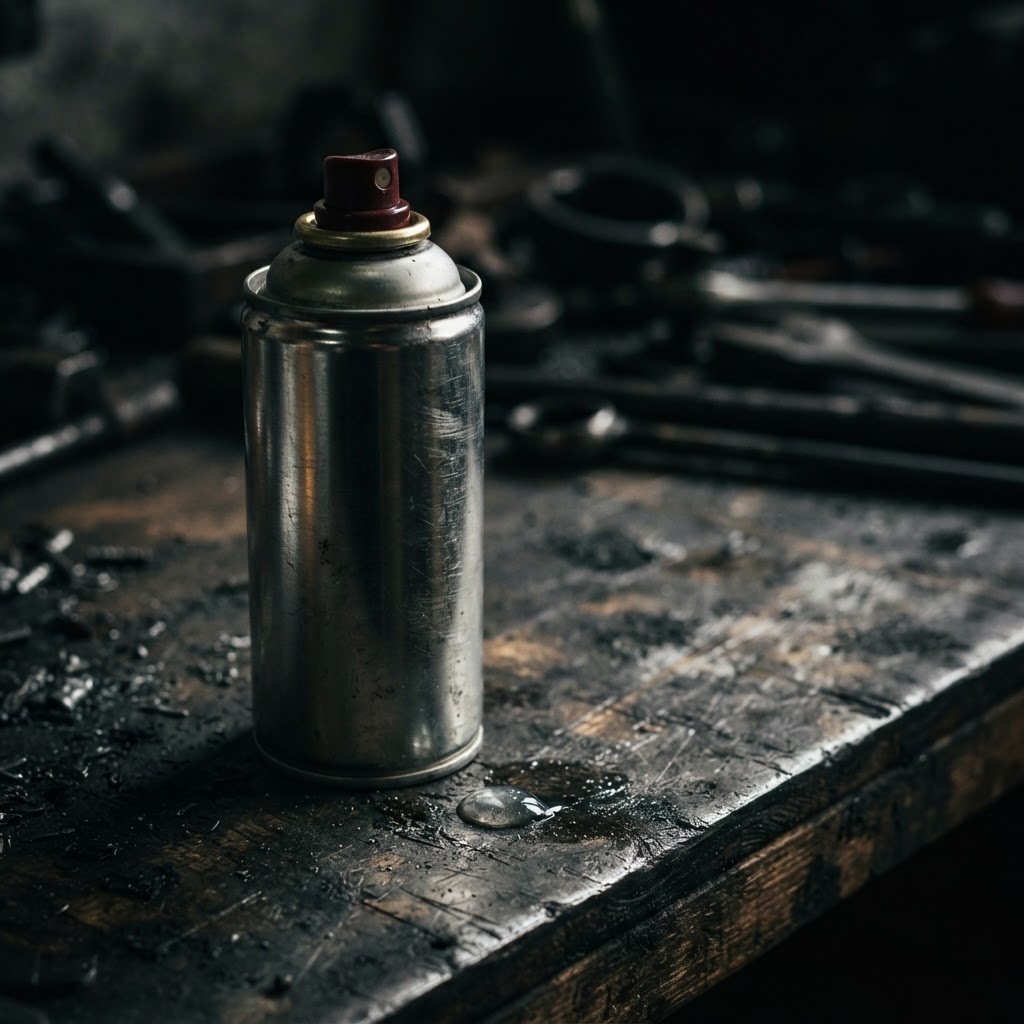
Silicone-Based Lubricant Spray
Applying this to the internal spool housing helps the line feed smoothly under load, preventing the friction-induced heat that often causes the line to weld to itself.
Affiliate Disclosure: Lil Engine may earn commissions from qualifying purchases.
Pro Tips from the Community
Real-world fixes from Reddit, YouTube & forums.
"Soak your new spool of trimmer line in a bucket of water overnight to restore its moisture content and prevent it from becoming brittle."
LawnSite.com Forum"If your line keeps snapping at the eyelet, file down any sharp metal burrs on the exit port to stop the housing from slicing the line as it spins."
Reddit r/smallengines"Stop buying the cheapest line on the shelf because budget plastic gets heat-brittle and welds itself to the spool under high RPMs."
YouTube comments"Avoid 'edging' against concrete or chain-link fences; it's not a saw, so let the very tips of the line do the cutting instead of burying the head into the debris."
DoItYourself.comPrevent This From Coming Back
Store spools of line in a cool, dark, and humid environment to maintain moisture content
Keep a dedicated small spray bottle of water to mist the line before trimming in hot weather
Regularly inspect eyelets for wear every time you reload the trimmer
Switch to a high-quality spiral or twisted-edge line for better impact resistance against hard obstacles
Prevent This From Happening Again
While you're fixing it, stock up on the maintenance essentials that keep your weed eaters running right.
Trimmer Line/String
Quality trimmer line breaks less and cuts cleaner.
Get on Amazon2-Cycle Oil
Fresh fuel mix prevents carb diaphragm hardening and starting issues.
Get on AmazonSpark Arrestor Screen
A clogged spark arrestor causes power loss — clean or replace it.
Get on AmazonAffiliate Disclosure: Lil Engine may earn commissions from qualifying purchases.
Frequently Asked Questions
This is caused by high heat generated by excessive friction or low-throttle operation. The heat melts the outer layer of the nylon, fusing it to itself and preventing the feed mechanism from functioning.
Video Help
Helpful videos showing these repairs in action.
Share Your Repair
Real-world fixes help everyone. Share what worked and your repair becomes part of Lil Engine's community database.
Related Problems
More Weed Eaters GuidesRelated Maintenance Articles
Related Searches
Weed Eaters Troubleshooting
Did this help?
Your feedback helps improve guides for everyone.