Trimmer Line Won't Feed — Mechanical Head Diagnosis & Repair
⚡ Quick Answer
The most common reason trimmer line won't feed is 'line welding,' where heat from friction causes the nylon strands to fuse together on the spool. First, disassemble the head and inspect the line for flat spots or melted sections, then check the bump knob for worn indexing teeth. If the line is wound in the wrong direction or the eyelets are grooved, the centrifugal force will lock the line in place instead of releasing it.
What do you want to do?
Most Likely Cause
Internal Line Welding
High friction from the line rubbing against itself or the head walls generates intense heat. This causes the nylon filament to melt and fuse, effectively turning the dual strands into a single solid block that cannot unwind.
Start here — this is the most common reason for this symptom.
Why This Problem Happens
Trimmer line feed failure is almost always a result of centrifugal force overcoming mechanical restriction or internal heat distortion. In bump-feed systems like Echo’s Speed-Feed or Stihl’s AutoCut, the spool is held in a locked position by locking teeth or tabs. When you bump the head, a spring allows the spool to retract, disengaging the teeth and letting centrifugal force pull the line through the eyelets. When this fails, it is usually because the line has welded to itself inside the spool due to friction-induced heat, or because the internal spring has lost its calibrated tension. If the line is wound incorrectly, it creates 'cross-over,' where a top layer of line digs into a bottom layer, creating a mechanical bind that the motor's centrifugal force cannot overcome. Additionally, excessive debris ingress—such as dry grass clippings or dirt—can clog the internal pawls, preventing the spool from dropping when the bump knob is activated. The failure occurs because the system relies on a precise balance of spring pressure and inertial force; once that balance is upset by heat, grime, or poor winding technique, the feed mechanism locks solid.
Common Symptoms
- Line refuses to advance despite repeated aggressive bumping
- Trimmer head runs hot to the touch during operation
- Line appears 'welded' or fused together on the spool
- The bump head feels stuck or does not spring back after being pressed
- Audible thumping or vibration coming from the cutting head
Before You Buy Parts
Quick, free inspections — check these first. Most repairs don't actually need replacement parts.
Complete Resource Guide
Complete Weed Eaters Troubleshooting & Repair Guide
Repair Overview
15–30 minutes
$0–$15
First Checks — Start Here
- 1Remove the spool and check for line 'welded' or fused together due to heat
- 2Verify line is wound in the correct direction following the arrows on the spool
- 3Inspect the exit eyelets for deep grooves or notches that snag the line
- 4Test the bump spring tension; a weak or missing spring prevents the head from resetting
- 5Clean all grass, dirt, and debris from the indexing teeth inside the trimmer head
- 6Ensure the line diameter matches the manufacturer's specification (e.g., .080" or .095")
Safety Warnings
- !Always disconnect the spark plug wire to ensure the engine cannot turn over while your fingers are near the blade.
- !Wear safety glasses as cutting the tensioned line can cause sharp ends to snap back towards your face.
- !Ensure all solvent has evaporated completely before reassembling the unit to prevent potential fire hazards.
- !The spring is under load; be careful during removal so it does not launch unexpectedly.
- !Maintain firm tension while winding to ensure the line does not dig into itself during use.
- !Never use heavy grease on the spool, as it attracts dirt and will cause future jamming.
Always disconnect the spark plug, work in a well-ventilated area, and consult a professional if unsure.
Most Likely Causes
Ranked by likelihood — tap each to see diagnosis details.
High friction from the line rubbing against itself or the head walls generates intense heat. This causes the nylon filament to melt and fuse, effectively turning the dual strands into a single solid block that cannot unwind.
If the line is wound unevenly, it will overlap and create a 'tangle' inside the spool. This creates a mechanical lock that prevents the centrifugal force from pulling the line through the eyelets even if the release mechanism functions correctly.
🔧 Step-by-Step Fix Guide
Disassemble the Trimmer Head
Remove the bump knob or retaining bolt to access the spool. Use a flathead screwdriver or your fingers to lift the internal components, checking for heat-warped plastic or excessive grit buildup.
Always disconnect the spark plug wire to ensure the engine cannot turn over while your fingers are near the blade.
Inspect for Fused Line
Pull the spool out and inspect the nylon for shiny or melted sections. If the line is fused, strip the entire spool completely and discard the damaged segment.
Wear safety glasses as cutting the tensioned line can cause sharp ends to snap back towards your face.
Clean Internal Locking Teeth
Use a nylon brush and a solvent like brake cleaner to scrub the internal locking tabs and the spool body. Ensure all debris is cleared from the cam area so the spool can move freely up and down.
Ensure all solvent has evaporated completely before reassembling the unit to prevent potential fire hazards.
Check Spring Tension
Compare the current spring height to a new one if available. If the spring is compressed and does not spring back fully, it must be replaced to provide the correct release pressure.
The spring is under load; be careful during removal so it does not launch unexpectedly.
Re-Wind the Line Properly
Use the manufacturer-recommended line gauge and wind it in a single, even layer across the spool. Avoid 'criss-crossing' and ensure the line is wound tight enough to stay in place but loose enough to feed.
Maintain firm tension while winding to ensure the line does not dig into itself during use.
Test the Feed Function
With the spool assembled but off the unit, manually press the bump knob to ensure the spool drops and rotates freely. If it feels sluggish, clean the center shaft with a light silicone spray.
Never use heavy grease on the spool, as it attracts dirt and will cause future jamming.
What To Test Next
If the basics check out, verify spark, fuel delivery, and compression in that order — the three essentials of any combustion engine.
Component Reference

Carburetor & Fuel Intake
The carburetor mixes air and fuel for combustion. A clogged jet or stuck float is the #1 cause of small engine starting and surging problems.

Spark Plug & Ignition System
The spark plug ignites the air-fuel mixture. A fouled plug, wrong gap, or failing ignition coil will prevent the engine from firing.

Electrical & Starting System
The battery, solenoid, and starter motor work together to crank the engine. A weak battery or corroded connection is often mistaken for a fuel or spark problem.

Drive & Cutting System
Belts, pulleys, and clutches transfer engine power to the wheels and cutting deck. A worn or thrown belt is the most common drive-system failure.
Photos for educational reference. Actual parts may vary by make and model.
Common Mistakes to Avoid
Winding too much line onto the spool causing it to bind
Using a line gauge that is too thick for the trimmer's torque
Forgetting to lubricate the center shaft with dry silicone
Leaving the old fused line on the spool instead of replacing it entirely
If This Didn't Fix It
Still having trouble? These are the next things to check:
Get the Exact Parts for Your Machine
Tell us your equipment's year, make, and model — we'll search for parts that actually fit, not generic ones.
Finding parts for
weed eater trimmer line won't feed
Required Gear
Matched to your weed eater trimmer line won't feed — click to find the exact fit on Amazon.
Trimmer Line
If the existing line is welded or brittle due to age and heat, a fresh, correctly sized monofilament line is necessary to prevent future binding and feeding failures.
Replacement Bump Knob
The internal locking teeth or impact surface of the bump knob often wear down over time, preventing the head from triggering the release mechanism needed for line advancement.
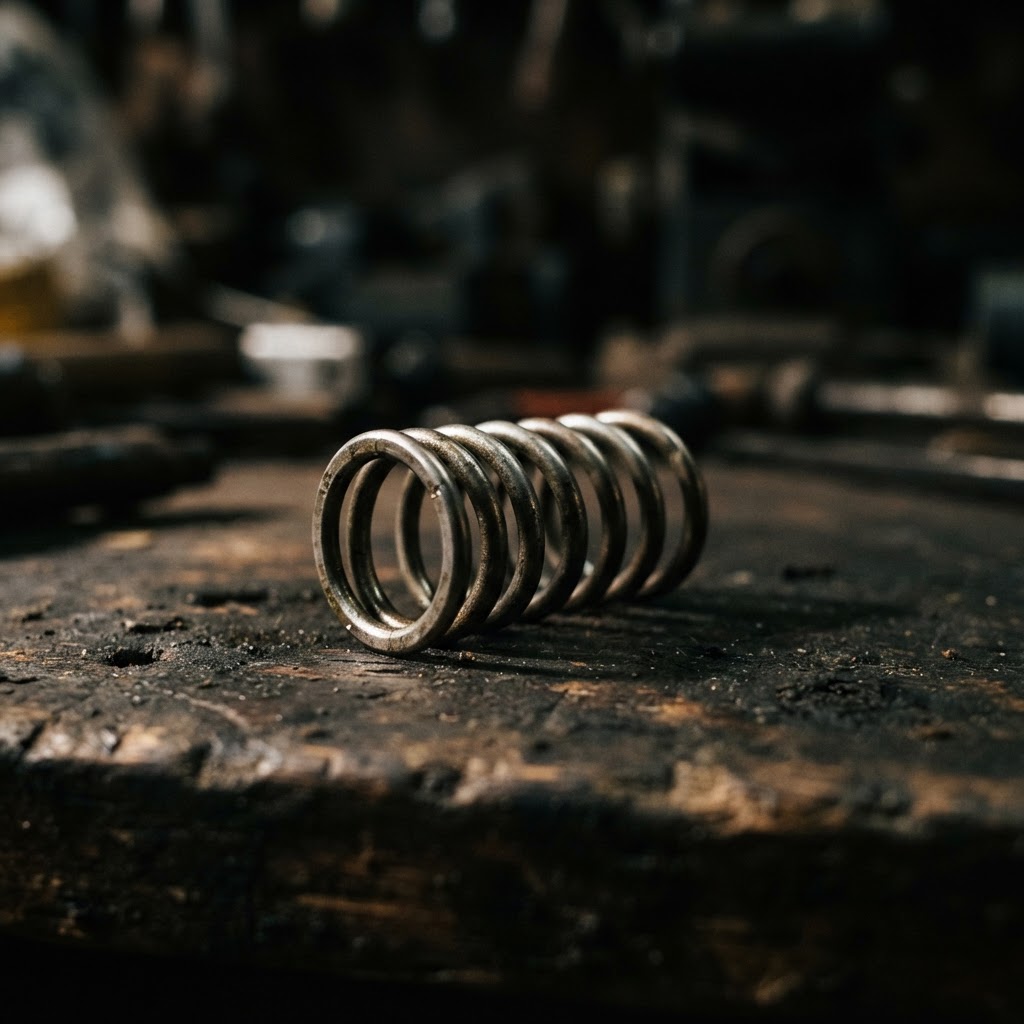
Trimmer Head Spring
Spring fatigue causes the internal spool to remain locked against the housing; a new spring ensures consistent tension for the bump-feed mechanism to function reliably.
Complete Trimmer Head Assembly
If internal debris ingress or mechanical wear has damaged the locking teeth beyond repair, replacing the entire head is the most efficient way to restore proper line feeding.
Affiliate Disclosure: Lil Engine may earn commissions from qualifying purchases.
Pro Tips from the Community
Real-world fixes from Reddit, YouTube & forums.
"Soak your trimmer line in a bucket of water overnight; it restores moisture to the nylon and makes it much more flexible and less likely to weld together."
Reddit r/lawncare"If the line keeps welding, stop 'feathering' the trigger. Run the trimmer at full throttle so the cooling fins on the head can work properly, and avoid pushing the head directly against hard surfaces."
LawnSite.com Forum"Always check the eyelets first—if they have worn a deep groove, the line gets trapped in that notch and won't feed no matter how hard you bump it. Replace them or the head housing."
YouTube commentsPrevent This From Coming Back
Soak your trimmer line in water overnight before use to increase flexibility
Clean the trimmer head with compressed air after every use to prevent dust buildup
Replace the entire trimmer head assembly every 2-3 years to ensure internal springs maintain tension
Avoid 'bumping' the head on concrete or hard rocks; use grass to dampen the impact
Prevent This From Happening Again
While you're fixing it, stock up on the maintenance essentials that keep your weed eaters running right.
Trimmer Line/String
Quality trimmer line breaks less and cuts cleaner.
Get on Amazon2-Cycle Oil
Fresh fuel mix prevents carb diaphragm hardening and starting issues.
Get on AmazonSpark Arrestor Screen
A clogged spark arrestor causes power loss — clean or replace it.
Get on AmazonAffiliate Disclosure: Lil Engine may earn commissions from qualifying purchases.
Frequently Asked Questions
This happens when the engine runs at high RPMs for extended periods without releasing line. The resulting friction creates enough heat to melt the nylon.
Video Help
Helpful videos showing these repairs in action.
Share Your Repair
Real-world fixes help everyone. Share what worked and your repair becomes part of Lil Engine's community database.
Related Problems
More Weed Eaters GuidesRelated Maintenance Articles
Related Searches
Weed Eaters Troubleshooting
Did this help?
Your feedback helps improve guides for everyone.