2016 Exmark Quest Weak Crank — Starter and Compression Release Diagnosis
⚡ Quick Answer
A weak crank on a 2016 Exmark Quest despite a new battery is almost always caused by excessive electrical resistance in the starting circuit or an issue with the engine's compression release. High-resistance connections at the ground strap or solenoid cause voltage drop, while a failed automatic compression release (ACR) makes the engine feel like it is hydrolocked. Systematically check voltage drop across the starter cable path before diving into the engine internals.
What do you want to do?
Most Likely Cause
Excessive Electrical Resistance or Voltage Drop
Even with a new battery, high resistance in the starter solenoid or compromised battery cables often restricts the amperage required to turn over a high-compression V-twin engine. This creates a parasitic load that makes the starter motor struggle, mimicking the symptoms of a dead battery or a bad starter.
Start here — this is the most common reason for this symptom.
Why This Problem Happens
The 2016 Exmark Quest typically utilizes an overhead valve (OHV) engine that relies heavily on a mechanical compression release (MCR) mechanism to allow the starter to spin the engine past the compression stroke. When the engine is at a standstill, a small cam lobe or centrifugal pin holds the intake valve slightly open, reducing the cranking resistance. If this mechanism wears out or sticks due to carbon buildup, the starter must fight full engine compression, which causes a significant amperage spike that can overwhelm even a fresh battery and thick-gauge cables. Furthermore, the starter motor's internal bushings often degrade over time, leading to armature drag where the rotor rubs against the magnets, converting electrical energy into heat rather than rotational torque. This failure mode creates a parasitic draw that mimics a weak battery, even when voltage at the terminals tests within acceptable ranges during static checks. If the engine is tight due to poor valve lash calibration, the starter circuit encounters a cumulative resistance that prevents sufficient flywheel RPM for ignition, resulting in a stall mid-crank or an excessively slow rotation.
Common Symptoms
- Starter motor gets extremely hot to the touch after two cycles
- Voltage drop at starter terminal exceeds 1.5 volts under load
- Engine cranks at normal speed intermittently, then abruptly stops
- Visible smoke from the starter housing or ground wire
- Engine kicks back against the starter bendix
Before You Buy Parts
Quick, free inspections — check these first. Most repairs don't actually need replacement parts.
Diagnostic Flowchart
Follow this decision tree step-by-step to isolate the problem.
Is the starter motor spinning the engine at a normal cranking speed?
Proceed to test fuel and spark system integrity
Check voltage drop at starter solenoid and battery cables
Go to step 2
Are battery cable connections clean, tight, and free of green corrosion?
Inspect the starter motor itself for internal bearing failure
Go to step 3
Clean terminals and tighten connections to 12ft-lbs
Does the engine rotate freely by hand with the spark plug removed?
Inspect internal compression release mechanism (ACR)
Go to step 4
Check for hydro-lock or internal engine seizure
Is the valve clearance within manufacturer specifications?
Test compression with a gauge to confirm valve seal
Go to step 5
Adjust valve lash to factory specs
Is compression significantly high during cranking?
Replace camshaft due to failed automatic compression release
Replace starter motor assembly
Complete Resource Guide
Complete Small Engines Troubleshooting Guide
Repair Overview
60-90 minutes
$20-$120
First Checks — Start Here
- 1Verify battery terminal tightness and cleanliness
- 2Clean both ends of the main engine-to-chassis ground strap
- 3Check for voltage drop across the starter solenoid
- 4Inspect the starter motor housing for signs of overheating or melting
- 5Ensure the PTO switch is off and brake is engaged
- 6Attempt a manual turn-over of the flywheel screen to check for engine seizure
- 7Verify spark plug integrity to ensure no hydrolock from fuel
Safety Warnings
- !Keep hands and loose clothing away from the cooling fan and rotating drive pulleys.
- !Always disconnect the spark plug wire before performing mechanical adjustments to prevent accidental starting.
- !Ensure the PTO switch is off to prevent unexpected transmission engagement.
- !Use eye protection as sanding metal can create flying debris.
- !Do not crank the engine for more than 10 seconds at a time to avoid overheating the test equipment or the starter.
- !Be aware that the solenoid can get extremely hot during testing; avoid touching the metal casing.
- !Replacing the battery without performing a voltage drop test
- !Adjusting valves while the engine is still hot, leading to inaccurate clearances
- !Ignoring dirty electrical connections at the starter terminal
- !Using automotive battery cables that are too thin to carry the required starting current
Always disconnect the spark plug, work in a well-ventilated area, and consult a professional if unsure.
Most Likely Causes
Ranked by likelihood — tap each to see diagnosis details.
The internal MCR mechanism on the camshaft may have failed, preventing the intake valve from lifting during the compression stroke. Check this by performing a cylinder leak-down test; if the engine stops at TDC despite high battery charge, the MCR is likely the culprit.
Internal friction from worn bushings causes the starter motor to bind under load, causing a significant surge in amperage draw. Measure the current draw using an inductive ammeter; if it exceeds 100-150 amps while cranking, the starter is internally shorted.
🔧 Step-by-Step Fix Guide
Perform Voltage Drop Testing
Use a digital multimeter to measure voltage between the positive battery terminal and the starter input stud while cranking. A drop of more than 0.5 volts indicates a bad solenoid or undersized cabling.
Keep hands and loose clothing away from the cooling fan and rotating drive pulleys.
Check Valve Clearance
Remove the valve cover and set the piston to top dead center on the compression stroke. Use a calibrated feeler gauge to verify lash settings, adjusting if necessary to ensure the MCR can properly engage the intake valve.
Always disconnect the spark plug wire before performing mechanical adjustments to prevent accidental starting.
Manual Flywheel Rotation Check
Remove the spark plug and rotate the cooling fan screen by hand to feel for abnormal resistance. Smooth, consistent resistance is normal, but a sudden 'bump' or high-effort spot confirms mechanical binding.
Ensure the PTO switch is off to prevent unexpected transmission engagement.
Clean Chassis Ground Points
Unbolt the ground strap from the frame and engine, sanding the mating surfaces with 80-grit paper to remove rust and paint. Reinstall with dielectric grease to prevent future oxidation.
Use eye protection as sanding metal can create flying debris.
Starter Current Draw Test
Use an inductive ammeter around the heavy positive cable leading to the starter. A healthy starter will typically draw 60-90 amps during a cold crank; readings consistently above this indicate internal motor friction.
Do not crank the engine for more than 10 seconds at a time to avoid overheating the test equipment or the starter.
Verify Starter Solenoid Continuity
Check the solenoid for internal resistance across the large terminals using an ohmmeter while the solenoid is energized. Excessive resistance indicates burned contact plates that need replacement.
Be aware that the solenoid can get extremely hot during testing; avoid touching the metal casing.
What To Test Next
If the voltage drop tests reveal stable power delivery, the next logical step is to inspect the valve lash and the operation of the automatic compression release (ACR) mechanism.
Component Reference

Carburetor & Fuel Intake
The carburetor mixes air and fuel for combustion. A clogged jet or stuck float is the #1 cause of small engine starting and surging problems.

Spark Plug & Ignition System
The spark plug ignites the air-fuel mixture. A fouled plug, wrong gap, or failing ignition coil will prevent the engine from firing.

Fuel System
Stale fuel is the most common cause of seasonal starting failures. Fuel breaks down in 30 days, leaving varnish that clogs carburetor jets and fuel filters.

Electrical & Starting System
The battery, solenoid, and starter motor work together to crank the engine. A weak battery or corroded connection is often mistaken for a fuel or spark problem.
Photos for educational reference. Actual parts may vary by make and model.
Common Mistakes to Avoid
Replacing the battery without performing a voltage drop test
Adjusting valves while the engine is still hot, leading to inaccurate clearances
Ignoring dirty electrical connections at the starter terminal
Using automotive battery cables that are too thin to carry the required starting current
If This Didn't Fix It
Still having trouble? These are the next things to check:
Get the Exact Parts for Your Machine
Tell us your equipment's year, make, and model — we'll search for parts that actually fit, not generic ones.
Finding parts for
2016 exmark quest is weak trying to start even with a brand new battery
Required Gear
Matched to your 2016 exmark quest is weak trying to start even with a brand new battery — click to find the exact fit on Amazon.
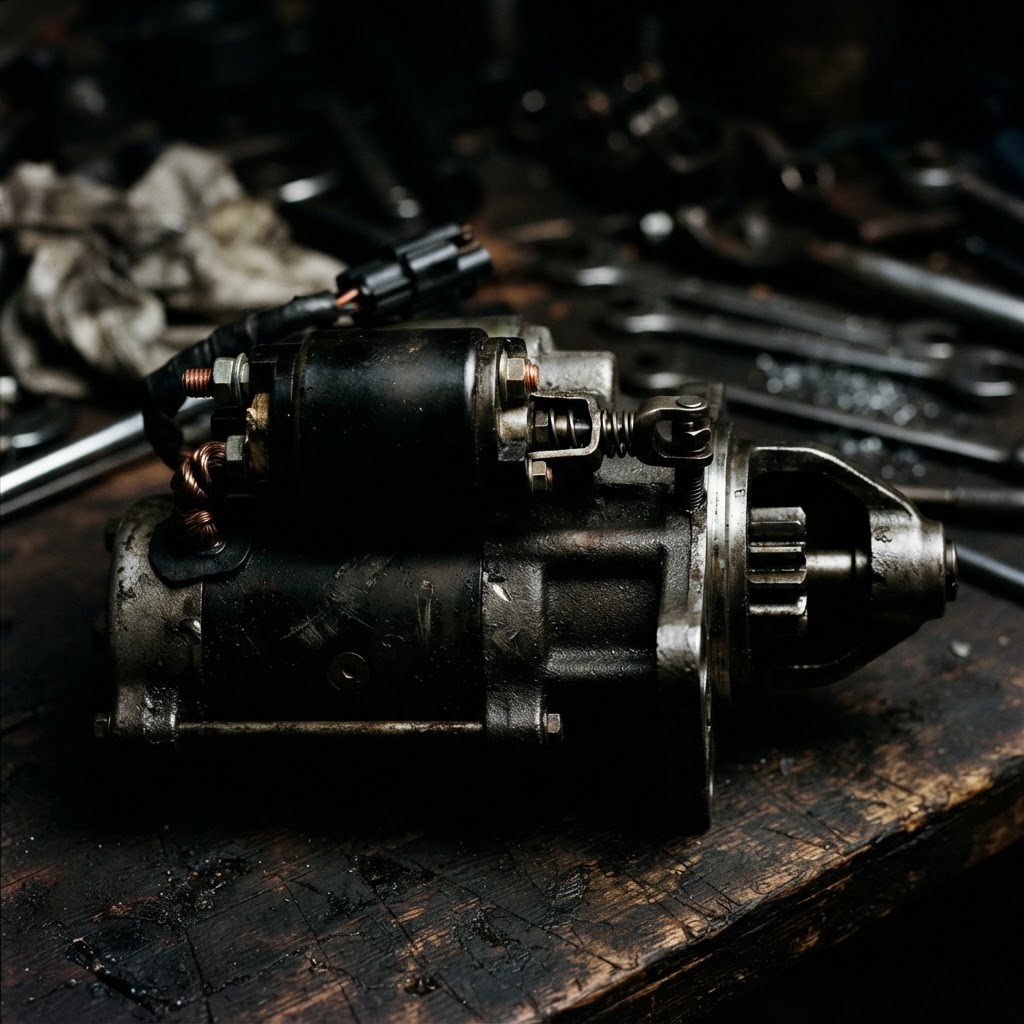
Starter Motor Assembly
If the internal armature is degraded and causing high current draw, replacing the entire starter unit is the only way to restore proper cranking speed.
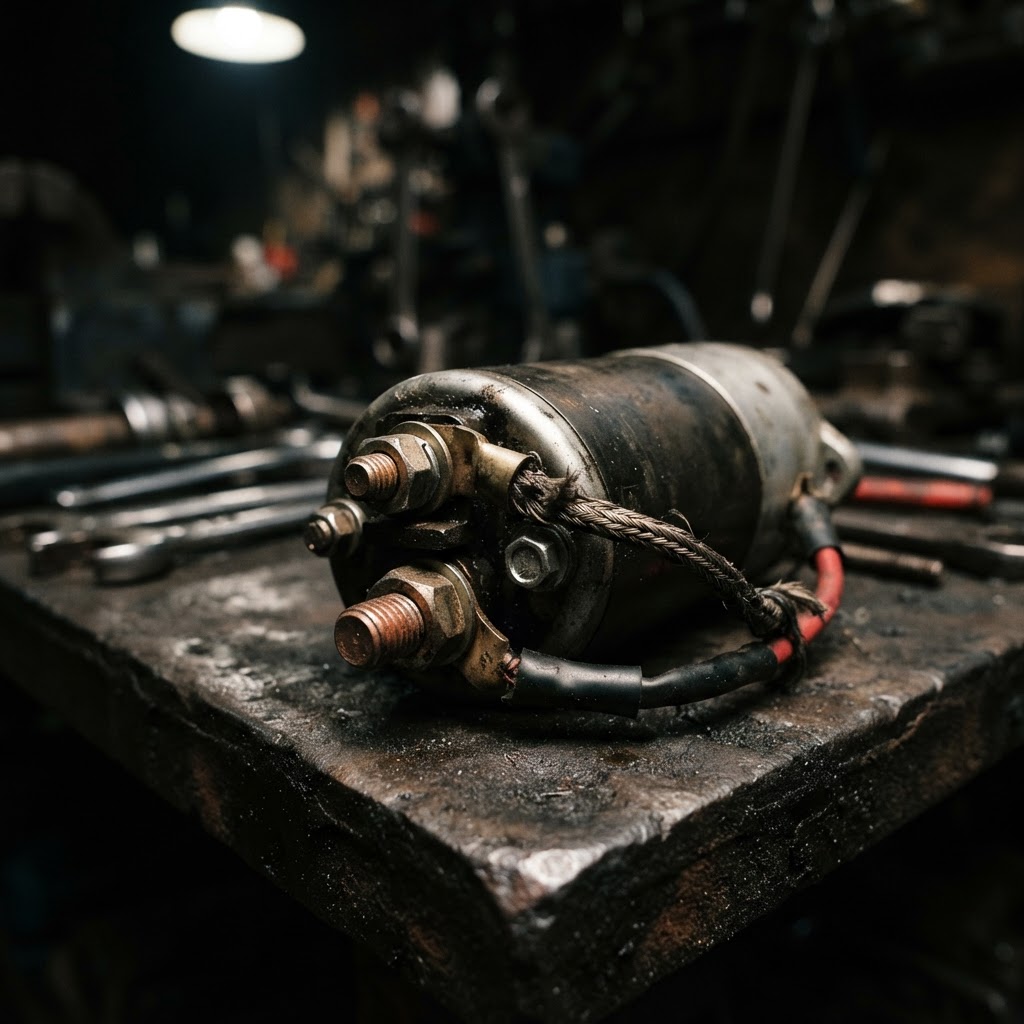
Starter Solenoid
Internal contact corrosion within the solenoid can cause high resistance, preventing the starter from receiving the full amperage required for a strong crank.
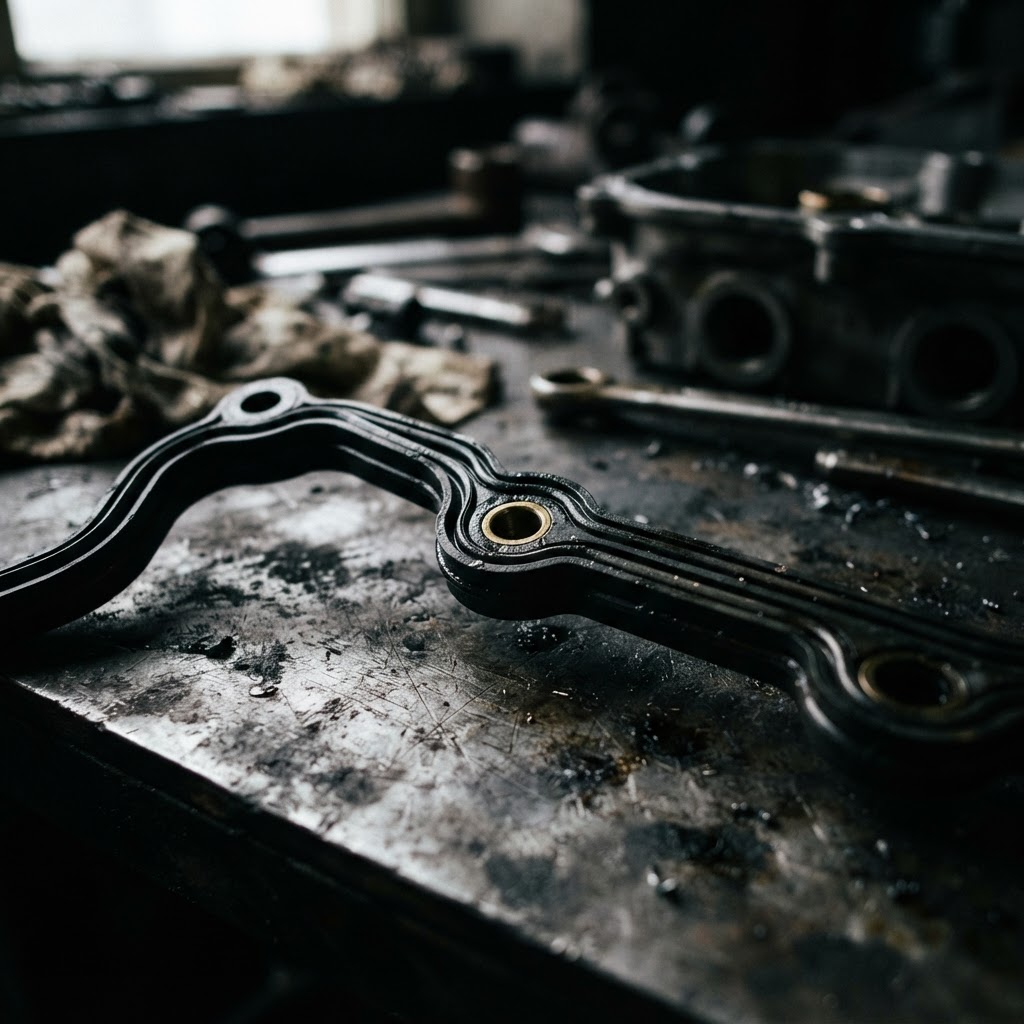
Valve Cover Gasket
This is a required consumable item to properly seal the engine after performing the necessary valve clearance adjustments to restore the compression release function.
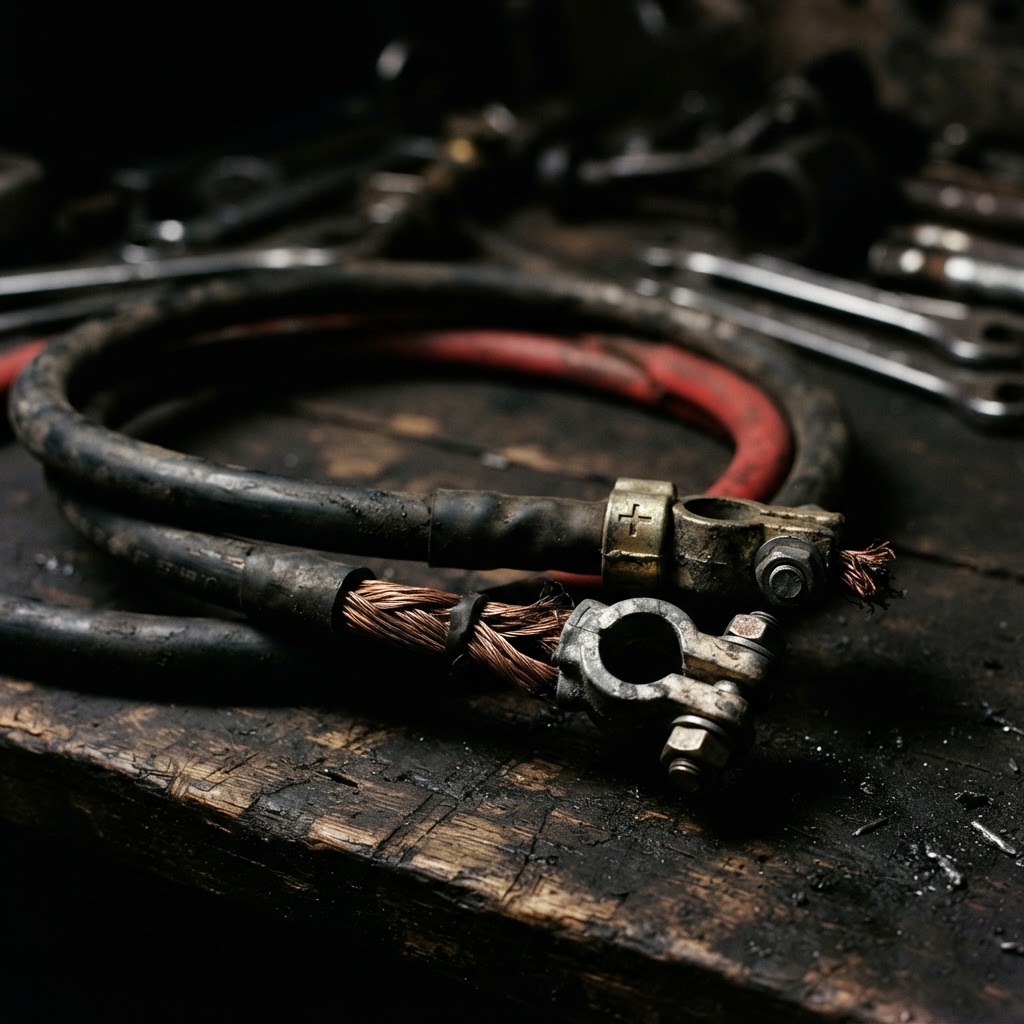
Battery Cable Set
Excessive resistance due to hidden internal cable corrosion often causes voltage drop, requiring complete cable replacement to ensure the starter receives full power.
Affiliate Disclosure: Lil Engine may earn commissions from qualifying purchases.
Pro Tips from the Community
Real-world fixes from Reddit, YouTube & forums.
"On the Exmark Quest, the ground cable often attaches to a painted frame bolt. Scraping the paint off that contact point usually gains you 1-2 cranking volts."
LawnSite.com Forum"If the engine stops for a second and then turns over, it's 90% likely to be your valves being too loose. The compression release only works if the gap is tight."
Reddit r/lawnmowers"Check the solenoid trigger wire (the small thin one). If it's loose or corroded, it won't fully pull the solenoid plunger down, causing a weak connection."
YouTube commentsBrand-Specific Notes
Kawasaki FR/FS Series
Commonly found on 2016 Exmark Quests. These engines are very sensitive to valve lash; if the intake valve clearance is too loose, the ACR will not engage, leading to a 'hard start' symptom.
Kohler 7000 Series
Known for starter solenoid failures that cause high resistance. Always check the voltage at the post on the starter motor itself while cranking to confirm it is receiving full 12V.
Briggs & Stratton Intek
These utilize a plastic cam gear that can wear prematurely. If the engine cranks slowly despite perfect valve adjustment, internal timing or ACR degradation is likely.
Model-Specific Variations
Kawasaki FR651V
Uses a specific overhead valve configuration that requires precise clearance of 0.004 inches. Deviation causes the ACR to fail, mimicking a bad starter or weak battery.
Kohler KT725
Equipped with a vertical shaft design where the starter solenoid is mounted directly to the engine shroud. Vibration often causes ground strap loosening, leading to parasitic resistance.
Exmark Quest E-Series
Utilizes a frame-mounted solenoid separate from the starter motor. This adds two extra connection points that are prone to corrosion and heat-soak resistance.
Causes of Weak Crank Symptoms
| Potential Cause | Diagnostic Tool | Likelihood |
|---|---|---|
| Corroded Cables | Multimeter | High |
| Out-of-Spec Valves | Feeler Gauges | Medium |
| Failed ACR | Compression Gauge | Low |
| Bad Starter Motor | Amperage Tester | Low |
Real-World Repair Examples
Situation
Customer replaced battery, but unit still turned over slowly. Engine smelled like fuel due to extended cranking.
Solution
Found 0.012 intake valve clearance instead of 0.004. Reset lash to factory specs.
Unit cranks instantly.
Situation
Engine would click at the solenoid but not turn. Cables were hot to the touch after three attempts.
Solution
Replaced the positive battery cable which had internal corrosion hidden under the insulation.
Starter received full amperage and turned over normally.
Situation
Starter motor appeared to spin but struggled to turn the engine through the compression stroke.
Solution
Identified internal starter bushing wear causing the armature to drag on the magnets.
Replaced starter assembly.
Prevent This From Coming Back
Annual valve lash inspection and adjustment to preserve MCR function
Application of dielectric grease to all electrical contacts each spring
Regular inspection and cleaning of the engine cooling fins to prevent heat-soak related starter failure
Using a high-quality fuel stabilizer to prevent float needle deposits that cause hydrolock
Prevent This From Happening Again
While you're fixing it, stock up on the maintenance essentials that keep your small engines running right.
Spark Plug
The cheapest, fastest fix for most small engine starting problems.
Get on AmazonCarburetor Cleaner
Cleaning the carb is the #1 fix for surging and stalling engines.
Get on AmazonFuel Stabilizer
Prevents the stale fuel problems that cause most seasonal no-starts.
Get on AmazonAffiliate Disclosure: Lil Engine may earn commissions from qualifying purchases.
Frequently Asked Questions
No. If there is high mechanical resistance in the engine or an internal short in the starter, even a battery with perfect cold-cranking amps will fail to turn the engine over.
Related Questions
Common variations and related questions about this repair.
Why does my mower click but not start?
This usually indicates high resistance in the electrical circuit, such as a loose ground, a bad solenoid, or a failing starter motor. Check for voltage drops across all major connections.
What is the Automatic Compression Release (ACR)?
The ACR is a mechanism that bumps the exhaust valve open slightly during low-speed cranking. This reduces internal pressure, allowing the starter to spin the engine freely.
How do I test if my battery is truly good?
Do not just check voltage; perform a load test. A battery can show 12.6V at rest but drop to 4V under the load of the starter, indicating bad cells.
Does bad oil viscosity affect starting?
Yes, using 10W-40 or thicker oil in cold weather can make the engine harder to crank. Use the manufacturer's recommended viscosity for the ambient temperature.
How often should I check valve lash?
Valve lash should be checked every 200–300 hours of operation. It is the most common cause of hard starting on high-hour overhead valve engines.
Can a bad solenoid cause slow cranking?
Yes, pitted internal contacts in the solenoid create resistance. This limits the amperage reaching the starter motor, resulting in reduced torque.
Video Help
Helpful videos showing these repairs in action.
Share Your Repair
Real-world fixes help everyone. Share what worked and your repair becomes part of Lil Engine's community database.
Related Problems
More Small Engines GuidesRelated Maintenance Articles
Related Searches
Small Engines Troubleshooting
Did this help?
Your feedback helps improve guides for everyone.