Ryobi Pressure Washer No Pressure — Pump and Unloader Valve Diagnosis
⚡ Quick Answer
Low or no pressure in a Ryobi pressure washer is most often caused by a clogged spray nozzle or a stuck unloader valve. First, verify your garden hose isn't kinked and the inlet screen is clear, then purge air from the system by holding the trigger with the engine off. If pressure doesn't return, the unloader valve is likely seized in the bypass position and needs to be cleaned or replaced.
What do you want to do?
Most Likely Cause
Stuck Unloader Valve
Calcium deposits or dried soap residue often freeze the unloader piston in the bypass position. If the piston cannot travel to close the bypass port, pressure never builds, regardless of pump speed.
Start here — this is the most common reason for this symptom.
Why This Problem Happens
In a Ryobi pressure washer, the axial cam pump relies on a precise hydraulic balance between the intake check valves, the discharge valves, and the unloader valve. The 'no pressure' condition usually occurs because this hydraulic circuit is compromised. When a check valve fails or debris lodges in a valve seat, the pump cannot create the differential pressure required to hold the unloader valve in the closed-loop position. Consequently, water simply recirculates within the pump head instead of being forced out through the high-pressure outlet under the required psi.
Furthermore, the unloader valve is a spring-loaded bypass mechanism designed to protect the pump during trigger release. If internal O-rings on the unloader piston swell or degrade, or if the spring loses its tension, the system defaults to bypass mode even when the spray gun trigger is pulled. This prevents the pressure spike necessary for nozzle atomization. Effectively, the pump loses its ability to transition from a low-pressure bypass state to a high-pressure discharge state, resulting in a pathetic stream of water exiting the wand.
Common Symptoms
- Water flows at the same pressure regardless of nozzle size
- Pressure gauge needle oscillates rapidly or remains at zero
- Audible bypass whistling noise coming from the pump head
- Pump runs continuously without cycling pressure
- Water leaks from the chemical injector nozzle
Before You Buy Parts
Quick, free inspections — check these first. Most repairs don't actually need replacement parts.
Complete Resource Guide
Ultimate Pressure Washer Troubleshooting & Repair Guide
Brand Resource Hub
Ryobi Repair and Troubleshooting Resource Guide
Repair Overview
30–60 minutes
$0–$45
First Checks — Start Here
- 1Verify water supply is fully on and delivering at least 5 GPM
- 2Inspect the pump inlet screen for sediment or debris
- 3Clean the spray nozzle tip using a small needle or wire
- 4Purge air from the pump by pulling the trigger while the engine is OFF
- 5Check for leaks at the hose connections or the chemical injector siphon
- 6Ensure the engine is running at full throttle (if gas-powered)
Safety Warnings
- !Never run the pump dry for more than 30 seconds or the internal seals will melt.
- !The spring inside is under high tension; watch for flying parts when removing the cap.
- !Ensure the engine is completely off and spark plug wire is disconnected.
- !Be extremely careful not to scratch the aluminum pump head surfaces during prying.
- !Wear safety glasses; residual pressure can spray hot water when loosening the hose.
- !Use a specialized needle tool to clear nozzle tips rather than wire, which can widen the orifice.
Always disconnect the spark plug, work in a well-ventilated area, and consult a professional if unsure.
Most Likely Causes
Ranked by likelihood — tap each to see diagnosis details.
Calcium deposits or dried soap residue often freeze the unloader piston in the bypass position. If the piston cannot travel to close the bypass port, pressure never builds, regardless of pump speed.
Small pebbles or sediment can dent the stainless steel check valves or rip the rubber seals. Once these valves leak, the pump creates a vacuum in the wrong direction, causing a complete pressure collapse.
🔧 Step-by-Step Fix Guide
Garden Hose Supply Check
Disconnect the hose and check the inlet screen for debris. Ensure you have a constant flow of at least 3 gallons per minute from your spigot, as Ryobi pumps need high-volume intake to prevent cavitation.
Never run the pump dry for more than 30 seconds or the internal seals will melt.
Inspect and Clean the Unloader Valve
Locate the unloader housing (usually a large nut on the side of the pump). Unscrew it carefully, remove the spring and piston, and inspect for O-ring degradation or scaling. Clean with white vinegar or a light Scotch-Brite pad.
The spring inside is under high tension; watch for flying parts when removing the cap.
Check Valve Inspection
Remove the discharge ports on the pump head to access the individual check valves. If they are cracked or don't spring back when pressed, they must be replaced as a set to ensure balanced flow.
Ensure the engine is completely off and spark plug wire is disconnected.
Pump Head O-ring Seal Replacement
If water is leaking between the pump head and the engine block, the high-pressure O-rings have failed. You will need to remove the head bolts and replace the internal seal kit to restore containment pressure.
Be extremely careful not to scratch the aluminum pump head surfaces during prying.
Testing the High-Pressure Hose
Sometimes a detached inner liner in the high-pressure hose acts as a flapper valve, blocking flow. Detach the hose and inspect the interior diameter for obstructions before concluding the pump is dead.
Wear safety glasses; residual pressure can spray hot water when loosening the hose.
Verify Nozzle Integrity
Ensure you are using the correct tip for the machine. A heavily clogged nozzle can cause the unloader to stay open permanently, mimicking a pump failure.
Use a specialized needle tool to clear nozzle tips rather than wire, which can widen the orifice.
What To Test Next
If the basics check out, verify spark, fuel delivery, and compression in that order — the three essentials of any combustion engine.
Component Reference

Carburetor & Fuel Intake
The carburetor mixes air and fuel for combustion. A clogged jet or stuck float is the #1 cause of small engine starting and surging problems.

Spark Plug & Ignition System
The spark plug ignites the air-fuel mixture. A fouled plug, wrong gap, or failing ignition coil will prevent the engine from firing.

Oil & Lubrication System
Regular oil changes are critical. Low or dirty oil causes engine wear, overheating, and eventual seizure. Check the dipstick before every season.

Air Filter & Intake
A clogged air filter starves the engine of air, causing rich running, power loss, and hard starting. Inspect and clean or replace it each season.
Photos for educational reference. Actual parts may vary by make and model.
Common Mistakes to Avoid
Using plumbers tape on the hose connections which can break off and clog valves
Over-tightening the unloader housing causing the aluminum threads to strip
Running the pressure washer for minutes while the gun trigger is closed
Ignoring oil leaks in the pump which indicate a seal blowout
If This Didn't Fix It
Still having trouble? These are the next things to check:
Get the Exact Parts for Your Machine
Tell us your equipment's year, make, and model — we'll search for parts that actually fit, not generic ones.
Finding parts for
Ryobi pressure washer no pressure
Required Gear
Matched to your Ryobi pressure washer no pressure — click to find the exact fit on Amazon.
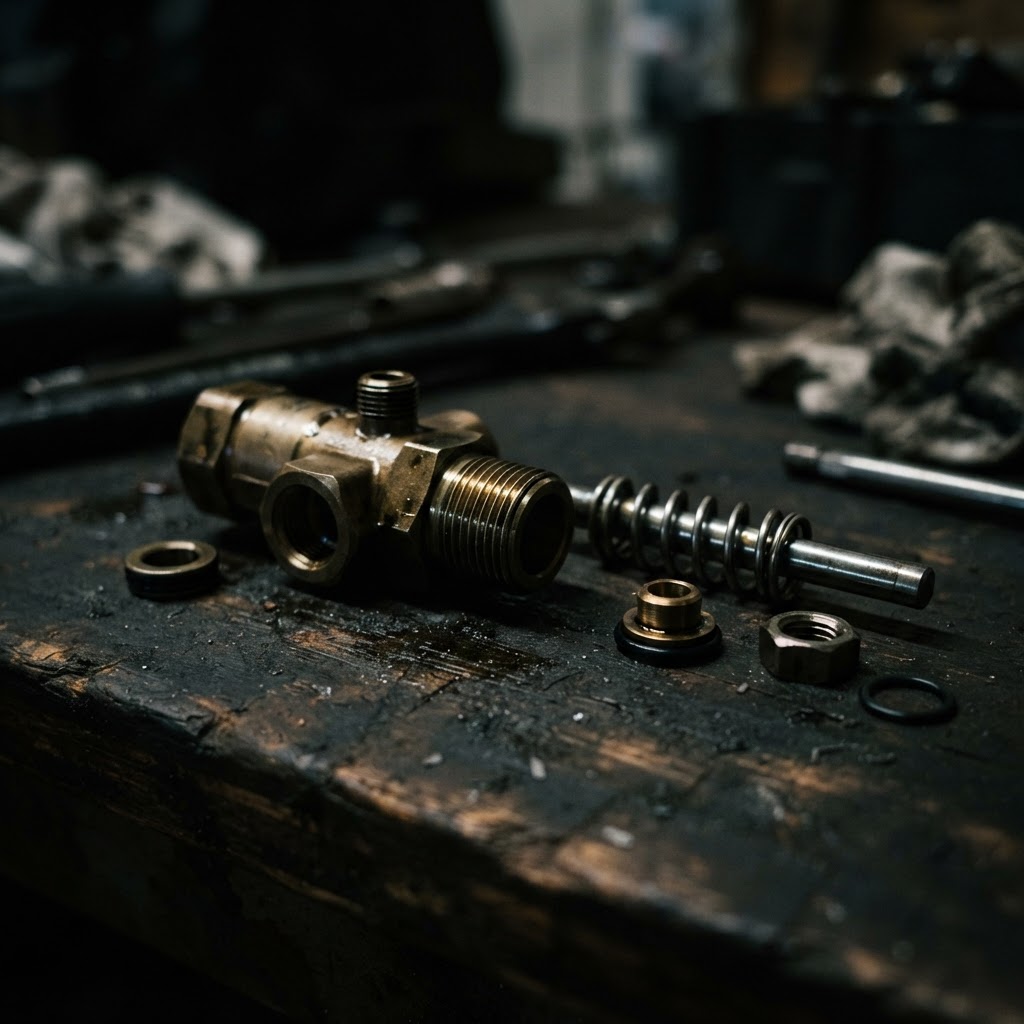
Ryobi Pressure Washer Pump Unloader Valve Kit
This kit contains the spring, check ball, and O-rings necessary to replace a stuck or damaged unloader valve, which is the most common cause of pressure loss.
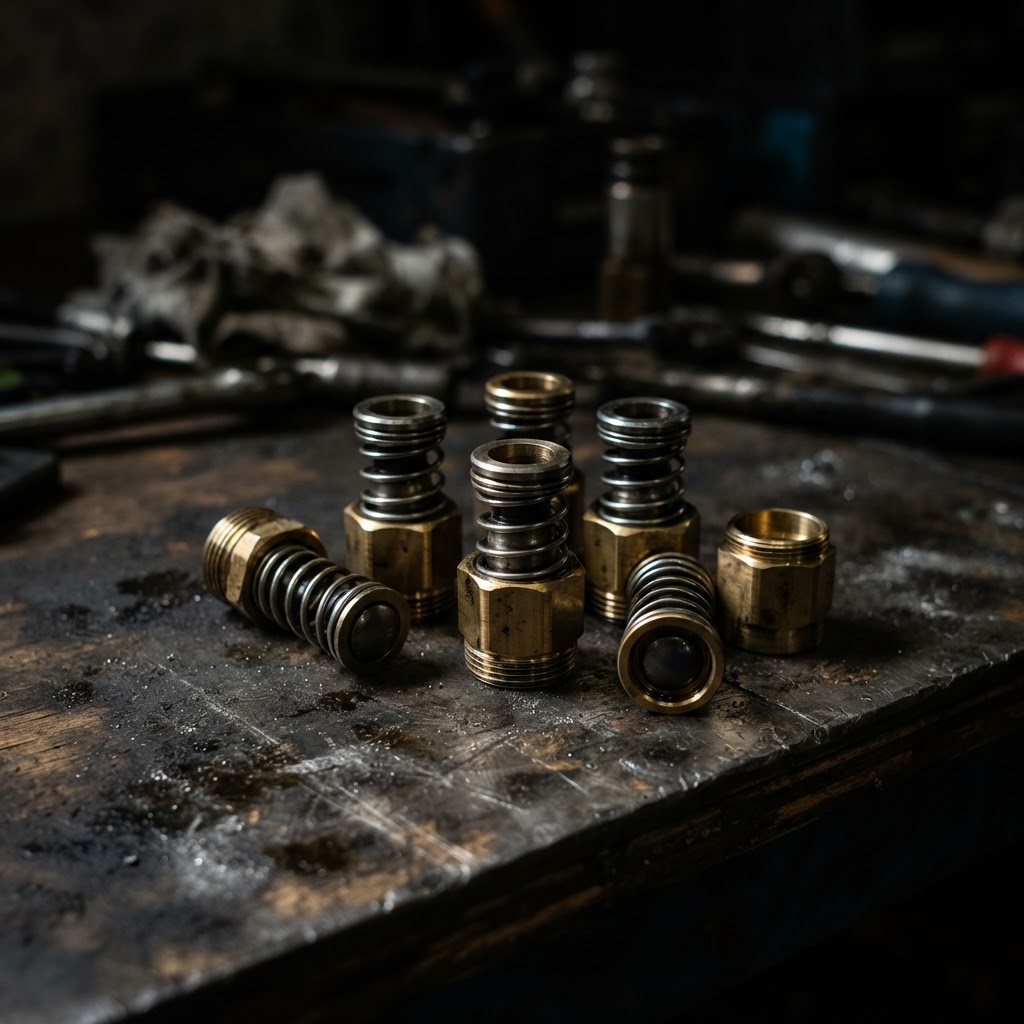
Pressure Washer Pump Check Valve Set
If the internal intake or discharge valves are worn or brittle, the pump cannot build pressure and these specific components must be replaced to restore suction.
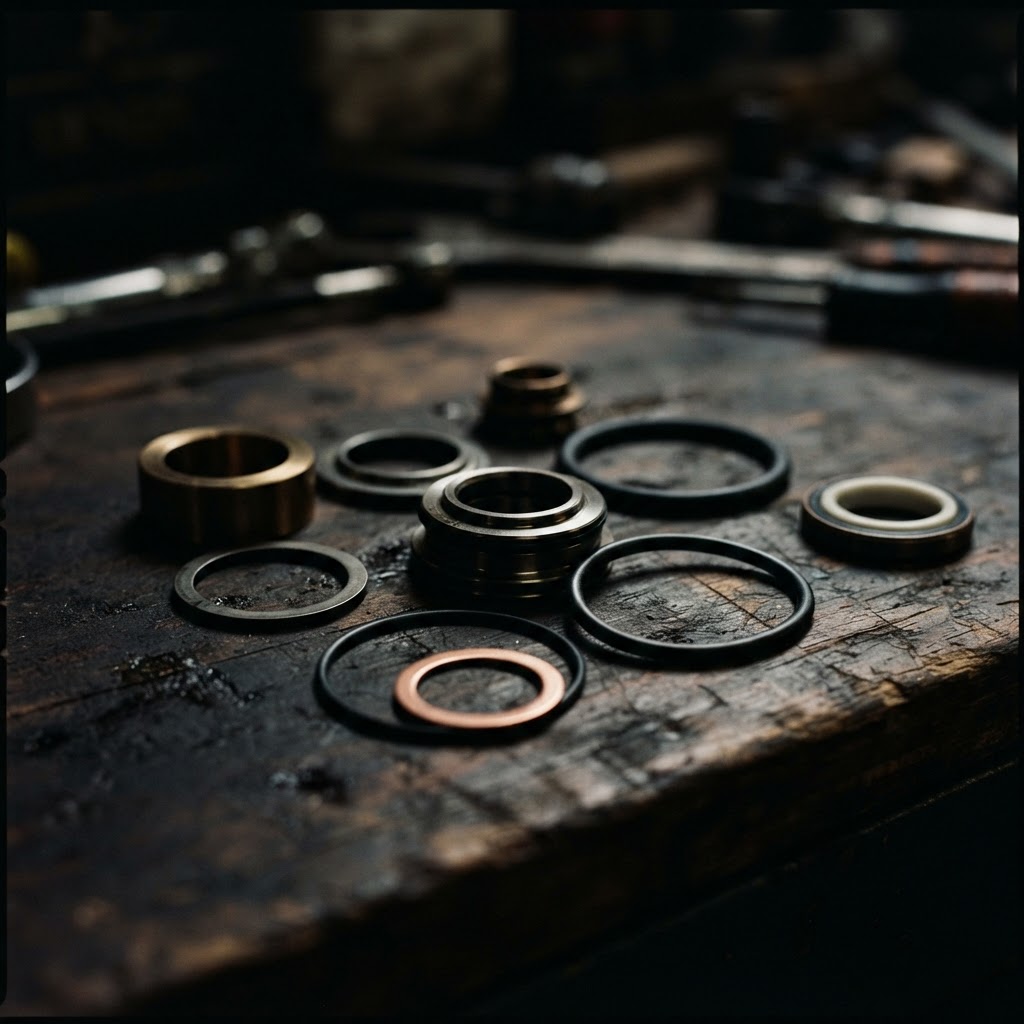
Pump Head Seal and O-Ring Repair Kit
When pump head seals or O-rings fail, they cause internal water bypassing, and replacing them restores the necessary airtight seal for consistent high-pressure output.
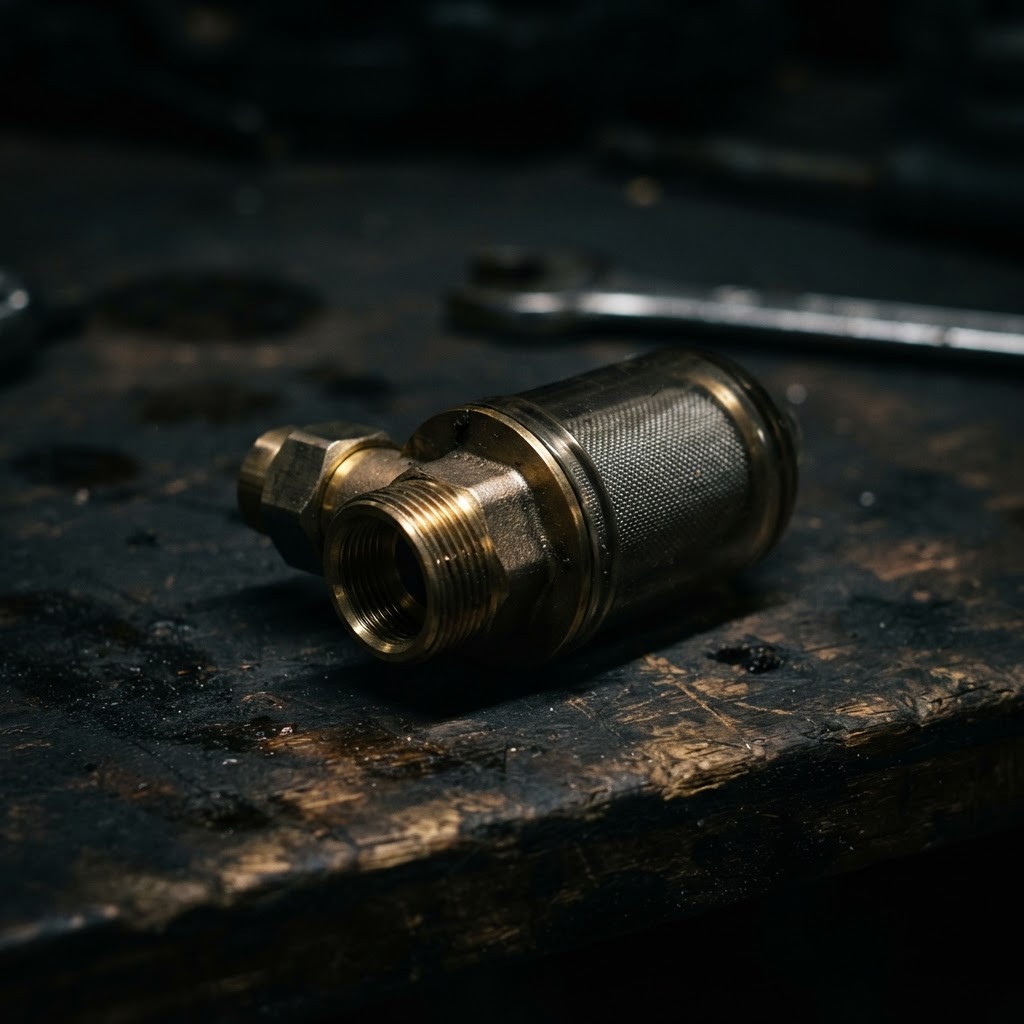
Pressure Washer Water Inlet Filter
A clogged or damaged inlet filter allows debris to enter the pump, which scores the pistons and clogs the internal valves; replacing it ensures clean water flow for the new components.
Affiliate Disclosure: Lil Engine may earn commissions from qualifying purchases.
Pro Tips from the Community
Real-world fixes from Reddit, YouTube & forums.
"If the engine bogs down and stalls when you release the trigger, your unloader valve is definitely stuck. The pressure isn't bypassing, and it's 'hydro-locking' the engine."
YouTube comments"Ryobi units with the GCV160 engine often have the unloader internal to the pump. If you can't find a replacement unloader, sometimes just soaking the whole pump inlet in vinegar for an hour dissolves the calcium that's sticking the valve."
Reddit r/pressurewashing"Check the chemical injector first! If you aren't using soap, the check ball can still leak air into the pump. Stick a bolt in the soap tube to seal it off and see if your pressure returns."
DoItYourself.com ForumPrevent This From Coming Back
Use a dedicated pump protector fluid after every use to prevent mineral deposits
Change the pump oil annually using SAE 30 non-detergent pump oil
Always use a quality inline water filter between the hose and the pump inlet
Never store the machine in a freezing environment without flushing with RV antifreeze
Prevent This From Happening Again
While you're fixing it, stock up on the maintenance essentials that keep your pressure washers running right.
Pressure Washer Pump Oil
Pump oil degrades — change annually to prevent pump failure.
Get on AmazonPressure Washer Nozzle Set
Worn nozzles lose pressure — a fresh set restores cleaning power.
Get on AmazonFuel Stabilizer
Prevents carb gumming during seasonal storage.
Get on AmazonAffiliate Disclosure: Lil Engine may earn commissions from qualifying purchases.
Frequently Asked Questions
Yes, if you have basic hand tools and patience. While pump heads are often considered non-serviceable by big-box stores, replacement seal kits and valve sets are widely available for most Ryobi models.
Video Help
Helpful videos showing these repairs in action.
Share Your Repair
Real-world fixes help everyone. Share what worked and your repair becomes part of Lil Engine's community database.
Related Problems
More Pressure Washers GuidesRelated Maintenance Articles
Related Searches
Ryobi pressure washer Guides
Did this help?
Your feedback helps improve guides for everyone.