Honda GX200 Pressure Washer Cranks But Won't Start — Fuel & Spark Fix
⚡ Quick Answer
On a Honda GX200, the most common culprit is a triggered Low Oil Alert sensor or a clogged pilot jet inside the carburetor. First, check that the oil is filled to the very brink of the fill plug, as even a slightly low level will ground the ignition coil. If oil is full, verify fuel flow by draining the carburetor bowl and testing for spark using a dedicated tester to isolate the ignition system from the fuel system.
What do you want to do?
Most Likely Cause
Clogged Pilot Jet
Small debris or ethanol varnish blocks the pilot jet, preventing fuel from entering the engine during idle or initial crank. Use a magnifying glass to check for light through the jet; if blocked, the engine will only run on starter fluid.
Start here — this is the most common reason for this symptom.
Why This Problem Happens
The Honda GX200 is a reliable overhead-valve (OHV) engine, but it is highly sensitive to fuel degradation. Modern ethanol-blended gasoline absorbs atmospheric moisture, leading to phase separation where water settles in the bottom of the float bowl. This corrodes the brass pilot jet, which has an aperture smaller than a human hair, causing a lean condition that prevents combustion. The engine cranks because the recoil starter engages the crankshaft, but without a combustible air-fuel mixture, the cycle fails to sustain ignition. Furthermore, the GX200 uses an Oil Alert system that grounds the ignition coil if the oil level is low or if the sensor is faulty. The physics of starting relies on a precise synchronization of fuel atomization, compression, and a timed high-voltage spark. If the pilot jet is clogged or the ignition module is grounded by an intermittent sensor short, the energy provided by the crankshaft momentum simply dissipates as heat rather than kinetic combustion energy.
Common Symptoms
- Engine cranks vigorously with no rhythmic firing
- Spark plug appears dry after repeated cranking attempts
- Black sludge or varnish visible inside the carburetor float bowl
- Erratic behavior or backfiring when starter fluid is injected
- Oil Alert sensor light flashing (if equipped) or lack of spark
Before You Buy Parts
Quick, free inspections — check these first. Most repairs don't actually need replacement parts.
Complete Resource Guide
Ultimate Pressure Washer Troubleshooting & Repair Guide
Brand Resource Hub
The Ultimate Honda Small Engine Repair & Service Hub
Repair Overview
45–90 minutes
$10–$40
First Checks — Start Here
- 1Check oil level — must be at the top thread of the fill port to deactivate the low-oil sensor.
- 2Verify the Fuel Valve is ON and the engine switch is in the ON/RUN position.
- 3Drain the carburetor bowl using the 10mm drain bolt to check for water or stale fuel.
- 4Inspect the air filter for heavy oil saturation or clogs that block airflow.
- 5Check for spark using a tester — gap should be set to 0.028-0.031 inches (0.7-0.8mm).
- 6Disconnect the yellow wire from the Low Oil Alert sensor to test for a faulty sensor grounding the spark.
Safety Warnings
- !Ensure the spark plug is held firmly against a clean metal surface to prevent electrical shock or igniting stray fuel vapors.
- !Work in a well-ventilated area away from open flames or hot surfaces, as gasoline fumes are highly flammable.
- !Use eye protection when using compressed air to avoid blowback of cleaning chemicals or debris into your eyes.
- !Be gentle with the float; it is often made of delicate plastic or thin brass that can deform easily.
- !Never operate the engine with a low oil level; ensure the oil is filled to the top of the fill neck threads before starting.
- !Ensure no metallic debris is trapped between the magnet and the coil, as this will cause erratic timing.
- !Using steel needles or drills to clean jets, which permanently alters the fuel-to-air ratio
- !Forgetting to turn the fuel petcock to the ON position
Always disconnect the spark plug, work in a well-ventilated area, and consult a professional if unsure.
Most Likely Causes
Ranked by likelihood — tap each to see diagnosis details.
Small debris or ethanol varnish blocks the pilot jet, preventing fuel from entering the engine during idle or initial crank. Use a magnifying glass to check for light through the jet; if blocked, the engine will only run on starter fluid.
Gummed fuel can cause the float needle to stick in the closed position, preventing the carburetor bowl from filling. Remove the bowl and manually actuate the float to ensure it moves freely and isn't seized on its pivot pin.
🔧 Step-by-Step Fix Guide
Verify Spark Integrity
Remove the BPR6ES spark plug, reattach the plug wire, and hold the threaded body against the engine block while pulling the recoil. You should see a bright blue, audible snap; if the spark is yellow or nonexistent, troubleshoot the ignition coil or kill switch.
Ensure the spark plug is held firmly against a clean metal surface to prevent electrical shock or igniting stray fuel vapors.
Drain and Clean the Carburetor Bowl
Place a container under the carburetor and loosen the 10mm drain bolt on the bottom of the float bowl. If the fuel appears milky or smells like turpentine, remove the bowl entirely to clean the sediment with aerosol carburetor cleaner.
Work in a well-ventilated area away from open flames or hot surfaces, as gasoline fumes are highly flammable.
Clean the Main and Pilot Jets
Remove the main jet and pilot jet using a flat-head screwdriver. Use a thin strand of copper wire or a specialized jet cleaning tool to clear the orifices, then blow them out with compressed air to remove loose varnish.
Use eye protection when using compressed air to avoid blowback of cleaning chemicals or debris into your eyes.
Inspect the Float Assembly
Ensure the float pivots smoothly on its hinge pin and that the needle valve seat is clean. If the needle has a visible rubber ridge or groove, it must be replaced to prevent fuel flooding.
Be gentle with the float; it is often made of delicate plastic or thin brass that can deform easily.
Bypass the Oil Alert Sensor
If the engine still won't start, unplug the yellow wire at the bottom of the crankcase. If the engine starts immediately, your oil sensor is faulty and should be replaced rather than kept bypassed.
Never operate the engine with a low oil level; ensure the oil is filled to the top of the fill neck threads before starting.
Check Ignition Coil Gap
Loosen the two 10mm bolts holding the ignition coil and insert a plastic feeler gauge between the coil legs and the flywheel magnets. Rotate the flywheel until the magnet aligns with the coil, tighten the bolts, and remove the gauge.
Ensure no metallic debris is trapped between the magnet and the coil, as this will cause erratic timing.
What To Test Next
If fuel delivery checks out, the next thing to inspect is spark — remove the spark plug, ground its threads to the engine block, and crank the engine to look for a visible blue spark.
Component Reference

Carburetor & Fuel Intake
The carburetor mixes air and fuel for combustion. A clogged jet or stuck float is the #1 cause of small engine starting and surging problems.

Spark Plug & Ignition System
The spark plug ignites the air-fuel mixture. A fouled plug, wrong gap, or failing ignition coil will prevent the engine from firing.

Oil & Lubrication System
Regular oil changes are critical. Low or dirty oil causes engine wear, overheating, and eventual seizure. Check the dipstick before every season.

Air Filter & Intake
A clogged air filter starves the engine of air, causing rich running, power loss, and hard starting. Inspect and clean or replace it each season.
Photos for educational reference. Actual parts may vary by make and model.
Common Mistakes to Avoid
Using steel needles or drills to clean jets, which permanently alters the fuel-to-air ratio
Forgetting to turn the fuel petcock to the ON position
Using starter fluid for too long, which strips cylinder walls of essential lubrication
Over-tightening the carburetor bowl nut, which can crack the delicate alloy housing
If This Didn't Fix It
Still having trouble? These are the next things to check:
Get the Exact Parts for Your Machine
Tell us your equipment's year, make, and model — we'll search for parts that actually fit, not generic ones.
Finding parts for
Honda GX200 pressure washer
Required Gear
Matched to your Honda GX200 pressure washer — click to find the exact fit on Amazon.
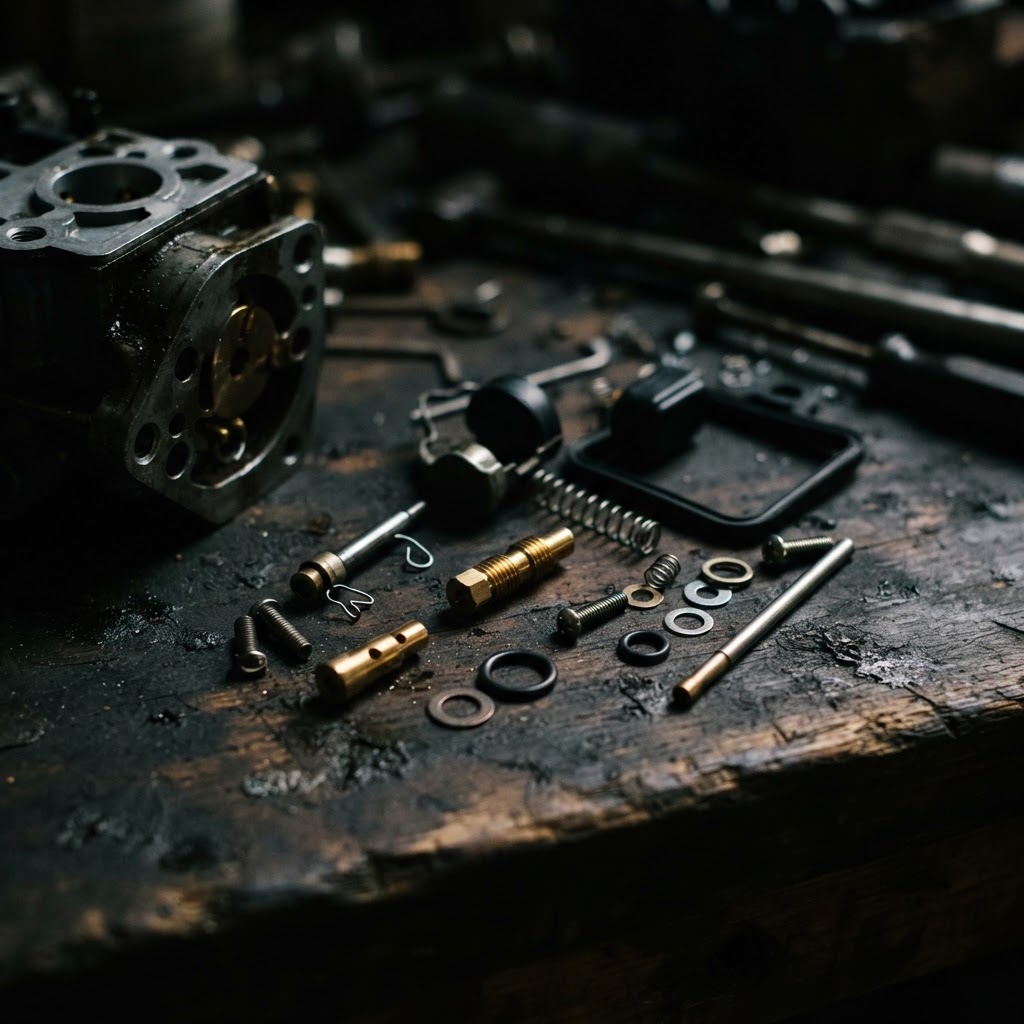
Honda GX200 Carburetor Rebuild Kit
Contains the necessary gaskets, float needle, and jet components to replace internal parts damaged or obstructed by degraded fuel, which is essential for curing a no-start condition.
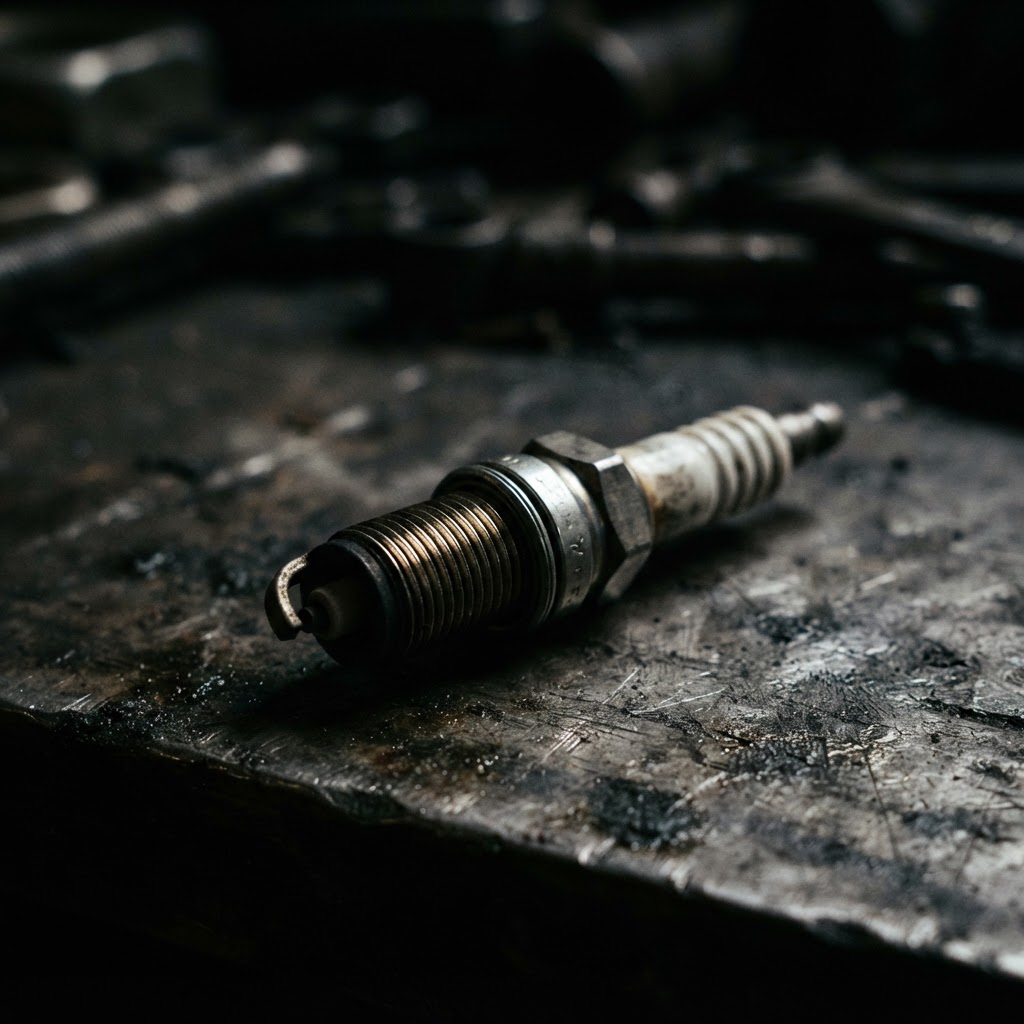
NGK BPR6ES Spark Plug
Replacing the plug is necessary if spark integrity is compromised or the electrode has been fouled during multiple failed starting attempts.
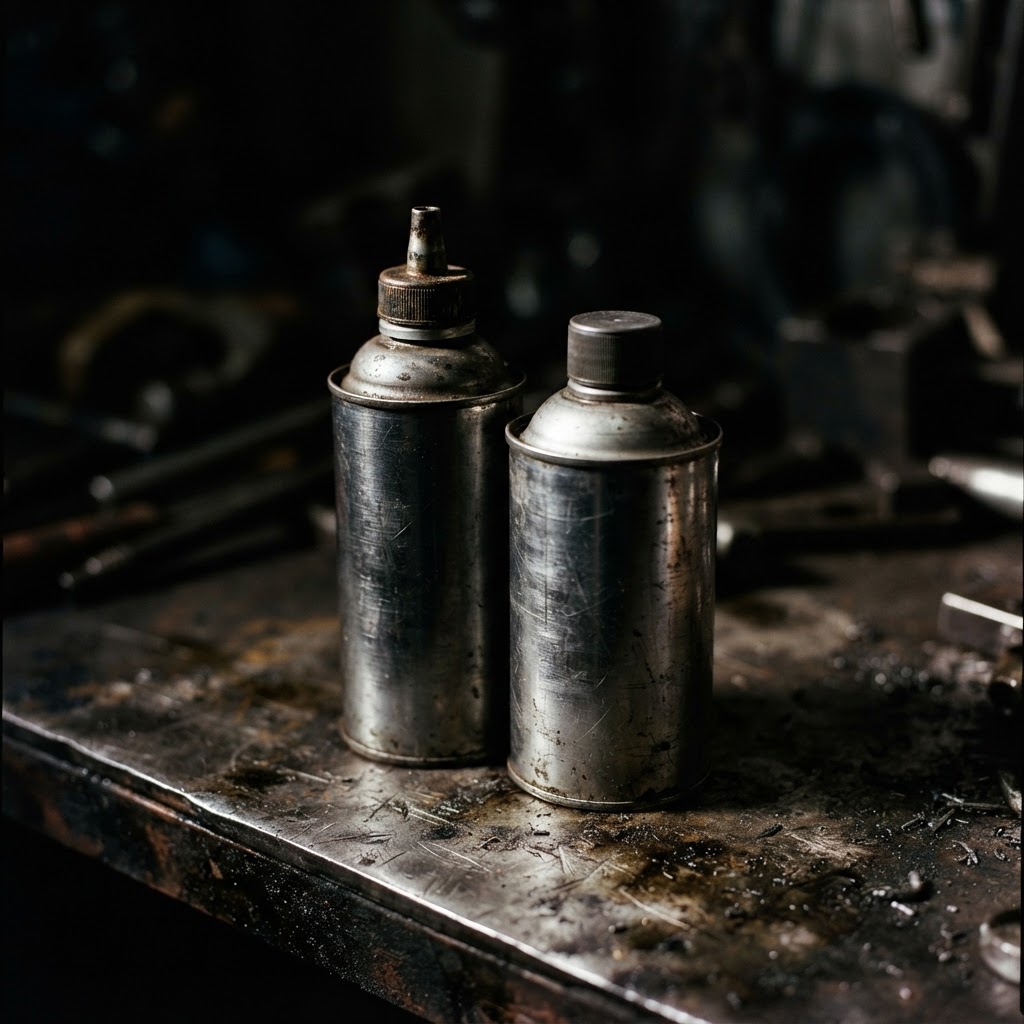
Fuel Stabilizer and Ethanol Treatment
This is required to prevent the phase separation and gum buildup that caused the pilot jet and float needle to fail in the first place.
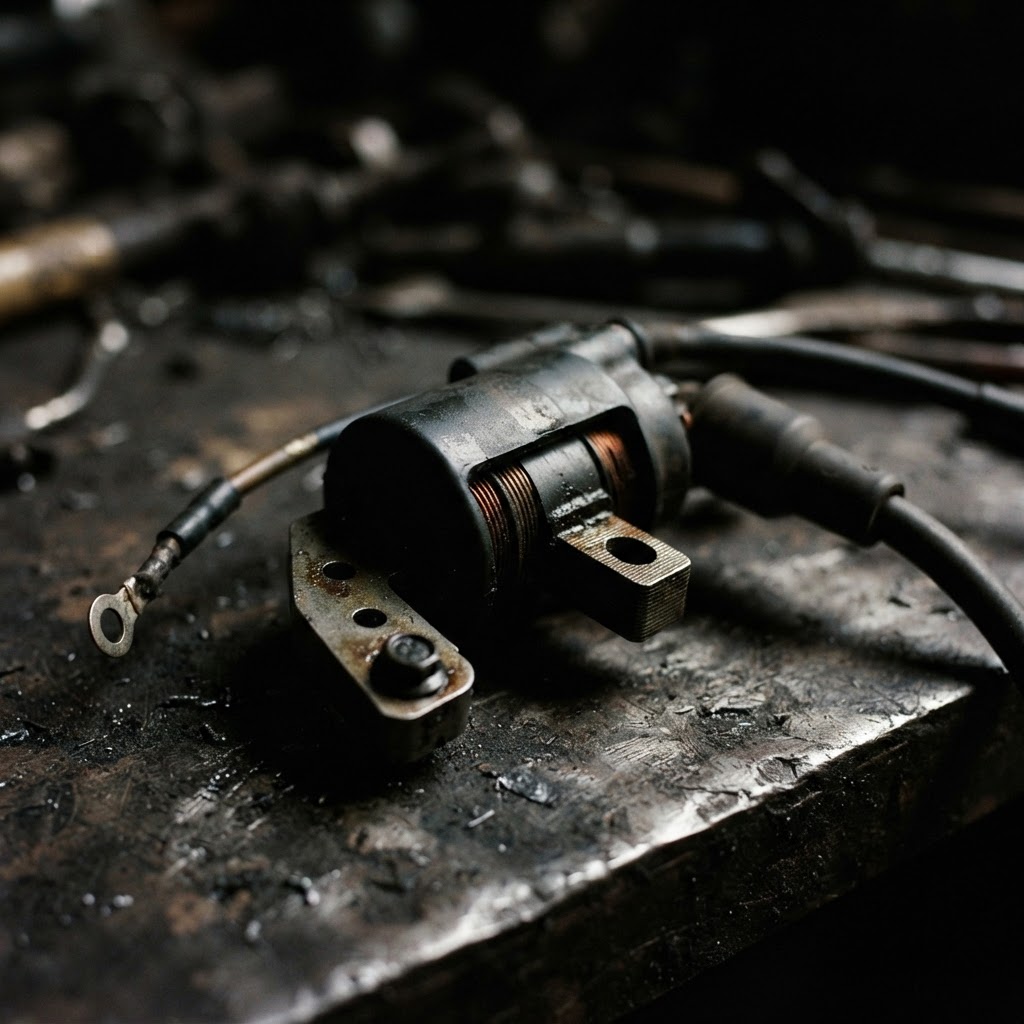
Honda GX200 Ignition Coil
If the existing coil fails to produce a consistent spark despite correct gap adjustment, this replacement is necessary to restore proper engine ignition.
Affiliate Disclosure: Lil Engine may earn commissions from qualifying purchases.
Pro Tips from the Community
Real-world fixes from Reddit, YouTube & forums.
"The 'Yellow Wire' trick is the first thing I do. If it starts with that wire unplugged, 99% of the time you just need a half-ounce more oil."
Reddit r/smallengines"Honda GX carbs love to clog the pilot jet. If it only runs on choke or hunts/surges, that little plastic jet under the idle screw is definitely dirty."
YouTube comments"Always check the fuel sediment cup (the small metal bowl next to the main bowl). It catches the grit before it hits the carb and is often overlooked."
LawnSite.com ForumPrevent This From Coming Back
Use a fuel stabilizer in every gas can to prevent ethanol phase separation
Shut off the fuel petcock and run the engine until it stalls before long-term storage
Change the engine oil every 50 hours of operation to keep the Oil Alert system functioning correctly
Store the pressure washer in a dry environment to prevent moisture condensation in the fuel system
Prevent This From Happening Again
While you're fixing it, stock up on the maintenance essentials that keep your pressure washers running right.
Pressure Washer Pump Oil
Pump oil degrades — change annually to prevent pump failure.
Get on AmazonPressure Washer Nozzle Set
Worn nozzles lose pressure — a fresh set restores cleaning power.
Get on AmazonFuel Stabilizer
Prevents carb gumming during seasonal storage.
Get on AmazonAffiliate Disclosure: Lil Engine may earn commissions from qualifying purchases.
Frequently Asked Questions
Absolutely not. The GX200 is designed for standard gasoline; E85 contains high ethanol levels that will melt fuel lines and corrode the carburetor internals.
Video Help
Helpful videos showing these repairs in action.
Share Your Repair
Real-world fixes help everyone. Share what worked and your repair becomes part of Lil Engine's community database.
Related Problems
More Pressure Washers GuidesRelated Maintenance Articles
Related Symptoms
Won’t Start
Carburetor / Fuel Issues
Related Searches
Honda pressure washer Guides
Did this help?
Your feedback helps improve guides for everyone.