Pressure Washer Cranks But Won't Start — Fuel & Spark Diagnosis
⚡ Quick Answer
First, pull the trigger on the spray gun to release hydraulic head pressure, which often prevents the engine from reaching starting RPM. If it pulls easily but won't fire, spray a 2-second burst of carburetor cleaner into the air intake; if the engine pops or runs briefly, your carburetor's main jet is clogged. Ensure the oil level is exactly at the 'Full' mark, as low-oil sensors are the primary cause of 'no spark' on Honda GCV and Briggs & Stratton engines.
What do you want to do?
Most Likely Cause
Clogged Carburetor Jetting
Old gasoline leaves sticky varnish that blocks the high-speed and pilot jets. Check by removing the float bowl; if you see green or brown residue, the internal circuits are compromised and require a thorough solvent soak.
Start here — this is the most common reason for this symptom.
Why This Problem Happens
A pressure washer failing to fire while cranking is almost always a breakdown in the 'fire-air-fuel' triangle. Because these units sit for long periods, ethanol-blended gasoline degrades, leaving behind gummy deposits that clog the microscopic ports in the carburetor’s pilot jet. Even if fuel reaches the bowl, the engine lacks the stoichiometric air-fuel mixture required to ignite. The engine requires a high-voltage spark timed precisely at top-dead-center; if the ignition coil's air gap is too wide or the kill switch is grounded by a frayed safety wire, the plug remains cold despite rapid rotation. Mechanically, if the overhead valves have drifted out of lash tolerance, the combustion chamber cannot reach the necessary compression pressure to force ignition. When these variables—fuel atomization, ignition timing, and compression—fall out of sync, the engine simply rotates without ever achieving the sustained 'pop' required to run.
Common Symptoms
- Dry spark plug after multiple pulls
- Black soot deposits on spark plug electrode
- Strong varnish odor from fuel tank
- Engine fires briefly on starting fluid then dies
- No visible blue spark during grounding test
Before You Buy Parts
Quick, free inspections — check these first. Most repairs don't actually need replacement parts.
Complete Resource Guide
Ultimate Pressure Washer Troubleshooting & Repair Guide
Repair Overview
45–90 minutes
$10–$50
First Checks — Start Here
- 1Squeeze the spray gun trigger to release pump pressure while pulling the cord
- 2Check oil level — low oil triggers the shutdown sensor and kills spark
- 3Verify the fuel valve is in the 'ON' position and the choke is fully closed
- 4Inspect the air filter for oil saturation, which indicates the unit was tipped incorrectly
- 5Test for spark using a dedicated tester — look for a crisp blue arc at 0.030 gap
- 6Drain the carburetor bowl to check for water or 'sour' smelling stale fuel
Safety Warnings
- !Ensure the spark plug tip is held securely to the engine block to avoid high-voltage shock.
- !Have a rag ready to catch spilled fuel and work in a well-ventilated area away from open flames.
- !Do not over-spray, as starting fluid is highly volatile and can damage cylinder walls if used in excess.
- !Ensure the engine is completely cool to the touch before checking valve clearances.
- !Without the kill switch connected, you must choke the engine fully or pull the spark plug wire to shut it off.
- !Wear safety glasses when using pressurized cleaners to prevent chemicals from splashing into eyes.
- !Using old gasoline that has been sitting for more than 30 days
- !Replacing the spark plug without checking the gap with a feeler gauge
- !Forgetting to turn the fuel petcock to the ON position
- !Over-tightening the carburetor mounting bolts and cracking the intake manifold gasket
Always disconnect the spark plug, work in a well-ventilated area, and consult a professional if unsure.
Most Likely Causes
Ranked by likelihood — tap each to see diagnosis details.
Old gasoline leaves sticky varnish that blocks the high-speed and pilot jets. Check by removing the float bowl; if you see green or brown residue, the internal circuits are compromised and require a thorough solvent soak.
The gap between the flywheel magnet and the coil must be perfectly calibrated, usually around .010 to .015 inches. If the gap is too wide, the magnetic induction is insufficient to produce a high-intensity spark at cranking RPMs.
🔧 Step-by-Step Fix Guide
Perform a Spark Gap Test
Remove the spark plug, re-attach the wire, and hold the threaded base against a clean, unpainted cylinder head bolt. Pull the starter cord briskly and look for a bright blue, audible snap; if the spark is yellow, weak, or absent, the coil or plug is faulty.
Ensure the spark plug tip is held securely to the engine block to avoid high-voltage shock.
Verify Fuel Delivery
Loosen the drain screw on the bottom of the carburetor float bowl to ensure fresh fuel is present. If no fuel drains, check the fuel shut-off valve or the screen inside the tank for blockages.
Have a rag ready to catch spilled fuel and work in a well-ventilated area away from open flames.
Use a Controlled Shot of Starting Fluid
Remove the air filter element and spray a one-second burst of starting fluid directly into the carburetor throat. Attempt to start the engine; if it fires momentarily, your problem is confirmed as a fuel-system delivery issue.
Do not over-spray, as starting fluid is highly volatile and can damage cylinder walls if used in excess.
Adjust Valve Lash Clearance
Remove the valve cover and use a feeler gauge to verify intake and exhaust tolerances. Consult your manual, but standard specs are often .004 for intake and .006 for exhaust; improper lash prevents the valve from seating fully.
Ensure the engine is completely cool to the touch before checking valve clearances.
Test the Kill Switch Circuit
Disconnect the small black wire leading to the ignition coil and try starting the engine. If it starts, the kill switch or the oil-sensor module is malfunctioning and grounding your spark.
Without the kill switch connected, you must choke the engine fully or pull the spark plug wire to shut it off.
Clean or Replace the Carburetor
Remove the carburetor using a 10mm socket, disassemble the bowl, and use a thin wire or compressed air to clear the main jet. If the passages are heavily oxidized, it is more efficient to replace the entire assembly.
Wear safety glasses when using pressurized cleaners to prevent chemicals from splashing into eyes.
What To Test Next
If fuel delivery checks out, the next thing to inspect is spark — remove the spark plug, ground its threads to the engine block, and crank the engine to look for a visible blue spark.
Component Reference

Carburetor & Fuel Intake
The carburetor mixes air and fuel for combustion. A clogged jet or stuck float is the #1 cause of small engine starting and surging problems.

Spark Plug & Ignition System
The spark plug ignites the air-fuel mixture. A fouled plug, wrong gap, or failing ignition coil will prevent the engine from firing.

Oil & Lubrication System
Regular oil changes are critical. Low or dirty oil causes engine wear, overheating, and eventual seizure. Check the dipstick before every season.

Air Filter & Intake
A clogged air filter starves the engine of air, causing rich running, power loss, and hard starting. Inspect and clean or replace it each season.
Photos for educational reference. Actual parts may vary by make and model.
Common Mistakes to Avoid
Using old gasoline that has been sitting for more than 30 days
Replacing the spark plug without checking the gap with a feeler gauge
Forgetting to turn the fuel petcock to the ON position
Over-tightening the carburetor mounting bolts and cracking the intake manifold gasket
Using starting fluid while the air filter is still installed, causing it to soak up the solvent
If This Didn't Fix It
Still having trouble? These are the next things to check:
Get the Exact Parts for Your Machine
Tell us your equipment's year, make, and model — we'll search for parts that actually fit, not generic ones.
Finding parts for
pressure washer
Required Gear
Matched to your pressure washer — click to find the exact fit on Amazon.
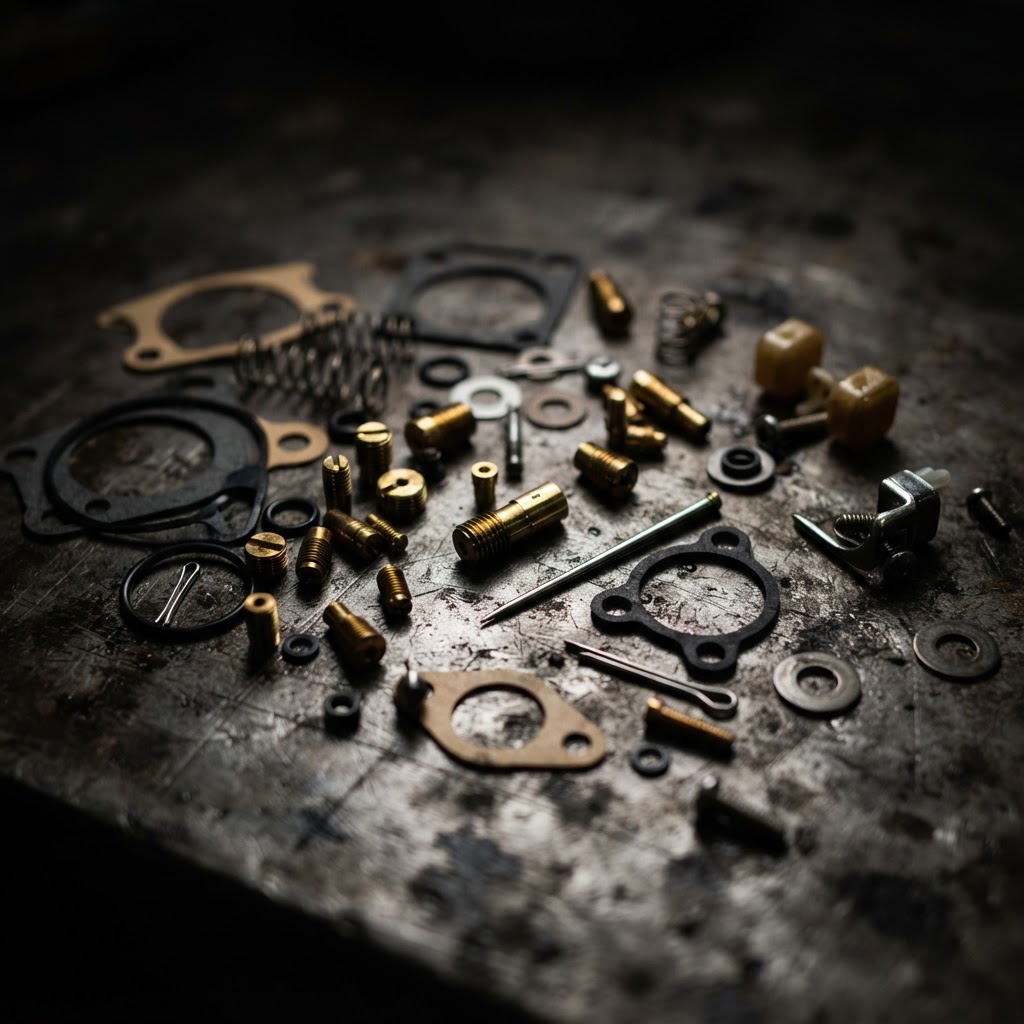
Carburetor Rebuild Kit
This kit provides the necessary jets, needles, and gaskets to clear fuel restrictions that prevent the engine from starting after identifying clogged jetting.
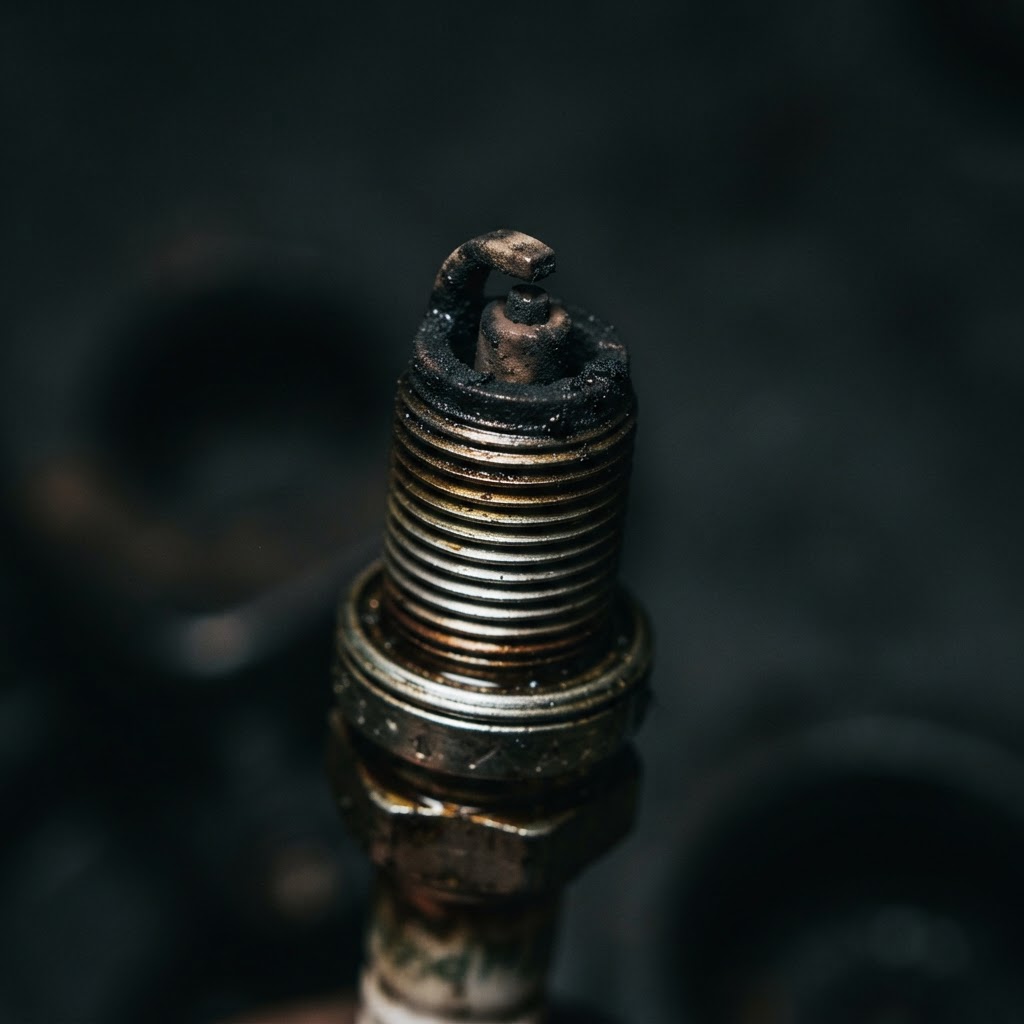
Spark Plug
Replacing the plug is essential if the previous one is found to be fouled or carbon-bridged, as a clean electrode is required for a consistent ignition spark.
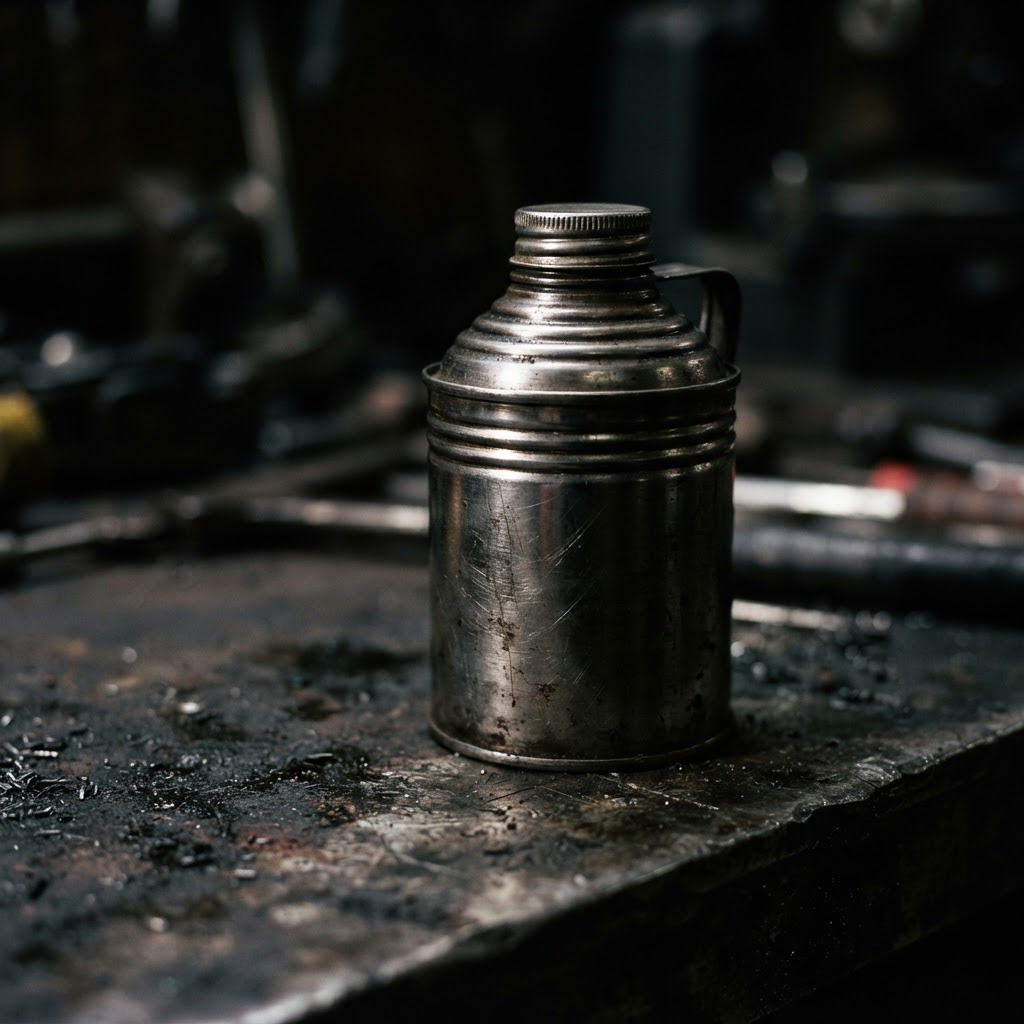
Fuel Stabilizer and Cleaner
Adding this to the tank helps break down varnish and sludge remaining in the system after a carburetor cleaning to ensure reliable fuel flow.
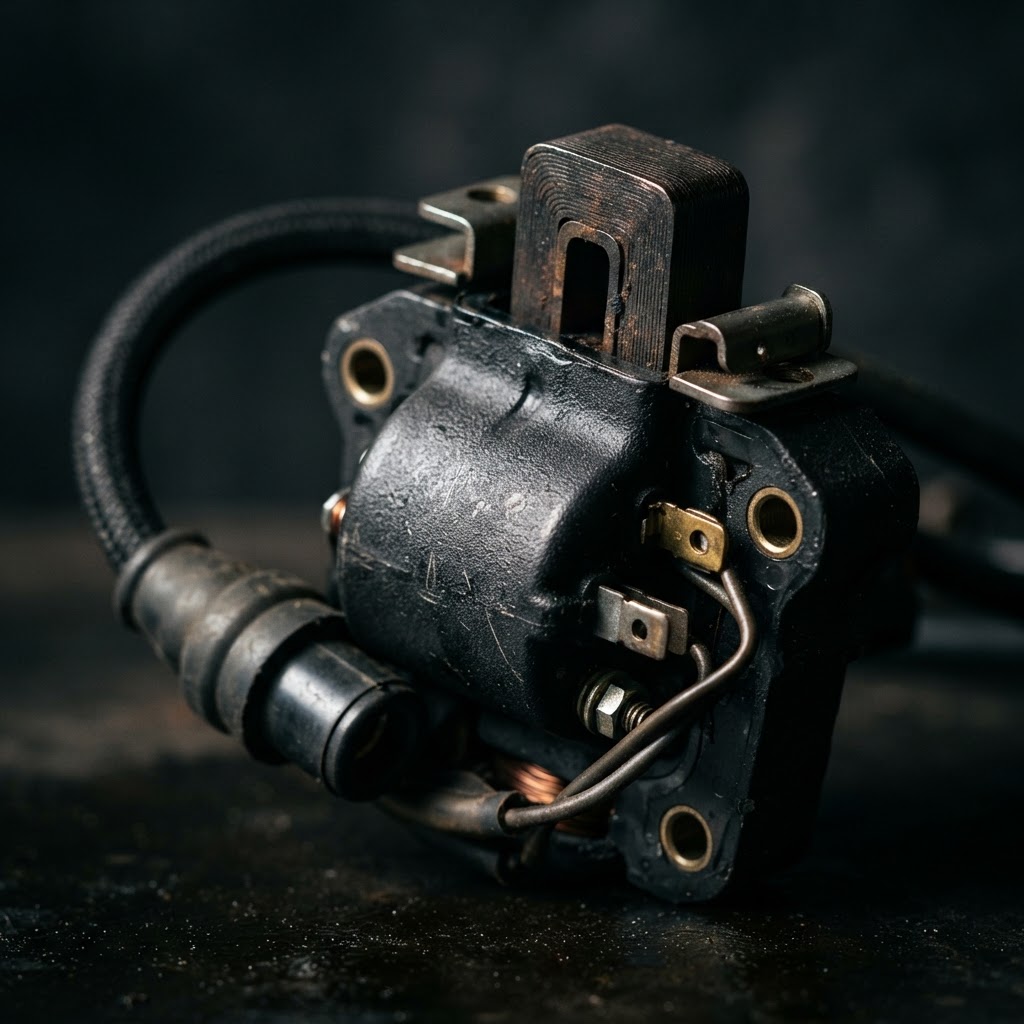
Ignition Coil
If the ignition coil air gap is correct but the spark remains weak or absent, replacing the coil itself will restore the high-voltage output needed to ignite the fuel mixture.
Affiliate Disclosure: Lil Engine may earn commissions from qualifying purchases.
Pro Tips from the Community
Real-world fixes from Reddit, YouTube & forums.
"If the pull cord is nearly impossible to pull, don't force it—you'll break the recoil. Pull the trigger on the gun and hold it while you pull the cord to bleed off the pump pressure."
Reddit r/pressurewashing"Honda GCV engines are famous for the 'auto-choke' wax motor failing. If it won't start cold, manually hold the choke butterfly valve closed with your finger and see if it fires."
YouTube comments"90% of the time, the tiny hole in the bolt that holds the carb bowl on is clogged. Clear it with a single strand of copper wire from an old extension cord."
LawnSite.com ForumPrevent This From Coming Back
Always use a fuel stabilizer like Sta-Bil in every gas can
Drain the carburetor bowl completely if the unit will sit for more than two weeks
Replace the air filter at the beginning of every season
Change the engine oil according to the hour meter, not just the calendar
Run the engine until it sputters and dies before long-term storage
Prevent This From Happening Again
While you're fixing it, stock up on the maintenance essentials that keep your pressure washers running right.
Pressure Washer Pump Oil
Pump oil degrades — change annually to prevent pump failure.
Get on AmazonPressure Washer Nozzle Set
Worn nozzles lose pressure — a fresh set restores cleaning power.
Get on AmazonFuel Stabilizer
Prevents carb gumming during seasonal storage.
Get on AmazonAffiliate Disclosure: Lil Engine may earn commissions from qualifying purchases.
Frequently Asked Questions
No, standard 87-octane pump gas is sufficient. The most important factor is ensuring the fuel is ethanol-free or treated with a stabilizer.
Video Help
Helpful videos showing these repairs in action.
Share Your Repair
Real-world fixes help everyone. Share what worked and your repair becomes part of Lil Engine's community database.
Related Problems
More Pressure Washers GuidesRelated Maintenance Articles
Related Symptoms
Won’t Start
Carburetor / Fuel Issues
Related Searches
Pressure Washers Troubleshooting
Did this help?
Your feedback helps improve guides for everyone.