Ryobi Pressure Washer Cranks But Won't Start — Fuel & Spark Diagnosis
⚡ Quick Answer
If your Ryobi pressure washer engine is cranking but won't fire, the most likely culprit is a clogged carburetor jet or a low-oil shutdown sensor preventing ignition. Perform a 'starting fluid test' by spraying carb cleaner directly into the air intake; if the engine fires for a second then dies, your problem is 100% fuel-delivery related. If it doesn't fire at all, you must check for a fouled spark plug or a sheared flywheel key that has moved the ignition timing.
What do you want to do?
Most Likely Cause
Obstructed Pilot Jet
The pilot jet has an orifice smaller than a human hair that clogs easily with fuel varnish. If the engine won't start but runs with starting fluid, the jet is definitely blocked.
Start here — this is the most common reason for this symptom.
Why This Problem Happens
Ryobi pressure washers typically utilize overhead valve (OHV) engines manufactured by Ryobi or outsourced partners like Kohler or Honda. When an engine cranks but refuses to fire, it usually stems from a breakdown in the 'fire triangle' within the combustion chamber: compression, spark, and fuel/air ratio. Because these engines often sit idle for months, the ethanol in modern pump gasoline absorbs moisture and begins to varnish. This sticky residue migrates through the fuel lines and settles in the pilot jets of the carburetor, physically obstructing the path of fuel into the venturi. Simultaneously, the ignition coil, which is a potted electronic component, may lose its ability to generate the high-voltage arc required to jump the spark plug gap under compression pressure. Even if the spark is visible outside the engine, it may be too weak to overcome the resistance of the pressurized air-fuel mixture, resulting in a 'no-start' condition despite the engine turning over.
Common Symptoms
- Dry spark plug after repeated cranking
- Black soot residue on the insulator
- Engine fires briefly with a shot of starter fluid
- Distinct smell of old varnish from the tank
- Noticeable lack of resistance when pulling the recoil starter
Before You Buy Parts
Quick, free inspections — check these first. Most repairs don't actually need replacement parts.
Complete Resource Guide
Ultimate Pressure Washer Troubleshooting & Repair Guide
Repair Overview
45–90 minutes
$15–$50
First Checks — Start Here
- 1Verify fuel is fresh and the fuel valve is in the 'ON' position
- 2Check oil level — many Ryobi engines won't fire if oil is below the 'Full' mark
- 3Test for spark using an inline tester or by grounding the plug to the head
- 4Spray 1 second of carb cleaner into the intake to bypass the fuel system
- 5Drain the carburetor bowl into a glass jar to check for water contamination
- 6Inspect the spark plug for heavy carbon fouling or a wet (flooded) tip
Safety Warnings
- !Keep fingers away from the spark plug wire terminal while cranking to avoid a high-voltage shock.
- !Do not over-spray starting fluid, as it lacks lubricants and can damage internal engine components.
- !Wear safety glasses when using carburetor cleaner to avoid painful eye exposure.
- !Perform this check only when the engine is cold to ensure accurate measurements.
- !Ensure the fuel valve is shut off before disconnecting lines to prevent spills.
- !Use an impact wrench to remove the flywheel nut only if you have the proper flywheel puller tool.
- !Replacing the spark plug without checking the gap
- !Ignoring the fuel cap vent as a source of vacuum lock
Always disconnect the spark plug, work in a well-ventilated area, and consult a professional if unsure.
Most Likely Causes
Ranked by likelihood — tap each to see diagnosis details.
The pilot jet has an orifice smaller than a human hair that clogs easily with fuel varnish. If the engine won't start but runs with starting fluid, the jet is definitely blocked.
The coil can generate enough voltage to produce a weak, inconsistent spark that fails under the load of the combustion chamber. Use an adjustable spark gap tester to check for a strong blue jump.
🔧 Step-by-Step Fix Guide
Verify Spark Strength
Remove the spark plug and connect it to an inline spark tester. Pull the cord firmly and check for a bright blue spark; a yellow or non-existent spark indicates a bad coil or magnet.
Keep fingers away from the spark plug wire terminal while cranking to avoid a high-voltage shock.
Bypass the Fuel System
Spray a small amount of starting fluid directly into the air intake. If the engine fires and runs for a second, you have confirmed the ignition is good and the issue is strictly fuel-related.
Do not over-spray starting fluid, as it lacks lubricants and can damage internal engine components.
Clean the Carburetor Pilot Jet
Remove the carburetor float bowl and use a fine wire or compressed air to clear the pilot jet. Ensure the float needle moves freely and is not stuck in the closed position.
Wear safety glasses when using carburetor cleaner to avoid painful eye exposure.
Check Valve Lash
Ryobi OHV engines require specific valve clearances (typically .004-.006 inches). If the exhaust valve is held open slightly by carbon buildup or tight clearance, the engine will lose compression and fail to start.
Perform this check only when the engine is cold to ensure accurate measurements.
Inspect the Fuel Lines
Check for cracks or internal collapse in the rubber fuel lines between the tank and the carburetor. A small air leak here will prevent the vacuum pulse from drawing fuel effectively.
Ensure the fuel valve is shut off before disconnecting lines to prevent spills.
Flywheel Timing Inspection
Remove the recoil housing and inspect the flywheel nut and key. If the keyway is damaged, the spark is firing at the wrong position in the piston stroke.
Use an impact wrench to remove the flywheel nut only if you have the proper flywheel puller tool.
What To Test Next
If fuel delivery checks out, the next thing to inspect is spark — remove the spark plug, ground its threads to the engine block, and crank the engine to look for a visible blue spark.
Component Reference

Carburetor & Fuel Intake
The carburetor mixes air and fuel for combustion. A clogged jet or stuck float is the #1 cause of small engine starting and surging problems.

Spark Plug & Ignition System
The spark plug ignites the air-fuel mixture. A fouled plug, wrong gap, or failing ignition coil will prevent the engine from firing.

Oil & Lubrication System
Regular oil changes are critical. Low or dirty oil causes engine wear, overheating, and eventual seizure. Check the dipstick before every season.

Fuel System
Stale fuel is the most common cause of seasonal starting failures. Fuel breaks down in 30 days, leaving varnish that clogs carburetor jets and fuel filters.
Photos for educational reference. Actual parts may vary by make and model.
Common Mistakes to Avoid
Using generic automotive starting fluid in excessive amounts
Trying to clean the carburetor without removing the pilot jet
Replacing the spark plug without checking the gap
Ignoring the fuel cap vent as a source of vacuum lock
Get the Exact Parts for Your Machine
Tell us your equipment's year, make, and model — we'll search for parts that actually fit, not generic ones.
Finding parts for
Ryobi pressure washer engine cranks but
Required Gear
Matched to your Ryobi pressure washer engine cranks but — click to find the exact fit on Amazon.
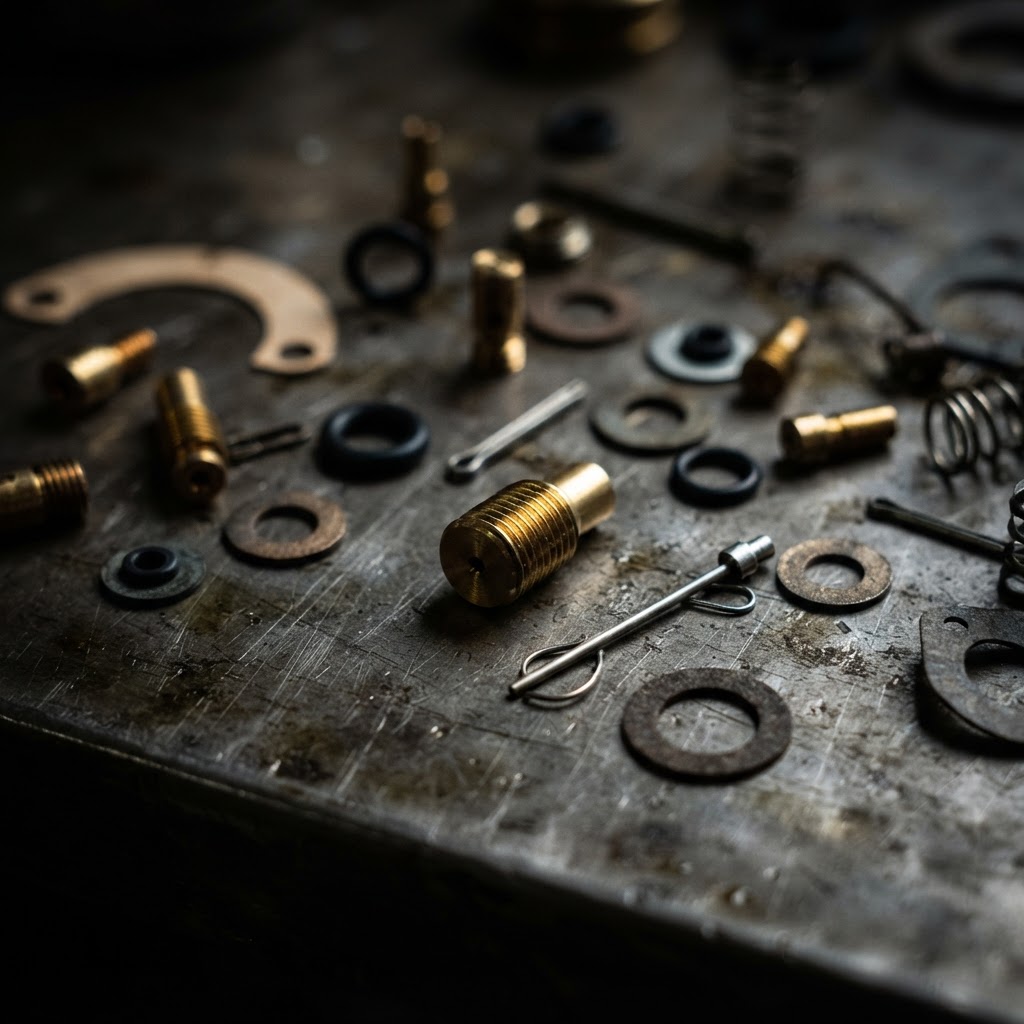
Carburetor Rebuild Kit
This kit provides the necessary internal gaskets and the pilot jet required to resolve starting issues caused by internal carburetor obstructions or degraded seals.
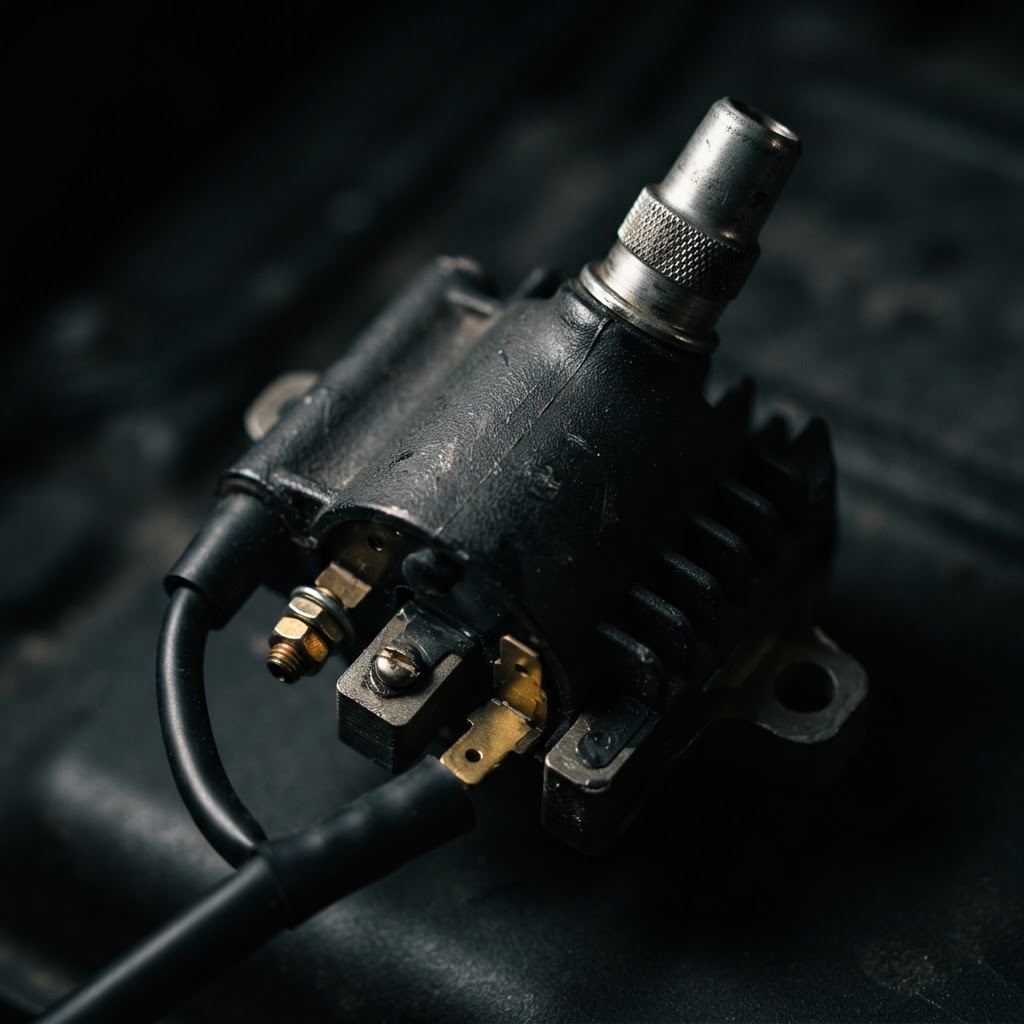
Ignition Coil
If spark testing confirms a weak or absent spark despite a good plug, replacing the ignition coil is essential to restore the engine's ability to fire.
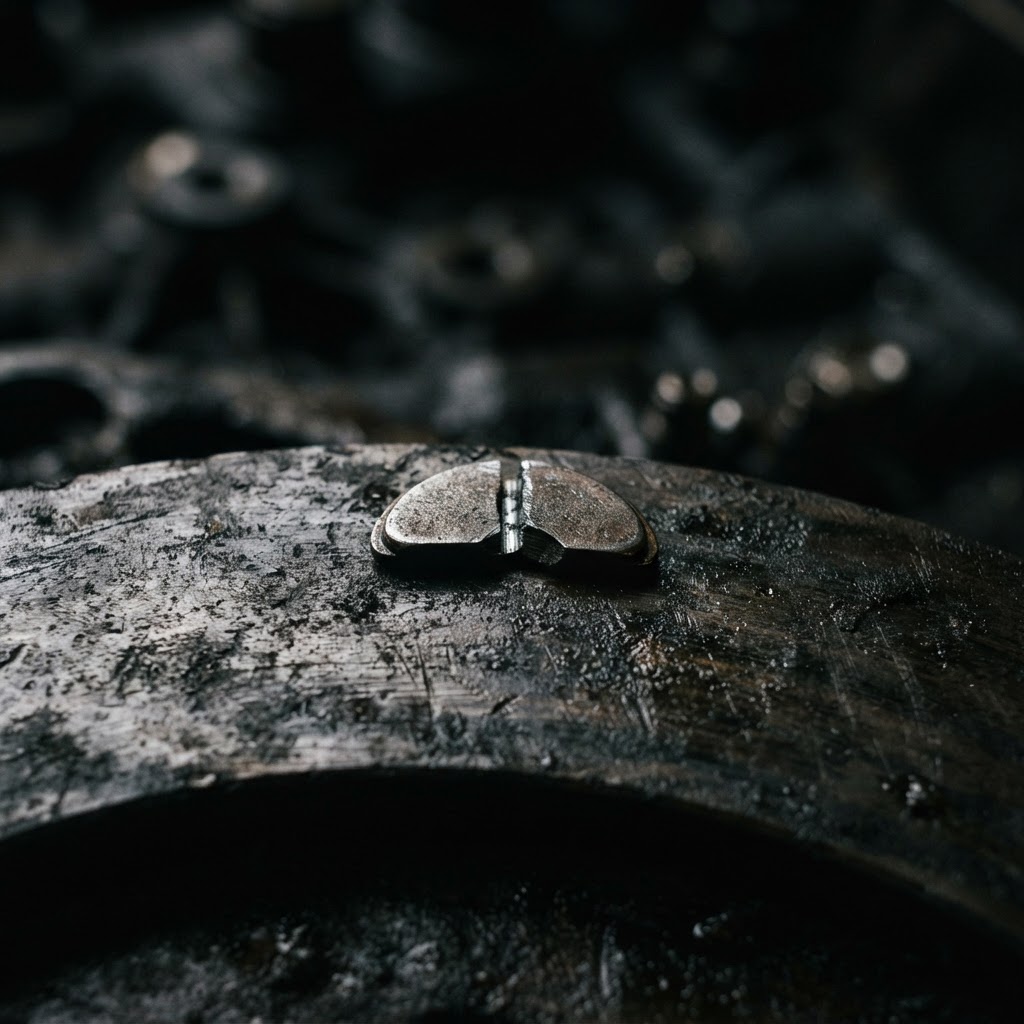
Flywheel Key
If the flywheel key has sheared, it alters the ignition timing, preventing the engine from starting even with fuel and spark; this part is required to re-index the timing.
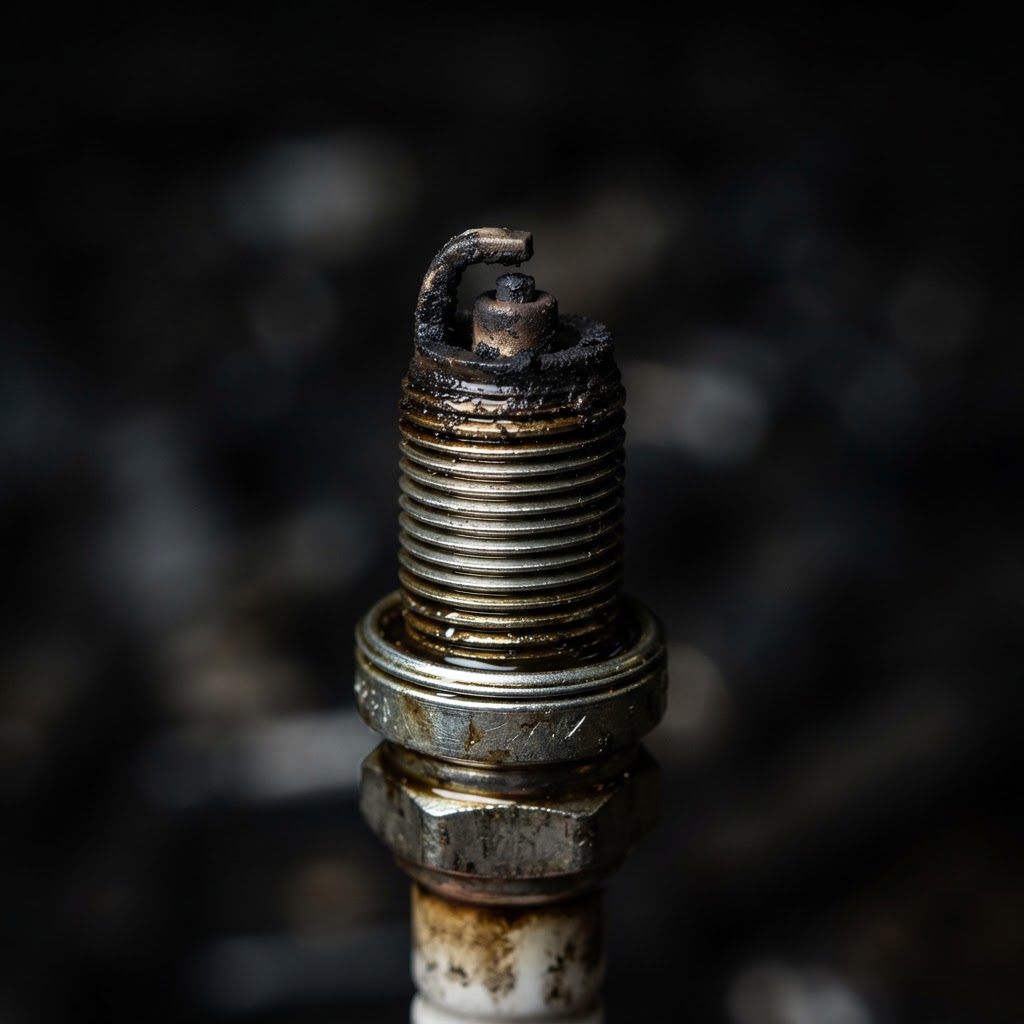
Spark Plug
Replacing the spark plug is a critical step after confirming fuel delivery issues, as the original plug may be fouled or compromised by the poor combustion environment of a struggling engine.
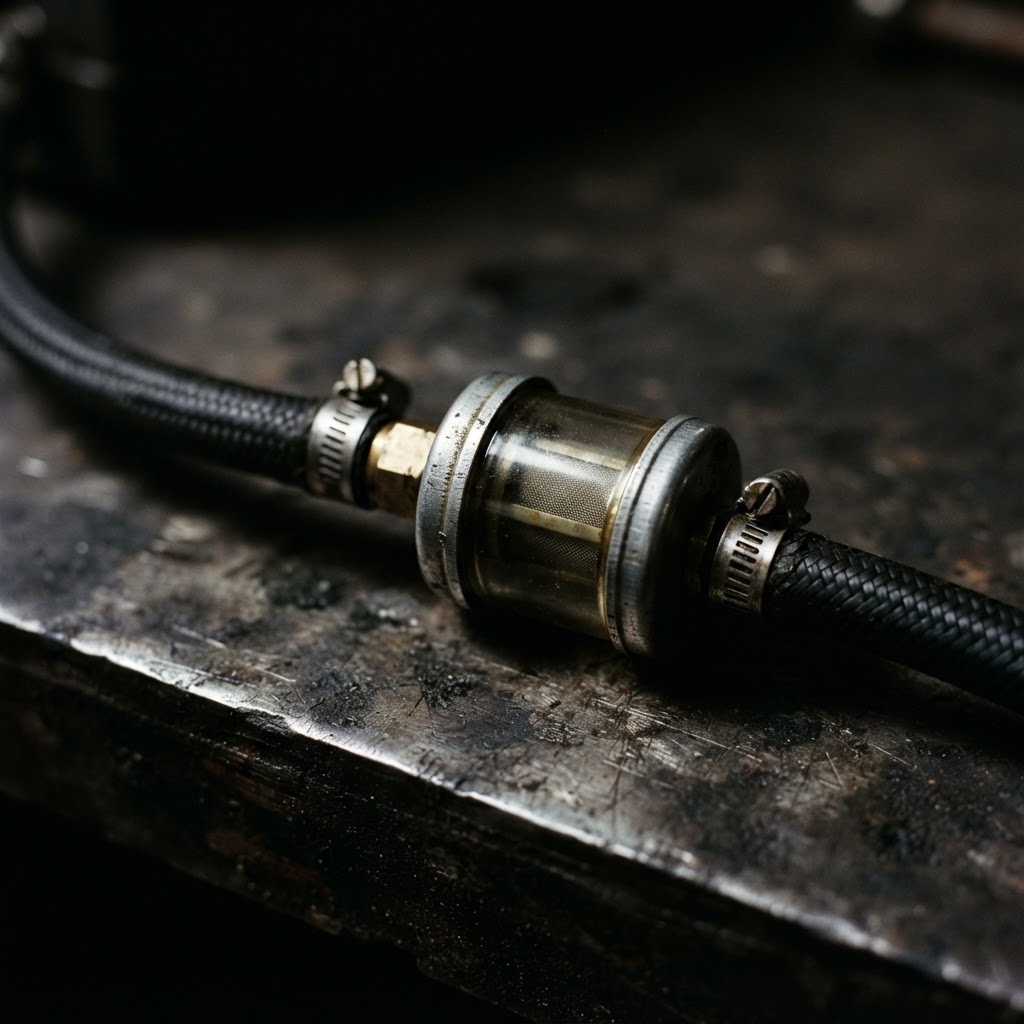
Fuel Line and Filter
Replacing aged fuel lines and the filter ensures that fresh, uncontaminated fuel reaches the carburetor, preventing recurring clogs or flow restrictions.
Affiliate Disclosure: Lil Engine may earn commissions from qualifying purchases.
Pro Tips from the Community
Real-world fixes from Reddit, YouTube & forums.
"Ryobi washers are notorious for the 'unloader valve' sticking. If the recoil is hard to pull, squeeze the trigger to release water pressure while pulling to prevent a hydraulic lock feel."
YouTube comments"Don't bother cleaning the carb if it's heavily corroded inside; a new aftermarket one is usually under $20 and saves hours of frustration compared to cleaning a pitted bowl."
Reddit r/pressurewashing"Always check the 'kill' wire on the engine handle. Sometimes the spring-loaded shut-off on the throttle linkage gets stuck in the 'off' position and needs a bit of WD-40 to move freely."
DoItYourself.com ForumPrevent This From Coming Back
Use non-ethanol fuel exclusively
Add a fuel stabilizer like Sta-Bil at every fill-up
Drain the carburetor bowl completely for off-season storage
Replace the air filter annually to prevent debris intake
Change engine oil every 50 hours of use
Prevent This From Happening Again
While you're fixing it, stock up on the maintenance essentials that keep your pressure washers running right.
Pressure Washer Pump Oil
Pump oil degrades — change annually to prevent pump failure.
Get on AmazonPressure Washer Nozzle Set
Worn nozzles lose pressure — a fresh set restores cleaning power.
Get on AmazonFuel Stabilizer
Prevents carb gumming during seasonal storage.
Get on AmazonAffiliate Disclosure: Lil Engine may earn commissions from qualifying purchases.
Frequently Asked Questions
No, never use E85 or any fuel with more than 10% ethanol. The high alcohol content will dissolve the rubber diaphragms and gaskets in the carburetor.
Video Help
Helpful videos showing these repairs in action.
Share Your Repair
Real-world fixes help everyone. Share what worked and your repair becomes part of Lil Engine's community database.
Related Problems
More Pressure Washers GuidesRelated Maintenance Articles
Did this help?
Your feedback helps improve guides for everyone.