Snow Blower Cranks But Won't Start — Fuel & Spark Diagnosis
⚡ Quick Answer
If your snow blower cranks but won't start, the most common culprit is a clogged carburetor main jet caused by stale fuel left over from last season. Start by spraying a 1-second burst of carburetor cleaner into the air intake; if the engine fires briefly, you have confirmed a fuel delivery issue. Next, verify you have a strong blue spark (gap spec usually 0.030") and ensure the safety key is fully inserted and the throttle is in the 'Choke' or 'Fast' position.
What do you want to do?
Most Likely Cause
Clogged Carburetor Main Jet
Old fuel leaves behind varnish that blocks the fuel passage between the float bowl and the venturi. Check by removing the float bowl bolt; if no fuel spills or debris is present, the jet is restricted.
Start here — this is the most common reason for this symptom.
Why This Problem Happens
A snow blower requires a precise stoichiometric air-fuel ratio and a perfectly timed high-voltage discharge to ignite the mixture within the combustion chamber. When an engine cranks but fails to fire, it indicates a breakdown in the 'fire triangle'—specifically missing fuel, insufficient compression, or lack of spark. Fuel degradation is the primary culprit; winter-grade fuel has a high volatility requirement, and as ethanol-blended gasoline sits, the lighter ends evaporate, leaving behind gum and varnish that plug the microscopic orifices in the carburetor’s pilot and main jets. This creates a lean condition where the engine cannot draw fuel to initiate combustion.
Simultaneously, the ignition system relies on a magneto-style system where the flywheel magnets induce current in the ignition coil. If the kill switch is faulty, or the spark plug gap is bridged by carbon tracking or fouling from improper oil mixtures, the electrical current cannot jump the electrode gap. In cold weather, moisture can also bridge the high-tension lead or the spark plug boot, leaking current to ground before it reaches the combustion chamber, effectively starving the engine of the necessary spark to ignite even a perfect fuel mixture.
Common Symptoms
- Dry spark plug electrode after repeated cranking
- Spark plug saturated with raw, unburnt fuel
- Backfiring through the carburetor throat
- Engine firing momentarily with starter fluid but stalling immediately
- Weak or intermittent spark when tested against cylinder head
Before You Buy Parts
Quick, free inspections — check these first. Most repairs don't actually need replacement parts.
Complete Resource Guide
Complete Snow Blowers Troubleshooting Guide
Repair Overview
45–90 minutes
$5–$40
First Checks — Start Here
- 1Verify the safety key is fully pushed in and the 'Stop' switch is in 'Run' or 'High' position.
- 2Check fuel level and smell the gas — if it smells like varnish or paint thinner, it must be drained.
- 3Prime the engine 3-5 times — look for the primer bulb to stay firm and return slowly, indicating fuel draw.
- 4Remove the spark plug and check for a 'wet' tip (flooding) or heavy black carbon deposits.
- 5Check for spark using a spark tester while pulling the recoil or engaging the electric starter.
- 6Loosen the carburetor bowl drain bolt (if equipped) to check for water or debris at the bottom of the fuel system.
Safety Warnings
- !Ensure the spark plug wire is grounded to the engine block during the test to prevent secondary ignition failure.
- !Work in a well-ventilated area away from any open flames or sparks.
- !Wear safety glasses to protect against fuel spray under pressure.
- !Do not overtighten the plug, as this can strip the aluminum threads in the cylinder head.
- !Avoid using excessive amounts of starting fluid, as it lacks lubrication and can cause piston ring damage.
- !Ensure the spark plug wire is disconnected before rotating the flywheel by hand.
- !Using standard automotive gasoline instead of ethanol-free fuel
- !Replacing the spark plug without checking the gap specification
- !Forgetting to switch the fuel shut-off valve to the 'ON' position
- !Testing for spark with the plug held against a painted surface instead of bare metal
Always disconnect the spark plug, work in a well-ventilated area, and consult a professional if unsure.
Most Likely Causes
Ranked by likelihood — tap each to see diagnosis details.
Old fuel leaves behind varnish that blocks the fuel passage between the float bowl and the venturi. Check by removing the float bowl bolt; if no fuel spills or debris is present, the jet is restricted.
Excessive oil or moisture buildup creates a path for electricity to ground out rather than jumping the gap. Inspect the electrode for heavy soot or a wet, oil-soaked appearance.
🔧 Step-by-Step Fix Guide
Spark Test with Inductive Light
Attach an inline spark tester between the plug wire and the spark plug. Crank the engine and observe for a consistent, bright blue snap; a yellow or orange spark indicates a failing ignition coil.
Ensure the spark plug wire is grounded to the engine block during the test to prevent secondary ignition failure.
Verification of Fuel Flow
Disconnect the fuel line at the carburetor inlet and drain into a container to ensure a solid, steady stream. If the flow is slow, the fuel filter or the fuel tank shut-off valve is obstructed.
Work in a well-ventilated area away from any open flames or sparks.
Carburetor Bowl Flushing
Place a rag under the carburetor, remove the main jet bolt at the base of the bowl, and drain all liquid. Clean the bolt hole with a small wire or compressed air to dislodge any internal varnish.
Wear safety glasses to protect against fuel spray under pressure.
Spark Plug Replacement
Always replace the plug with the exact OEM-specified model (e.g., NGK or Champion) with the correct heat range. Do not attempt to re-gap old, eroded electrodes as they will likely fail under the high-pressure cold start conditions.
Do not overtighten the plug, as this can strip the aluminum threads in the cylinder head.
Testing the Primer System
Ensure the primer bulb is soft and creates a distinct vacuum when pressed. If it stays depressed or feels rock hard, the lines are likely cracked or the primer check-valve has failed.
Avoid using excessive amounts of starting fluid, as it lacks lubrication and can cause piston ring damage.
Checking Coil Air Gap
Remove the blower housing and verify the air gap between the magneto coil legs and the flywheel magnets using a plastic feeler gauge. It should typically be between .010 and .012 inches.
Ensure the spark plug wire is disconnected before rotating the flywheel by hand.
What To Test Next
If fuel delivery checks out, the next thing to inspect is spark — remove the spark plug, ground its threads to the engine block, and crank the engine to look for a visible blue spark.
Component Reference

Carburetor & Fuel Intake
The carburetor mixes air and fuel for combustion. A clogged jet or stuck float is the #1 cause of small engine starting and surging problems.

Spark Plug & Ignition System
The spark plug ignites the air-fuel mixture. A fouled plug, wrong gap, or failing ignition coil will prevent the engine from firing.

Oil & Lubrication System
Regular oil changes are critical. Low or dirty oil causes engine wear, overheating, and eventual seizure. Check the dipstick before every season.

Air Filter & Intake
A clogged air filter starves the engine of air, causing rich running, power loss, and hard starting. Inspect and clean or replace it each season.
Photos for educational reference. Actual parts may vary by make and model.
Common Mistakes to Avoid
Using standard automotive gasoline instead of ethanol-free fuel
Replacing the spark plug without checking the gap specification
Forgetting to switch the fuel shut-off valve to the 'ON' position
Over-priming the engine, which leads to immediate flooding
Testing for spark with the plug held against a painted surface instead of bare metal
If This Didn't Fix It
Still having trouble? These are the next things to check:
Get the Exact Parts for Your Machine
Tell us your equipment's year, make, and model — we'll search for parts that actually fit, not generic ones.
Finding parts for
snow blower
Required Gear
Matched to your snow blower — click to find the exact fit on Amazon.
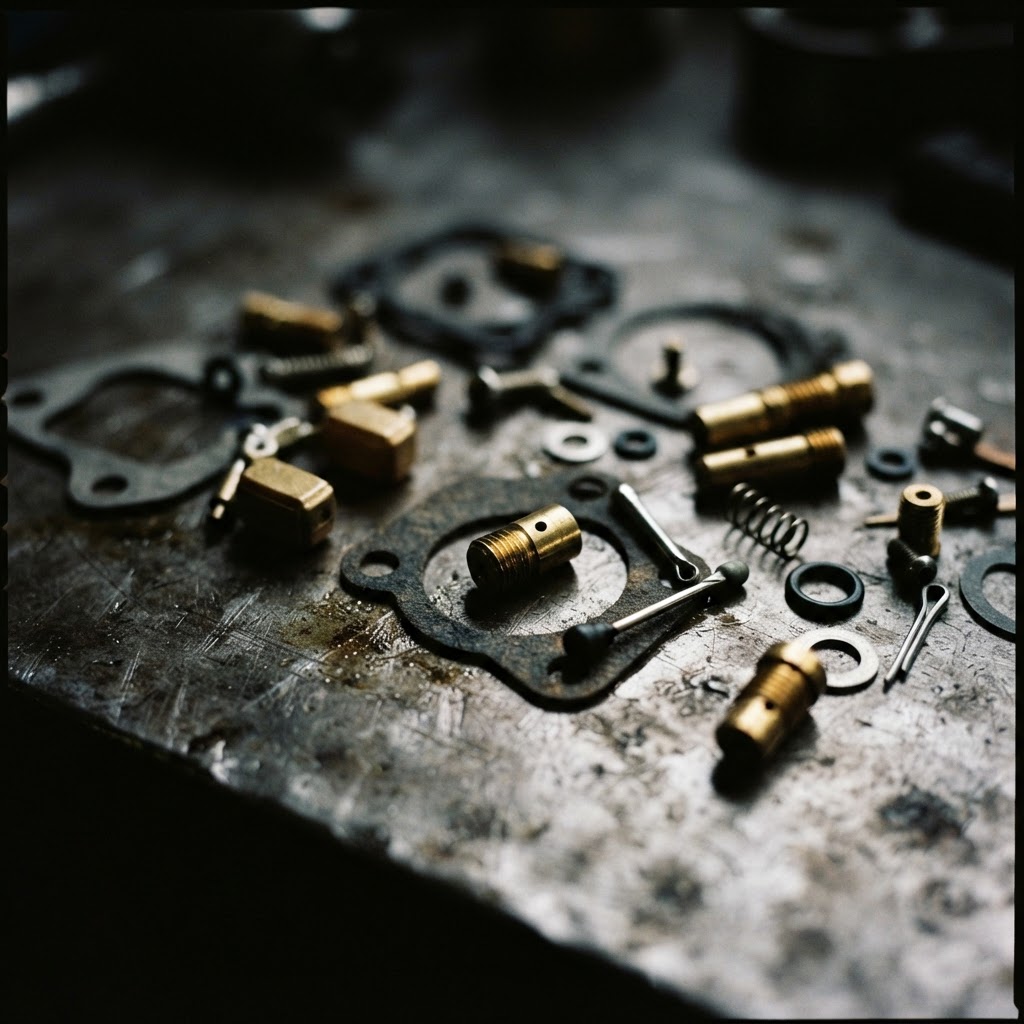
Carburetor Rebuild Kit
Includes a fresh float needle and gaskets necessary to resolve the stuck needle and fuel flow issues identified during diagnosis.
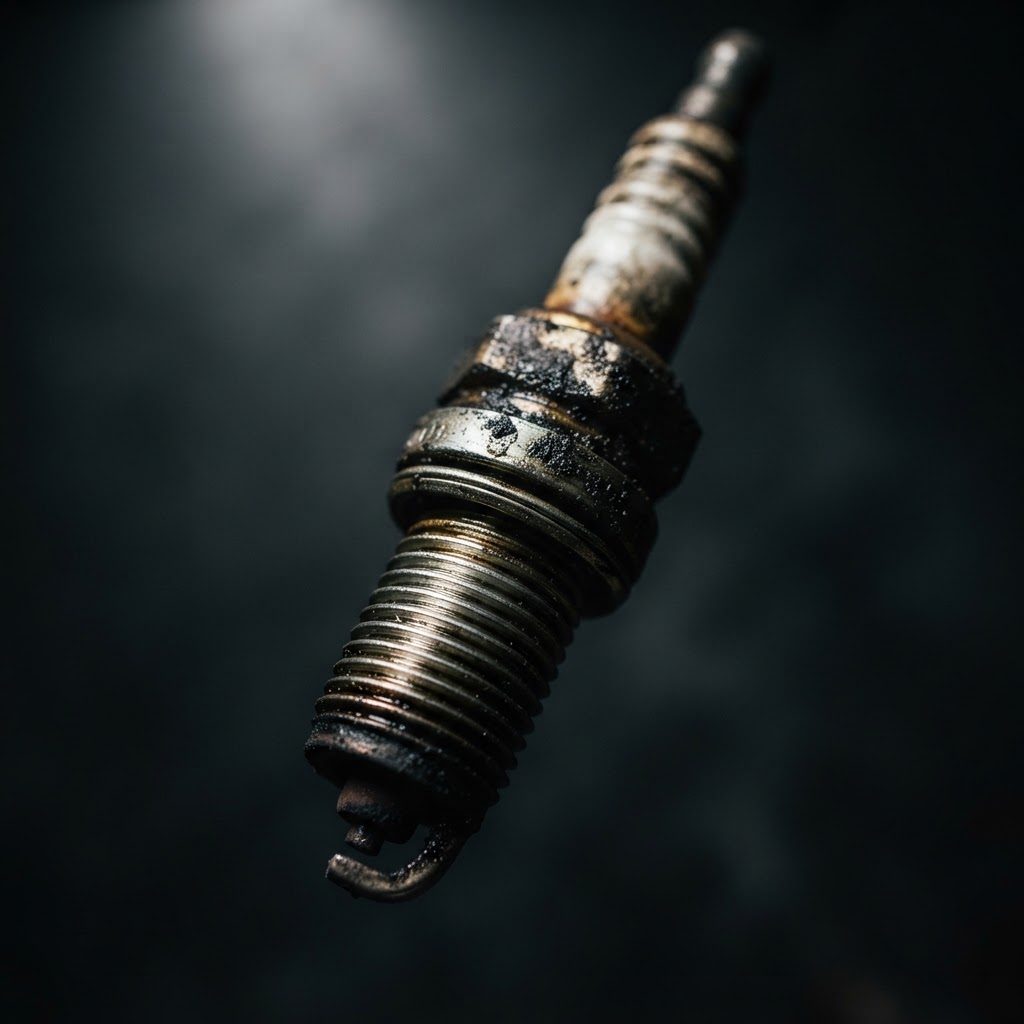
Spark Plug
A new plug is required to address carbon-tracking or fouling that prevents the engine from firing despite a good spark test.
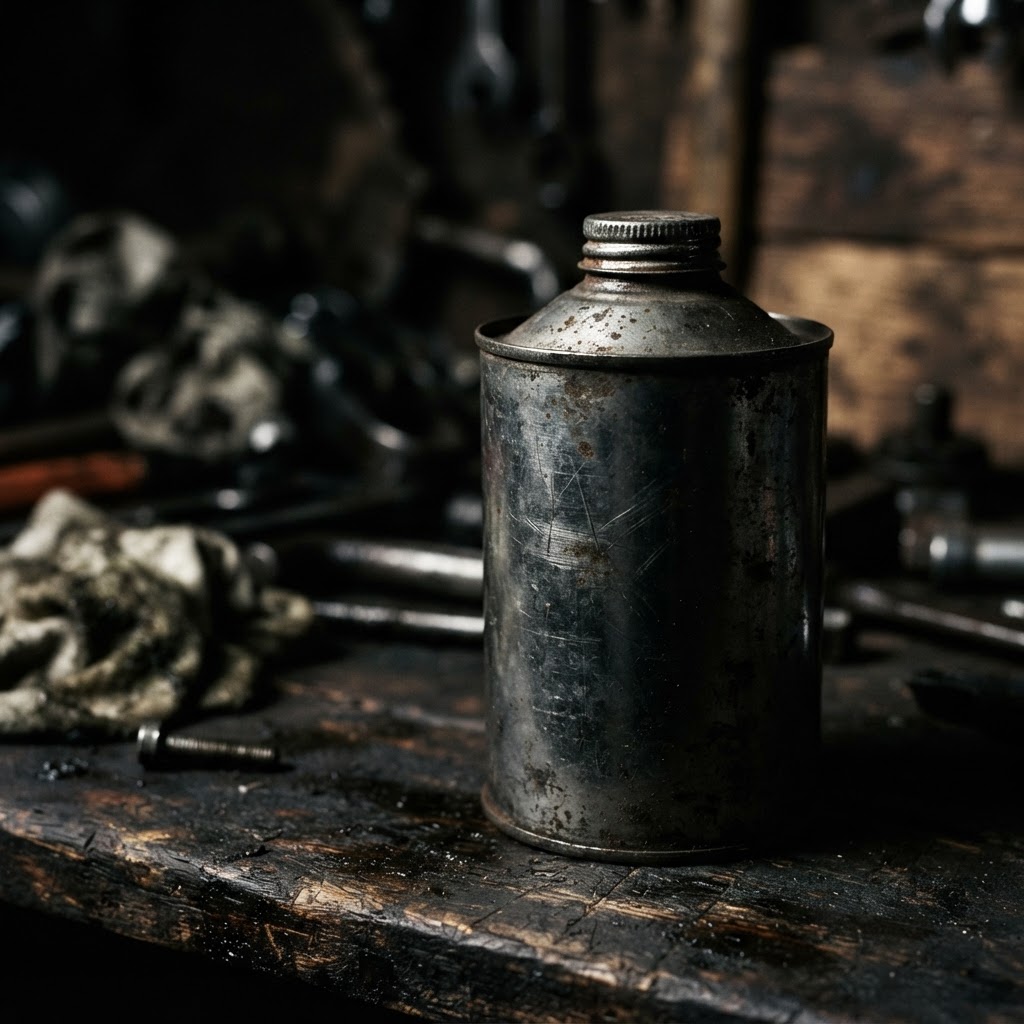
Fuel Stabilizer and Conditioner
Necessary to treat the remaining fuel system after flushing to prevent future moisture contamination and phase separation.
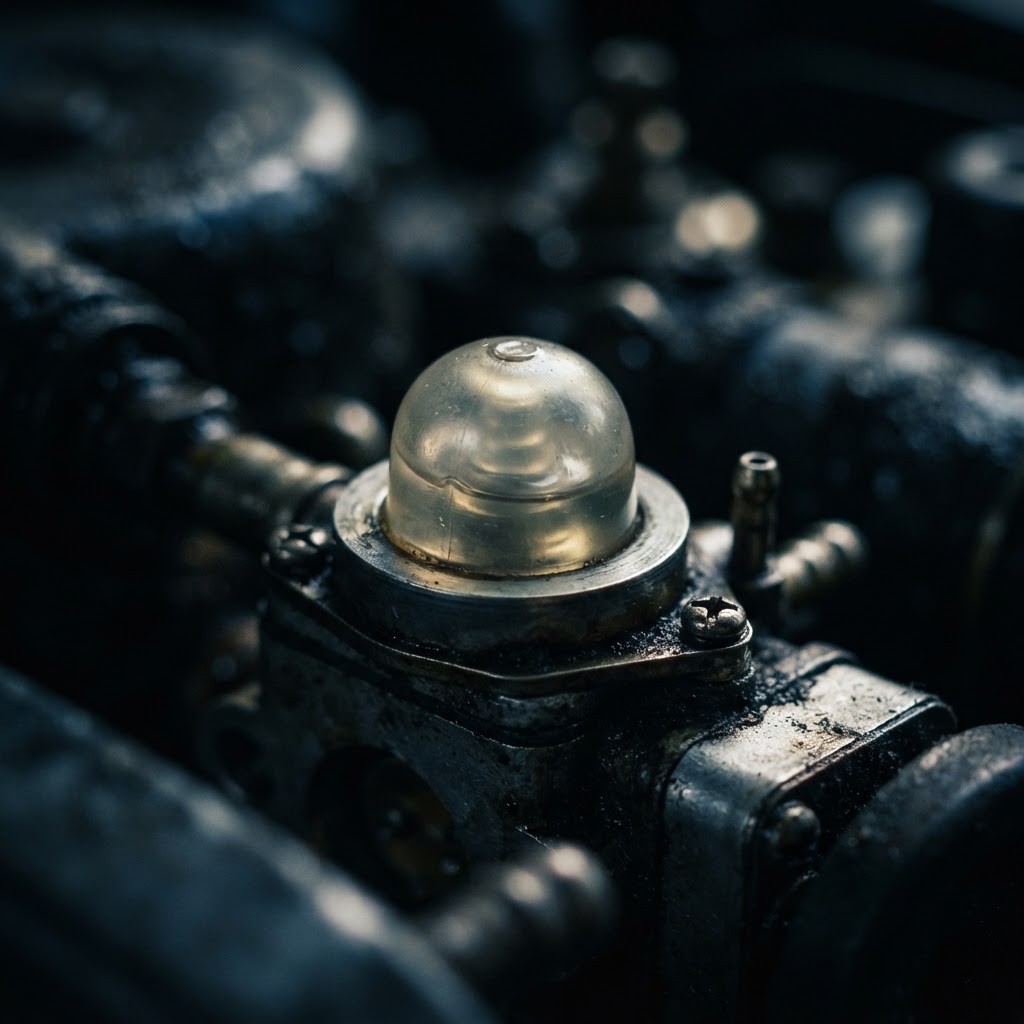
Primer Bulb
If the primer system is found to be faulty during testing, replacing the bulb is essential to ensure fuel is properly drawn into the carburetor for cold starts.
Affiliate Disclosure: Lil Engine may earn commissions from qualifying purchases.
Pro Tips from the Community
Real-world fixes from Reddit, YouTube & forums.
"If it won't start, check the plastic safety key. Sometimes they look seated but aren't pushing the metal contact open, which keeps the ignition grounded."
Reddit r/snowblowers"The 'three-prime' rule is a lie for many machines in sub-zero temps. I often have to prime 5-8 times to get enough fuel into the cold manifold for that first fire."
YouTube comments"Clean the carb without removing it: drop the bowl, remove the main jet from the center post, clean it, and put it back. Saves 45 minutes of teardown."
LawnSite.com ForumPrevent This From Coming Back
Use high-quality fuel stabilizer in all gas cans at the beginning of the season
Drain the carburetor bowl completely before storing the unit for the summer
Replace the spark plug annually regardless of visual condition
Check fuel lines for micro-cracks before the first snowfall
Apply dielectric grease to the spark plug boot to prevent moisture ingress
Prevent This From Happening Again
While you're fixing it, stock up on the maintenance essentials that keep your snow blowers running right.
Small Engine Oil
Use 5W-30 winter-grade oil for cold-weather starting.
Get on AmazonSpark Plug
A fresh plug ensures reliable cold-weather starts.
Get on AmazonFuel Stabilizer
Critical for storage — prevents fuel breakdown and carb gumming.
Get on AmazonAffiliate Disclosure: Lil Engine may earn commissions from qualifying purchases.
Frequently Asked Questions
You can use a very small amount as a diagnostic tool to see if the engine fires. However, excessive use can wash oil off the cylinder walls and cause internal scoring.
Video Help
Helpful videos showing these repairs in action.
Share Your Repair
Real-world fixes help everyone. Share what worked and your repair becomes part of Lil Engine's community database.
Related Problems
More Snow Blowers GuidesRelated Maintenance Articles
Related Symptoms
Won’t Start
Carburetor / Fuel Issues
Related Searches
Did this help?
Your feedback helps improve guides for everyone.