Riding Mower Won't Crank — Electrical & Starter Circuit Diagnosis
⚡ Quick Answer
When a riding mower fails to crank, the issue is almost always a break in the electrical safety interlock circuit, a dead battery, or a failed starter solenoid. Start by checking the battery voltage and verifying that all safety switches—seat, brake, and PTO—are engaged correctly. If the battery is healthy and the switches work, you are likely looking at a faulty starter solenoid or a grounded connection preventing the starter motor from receiving power.

What do you want to do?
Most Likely Cause
Defective battery or poor cable connections
In 90% of non-cranking scenarios, the starter simply lacks the necessary amperage to engage the solenoid. Even if the battery shows surface voltage, a failing cell or high-resistance corrosion at the terminals will cause a voltage drop as soon as the high-draw starter motor attempts to pull current.
Start here — this is the most common reason for this symptom.
Why This Problem Happens
A riding mower failing to crank is fundamentally an interruption in the low-amperage control circuit or the high-amperage starter circuit. When you turn the ignition key to the 'Start' position, the mower's safety interlock module (SIM) or simple relay logic must receive confirmation that the brake is engaged, the blades are disengaged, and an operator is seated. If any of these microswitches fail, the path to the starter solenoid remains open, preventing the magnetic field inside the solenoid from engaging the plunger. This plunger bridges the main battery cable and the starter motor terminal, allowing hundreds of amps to flow. Even if the control circuit is perfect, a seized starter motor armature, corroded battery terminals, or a dead battery can cause the 'click' sound without rotation. The high resistance in oxidized connections acts like a bottleneck, limiting current flow below what is required to overcome the engine's compression and mechanical friction, resulting in a total failure to rotate the crankshaft.
Common Symptoms
- Silent turn of the key
- Rapid clicking noise from the engine bay
- Single heavy 'thunk' sound
- Headlights dimming when key is turned
- Slow, sluggish rotation of the flywheel
Before You Buy Parts
Quick, free inspections — check these first. Most repairs don't actually need replacement parts.
Diagnostic Flowchart
Follow this decision tree step-by-step to isolate the problem.
Does the solenoid click when the key is turned to start?
Check starter motor condition
Go to step 4
Check battery and safety interlocks
Go to step 2
Is the battery voltage at least 12.4V?
Test ignition switch and safety switches
Go to step 3
Charge or replace battery
Is the seat safety switch engaged and functional?
Check brake/clutch interlock
Go to step 4
Bypass or replace seat switch
Is there 12V at the starter motor S-terminal when cranking?
Replace starter motor
Check solenoid or ignition switch
Go to step 5
Are all ground connections clean and tight?
Check ignition switch
Clean and tighten grounds
Complete Resource Guide
Complete Riding Mowers Troubleshooting Guide
Repair Overview
45-90 minutes
$15-$60
First Checks — Start Here
- 1Verify the transmission is in neutral or the brake is locked
- 2Ensure the PTO (blade engagement) switch is set to OFF
- 3Check that both battery terminal cables are tight and free of corrosion
- 4Toggle the ignition switch several times to rule out a sticky contact
- 5Confirm the mower deck is fully disengaged
- 6Try jump-starting from a known good 12V battery
- 7Wiggle the seat adjustment to ensure the weight sensor is triggered
Safety Warnings
- !Wear safety glasses; lead-acid batteries can vent flammable hydrogen gas.
- !Ensure the transmission is in neutral and blades are disengaged, as the mower will crank immediately upon contact.
- !Keep hands clear of moving engine parts while testing.
- !Disconnect the battery negative terminal before probing electronic modules.
- !Do not attempt to tighten bolts while the engine is running or hot.
- !Remove the spark plug wire to prevent accidental engine start while turning the flywheel.
- !Ignoring dirty battery terminals because they look clean on the outside
- !Bypassing safety switches permanently as a long-term 'fix'
Always disconnect the spark plug, work in a well-ventilated area, and consult a professional if unsure.
Most Likely Causes
Ranked by likelihood — tap each to see diagnosis details.
Batteries often read 12V on a multimeter but drop to 4V under load. Use a carbon pile load tester to see if the voltage holds when the starter attempts to draw current.
The internal contacts inside the solenoid can weld shut or arc until they no longer conduct. Bridge the two large terminals with an insulated screwdriver to bypass the solenoid and confirm if the starter spins.
🔧 Step-by-Step Fix Guide
Load Test the Battery
Ensure the battery is fully charged, then use a load tester to apply a 100-amp draw. If the voltage drops below 9.6V during the 10-second test, the battery is internally damaged and requires replacement.
Wear safety glasses; lead-acid batteries can vent flammable hydrogen gas.
Bypass the Solenoid
Use a heavy-duty screwdriver to momentarily jump the two large copper terminals on the solenoid. If the starter spins, the solenoid is likely faulty or not receiving a signal.
Ensure the transmission is in neutral and blades are disengaged, as the mower will crank immediately upon contact.
Voltage Drop Testing
Place your multimeter probes at the battery post and the starter stud while cranking. A reading higher than 0.5V indicates a bad cable or dirty connection.
Keep hands clear of moving engine parts while testing.
Check Interlock Continuity
Locate the brake and deck switches; use a multimeter on the ohms setting to check for continuity. The switch should show 0 ohms when the brake is depressed.
Disconnect the battery negative terminal before probing electronic modules.
Verify Starter Ground
The starter grounds through the engine block. Ensure the mounting bolts are tight and free of rust to allow for a solid electrical path.
Do not attempt to tighten bolts while the engine is running or hot.
Inspect Flywheel Rotation
Try to turn the engine flywheel by hand; if it is physically seized, the starter will never crank it. This helps rule out a locked-up engine vs. an electrical fault.
Remove the spark plug wire to prevent accidental engine start while turning the flywheel.
What To Test Next
If the battery and connections test perfectly, the next logical step is to verify the starter solenoid operation and the integrity of the ignition switch circuit.
Component Reference

Carburetor & Fuel Intake
The carburetor mixes air and fuel for combustion. A clogged jet or stuck float is the #1 cause of small engine starting and surging problems.

Spark Plug & Ignition System
The spark plug ignites the air-fuel mixture. A fouled plug, wrong gap, or failing ignition coil will prevent the engine from firing.

Fuel System
Stale fuel is the most common cause of seasonal starting failures. Fuel breaks down in 30 days, leaving varnish that clogs carburetor jets and fuel filters.

Electrical & Starting System
The battery, solenoid, and starter motor work together to crank the engine. A weak battery or corroded connection is often mistaken for a fuel or spark problem.
Photos for educational reference. Actual parts may vary by make and model.
Common Mistakes to Avoid
Replacing the starter motor before testing the solenoid
Ignoring dirty battery terminals because they look clean on the outside
Assuming a digital voltmeter reading is sufficient without a load test
Bypassing safety switches permanently as a long-term 'fix'
If This Didn't Fix It
Still having trouble? These are the next things to check:
Riding Mower Starting Problems
Not sure if this is the right guide? Here's how to find the exact fix for your symptom:
Get the Exact Parts for Your Machine
Tell us your equipment's year, make, and model — we'll search for parts that actually fit, not generic ones.
Finding parts for
riding mower
Required Gear
Matched to your riding mower — click to find the exact fit on Amazon.
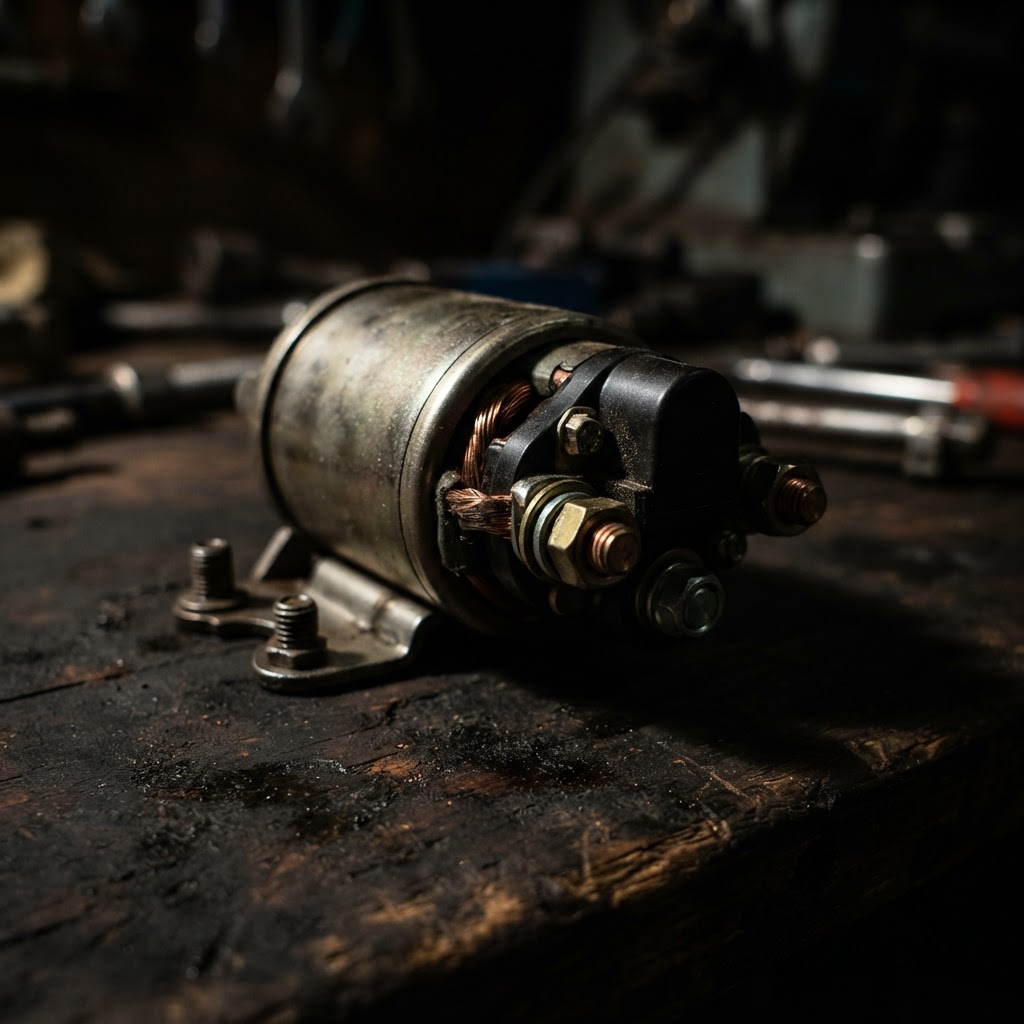
Replacement Starter Solenoid
Once the solenoid fails the bench test or bypass procedure, it must be replaced to complete the electrical circuit required to engage the starter motor.
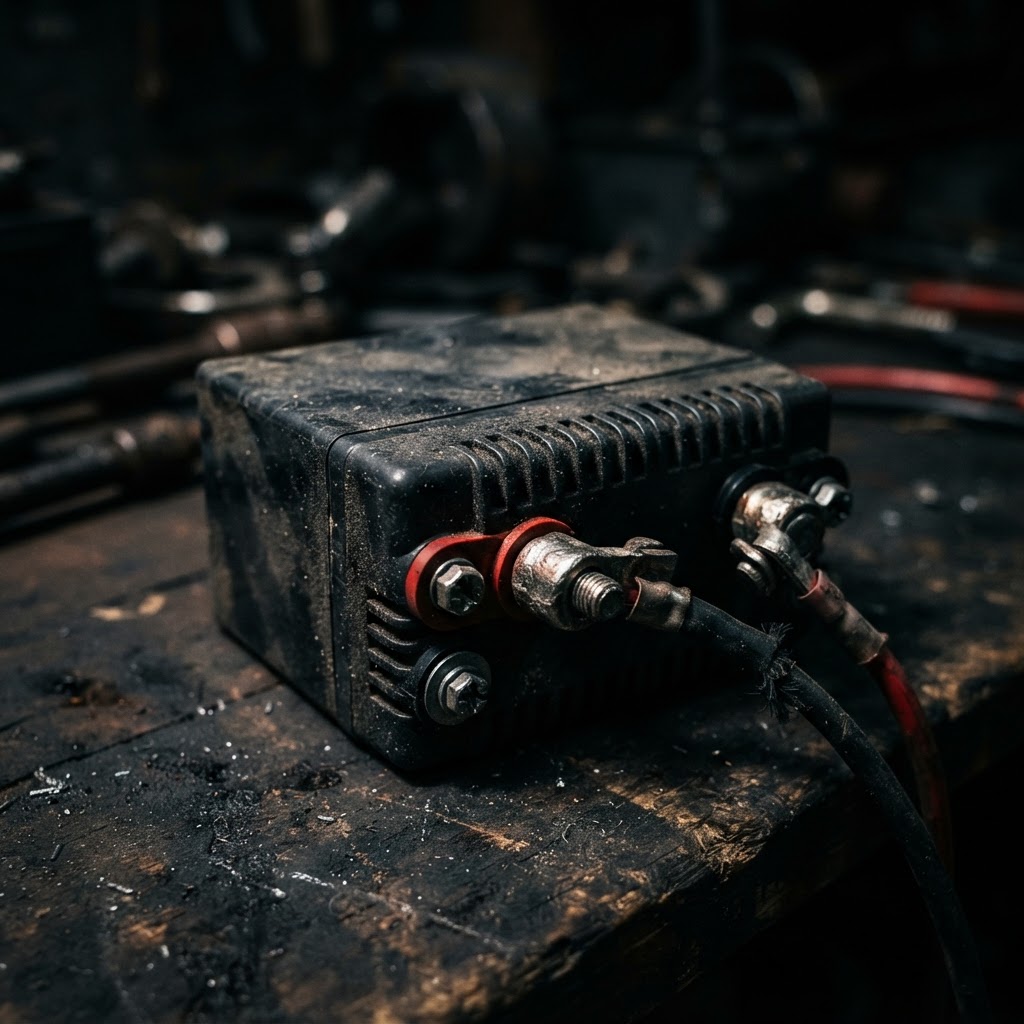
12V Sealed Lead-Acid Battery
If the battery fails a load test due to internal sulfation or an inability to hold a charge, it is the primary component preventing the starter from cranking the engine.
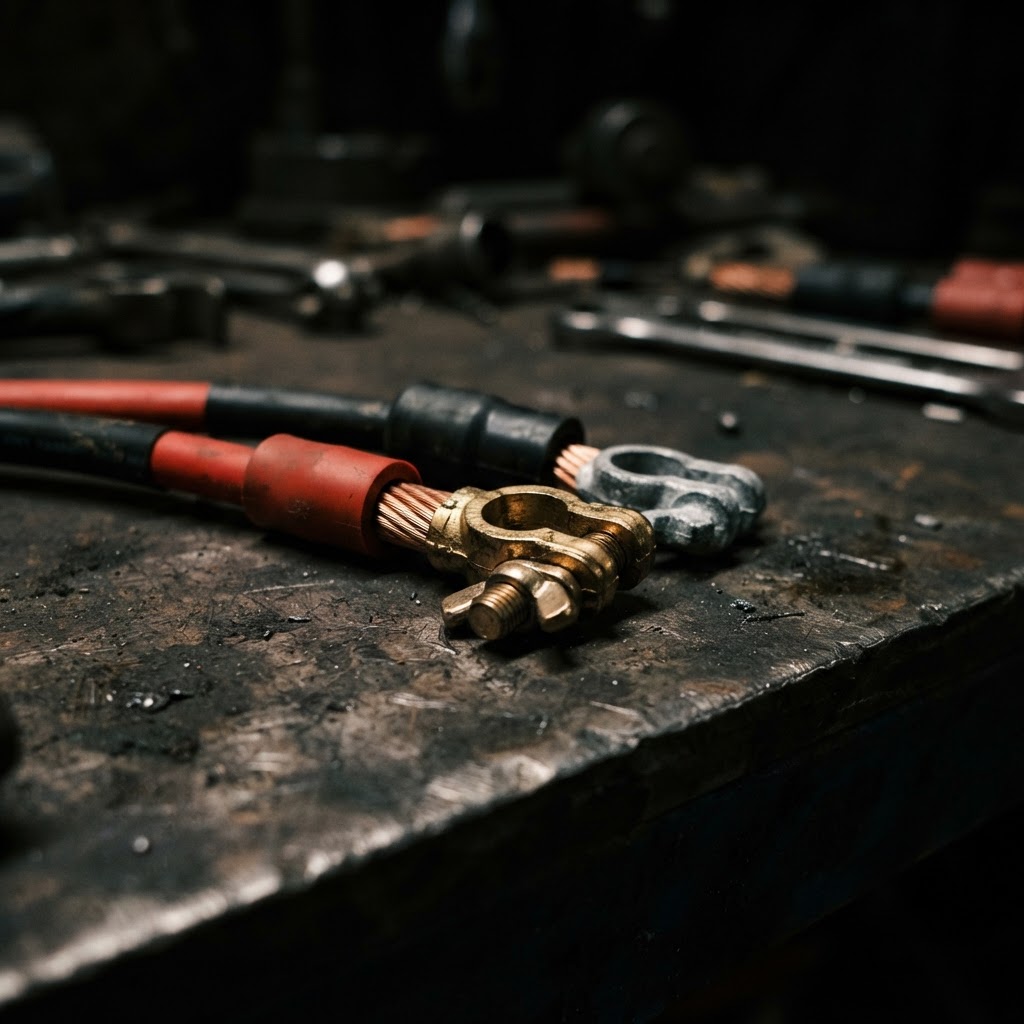
Replacement Battery Terminal Cables
If high voltage drop readings indicate internal corrosion or fraying within the existing positive or negative cables, replacing them ensures sufficient amperage reaches the starter.
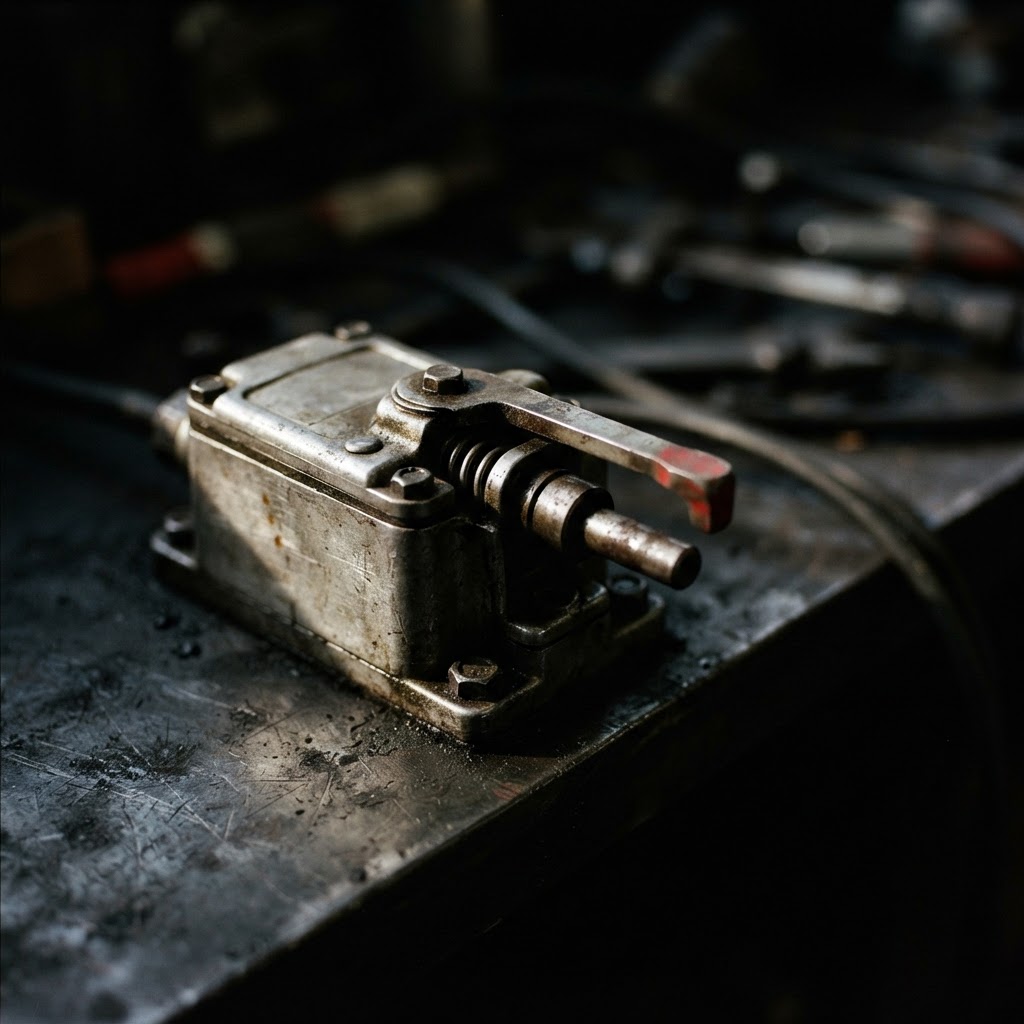
Safety Interlock Switch
If the continuity test confirms a failed seat, deck, or brake pedal switch, replacing the faulty component is necessary to close the safety loop and allow the starter circuit to energize.
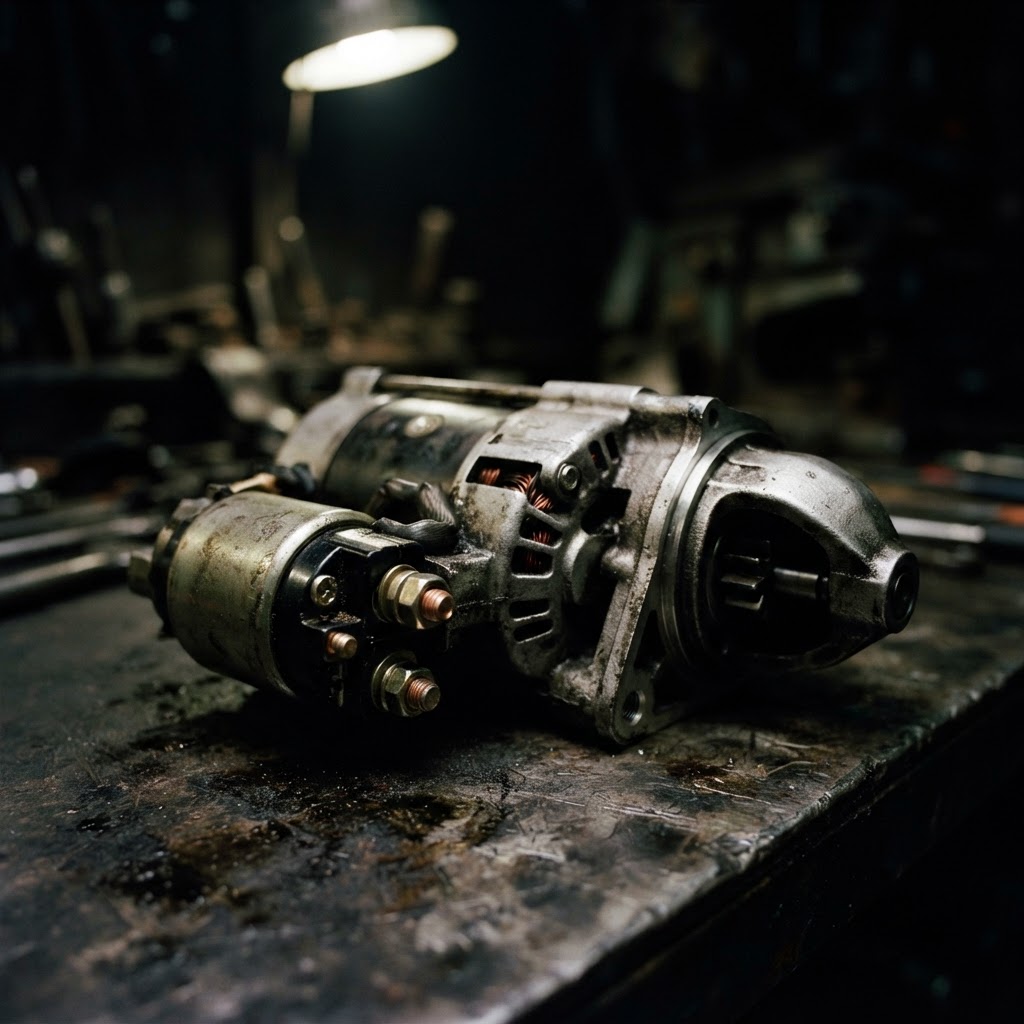
Starter Motor Assembly
If the solenoid is confirmed functional but the starter motor remains unresponsive or seized despite proper voltage, the motor itself requires replacement to turn the flywheel.
Affiliate Disclosure: Lil Engine may earn commissions from qualifying purchases.
Pro Tips from the Community
Real-world fixes from Reddit, YouTube & forums.
"The seat safety switch is the #1 cause of no-crank on zero-turns and riders—check the connector under the seat, they often vibrate loose or get corroded from moisture."
Reddit r/lawncare"If the solenoid just clicks once, tap the starter motor body lightly with a rubber mallet while someone turns the key; if it starts, your starter brushes are sticking or worn."
YouTube comments"Check the ground wire where it bolts to the engine block; if the bolt is oily or loose, the starter won't get enough juice to turn even if the battery is brand new."
LawnSite.com Forum"Always wiggle the PTO/Blade engagement lever while turning the key; sometimes the switch gets slightly out of alignment and won't make contact even if it's 'off'."
TractorByNet ForumBrand-Specific Notes
Briggs & Stratton
Briggs engines often feature a plastic starter gear housing that can crack under extreme torque. Always inspect the bendix drive for debris before condemning the entire motor.
Kohler
Kohler Courage and Command series often utilize a dedicated starter relay separate from the solenoid. Ensure this relay is receiving a trigger signal from the mower's safety module.
Honda
Honda engines frequently use a specialized ignition coil that cuts the spark if the oil level is too low, which can be mistaken for an electrical cranking issue. Verify the oil level sensor functionality before troubleshooting the starter circuit.
Model-Specific Variations
Briggs Intek V-Twin
Utilizes an external starter solenoid mounted to the frame rather than the starter itself. Inspect the harness plug for corrosion which is a common failure point.
Kohler Command 20HP
Features an automatic compression release (ACR) system. If this fails, the starter will appear to 'stall' or click because the engine has too much compression to turn over.
John Deere E100 Series
Uses a complex RIO (Reverse Implement Option) switch that must be functioning to complete the ground circuit. Failure of this switch is a primary reason for 'no-crank' conditions in these models.
Electrical Failure Diagnostics
| Symptom | Primary Suspect | Diagnostic Tool |
|---|---|---|
| No Click | Ignition Switch/Safety Switch | Multimeter |
| Rapid Clicking | Discharged Battery | Load Tester |
| Slow Crank | Starter Motor or Poor Ground | Amp Clamp |
Real-World Repair Examples
Situation
A lawn mower clicks once but the engine won't turn. Battery is fully charged.
Solution
Check the ground strap connected to the engine block for corrosion.
Removing and cleaning the terminal restored full cranking speed.
Situation
The operator hears a rapid clicking sound when turning the key.
Solution
Test the battery load and inspect the positive terminal for loose connections.
Replacing the corroded terminal solved the voltage drop issue.
Situation
Everything is silent when attempting to start, and safety switches test as closed.
Solution
Verify if the solenoid is getting signal voltage from the ignition switch.
A failed ignition switch was replaced, allowing the starter to engage.
Prevent This From Coming Back
Apply dielectric grease to battery terminals every season
Keep the battery on a float charger during winter storage
Inspect wiring harnesses for rodent damage regularly
Clean grass clippings from under the dash to protect electrical switches
Prevent This From Happening Again
While you're fixing it, stock up on the maintenance essentials that keep your riding mowers running right.
Small Engine Oil
Change oil every 50 hours or once per season to prevent engine wear.
Get on AmazonAir Filter
A clogged air filter reduces power and fuel efficiency — replace annually.
Get on AmazonFuel Stabilizer
Keeps fuel fresh during storage, preventing carburetor gumming.
Get on AmazonAffiliate Disclosure: Lil Engine may earn commissions from qualifying purchases.
Frequently Asked Questions
The click means the solenoid is working, but either the starter is drawing too much current, the cable is corroded, or the battery is too weak to provide starting amperage.
Related Questions
Common variations and related questions about this repair.
Why does my riding mower click but not start?
The clicking sound usually indicates the starter solenoid is engaging, but it lacks the necessary amperage to turn the motor. This is often caused by a weak battery, loose cable connections, or a dying starter motor.
How do I bypass the safety switch on a riding mower?
Bypassing safety switches should only be done for diagnostic purposes. Use a fused jumper wire to close the circuit temporarily to see if the starter activates.
What is a 'hard start' on a riding mower?
A hard start occurs when the engine struggles to turn over or fails to catch. This is frequently related to bad fuel, a clogged air filter, or an issue with the automatic compression release.
Can a bad ignition switch cause a no-crank condition?
Yes, if the internal contacts of the ignition switch are burned, they will fail to send the 12V signal to the starter solenoid. Use a multimeter to check for continuity across the switch terminals.
Does a bad starter sound like a dead battery?
They can sound similar, but a bad starter will often emit a high-pitched whine or a single 'thunk' without movement. A dead battery typically causes rapid, rhythmic clicking as the solenoid loses power.
What causes a starter motor to overheat?
Extended cranking periods or a binding engine can cause the internal windings of the starter to overheat. If you smell ozone or burning plastic, stop immediately to prevent fire.
Video Help
Helpful videos showing these repairs in action.
Share Your Repair
Real-world fixes help everyone. Share what worked and your repair becomes part of Lil Engine's community database.
Related Problems
More Riding Mowers GuidesRelated Maintenance Articles
Related Symptoms
Related Searches
Riding Mowers Troubleshooting
Did this help?
Your feedback helps improve guides for everyone.