Husqvarna YTH24V48 Cranks But Won't Start — Fuel & Spark Diagnosis
⚡ Quick Answer
On a Husqvarna YTH24V48 with the Briggs & Stratton Intek V-Twin, the most common culprit is a failed fuel shut-off solenoid at the bottom of the carburetor. Turn the key to the 'On' position and listen for a distinct 'click' from the carb; if you don't hear it, fuel is being blocked from the engine. If it clicks, verify fuel delivery by checking the pulse-style fuel pump and ensure you have spark at both Champion RC12YC plugs.
What do you want to do?
Most Likely Cause
Failed Pulse-Style Fuel Pump
The fuel pump relies on engine crankcase pressure pulses to move fuel. If the internal diaphragm ruptures, the pump stops delivering fuel to the carburetor; check by pulling the fuel line off the carburetor inlet while cranking to verify flow.
Start here — this is the most common reason for this symptom.
Why This Problem Happens
The Husqvarna YTH24V48 is typically equipped with a Briggs & Stratton V-Twin Intek engine, which requires a precise stoichiometric ratio of fuel to air, a healthy 12V ignition source, and proper compression timing to ignite. When the starter motor engages but the engine fails to fire, it indicates a breakdown in the combustion triangle: fuel delivery, spark timing, or internal vacuum pressure. Because this model utilizes a pulse-style fuel pump powered by crankcase vacuum, any breach in the crankcase seal, loose vacuum line, or failed internal pump diaphragm results in the carburetor starving for fuel despite the engine rotating at cranking speed. Simultaneously, the solid-state ignition system relies on an air-gap trigger from the flywheel magnets; if the safety interlock system (specifically the seat switch or brake pedal switch) is failing intermittently, the ignition coil ground wire will inhibit spark, effectively disabling combustion even though the starter solenoid is energized.
Common Symptoms
- Engine cranks rhythmically but shows no sign of 'kicking' or firing
- Strong smell of raw gasoline after prolonged cranking
- Fuel filter remains empty or partially filled during cranking
- Dry or fouled spark plugs upon inspection
- Intermittent pop or backfire through the carburetor intake
Before You Buy Parts
Quick, free inspections — check these first. Most repairs don't actually need replacement parts.
Complete Resource Guide
Complete Riding Mowers Troubleshooting Guide
Brand Resource Hub
Husqvarna Small Engine Troubleshooting & Repair Guide
Repair Overview
1–2 hours
$10–$50
First Checks — Start Here
- 1Listen for the fuel solenoid 'click' when turning the key to 'On'
- 2Check fuel level and ensure gas is fresh (less than 30 days old)
- 3Verify spark at both cylinders using a spark tester or grounded plug
- 4Check the pulse fuel pump by disconnecting the outlet line and cranking
- 5Inspect the air filter for oil soaking, which indicates a breather issue
- 6Ensure the choke butterfly is closing fully when the lever is up
Safety Warnings
- !Ensure the fuel line is disconnected during this test to prevent accidental ignition of vapors.
- !Keep ignition wires away from the fuel stream to prevent fire.
- !Wear safety glasses to protect against fuel spray under pressure.
- !Never bypass or jumper the seat switch to operate the mower; replace a failed switch before returning the mower to service.
- !Perform this in a well-ventilated area away from hot engine components.
- !Disconnect the battery negative terminal before working near the flywheel magnets.
- !Replacing the fuel pump without checking for a vacuum line air leak first
- !Ignoring the fuel solenoid on the bottom of the carburetor bowl
- !Replacing spark plugs without checking for proper grounding
Always disconnect the spark plug, work in a well-ventilated area, and consult a professional if unsure.
Most Likely Causes
Ranked by likelihood — tap each to see diagnosis details.
The fuel pump relies on engine crankcase pressure pulses to move fuel. If the internal diaphragm ruptures, the pump stops delivering fuel to the carburetor; check by pulling the fuel line off the carburetor inlet while cranking to verify flow.
Ethanol-blended fuel can leave varnish deposits in the pilot or main jets of the carburetor. Even if fuel reaches the bowl, the engine will not start if the orifice is blocked, preventing fuel atomization.
🔧 Step-by-Step Fix Guide
Spark Quality Test
Remove both spark plugs and reconnect them to the wires. Ground the metal hex body of the plug against the cylinder head and crank the engine to observe a crisp blue spark.
Ensure the fuel line is disconnected during this test to prevent accidental ignition of vapors.
Check Fuel Delivery at Carburetor
Disconnect the fuel line at the carburetor inlet and place it into a small container. Crank the engine and observe for a consistent, pulsing stream of fuel.
Keep ignition wires away from the fuel stream to prevent fire.
Verify Vacuum Line Integrity
Inspect the rubber vacuum hose running from the crankcase to the fuel pump. Any cracks or soft spots in the rubber will prevent the pump from generating the pulse needed to move fuel.
Wear safety glasses to protect against fuel spray under pressure.
Test the Seat Switch for Continuity
Use a multimeter to check for continuity across the seat switch pins when the switch is depressed. If you show infinite resistance, the switch is failed.
Never bypass or jumper the seat switch to operate the mower; replace a failed switch before returning the mower to service.
Carburetor Bowl Drain
Locate the drain bolt on the bottom of the carburetor float bowl. Loosen it to allow any trapped water or sediment to drain into a cup to see if clean fuel flows through.
Perform this in a well-ventilated area away from hot engine components.
Inspect Flywheel Air Gap
Use a plastic feeler gauge (typically .010 inch) to reset the ignition coil air gap. Loosen the coil bolts, insert the gauge, and retighten while holding the coil against the gauge.
Disconnect the battery negative terminal before working near the flywheel magnets.
What To Test Next
If fuel delivery checks out, the next thing to inspect is spark — remove the spark plug, ground its threads to the engine block, and crank the engine to look for a visible blue spark.
Component Reference

Carburetor & Fuel Intake
The carburetor mixes air and fuel for combustion. A clogged jet or stuck float is the #1 cause of small engine starting and surging problems.

Spark Plug & Ignition System
The spark plug ignites the air-fuel mixture. A fouled plug, wrong gap, or failing ignition coil will prevent the engine from firing.

Oil & Lubrication System
Regular oil changes are critical. Low or dirty oil causes engine wear, overheating, and eventual seizure. Check the dipstick before every season.

Air Filter & Intake
A clogged air filter starves the engine of air, causing rich running, power loss, and hard starting. Inspect and clean or replace it each season.
Photos for educational reference. Actual parts may vary by make and model.
Common Mistakes to Avoid
Using a metal feeler gauge on the ignition coil instead of a non-conductive one
Replacing the fuel pump without checking for a vacuum line air leak first
Ignoring the fuel solenoid on the bottom of the carburetor bowl
Continuously cranking the starter motor for more than 15 seconds at a time
Replacing spark plugs without checking for proper grounding
If This Didn't Fix It
Still having trouble? These are the next things to check:
Get the Exact Parts for Your Machine
Tell us your equipment's year, make, and model — we'll search for parts that actually fit, not generic ones.
Finding parts for
Husqvarna YTH24V48
Required Gear
Matched to your Husqvarna YTH24V48 — click to find the exact fit on Amazon.
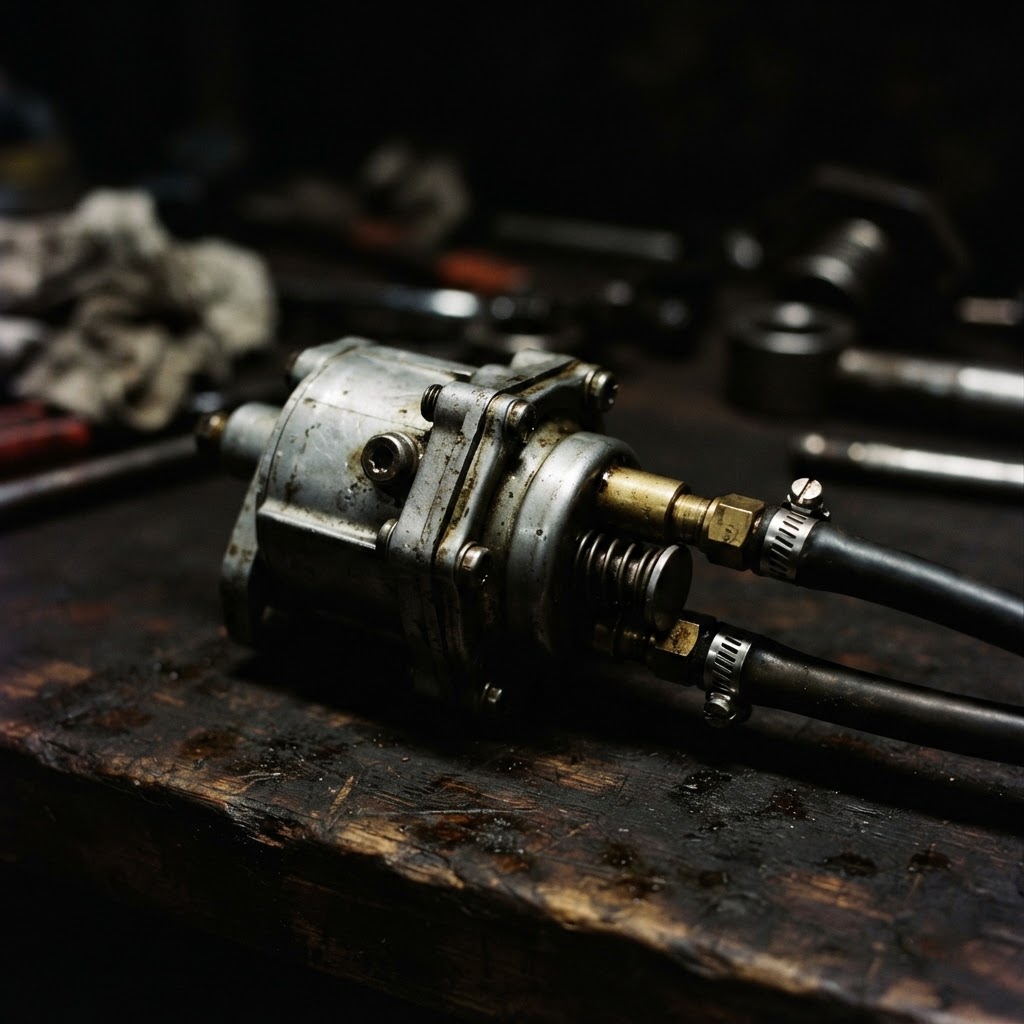
Pulse-Style Fuel Pump
If the vacuum line is intact but fuel is not being delivered to the carburetor during cranking, the internal diaphragm of the pump has likely failed.

Carburetor Rebuild Kit
This is required to replace the internal jets and gaskets that become clogged or degraded when fuel sits stale, causing the engine to crank without starting.
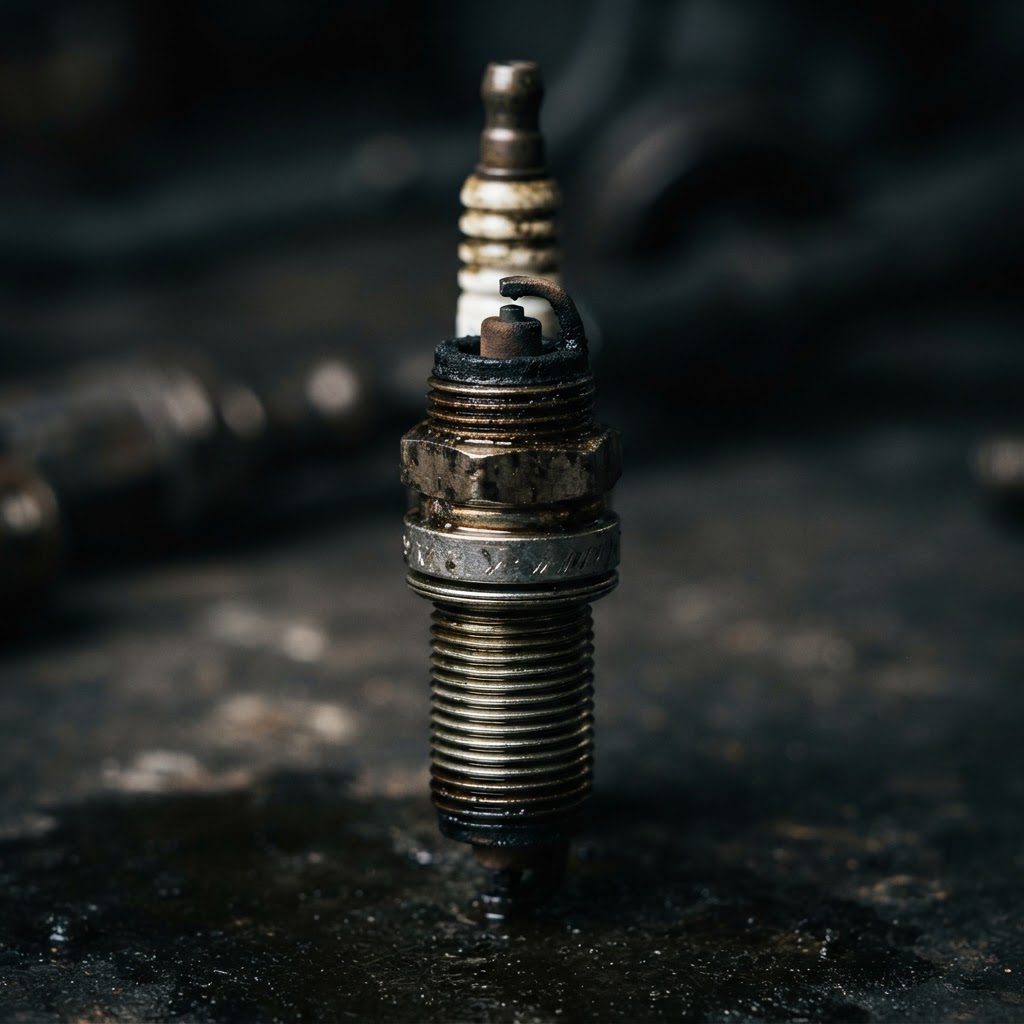
Spark Plug
After verifying ignition coil gaps, a fresh spark plug ensures the necessary intensity of the spark required to ignite the fuel-air mixture.
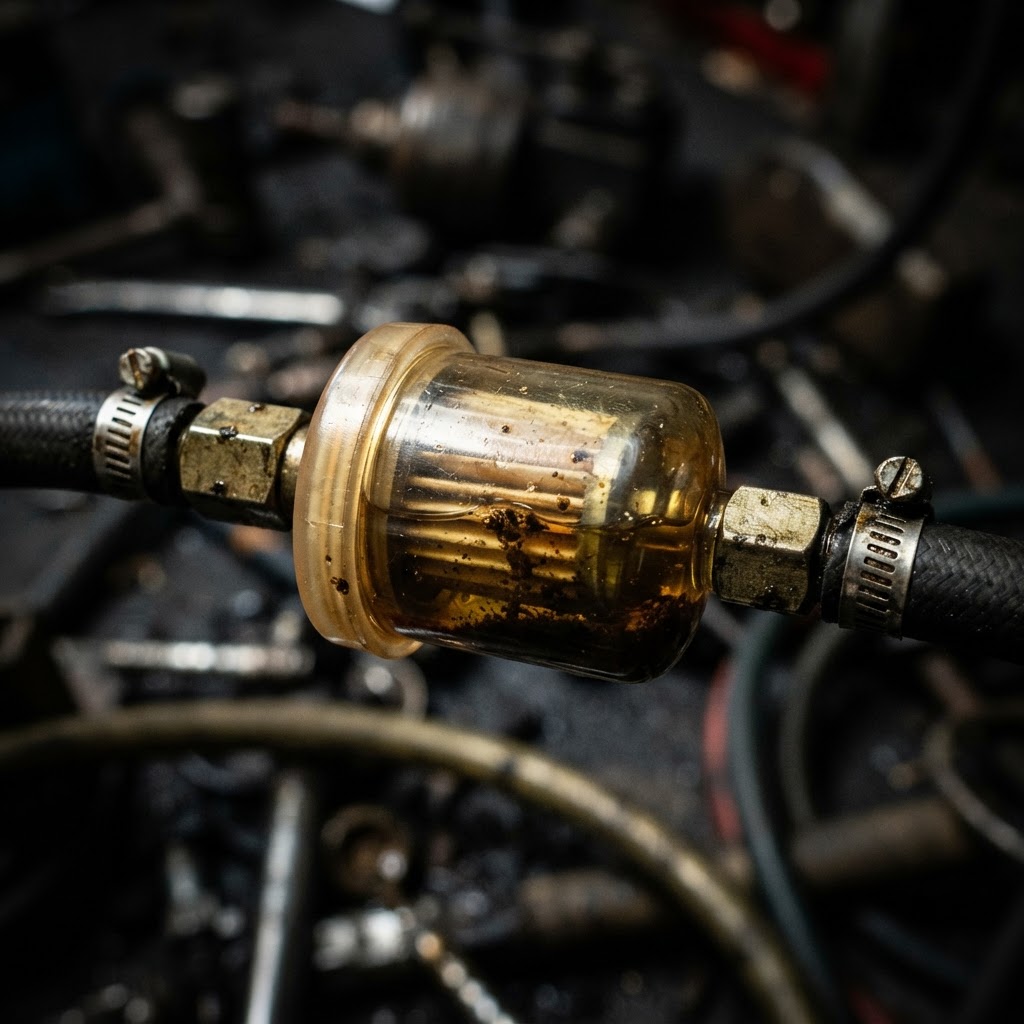
Fuel Filter
Replacing the filter is critical if water contamination or sediment was detected during the fuel system inspection to prevent immediate re-clogging of the carburetor.
Affiliate Disclosure: Lil Engine may earn commissions from qualifying purchases.
Pro Tips from the Community
Real-world fixes from Reddit, YouTube & forums.
"Check the vacuum line from the engine to the fuel pump. If it gets a tiny crack or gets soft from oil, the pump won't pulse and the tractor will die or won't start."
TractorByNet Forum"If it won't fire, try a quick blast of starting fluid in the air intake. If it runs for 2 seconds and dies, you've confirmed your spark is fine and the problem is 100% fuel delivery."
YouTube comments"The fuel solenoid often gets stuck from sitting over winter. You can sometimes tap it with a screwdriver handle while the key is on to 'shock' it into opening."
Reddit r/lawncarePrevent This From Coming Back
Use non-ethanol fuel with a fuel stabilizer additive at every fill-up
Replace the fuel filter at the beginning of every mowing season
Keep the engine cooling fins clear of debris to prevent heat-soak related vapor lock
Store the mower in a climate-controlled shed to prevent condensation in the fuel tank
Prevent This From Happening Again
While you're fixing it, stock up on the maintenance essentials that keep your riding mowers running right.
Small Engine Oil
Change oil every 50 hours or once per season to prevent engine wear.
Get on AmazonAir Filter
A clogged air filter reduces power and fuel efficiency — replace annually.
Get on AmazonFuel Stabilizer
Keeps fuel fresh during storage, preventing carburetor gumming.
Get on AmazonAffiliate Disclosure: Lil Engine may earn commissions from qualifying purchases.
Frequently Asked Questions
You can use a quick burst of starting fluid into the air intake to diagnose if the issue is fuel-related. If the engine fires briefly on the fluid, your ignition system is likely fine and the problem is definitely in your fuel delivery.
Video Help
Helpful videos showing these repairs in action.
Share Your Repair
Real-world fixes help everyone. Share what worked and your repair becomes part of Lil Engine's community database.
Related Problems
More Riding Mowers GuidesRelated Maintenance Articles
Related Symptoms
Won’t Start
Related Searches
Husqvarna riding mower Guides
Did this help?
Your feedback helps improve guides for everyone.