Craftsman YT3000 Won't Crank — Dead Starting Circuit Diagnosis
⚡ Quick Answer
On a Craftsman YT3000, the first things to check are the 20-amp fuse located behind the dash or near the battery, and ensure the PTO lever is fully disengaged. Use a multimeter to verify 12.6V at the battery; if the solenoid doesn't click when the key is turned, the safety circuit (brake switch or PTO switch) is likely preventing the signal from reaching the starter. You can quickly test the starter motor by jumping the two large terminals on the solenoid with a screwdriver to see if it turns over.
What do you want to do?
Most Likely Cause
Corroded Battery Terminals
Over time, acidic vapors from the lead-acid battery form a white or blue crust on the terminals, creating high electrical resistance. Even if the battery is charged, this barrier prevents the high current needed for cranking from reaching the starter motor.
Start here — this is the most common reason for this symptom.
Why This Problem Happens
The Craftsman YT3000 starting circuit relies on a complex series of safety interlocks and high-amperage switching to bridge battery power to the starter motor. When the key is turned to the 'Start' position, 12V current must flow through the ignition switch, the operator presence relay, the brake pedal safety switch, the seat switch, and the deck engagement lever switch before reaching the starter solenoid. If any contact point in this chain accumulates corrosion or suffers from vibration-induced terminal loosening, the solenoid coil fails to receive the energizing signal necessary to close the internal high-current contacts. Furthermore, the YT3000 utilizes a chassis-grounded system, meaning a compromised ground strap between the frame and the engine block can prevent the starter motor from completing its electrical circuit even if the solenoid clicks. Physically, the solenoid acts as a magnetic bridge; if the magnetic field generated by the coil is too weak due to voltage drop, the plunger will not seat, preventing the high-current flow from the battery cable to the starter motor post. Over time, internal arcing within the solenoid can weld the contact disc or erode it to the point where it no longer connects the path, resulting in total silence or a persistent solenoid 'click' but no engine turnover.
Common Symptoms
- Complete silence when turning the ignition key
- Audible 'click' from the solenoid without engine rotation
- Dash lights failing to illuminate
- Intermittent starting issues that worsen over time
- Headlights dimming significantly when the key is turned to start
Before You Buy Parts
Quick, free inspections — check these first. Most repairs don't actually need replacement parts.
Complete Resource Guide
Complete Small Engines Troubleshooting Guide
Brand Resource Hub
Craftsman Small Engine Repair & Maintenance Guide
Repair Overview
1–2 hours
$5–$50
First Checks — Start Here
- 1Check the 20-amp ATC fuse in the wiring harness for a blown filament.
- 2Ensure the PTO (mower deck engagement) lever is pushed all the way forward to 'OFF'.
- 3Verify battery voltage is at least 12.4V using a multimeter.
- 4Ensure the brake/clutch pedal is pushed down completely to engage the safety switch.
- 5Inspect battery terminals for corrosion or loose connections (clean with a wire brush).
- 6Jump the starter solenoid terminals—if the engine cranks, the solenoid or safety circuit is at fault.
Safety Warnings
- !Ensure the mower is in neutral and the parking brake is set to prevent accidental movement.
- !This will create a large spark. Ensure the mower is in neutral and keep hands away from moving blades or belts.
- !Do not attempt to bypass a blown fuse with wire or foil, as this is a severe fire hazard.
- !Keep fingers clear of the pedal linkage while pressing to avoid pinching.
- !Disconnect the negative battery cable first to prevent shorting the frame during cleaning.
- !Always disconnect the battery negative terminal before probing ignition wiring to prevent blown test equipment fuses.
- !Replacing the battery without cleaning the corroded terminal cables first.
- !Bypassing safety switches permanently rather than repairing the linkage.
- !Ignoring a loose ground strap while assuming the battery or solenoid is dead.
Always disconnect the spark plug, work in a well-ventilated area, and consult a professional if unsure.
Most Likely Causes
Ranked by likelihood — tap each to see diagnosis details.
Over time, acidic vapors from the lead-acid battery form a white or blue crust on the terminals, creating high electrical resistance. Even if the battery is charged, this barrier prevents the high current needed for cranking from reaching the starter motor.
The solenoid uses an internal copper disc to bridge the starter and battery cables. Carbon buildup or pitted contacts inside the unit eventually prevent this bridge, leading to a 'click' sound without rotation.
🔧 Step-by-Step Fix Guide
Battery Voltage Testing
Use a digital multimeter set to DC volts to check the battery. A healthy battery should read 12.6V; if it reads below 12.2V, it needs charging or replacement before further testing.
Ensure the mower is in neutral and the parking brake is set to prevent accidental movement.
Solenoid Bypass Test
Use a pair of insulated pliers to momentarily touch the two large terminal bolts on the solenoid together. If the starter spins, the solenoid is faulty; if it doesn't spin, look for issues with the starter motor itself.
This will create a large spark. Ensure the mower is in neutral and keep hands away from moving blades or belts.
Inspect the 20A Fuse
Locate the fuse holder near the battery and remove the 20A blade fuse. If the internal wire is melted, the fuse has blown and must be replaced with the exact same amperage.
Do not attempt to bypass a blown fuse with wire or foil, as this is a severe fire hazard.
Test the Brake Safety Switch
Identify the switch under the brake pedal linkage. With the key in the start position, manually depress the switch plunger; if the engine cranks, the switch is misaligned or worn.
Keep fingers clear of the pedal linkage while pressing to avoid pinching.
Clean Ground Connections
Unbolt the ground wire from the engine block, wire brush the contact surfaces until shiny, and reinstall tightly. A poor ground is a primary cause of intermittent no-crank issues.
Disconnect the negative battery cable first to prevent shorting the frame during cleaning.
Check Ignition Switch Continuity
Use a multimeter to check if the ignition switch sends 12V to the 'S' (solenoid) terminal when the key is turned. If there is no power at the 'S' wire during the start attempt, the switch or an upstream safety switch is failed.
Always disconnect the battery negative terminal before probing ignition wiring to prevent blown test equipment fuses.
What To Test Next
If fuel delivery checks out, the next thing to inspect is spark — remove the spark plug, ground its threads to the engine block, and crank the engine to look for a visible blue spark.
Component Reference

Carburetor & Fuel Intake
The carburetor mixes air and fuel for combustion. A clogged jet or stuck float is the #1 cause of small engine starting and surging problems.

Spark Plug & Ignition System
The spark plug ignites the air-fuel mixture. A fouled plug, wrong gap, or failing ignition coil will prevent the engine from firing.

Oil & Lubrication System
Regular oil changes are critical. Low or dirty oil causes engine wear, overheating, and eventual seizure. Check the dipstick before every season.

Electrical & Starting System
The battery, solenoid, and starter motor work together to crank the engine. A weak battery or corroded connection is often mistaken for a fuel or spark problem.
Photos for educational reference. Actual parts may vary by make and model.
Common Mistakes to Avoid
Replacing the battery without cleaning the corroded terminal cables first.
Bypassing safety switches permanently rather than repairing the linkage.
Ignoring a loose ground strap while assuming the battery or solenoid is dead.
Using a generic fuse that does not match the 20-amp factory specification.
If This Didn't Fix It
Still having trouble? These are the next things to check:
Get the Exact Parts for Your Machine
Tell us your equipment's year, make, and model — we'll search for parts that actually fit, not generic ones.
Finding parts for
Craftsman YT3000
Required Gear
Matched to your Craftsman YT3000 — click to find the exact fit on Amazon.
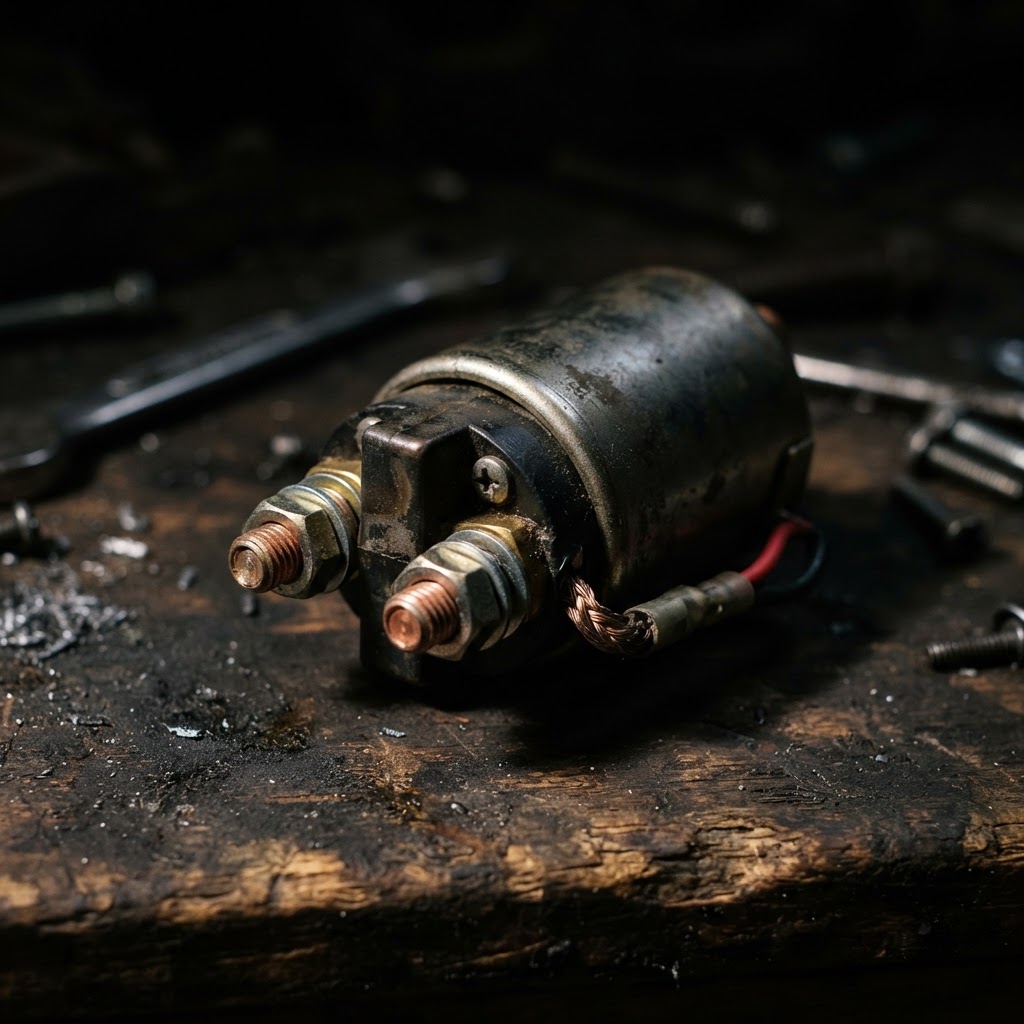
Craftsman YT3000 Starter Solenoid
If the solenoid fails the bypass test, this direct replacement is required to engage the starter motor and complete the starting circuit.
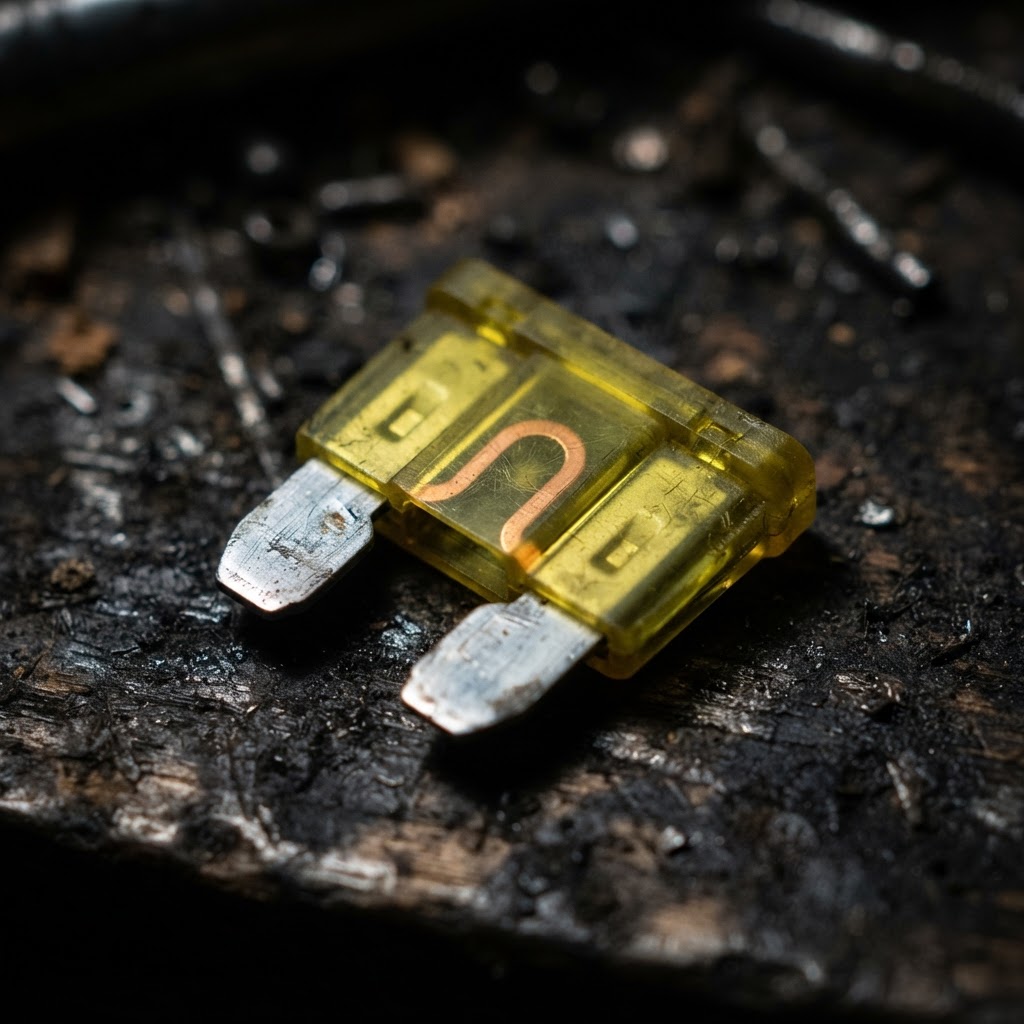
20-Amp Blade Fuse
This is a mandatory replacement component if the existing fuse is blown, as it restores power from the battery to the ignition switch.

Battery Terminal Cleaning Brush
This specific abrasive tool is essential for removing the heavy corrosion identified during the diagnosis, ensuring a clean metal-to-metal contact for the battery cables.
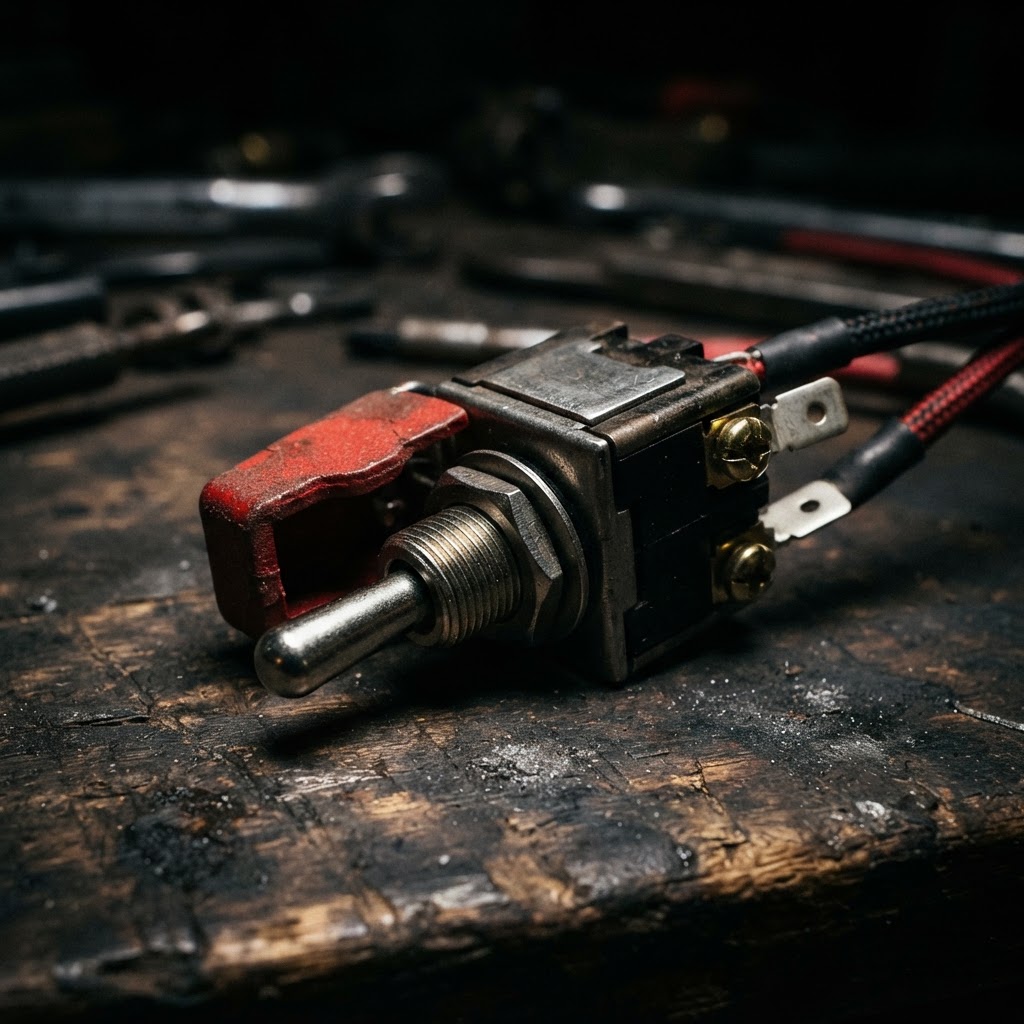
Craftsman Replacement Safety Switch
If the brake or seat switch is found to be malfunctioning during continuity testing, it must be replaced to close the circuit and allow the engine to crank.
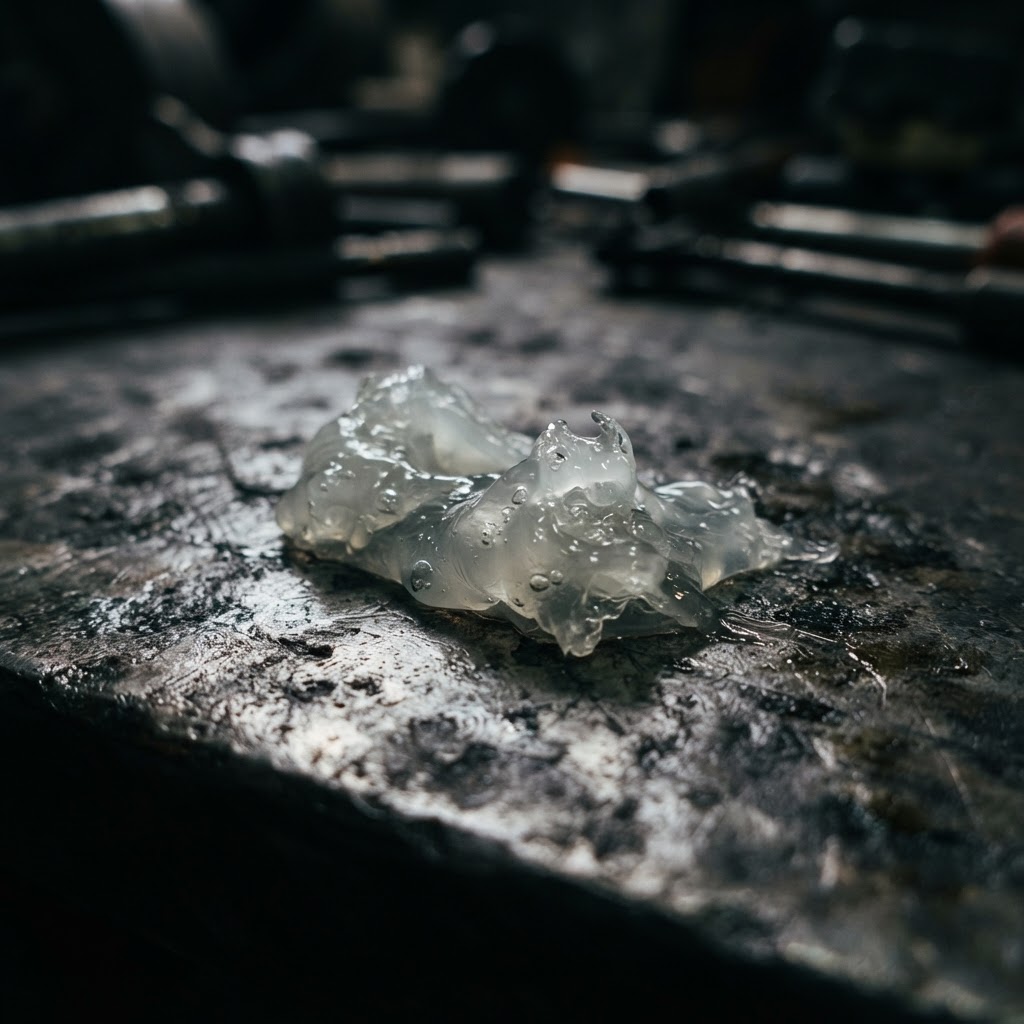
Dielectric Grease
This consumable is applied to the cleaned ground connection points to prevent future oxidation and ensure a consistent electrical path for the starting system.
Affiliate Disclosure: Lil Engine may earn commissions from qualifying purchases.
Pro Tips from the Community
Real-world fixes from Reddit, YouTube & forums.
"If it won't crank, try shifting the mower in and out of gear or pumping the brake pedal—sometimes the safety switch gets stuck and needs a physical jar to close."
Reddit r/lawnmowers"Check the white wire on the solenoid; it often vibrates loose on these Craftsman models. A loose crimp there will stop the machine from ever starting."
YouTube comments"The solenoid mounting bolts ARE the ground for the solenoid coil on some YT3000 models. If those bolts are rusty, the solenoid won't click even if it's brand new."
TractorByNet ForumPrevent This From Coming Back
Apply dielectric grease to all battery terminals and safety switch connectors annually.
Keep the engine compartment free of grass debris to prevent short-circuiting electrical components.
Tighten all frame-to-engine ground bolts during the off-season.
Use a battery tender during winter storage to prevent deep-cycle voltage drops.
Prevent This From Happening Again
While you're fixing it, stock up on the maintenance essentials that keep your small engines running right.
Spark Plug
The cheapest, fastest fix for most small engine starting problems.
Get on AmazonCarburetor Cleaner
Cleaning the carb is the #1 fix for surging and stalling engines.
Get on AmazonFuel Stabilizer
Prevents the stale fuel problems that cause most seasonal no-starts.
Get on AmazonAffiliate Disclosure: Lil Engine may earn commissions from qualifying purchases.
Frequently Asked Questions
This usually indicates the solenoid is receiving a signal but lacks the high amperage to turn the starter. It is often caused by a loose battery cable or a solenoid with pitted internal contacts.
Video Help
Helpful videos showing these repairs in action.
Share Your Repair
Real-world fixes help everyone. Share what worked and your repair becomes part of Lil Engine's community database.
Related Problems
More Small Engines GuidesRelated Maintenance Articles
Related Searches
Craftsman small engine Guides
Did this help?
Your feedback helps improve guides for everyone.