Generac Generator Runs But No Power Output — Electrical Diagnosis
⚡ Quick Answer
If your Generac engine runs but has no power, first reset all circuit breakers and the GFCI outlets on the panel. If power is still missing, the most likely culprit is a failed Automatic Voltage Regulator (AVR) or worn carbon brushes that are no longer contacting the slip rings. You must use a multimeter to check for DC excitation voltage at the brushes to determine if the rotor or the AVR is the root cause.
What do you want to do?
Most Likely Cause
Lost Residual Magnetism
Generac units require a small amount of residual magnetism in the rotor core to begin the induction process. After sitting for a long period, this magnetism can fade, preventing the AVR from 'seeing' enough voltage to begin excitation.
Start here — this is the most common reason for this symptom.
Why This Problem Happens
Generac generators produce power through a rotating magnetic field provided by the rotor, which induces an AC current in the stator windings. When a generator runs but fails to output electricity, it typically indicates a total loss of residual magnetism or a failure in the excitation circuit. Without this initial excitation current, the generator cannot build up the voltage necessary to create the magnetic field required for power induction. This effectively creates a mechanical engine that spins the alternator shaft without performing any electrical work, resulting in a dead output. Failure often stems from prolonged storage, where residual magnetism drains, or catastrophic component failure within the voltage regulator or brush assembly. The excitation system relies on a specific sequence of electrical events; if the automatic voltage regulator (AVR) does not sense residual voltage or if the stator windings are open, the excitation cycle never initiates. This process is highly sensitive to resistance values and the integrity of the diode bridge, meaning even a minor high-resistance connection in the slip ring assembly can cause the entire system to fail to flash the field, leaving you with a perfectly functional engine but zero electrical output.
Common Symptoms
- Engine runs at constant governed speed
- Zero voltage reading on digital multimeter at receptacles
- Lack of 'hum' or characteristic electrical whine under load
- Circuit breakers fail to trip even when shorted
- Blue light indicator remains unlit on the control panel
Before You Buy Parts
Quick, free inspections — check these first. Most repairs don't actually need replacement parts.
Complete Resource Guide
Complete Generator Troubleshooting & Repair Guide
Brand Resource Hub
Generac Troubleshooting & Repair Guide
Repair Overview
45–90 minutes
$25–$75
First Checks — Start Here
- 1Reset all AC circuit breakers and GFCI outlets on the generator panel
- 2Inspect the carbon brushes for wear (minimum 1/4 inch length required)
- 3Clean the copper slip rings on the rotor with 400-grit sandpaper
- 4Measure DC voltage at the brush leads (typical 12V-60V DC during run)
- 5Check for continuity in the stator and rotor windings using a multimeter
- 6Verify the AVR (Automatic Voltage Regulator) for burnt spots or leaking capacitors
Safety Warnings
- !Wear insulated gloves and ensure you are only applying power to the field terminals; incorrect polarity can damage the AVR.
- !Ensure the engine is completely off and the spark plug wire is removed before opening the alternator housing.
- !Ensure the generator is not connected to any live power source or grid connection before testing.
- !Do not touch exposed wire ends while the engine is running or while testing.
- !Do not use sandpaper or emery cloth, as they leave conductive metallic dust behind that can short out the rotor.
- !Do not attempt to open or repair the AVR unit; it is a sealed, solid-state component.
- !Assuming a bad engine when the issue is purely electrical
Always disconnect the spark plug, work in a well-ventilated area, and consult a professional if unsure.
Most Likely Causes
Ranked by likelihood — tap each to see diagnosis details.
Generac units require a small amount of residual magnetism in the rotor core to begin the induction process. After sitting for a long period, this magnetism can fade, preventing the AVR from 'seeing' enough voltage to begin excitation.
The AVR is the brain of the power output system, controlling the field current to maintain steady voltage. If the internal transistors or capacitors fail, the regulator cannot supply current to the rotor to build voltage.
🔧 Step-by-Step Fix Guide
Field Flashing Procedure
If residual magnetism is lost, you can jump-start the magnetic field using a 12V battery and a set of jumper wires. Apply 12V DC power to the brush terminals for 1-2 seconds while the unit is running to 'flash' the rotor.
Wear insulated gloves and ensure you are only applying power to the field terminals; incorrect polarity can damage the AVR.
Check Carbon Brushes for Wear
Remove the end-bell cover on the alternator and inspect the brush assembly. Ensure the brushes move freely and have adequate spring tension, and check that the carbon is not worn down to the red wear line.
Ensure the engine is completely off and the spark plug wire is removed before opening the alternator housing.
Verify Main Breaker Continuity
With the engine off and the unit unplugged, use a multimeter set to the continuity/ohms setting to test across the main circuit breaker. If the meter shows 'OL' or high resistance in the 'ON' position, the breaker is bad.
Ensure the generator is not connected to any live power source or grid connection before testing.
Test Stator Resistance
Disconnect the stator leads and use an ohmmeter to measure the resistance of the main windings. Consult the Generac service manual for your specific model to see if the readings fall within the manufacturer's specified range.
Do not touch exposed wire ends while the engine is running or while testing.
Inspect Slip Rings
Clean the copper slip rings on the rotor shaft using a Scotch-Brite pad to remove oxidation or carbon buildup. Shiny, clean slip rings ensure the brushes can maintain a solid electrical connection for the excitation current.
Do not use sandpaper or emery cloth, as they leave conductive metallic dust behind that can short out the rotor.
AVR Diagnostic Substitution
If all other components test as functional, the AVR is the likely culprit. The most reliable test is to substitute the suspected faulty AVR with a known-good unit of the same part number to see if power output returns.
Do not attempt to open or repair the AVR unit; it is a sealed, solid-state component.
What To Test Next
If the breaker and basic checks are fine, the next thing to inspect is the alternator stator and AVR (voltage regulator) for output using a multimeter.
Component Reference

Carburetor & Fuel Intake
The carburetor mixes air and fuel for combustion. A clogged jet or stuck float is the #1 cause of small engine starting and surging problems.

Spark Plug & Ignition System
The spark plug ignites the air-fuel mixture. A fouled plug, wrong gap, or failing ignition coil will prevent the engine from firing.

Electrical & Starting System
The battery, solenoid, and starter motor work together to crank the engine. A weak battery or corroded connection is often mistaken for a fuel or spark problem.

Drive & Cutting System
Belts, pulleys, and clutches transfer engine power to the wheels and cutting deck. A worn or thrown belt is the most common drive-system failure.
Photos for educational reference. Actual parts may vary by make and model.
Common Mistakes to Avoid
Assuming a bad engine when the issue is purely electrical
Using sandpaper to clean slip rings, which causes shorts
Applying field flash power to the wrong terminals
Ignoring the wear limit on brushes and attempting to reuse them
Testing for voltage while the unit is still connected to a home transfer switch
If This Didn't Fix It
Still having trouble? These are the next things to check:
Get the Exact Parts for Your Machine
Tell us your equipment's year, make, and model — we'll search for parts that actually fit, not generic ones.
Finding parts for
Generac generator
Required Gear
Matched to your Generac generator — click to find the exact fit on Amazon.
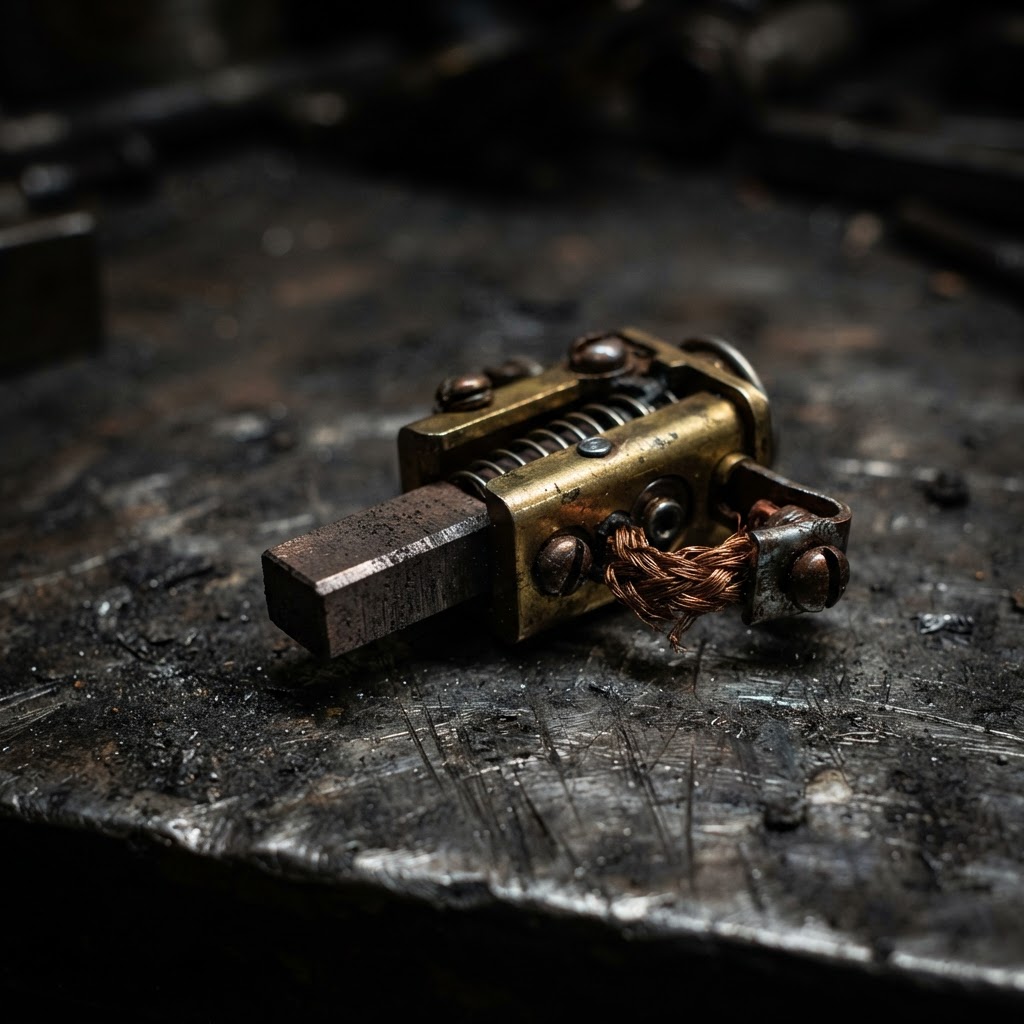
Carbon Brush Assembly
If the brushes are worn below the service limit or sticking in the holder, they cannot transfer current to the slip rings, resulting in no power output.
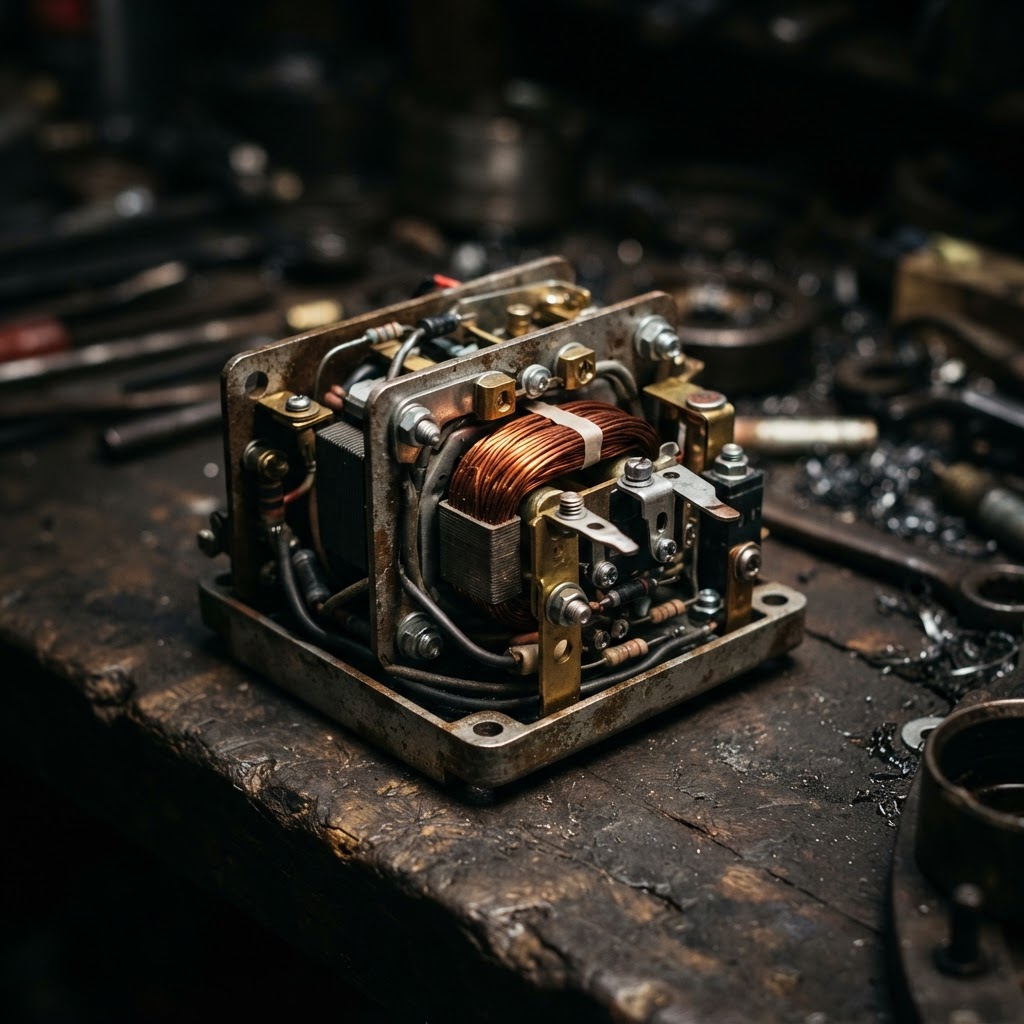
Automatic Voltage Regulator (AVR)
When the AVR fails, it can no longer regulate the field excitation voltage, which is a common root cause for a running generator failing to produce electrical power.
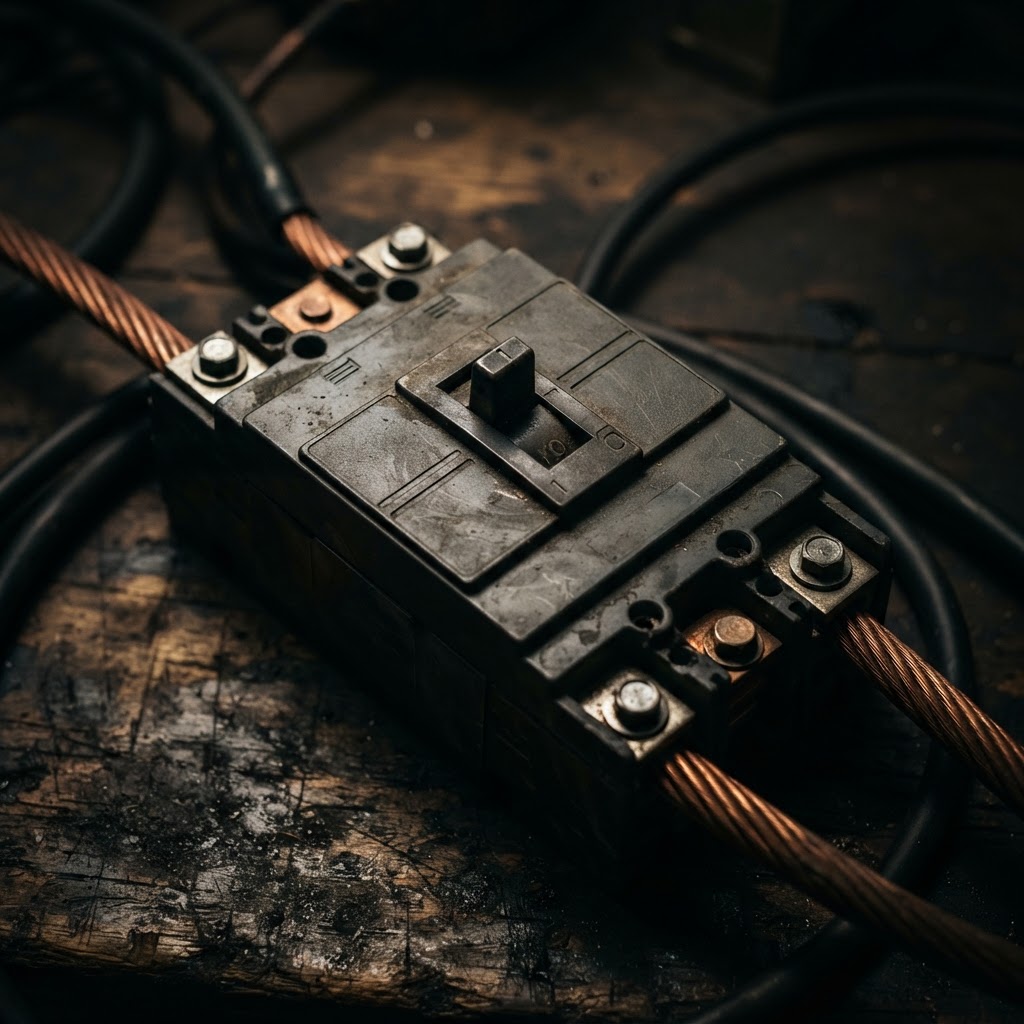
Main Circuit Breaker
If the diagnostic check confirms continuity failure within the breaker, this component must be replaced to restore the physical path for electricity to reach your outlets.
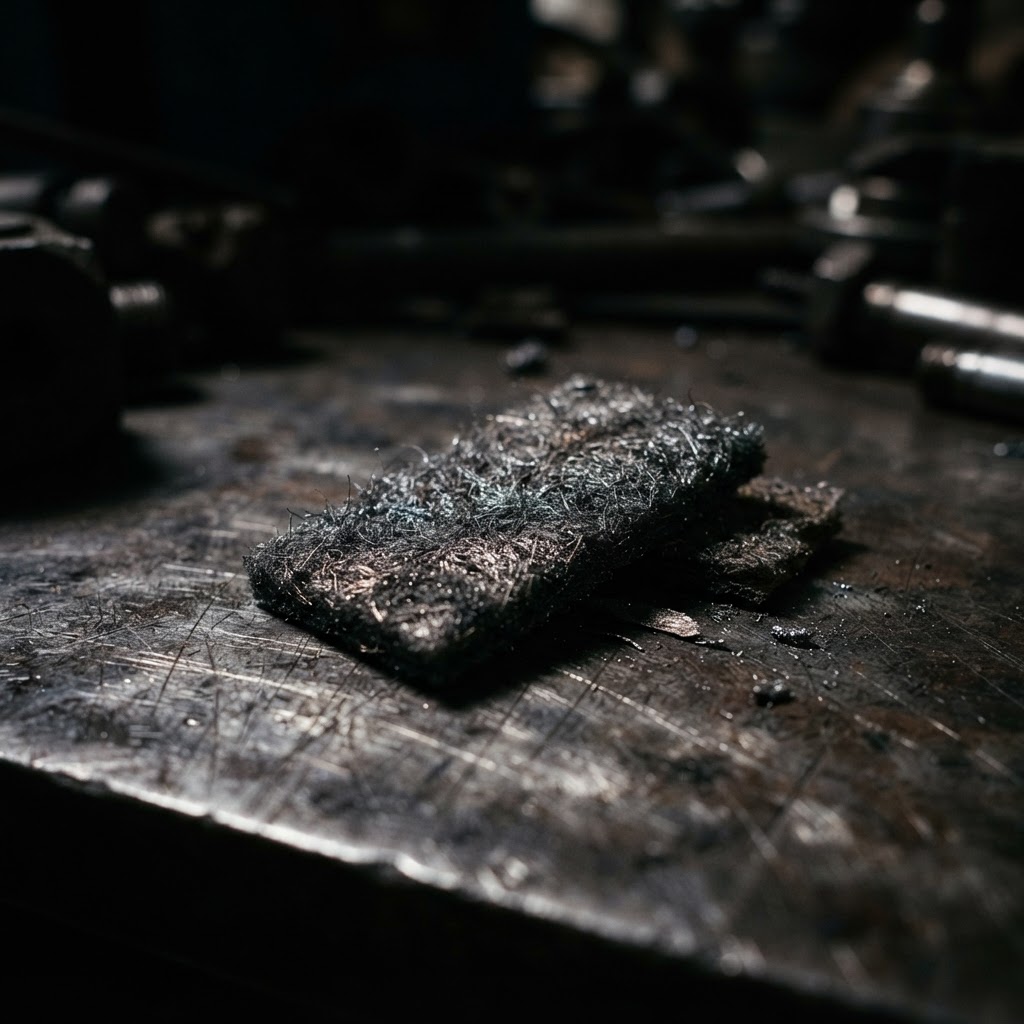
Slip Ring Cleaning Abrasive
Used to remove oxidation from the copper slip rings, ensuring proper electrical contact with the new carbon brushes for excitation.
Affiliate Disclosure: Lil Engine may earn commissions from qualifying purchases.
Pro Tips from the Community
Real-world fixes from Reddit, YouTube & forums.
"Try the 'drill trick': plug a corded electric drill into the generator, hold the trigger down, and spin the chuck by hand in the opposite direction. This often creates enough back-feed to flash the field and restore magnetism."
YouTube comments"Check the plastic AVR housing for a small adjustment screw; sometimes the voltage is just set too low. Turning it slightly clockwise while monitoring a voltmeter can often bring the power back."
Reddit r/Generator"The seat of the brushes can get glazed. If you don't have sandpaper, a clean pencil eraser can sometimes remove enough oxidation from the slip rings to get you through an emergency."
DoItYourself.com ForumPrevent This From Coming Back
Run the generator under a moderate load for 30 minutes every month
Keep the generator in a dry, climate-controlled environment to prevent oxidation
Install a battery tender if the unit has electric start
Periodically inspect brush assemblies for debris buildup
Use a high-quality fuel stabilizer to ensure smooth engine operation
Prevent This From Happening Again
While you're fixing it, stock up on the maintenance essentials that keep your generators running right.
Fuel Stabilizer
Generators sit unused for months — stabilizer prevents stale fuel issues.
Get on AmazonSpark Plug
Replace yearly so your generator starts instantly in an emergency.
Get on AmazonSmall Engine Oil
Check oil level before each use — low oil shuts down the engine.
Get on AmazonAffiliate Disclosure: Lil Engine may earn commissions from qualifying purchases.
Frequently Asked Questions
No. Use a digital multimeter to measure AC voltage at the output terminals first. A drill won't tell you if the voltage is low or unstable, which could damage your tools.
Video Help
Helpful videos showing these repairs in action.
Share Your Repair
Real-world fixes help everyone. Share what worked and your repair becomes part of Lil Engine's community database.
Related Problems
More Generators GuidesRelated Maintenance Articles
Related Symptoms
No Power
Carburetor / Fuel Issues
Related Searches
Generac generator Guides
Did this help?
Your feedback helps improve guides for everyone.