Generac Generator Runs but Produces No Power — AVR and Brush Diagnosis
⚡ Quick Answer
First, verify that the main circuit breaker hasn't 'soft-tripped' by toggling it firmly OFF and then ON. If the engine is at full speed (3600 RPM) but output remains near zero, the most likely culprits are worn carbon brushes or a failed Automatic Voltage Regulator (AVR). Use a multimeter to check the DC excitation voltage at the brushes; if it's missing, the AVR is likely dead or the rotor has lost its residual magnetism.
What do you want to do?
Most Likely Cause
AVR (Automatic Voltage Regulator) Failure
The AVR is the brain of the power production circuit. If the internal electronics short out or stop sensing voltage, it cuts excitation to the rotor windings.
Start here — this is the most common reason for this symptom.
Why This Problem Happens
Generac generators produce power through an electromechanical process where the engine spins a rotor inside a stator. For voltage to be induced in the stator windings, a residual or excited magnetic field must exist within the rotor. This field is maintained by Direct Current (DC) flowing through the rotor's slip rings, fed by the carbon brushes. When the Automatic Voltage Regulator (AVR) fails, it stops modulating this excitation current, effectively 'turning off' the generator's ability to produce electricity even while the engine runs at proper RPM. Additionally, if the brushes are worn or oxidized, the electrical circuit between the stationary output and the rotating magnetic field is broken. This loss of excitation is the most common reason a running Generac unit fails to produce output. Without the magnetic field bridge created by the brushes and governed by the AVR, the physical rotation of the copper coils within the stator remains inert, resulting in zero AC voltage output at the terminals despite the engine's mechanical operation.
Common Symptoms
- Engine runs at normal governed speed
- Zero voltage reading at the 120V/240V outlets
- Green status light on controller usually turns off
- Absence of electrical hum under load
- Circuit breaker remains closed but no power flows
- Slight burning smell near the alternator end bell
Before You Buy Parts
Quick, free inspections — check these first. Most repairs don't actually need replacement parts.
Complete Resource Guide
Complete Generator Troubleshooting & Repair Guide
Brand Resource Hub
Generac Troubleshooting & Repair Guide
Repair Overview
1–2 hours
$30–$150
First Checks — Start Here
- 1Reset the main AC circuit breaker by flipping it fully OFF and then ON
- 2Test AC voltage at the generator outlets using a multimeter set to AC Volts
- 3Inspect the 120/240V selector switch for any loose connections or 'middle' positions
- 4Remove the alternator end cover and check carbon brush length (should be > 1/4 inch)
- 5Clean the copper slip rings with a Scotch-Brite pad if they appear tarnished or black
- 6Check for a blown glass fuse or thermal reset button on the control panel
Safety Warnings
- !Ensure the battery is disconnected before touching any internal electrical components.
- !Do not use sandpaper; fine grit can cause short circuits between the rings.
- !Exercise extreme caution when taking live measurements near rotating parts.
- !Reverse polarity will damage the diodes, so double-check positive and negative leads.
- !Ensure the generator is completely powered down and the main breaker is off.
- !High voltage is present; wear insulated gloves and use a meter rated for Cat III environments.
Always disconnect the spark plug, work in a well-ventilated area, and consult a professional if unsure.
Most Likely Causes
Ranked by likelihood — tap each to see diagnosis details.
The AVR is the brain of the power production circuit. If the internal electronics short out or stop sensing voltage, it cuts excitation to the rotor windings.
Brushes conduct DC current to the spinning rotor. Once they wear past the wear-indicator line, contact is lost, breaking the excitation circuit.
🔧 Step-by-Step Fix Guide
Check Brush Wear
Remove the end bell cover and inspect the brush block. If the brushes are shorter than 1/4 inch or the spring tension is weak, replace the brush assembly immediately.
Ensure the battery is disconnected before touching any internal electrical components.
Clean Slip Rings
Use a Scotch-Brite pad to lightly polish the slip rings to remove carbon buildup or oxidation. Avoid using emery cloth, which can leave conductive metallic particles behind.
Do not use sandpaper; fine grit can cause short circuits between the rings.
Test AVR Output
Use a Fluke multimeter to check the DC voltage output from the AVR to the brushes while the engine is running. If you have 0V DC, the AVR is likely dead.
Exercise extreme caution when taking live measurements near rotating parts.
Perform a Flash Field Test
Briefly apply 12V DC from an external battery to the brush terminals while the engine runs to 're-excite' the rotor. If voltage output jumps up, the AVR is usually the culprit for not maintaining the field.
Reverse polarity will damage the diodes, so double-check positive and negative leads.
Test Stator Continuity
Disconnect the stator leads and check for resistance between windings using an ohmmeter. Open circuits or infinite resistance indicate a blown stator coil.
Ensure the generator is completely powered down and the main breaker is off.
Verify AC Voltage at Terminals
Check voltage directly at the generator's output lugs inside the main junction box. This confirms if the issue is with the alternator itself or the downstream wiring/breakers.
High voltage is present; wear insulated gloves and use a meter rated for Cat III environments.
What To Test Next
If the breaker and basic checks are fine, the next thing to inspect is the alternator stator and AVR (voltage regulator) for output using a multimeter.
Component Reference

Carburetor & Fuel Intake
The carburetor mixes air and fuel for combustion. A clogged jet or stuck float is the #1 cause of small engine starting and surging problems.

Spark Plug & Ignition System
The spark plug ignites the air-fuel mixture. A fouled plug, wrong gap, or failing ignition coil will prevent the engine from firing.

Oil & Lubrication System
Regular oil changes are critical. Low or dirty oil causes engine wear, overheating, and eventual seizure. Check the dipstick before every season.

Electrical & Starting System
The battery, solenoid, and starter motor work together to crank the engine. A weak battery or corroded connection is often mistaken for a fuel or spark problem.
Photos for educational reference. Actual parts may vary by make and model.
Common Mistakes to Avoid
Replacing the AVR without first cleaning the slip rings
Using aggressive sandpaper that scores the slip rings
Confusing a bad circuit breaker with a bad alternator
Measuring AC voltage with a non-True RMS multimeter
Ignoring the health of the brushes when replacing the AVR
If This Didn't Fix It
Still having trouble? These are the next things to check:
Get the Exact Parts for Your Machine
Tell us your equipment's year, make, and model — we'll search for parts that actually fit, not generic ones.
Finding parts for
Generac generator runs but produces
Required Gear
Matched to your Generac generator runs but produces — click to find the exact fit on Amazon.
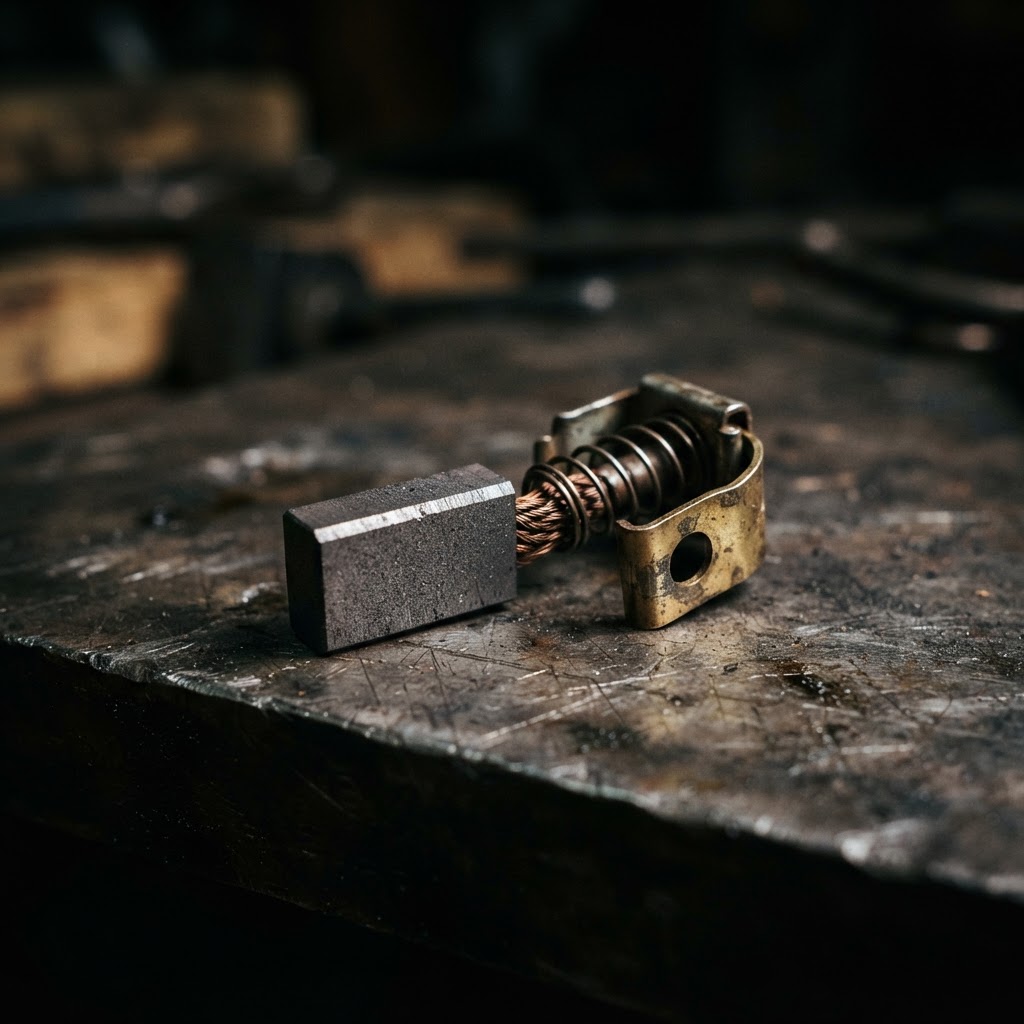
Generac Replacement Carbon Brush Assembly
When brushes are worn past their service limit, they lose physical contact with the slip rings, preventing the excitation current from reaching the rotor windings.
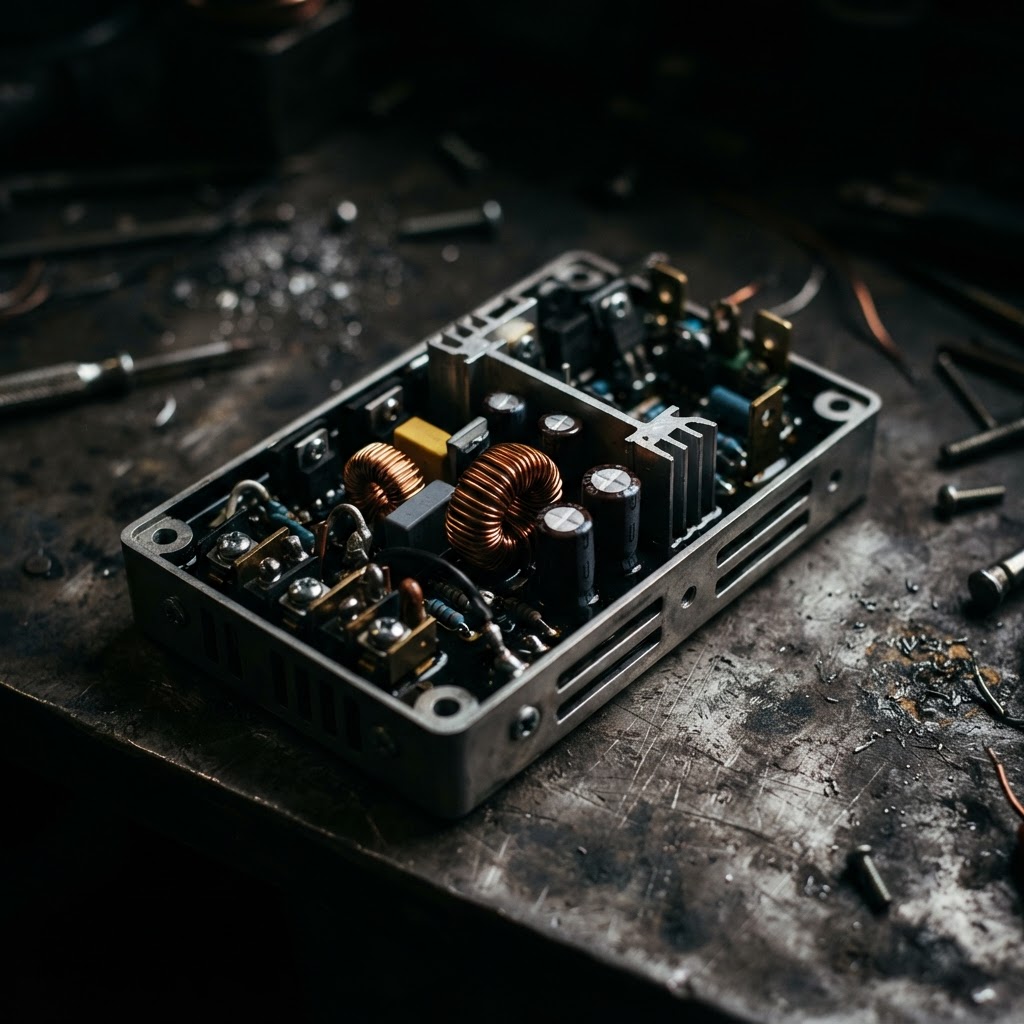
Automatic Voltage Regulator (AVR) Module
If the unit fails to produce voltage after verifying rotor excitation, the AVR is likely internally damaged and incapable of regulating the field current.
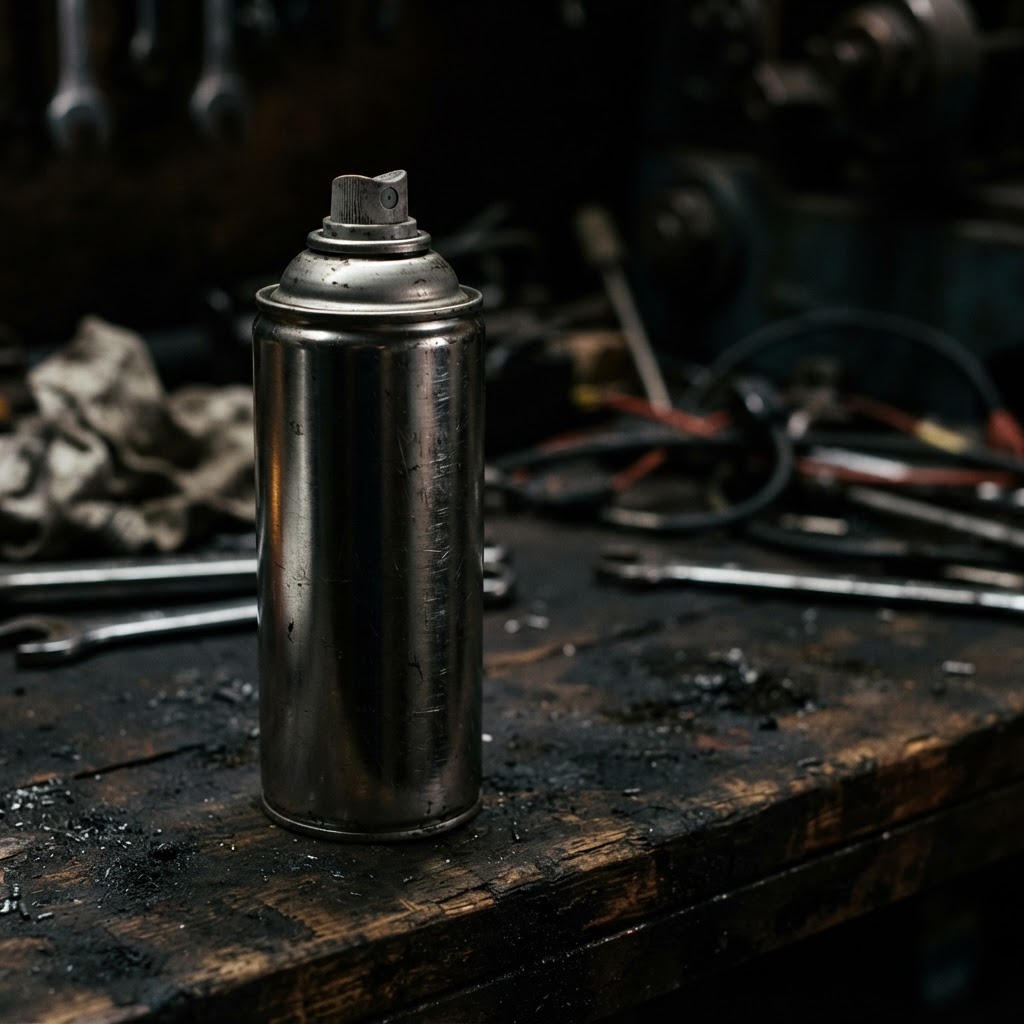
Electrical Contact Cleaner
This is specifically required to remove oxidation and debris from the slip ring surfaces, which is essential to restore proper electrical conductivity.

Abrasive Scotch-Brite Pad
Used in conjunction with contact cleaner to gently polish the slip rings and ensure the new carbon brushes maintain a clean, consistent contact path.
Affiliate Disclosure: Lil Engine may earn commissions from qualifying purchases.
Pro Tips from the Community
Real-world fixes from Reddit, YouTube & forums.
"Check the 120/240V toggle switch; if it gets bumped and sits between the two settings, it can break the circuit and show zero volts at the outlets."
Reddit r/Generators"Generac portables often have a tiny 5-amp glass fuse hidden behind the control panel or in a black plastic holder near the AVR—if this blows, you get zero output."
DoItYourself.com Forum"If the brushes are sparking heavily while running, your slip rings are likely out of round or dirty, which will eventually fry your new AVR."
YouTube commentsPrevent This From Coming Back
Run the generator under load once a month to prevent brush oxidation
Keep the end bell area clear of debris, spider webs, and rodent nests
Perform annual visual inspections of brush length to anticipate failure
Store the generator in a climate-controlled area to reduce moisture buildup
Prevent This From Happening Again
While you're fixing it, stock up on the maintenance essentials that keep your generators running right.
Fuel Stabilizer
Generators sit unused for months — stabilizer prevents stale fuel issues.
Get on AmazonSpark Plug
Replace yearly so your generator starts instantly in an emergency.
Get on AmazonSmall Engine Oil
Check oil level before each use — low oil shuts down the engine.
Get on AmazonAffiliate Disclosure: Lil Engine may earn commissions from qualifying purchases.
Frequently Asked Questions
Many Generac units use an AVR rather than a capacitor. If your specific model has a capacitor, it serves a similar role in excitation and must be tested with a capacitance meter.
Video Help
Helpful videos showing these repairs in action.
Share Your Repair
Real-world fixes help everyone. Share what worked and your repair becomes part of Lil Engine's community database.
Related Problems
More Generators GuidesRelated Maintenance Articles
Related Symptoms
No Power
Related Searches
Generac generator Guides
Did this help?
Your feedback helps improve guides for everyone.