Portable Generator Cranks But Won't Start — Fuel & Spark Diagnosis
⚡ Quick Answer
First, check the engine oil level; most generators feature a low-oil shutdown sensor that grounds the ignition if the oil isn't at the top thread of the fill neck. If oil is sufficient, perform a 'shot test' by spraying starting fluid into the air intake—if the engine fires for a second, your problem is a fuel delivery issue (likely a clogged carburetor main jet). If it doesn't fire, you need to inspect for a fouled spark plug or a clogged spark arrestor screen in the muffler.
What do you want to do?
Most Likely Cause
Gummed Carburetor Jets
Old fuel leaves behind sticky resin that blocks the main jet and pilot orifice. Remove the carburetor bowl to inspect for visible gunk or restriction in the brass jet openings.
Start here — this is the most common reason for this symptom.
Why This Problem Happens
A portable generator requires three foundational elements to achieve combustion: a precise stoichiometric fuel-air mixture, a high-voltage spark timed to top-dead-center, and adequate cylinder compression. When a unit cranks but fails to fire, the failure usually stems from fuel degradation or ignition synchronization errors. Gasoline sitting for more than 30 days undergoes oxidation, leaving behind gum and varnish deposits that occlude the delicate pilot jets and emulsion tubes of the carburetor, effectively starving the combustion chamber of fuel regardless of throttle position. Similarly, if the spark plug is fouled with carbon or the ignition coil's air gap is misaligned, the arc fails to reach the necessary ionization threshold to bridge the plug gap under compression pressure. The physics of the failure is binary: either the fuel energy is too lean to ignite, or the ignition timing and energy levels are insufficient to overcome the heat quench of the compressed mixture. The generator remains a giant air pump, pulling air through the intake and pushing it out the exhaust without producing the kinetic energy required to sustain a power stroke.
Common Symptoms
- Dry spark plug after repeated cranking attempts
- Heavy gasoline odor around the intake manifold
- Black soot deposits on the spark plug electrode
- Backfiring through the air cleaner housing
- Erratic engine stumbling when using starter fluid
Before You Buy Parts
Quick, free inspections — check these first. Most repairs don't actually need replacement parts.
Complete Resource Guide
Complete Generator Troubleshooting & Repair Guide
Repair Overview
45–90 minutes
$5–$25
First Checks — Start Here
- 1Verify oil level is at the very top of the fill threads
- 2Ensure the fuel shut-off valve is in the 'ON' position
- 3Check that the fuel cap vent is set to 'ON' or 'Open'
- 4Perform a starting fluid test to isolate fuel vs. spark issues
- 5Check spark plug gap (standard spec is 0.030")
- 6Inspect the spark arrestor screen in the muffler for carbon clogging
- 7Verify the choke lever is fully closing during the pull/crank
Safety Warnings
- !Keep all body parts away from the cooling fins and exhaust to prevent thermal burns.
- !Ensure you are working in a well-ventilated area away from any open flames or sparks.
- !Wear safety goggles when using aerosol carb cleaner to avoid chemical irritation.
- !Ensure the spark plug wire is disconnected to prevent accidental starting during adjustment.
- !Perform this task only when the engine is completely cold to ensure accurate measurement.
- !Hold the gauge firmly against the threads to maintain a proper seal.
- !Ignoring the fuel shut-off valve on the carburetor bowl
- !Replacing the spark plug without checking the gap setting
Always disconnect the spark plug, work in a well-ventilated area, and consult a professional if unsure.
Most Likely Causes
Ranked by likelihood — tap each to see diagnosis details.
Old fuel leaves behind sticky resin that blocks the main jet and pilot orifice. Remove the carburetor bowl to inspect for visible gunk or restriction in the brass jet openings.
Carbon buildup or a damaged porcelain insulator prevents a strong spark. Verify the spark color; a weak, orange spark indicates the plug is likely compromised.
🔧 Step-by-Step Fix Guide
Diagnostic Spark Test
Use an inline spark tester connected between the plug wire and the spark plug. A healthy system should produce a crisp, blue arc that jumps an 1/8-inch gap.
Keep all body parts away from the cooling fins and exhaust to prevent thermal burns.
Verifying Fuel Flow
Disconnect the fuel line at the carburetor inlet and open the petcock to observe the stream intensity. If the flow is a trickle, clean the tank screen or replace the fuel filter.
Ensure you are working in a well-ventilated area away from any open flames or sparks.
Carburetor Deep Clean
Remove the carburetor, disassemble the bowl, and soak the body in a high-strength solvent. Use a thin wire to clear the jet passages, then blow through with compressed air.
Wear safety goggles when using aerosol carb cleaner to avoid chemical irritation.
Adjusting Ignition Coil Gap
Loosen the coil mounting bolts and place a non-magnetic feeler gauge of the correct thickness between the coil and flywheel magnet. Tighten the bolts and remove the gauge to lock the gap.
Ensure the spark plug wire is disconnected to prevent accidental starting during adjustment.
Checking Valve Lash
Remove the valve cover and use a feeler gauge to verify clearance on intake and exhaust valves. Tight valves can prevent full closure, leading to hard-starting conditions.
Perform this task only when the engine is completely cold to ensure accurate measurement.
Testing Compression
Thread a compression gauge into the spark plug hole and pull the starter cord until the gauge needle peaks. If the reading is below 90 PSI, suspect internal mechanical wear.
Hold the gauge firmly against the threads to maintain a proper seal.
What To Test Next
If fuel delivery checks out, the next thing to inspect is spark — remove the spark plug, ground its threads to the engine block, and crank the engine to look for a visible blue spark.
Component Reference

Carburetor & Fuel Intake
The carburetor mixes air and fuel for combustion. A clogged jet or stuck float is the #1 cause of small engine starting and surging problems.

Spark Plug & Ignition System
The spark plug ignites the air-fuel mixture. A fouled plug, wrong gap, or failing ignition coil will prevent the engine from firing.

Oil & Lubrication System
Regular oil changes are critical. Low or dirty oil causes engine wear, overheating, and eventual seizure. Check the dipstick before every season.

Air Filter & Intake
A clogged air filter starves the engine of air, causing rich running, power loss, and hard starting. Inspect and clean or replace it each season.
Photos for educational reference. Actual parts may vary by make and model.
Common Mistakes to Avoid
Using generic starter fluid excessively which can wash cylinder walls
Ignoring the fuel shut-off valve on the carburetor bowl
Replacing the spark plug without checking the gap setting
Over-tightening small carburetor brass jets causing them to crack
Get the Exact Parts for Your Machine
Tell us your equipment's year, make, and model — we'll search for parts that actually fit, not generic ones.
Finding parts for
generator
Required Gear
Matched to your generator — click to find the exact fit on Amazon.
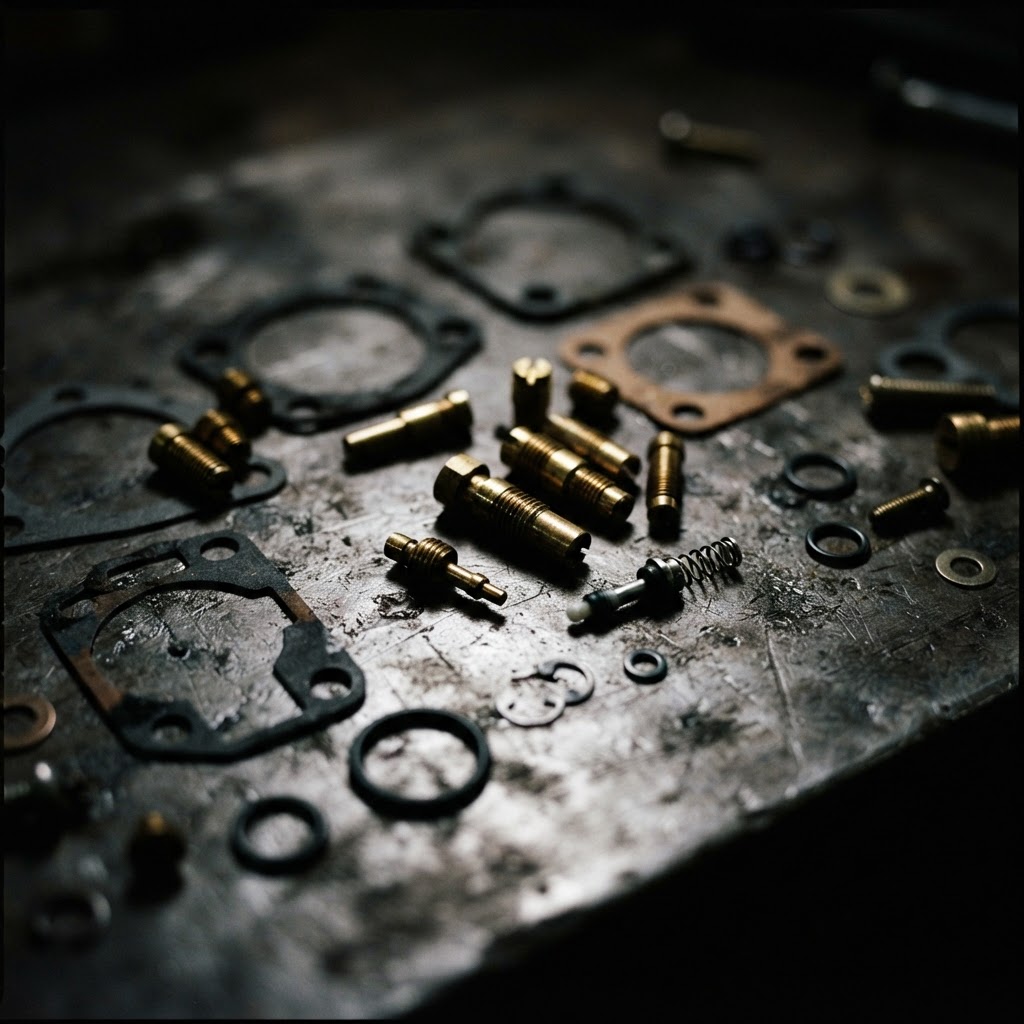
Carburetor Rebuild Kit
This kit provides the specific needle, seat, and gaskets required to fix a stuck float needle or clear the internal passages of a gummed carburetor.
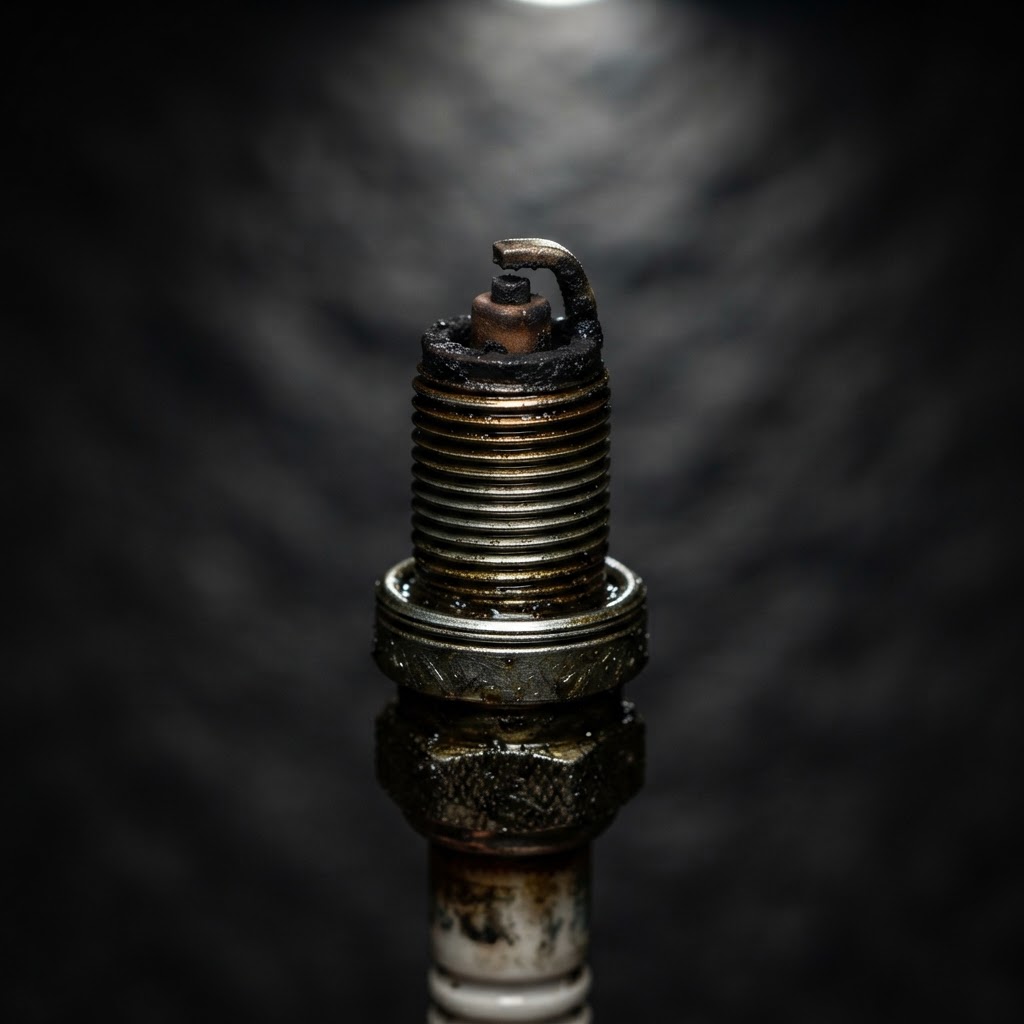
Spark Plug
Replacing the plug is essential if the diagnostic spark test reveals a fouled or weak ignition source that is preventing the engine from firing.
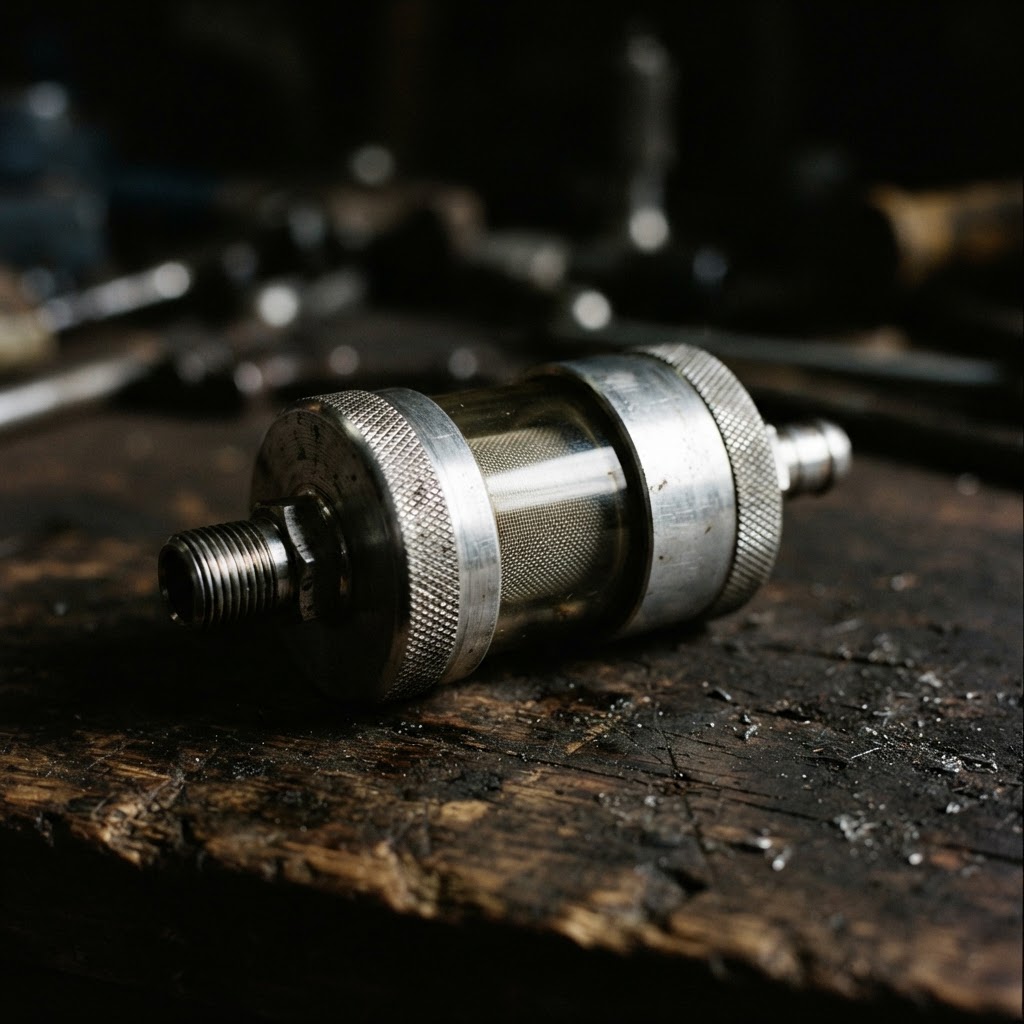
Inline Fuel Filter
Debris from old fuel often clogs these filters, causing fuel starvation; replacing it ensures clean fuel reaches the newly cleaned carburetor.
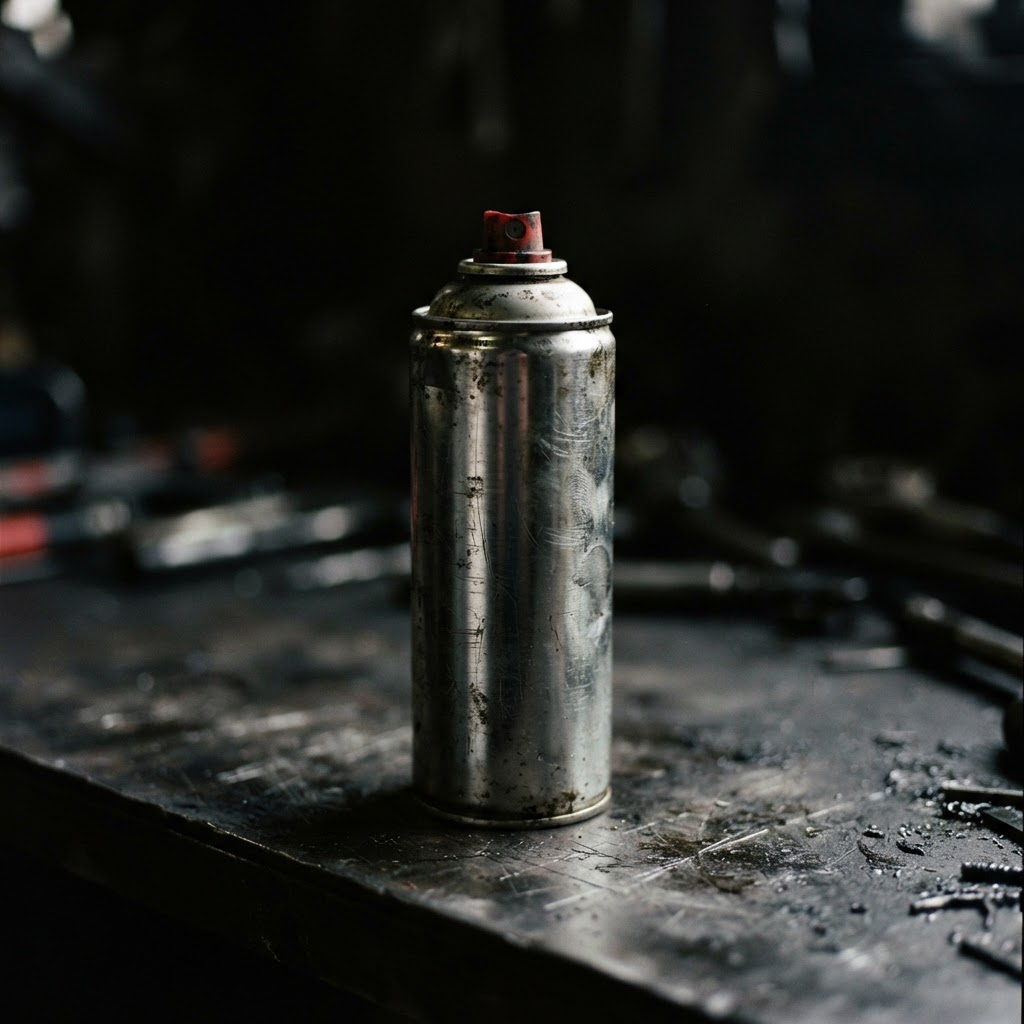
Carburetor Cleaner Spray
This specialized solvent is necessary to chemically dissolve stubborn varnish deposits in the carburetor jets that mechanical cleaning alone cannot remove.

Engine Valve Lash Adjustment Shims
If checking the valve lash confirms they are out of specification, these specific shims are required to restore proper compression for a reliable start.
Affiliate Disclosure: Lil Engine may earn commissions from qualifying purchases.
Pro Tips from the Community
Real-world fixes from Reddit, YouTube & forums.
"If it runs on choke but dies as soon as you turn the choke off, your pilot jet is definitely clogged. It's a tiny brass screw under the idle set screw—clean it with a single wire from a wire brush."
Reddit r/Generators"Always check the gas cap vent! I've seen dozens of people bring 'broken' generators in because they forgot to turn the vent lever to 'ON', creating a vacuum that starves the engine of fuel."
YouTube comments"To prevent this next time, turn the fuel valve OFF while the engine is running and let it die on its own. This burns the fuel out of the carb bowl so it doesn't turn into varnish during storage."
DoItYourself.com ForumPrevent This From Coming Back
Use an ethanol-stabilized fuel conditioner in every tank
Run the engine until the carburetor is dry for long-term storage
Change the engine oil according to the manufacturer's hour meter
Periodically inspect and clean the air filter to ensure proper air-fuel ratios
Prevent This From Happening Again
While you're fixing it, stock up on the maintenance essentials that keep your generators running right.
Fuel Stabilizer
Generators sit unused for months — stabilizer prevents stale fuel issues.
Get on AmazonSpark Plug
Replace yearly so your generator starts instantly in an emergency.
Get on AmazonSmall Engine Oil
Check oil level before each use — low oil shuts down the engine.
Get on AmazonAffiliate Disclosure: Lil Engine may earn commissions from qualifying purchases.
Frequently Asked Questions
Yes. Modern ethanol-blend fuels begin to break down and attract moisture quickly, which creates acidic compounds that can clog tiny carburetor passages in as little as 30 days.
Video Help
Helpful videos showing these repairs in action.
Share Your Repair
Real-world fixes help everyone. Share what worked and your repair becomes part of Lil Engine's community database.
Related Problems
More Generators GuidesRelated Maintenance Articles
Did this help?
Your feedback helps improve guides for everyone.