Kawasaki Mule Pro FXT CVT Belt Squeal — Drive System Diagnosis
⚡ Quick Answer
Belt squeal on a Kawasaki Mule Pro FXT is typically caused by a glazed CVT belt or contaminated clutch sheaves. Start by removing the CVT cover to inspect the belt width (service limit is 28.6mm) and check for 'hour-glassing' or shiny edges. If the belt is intact, use a Scotch-Brite pad and brake cleaner to remove rubber deposits from the aluminum sheave faces and blow out the clutches with compressed air to remove trapped dust.
What do you want to do?
Most Likely Cause
Belt Glazing
Continuous slippage creates extreme friction heat that hardens the outer layer of the belt. Inspect the belt sides for a shiny, smooth, or glassy appearance which indicates it no longer bites into the sheaves.
Start here — this is the most common reason for this symptom.
Why This Problem Happens
The Kawasaki Mule Pro-FXT utilizes a high-torque Continuously Variable Transmission (CVT) system that relies on friction between the V-belt and the sheaves to transfer power. Belt squeal occurs when the belt slips against the drive or driven pulley faces, typically due to improper tension or surface contamination. Because the Mule Pro-FXT is a heavy-duty work machine, users often operate at low RPMs under high load, which generates excessive heat within the CVT housing. This heat glazes the rubber belt compounds, hardening the surface and reducing the coefficient of friction required for a firm grip. When the engine accelerates, the secondary clutch cannot respond quickly enough to maintain proper side pressure, leading to a momentary slip that produces that high-pitched audible squeal. Over time, this slippage creates 'flat spots' or burn marks on the belt, which exacerbate the issue by causing further mechanical vibration. Additionally, the CVT housing is prone to moisture ingress in wet conditions; if water enters the housing, it acts as a lubricant on the sheaves, causing immediate, severe belt slip upon engagement. Addressing the noise requires ensuring the sheaves are clean of belt residue and verifying that the primary clutch weight assembly is engaging smoothly to provide the necessary clamping force.
Common Symptoms
- High-pitched screeching during initial takeoff
- Hesitation or jerky acceleration from a dead stop
- Burning rubber smell emanating from the CVT housing
- Noticeable loss of power on steep inclines
- Excessive engine RPM required to reach cruising speed
Before You Buy Parts
Quick, free inspections — check these first. Most repairs don't actually need replacement parts.
Complete Resource Guide
Complete Small Engines Troubleshooting Guide
Brand Resource Hub
Kawasaki Small Engine Troubleshooting & Repair Guide
Repair Overview
2–4 hours
$150–$300
First Checks — Start Here
- 1Remove CVT housing cover and inspect the gasket for leaks or tears.
- 2Measure belt width — replace if below 28.6mm or if showing visible cracks.
- 3Inspect primary and secondary sheaves for black rubber glazing or pitting.
- 4Blow out both clutches with compressed air to remove accumulated belt dust.
- 5Check CVT intake and exhaust snorkels for obstructions or mud entry.
- 6Clean sheave faces with non-chlorinated brake cleaner and a green abrasive pad.
Safety Warnings
- !Ensure the engine is off and the key is removed to prevent accidental engagement.
- !Do not attempt to 'spin' the clutch with the cover off while the engine is running.
- !Ensure the brake cleaner has fully evaporated before starting the engine.
- !Secondary clutches are under high spring tension; use caution when disassembling.
- !Tighten all mounts to the torque specifications provided in the service manual.
- !Never force a belt over the pulleys with a screwdriver, as this damages the clutch face.
- !Avoid full-throttle acceleration during the initial break-in period.
Always disconnect the spark plug, work in a well-ventilated area, and consult a professional if unsure.
Most Likely Causes
Ranked by likelihood — tap each to see diagnosis details.
Continuous slippage creates extreme friction heat that hardens the outer layer of the belt. Inspect the belt sides for a shiny, smooth, or glassy appearance which indicates it no longer bites into the sheaves.
Oil, grease, or belt dust deposits on the pulley faces break the required friction bond. Clean the sheaves with high-quality brake cleaner to restore the matte finish necessary for grip.
🔧 Step-by-Step Fix Guide
CVT Housing Removal
Remove the outer CVT cover by unscrewing the mounting bolts. Use a socket set to carefully collect all bolts, as some may vary in length.
Ensure the engine is off and the key is removed to prevent accidental engagement.
Belt Inspection
Inspect the belt for cracks, missing chunks, or 'burning' marks. Measure the width with a digital caliper to ensure it is within the service manual specifications.
Do not attempt to 'spin' the clutch with the cover off while the engine is running.
Sheave Cleaning
Use a non-residue brake cleaner and a Scotch-Brite pad to remove all rubber deposits from the pulley sheaves. Wipe with a clean, lint-free shop rag until no black residue remains on the cloth.
Ensure the brake cleaner has fully evaporated before starting the engine.
Secondary Clutch Spring Check
Check for excessive movement or binding in the secondary clutch. If the spring feels weak or the clutch assembly does not slide smoothly, it may require professional service or a complete spring replacement.
Secondary clutches are under high spring tension; use caution when disassembling.
Alignment Verification
Ensure the engine and transmission mounts are not sagging. Misalignment can lead to premature belt wear and constant squealing regardless of belt condition.
Tighten all mounts to the torque specifications provided in the service manual.
Belt Installation
Properly seat the new belt by pushing it deep into the secondary sheave. Ensure the directional arrow matches the forward rotation of the CVT.
Never force a belt over the pulleys with a screwdriver, as this damages the clutch face.
Break-in Procedure
After installing a new belt, operate the machine at low speeds with varied throttle for the first 10-20 miles. This heat-cycles the belt and ensures it seats properly to the sheave angle.
Avoid full-throttle acceleration during the initial break-in period.
What To Test Next
If the basics check out, verify spark, fuel delivery, and compression in that order — the three essentials of any combustion engine.
Component Reference

Oil & Lubrication System
Regular oil changes are critical. Low or dirty oil causes engine wear, overheating, and eventual seizure. Check the dipstick before every season.

Fuel System
Stale fuel is the most common cause of seasonal starting failures. Fuel breaks down in 30 days, leaving varnish that clogs carburetor jets and fuel filters.

Drive & Cutting System
Belts, pulleys, and clutches transfer engine power to the wheels and cutting deck. A worn or thrown belt is the most common drive-system failure.
Photos for educational reference. Actual parts may vary by make and model.
Common Mistakes to Avoid
Using petroleum-based cleaners on the sheaves
Ignoring the directional arrow on the belt
Over-tightening the CVT housing bolts and stripping threads
Failing to clean the dust out of the cooling intake ducts
If This Didn't Fix It
Still having trouble? These are the next things to check:
Get the Exact Parts for Your Machine
Tell us your equipment's year, make, and model — we'll search for parts that actually fit, not generic ones.
Finding parts for
Kawasaki Mule Pro FXT
Required Gear
Matched to your Kawasaki Mule Pro FXT — click to find the exact fit on Amazon.
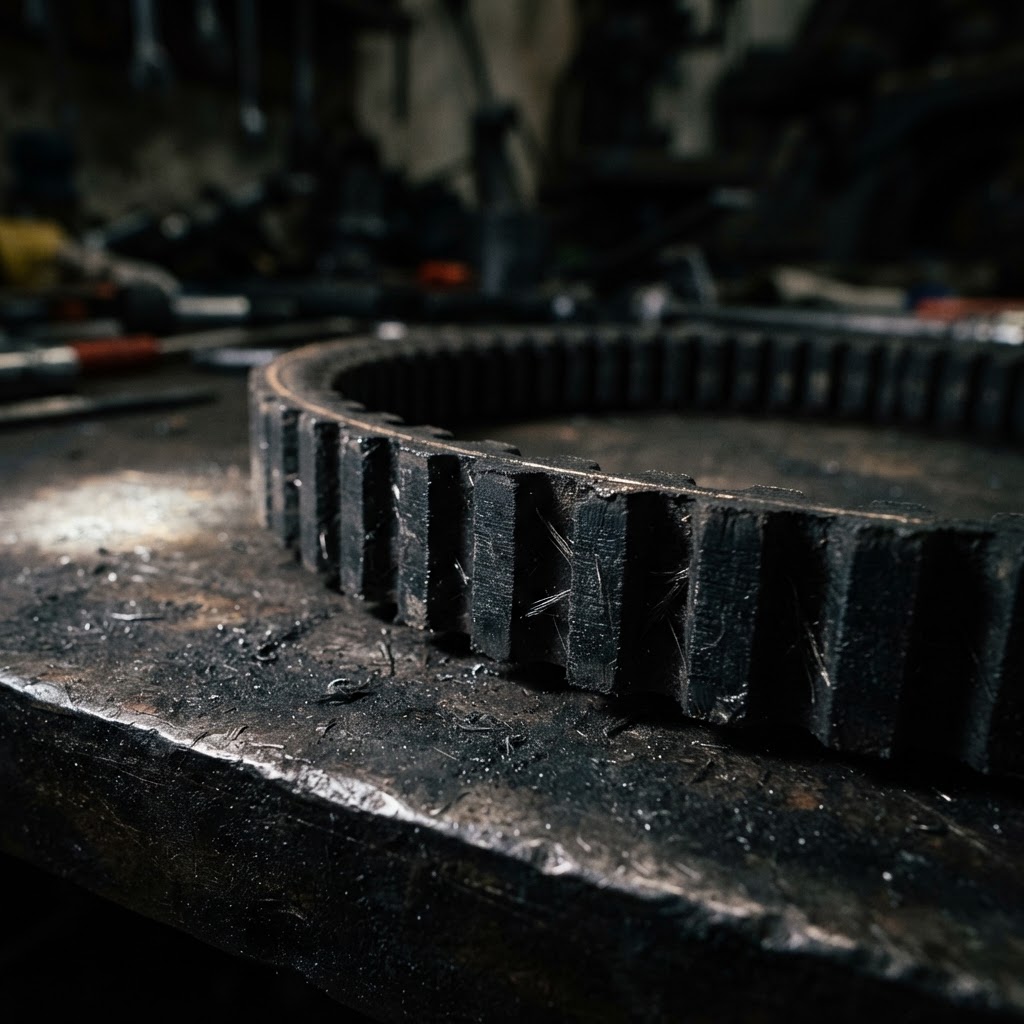
OEM Kawasaki CVT Drive Belt
The existing belt is likely glazed or stretched from slippage, and an OEM replacement ensures correct compound hardness and dimensions to eliminate squealing.
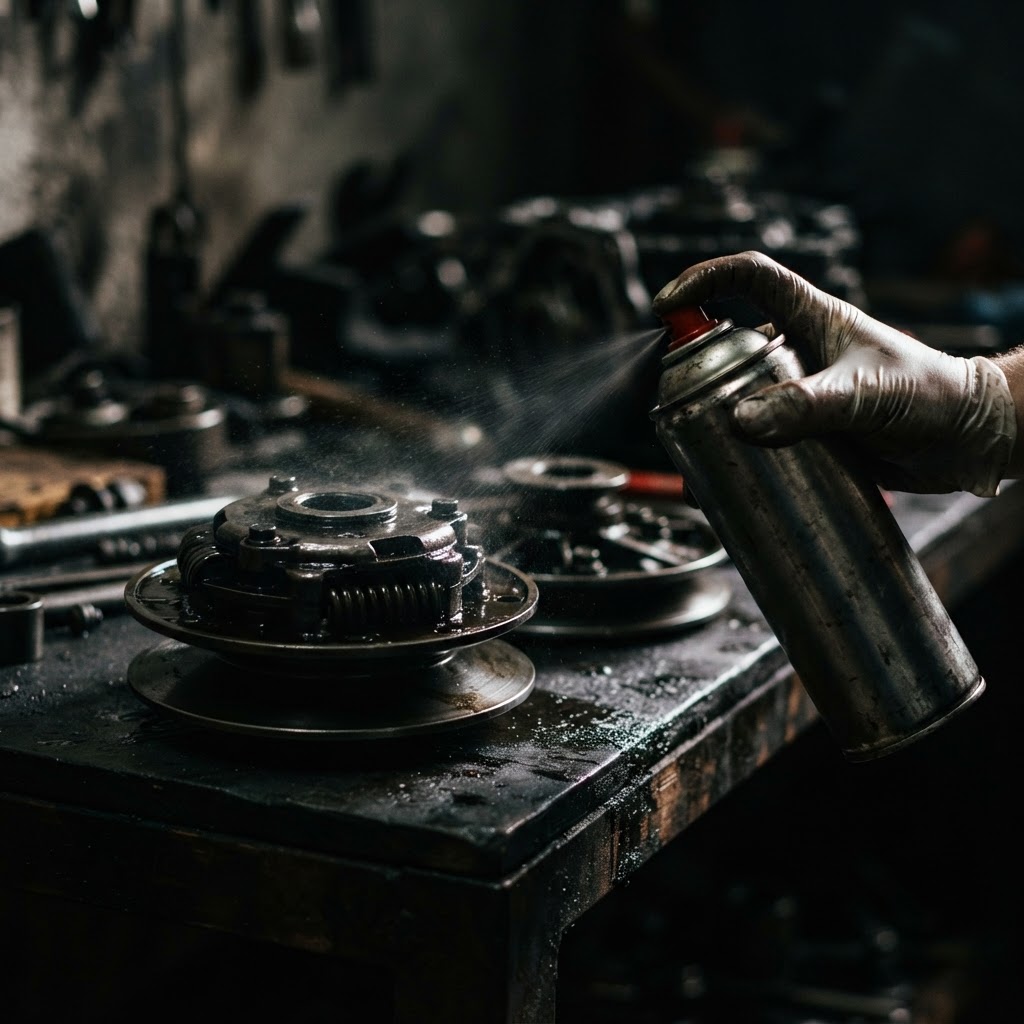
CVT Clutch Cleaning Solvent
This specific degreasing agent is essential to remove rubber residue and clutch dust from the sheaves to prevent the new belt from slipping immediately.
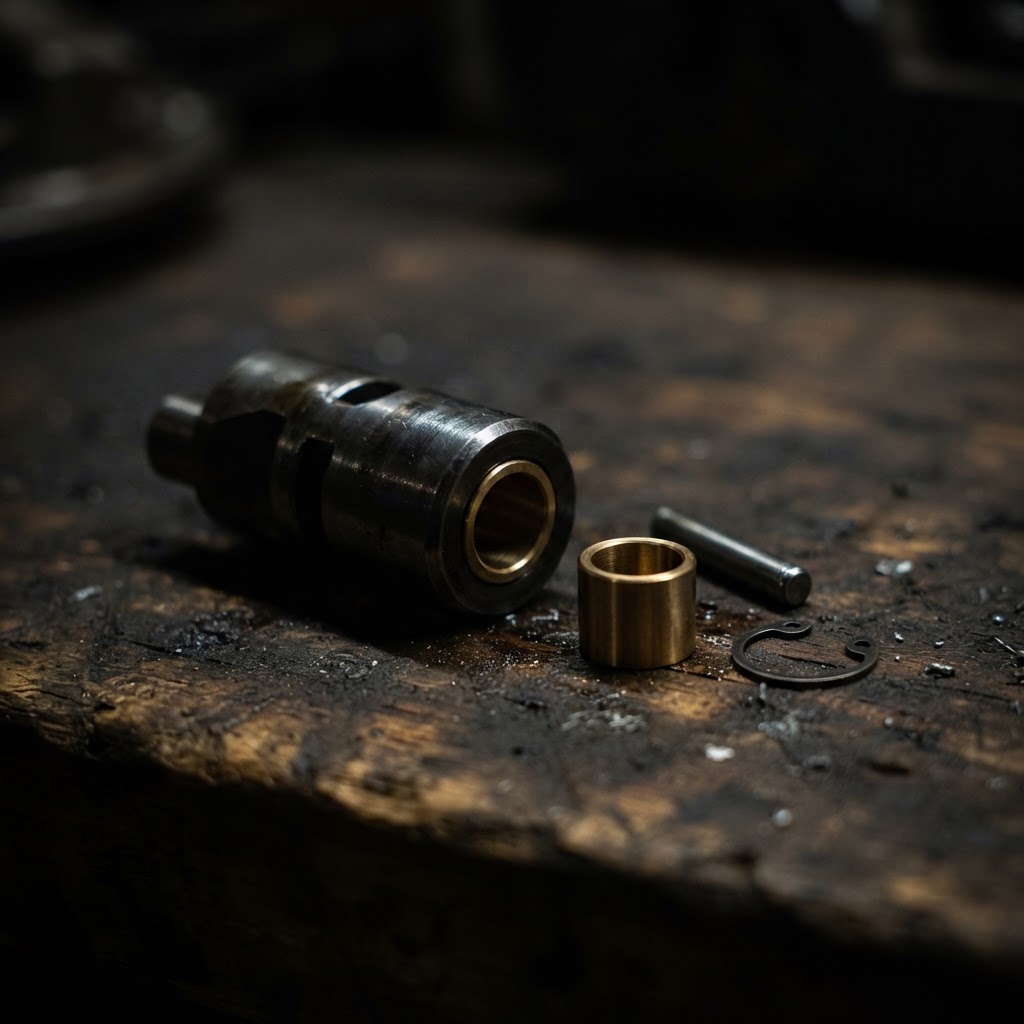
Primary Clutch Weight Bushing Kit
Worn weights cause inconsistent engagement and vibration, which often contributes to the high-pitched squeal during initial acceleration.
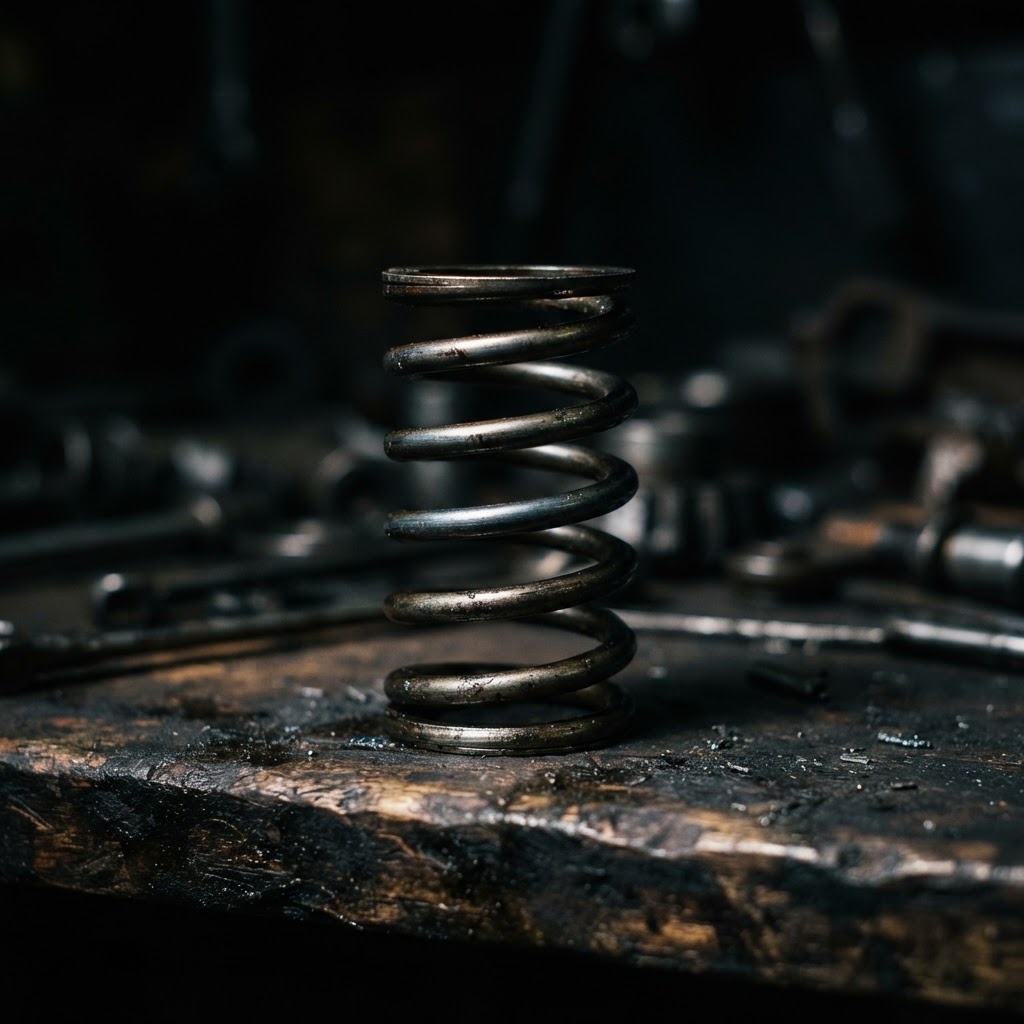
Secondary Clutch Spring
A weakened spring fails to maintain proper side-pressure on the belt, leading to the friction-induced noise identified in the troubleshooting guide.
Affiliate Disclosure: Lil Engine may earn commissions from qualifying purchases.
Pro Tips from the Community
Real-world fixes from Reddit, YouTube & forums.
"Always wash a new OEM belt in warm soapy water and let it dry before installing. This removes the slippery mold-release agent from the factory that often causes initial squeal."
YouTube comments"Check the CVT air intake located under the front of the bed. If the plastic push-pins are missing, the ducting drops and sucks in dirt directly from the rear tire, which kills the belt quickly."
Reddit r/UTV"If you're smelling rubber and hearing squeals when starting off, you're likely in High range when you should be in Low. Use Low for anything under 15 MPH to save your belt."
TractorByNet ForumPrevent This From Coming Back
Blow out the CVT housing with compressed air every 50 hours of use
Check for mud or debris in the cooling intake vents after every trail ride
Avoid riding at low speed in high gear when carrying heavy cargo
Inspect belt width during every seasonal oil change
Prevent This From Happening Again
While you're fixing it, stock up on the maintenance essentials that keep your small engines running right.
Spark Plug
The cheapest, fastest fix for most small engine starting problems.
Get on AmazonCarburetor Cleaner
Cleaning the carb is the #1 fix for surging and stalling engines.
Get on AmazonFuel Stabilizer
Prevents the stale fuel problems that cause most seasonal no-starts.
Get on AmazonAffiliate Disclosure: Lil Engine may earn commissions from qualifying purchases.
Frequently Asked Questions
Absolutely not. Belt dressing will attract dust and dirt, turning your CVT into a sandpaper grinder that will ruin your sheaves.
Video Help
Helpful videos showing these repairs in action.
Share Your Repair
Real-world fixes help everyone. Share what worked and your repair becomes part of Lil Engine's community database.
Related Problems
More Small Engines GuidesRelated Maintenance Articles
Related Searches
Kawasaki small engine Guides
Did this help?
Your feedback helps improve guides for everyone.