UTV Drive Belt Squealing and Slipping
⚡ Quick Answer
A squealing or slipping UTV belt is usually caused by a worn belt, moisture inside the clutch housing, or dirty sheaves. Start by inspecting the belt for glazing or cracks and cleaning the clutch faces to ensure a proper grip.
What do you want to do?
Most Likely Cause
Glazed Belt and Sheave Faces
Prolonged slippage or high-heat operation causes the belt and the aluminum clutch sheaves to develop a smooth, polished surface. This reduces the frictional coefficient, requiring a thorough cleaning with 80-grit sandpaper and acetone to restore grip.
Start here — this is the most common reason for this symptom.
Why This Problem Happens
UTV drive belt squealing is the audible manifestation of friction-driven slippage between the aramid-corded rubber belt and the machined aluminum sheaves of the primary and secondary clutches. Under normal operating conditions, the CVT system maintains a specific side-pressure on the belt to maintain traction. When the belt loses grip, it oscillates rapidly at high frequencies, creating the characteristic 'squeal' as it rubs against the sheave faces. This failure often stems from the breakdown of the coefficient of friction due to glazing—a chemical hardening of the rubber surface—or contaminated belt compounds caused by environmental debris or oil seepage from engine seals. As the belt heats up from the parasitic energy of slipping, the rubber loses its tensile strength and elasticity, leading to further slippage under load. This creates a thermal feedback loop that eventually destroys the belt cords, manifesting in poor acceleration and inability to reach top speed as the effective gear ratio fails to shift properly under centrifugal load.
Common Symptoms
- High-pitched chirping or shrieking on initial clutch engagement
- Burning rubber odor during hill climbs or heavy hauling
- Poor throttle response or 'bogging' under load
- Engine RPMs rise significantly without corresponding ground speed
- Visible black rubber dust inside the CVT cooling duct
Before You Buy Parts
Quick, free inspections — check these first. Most repairs don't actually need replacement parts.
Complete Resource Guide
Complete Small Engines Troubleshooting Guide
Repair Overview
1–2 hours
$80–$150
First Checks — Start Here
- 1Check the CVT housing for water or mud intrusion
- 2Inspect the belt for visible fraying or glazing
- 3Clean the clutch sheaves with brake cleaner
- 4Verify the transmission is fully shifted into gear
- 5Check for debris inside the intake vents
Safety Warnings
- !Ensure the engine is off and the key is removed to prevent accidental engagement.
- !Do not attempt this while the engine is running.
- !Wear eye protection to prevent metal particles from entering your eyes.
- !Ensure the area is well-ventilated as these chemicals are highly flammable.
- !Primary springs are under high tension; use a proper clutch compression tool.
- !Ensure the belt is installed in the correct rotational direction if marked with an arrow.
Always disconnect the spark plug, work in a well-ventilated area, and consult a professional if unsure.
Most Likely Causes
Ranked by likelihood — tap each to see diagnosis details.
Prolonged slippage or high-heat operation causes the belt and the aluminum clutch sheaves to develop a smooth, polished surface. This reduces the frictional coefficient, requiring a thorough cleaning with 80-grit sandpaper and acetone to restore grip.
Worn clutch rollers or flyweights prevent the primary clutch from fully compressing the belt at low RPM. You can identify this by inspecting the weights for flat spots which inhibit proper shifting geometry.
🔧 Step-by-Step Fix Guide
Inspect CVT Housing and Ducting
Remove the outer CVT cover and check for debris or water intrusion. A clogged intake duct will cause premature belt heat-soak and eventual slippage.
Ensure the engine is off and the key is removed to prevent accidental engagement.
Measure Belt Deflection
Apply firm pressure to the center of the belt between the clutches. Use a straightedge and a ruler to compare your measurement against the manufacturer's specified deflection, adjusting with shims if necessary.
Do not attempt this while the engine is running.
Scuff Sheave Faces
Use a Scotch-Brite pad or 80-grit emery cloth to lightly scuff the clutch sheaves in a radial pattern. This breaks the glaze and provides a better mechanical bite for the new belt.
Wear eye protection to prevent metal particles from entering your eyes.
Degrease with High-Purity Solvent
Wipe down all clutch surfaces using 99% pure isopropyl alcohol or a dedicated brake cleaner. Any lingering oils or degreasers will compromise the new belt immediately.
Ensure the area is well-ventilated as these chemicals are highly flammable.
Check Clutch Rollers and Weights
Remove the primary clutch spring cap and inspect all rollers for flat spots or seized pins. Replace any components showing significant grooving to ensure smooth shifting.
Primary springs are under high tension; use a proper clutch compression tool.
Install and Break-In New Belt
Install a high-quality OEM-spec belt and perform a 'break-in' period by varying throttle input and avoiding high-speed constant loads for the first 20 miles. This seats the belt into the sheaves properly.
Ensure the belt is installed in the correct rotational direction if marked with an arrow.
What To Test Next
If the basics check out, verify spark, fuel delivery, and compression in that order — the three essentials of any combustion engine.
Component Reference

Oil & Lubrication System
Regular oil changes are critical. Low or dirty oil causes engine wear, overheating, and eventual seizure. Check the dipstick before every season.

Drive & Cutting System
Belts, pulleys, and clutches transfer engine power to the wheels and cutting deck. A worn or thrown belt is the most common drive-system failure.

Engine Internals & Compression
Valves, piston rings, and the head gasket maintain compression. Low compression causes hard starting, power loss, and rough running.
Photos for educational reference. Actual parts may vary by make and model.
Common Mistakes to Avoid
Using generic automotive degreasers that leave an oily residue
Ignoring the 'break-in' period, which causes premature belt glazing
Failing to check for engine/transmission leaks that re-contaminate the belt
Using excessive shims in the secondary clutch, causing too much belt tension
If This Didn't Fix It
Still having trouble? These are the next things to check:
Get the Exact Parts for Your Machine
Tell us your equipment's year, make, and model — we'll search for parts that actually fit, not generic ones.
Finding parts for
UTV
Required Gear
Matched to your UTV — click to find the exact fit on Amazon.
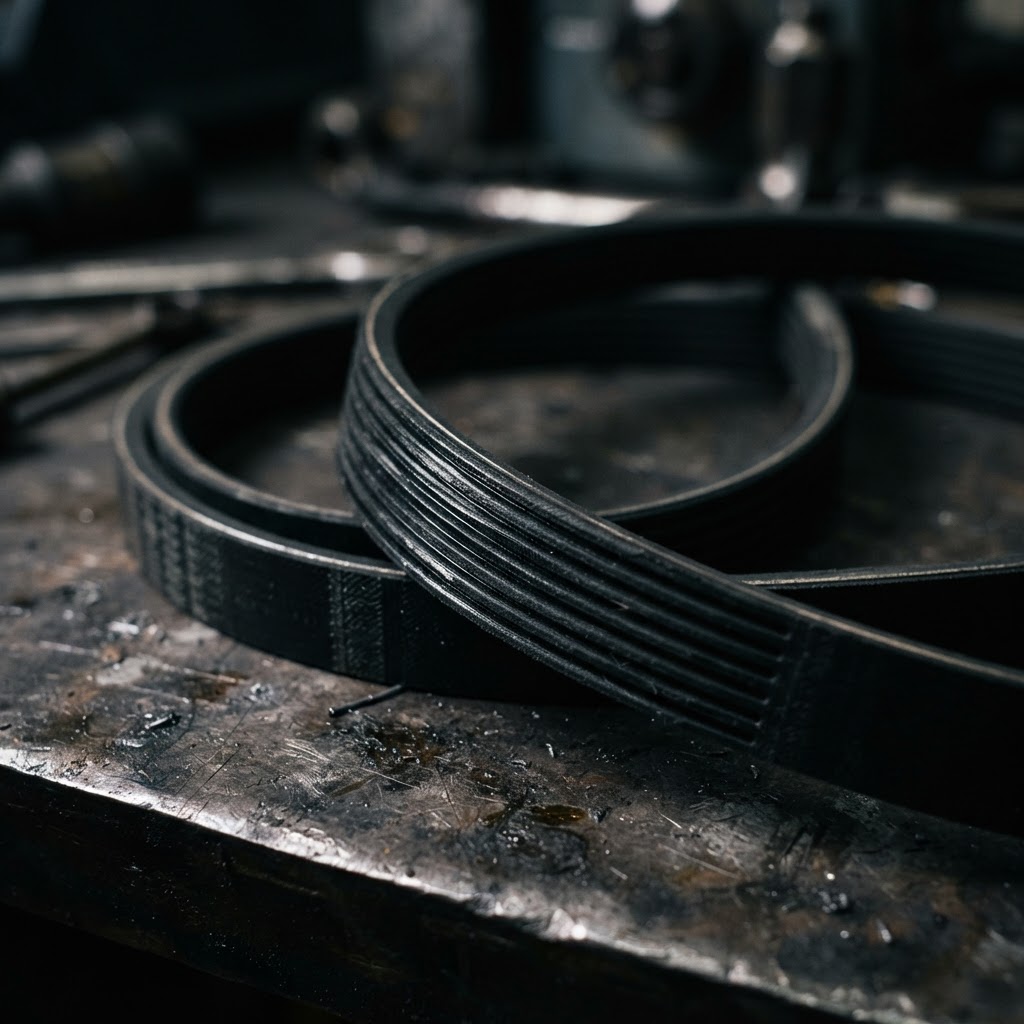
OEM Specification Drive Belt
Once a belt has glazed or slipped extensively, the material integrity is compromised and it must be replaced to restore proper grip and prevent further slippage.
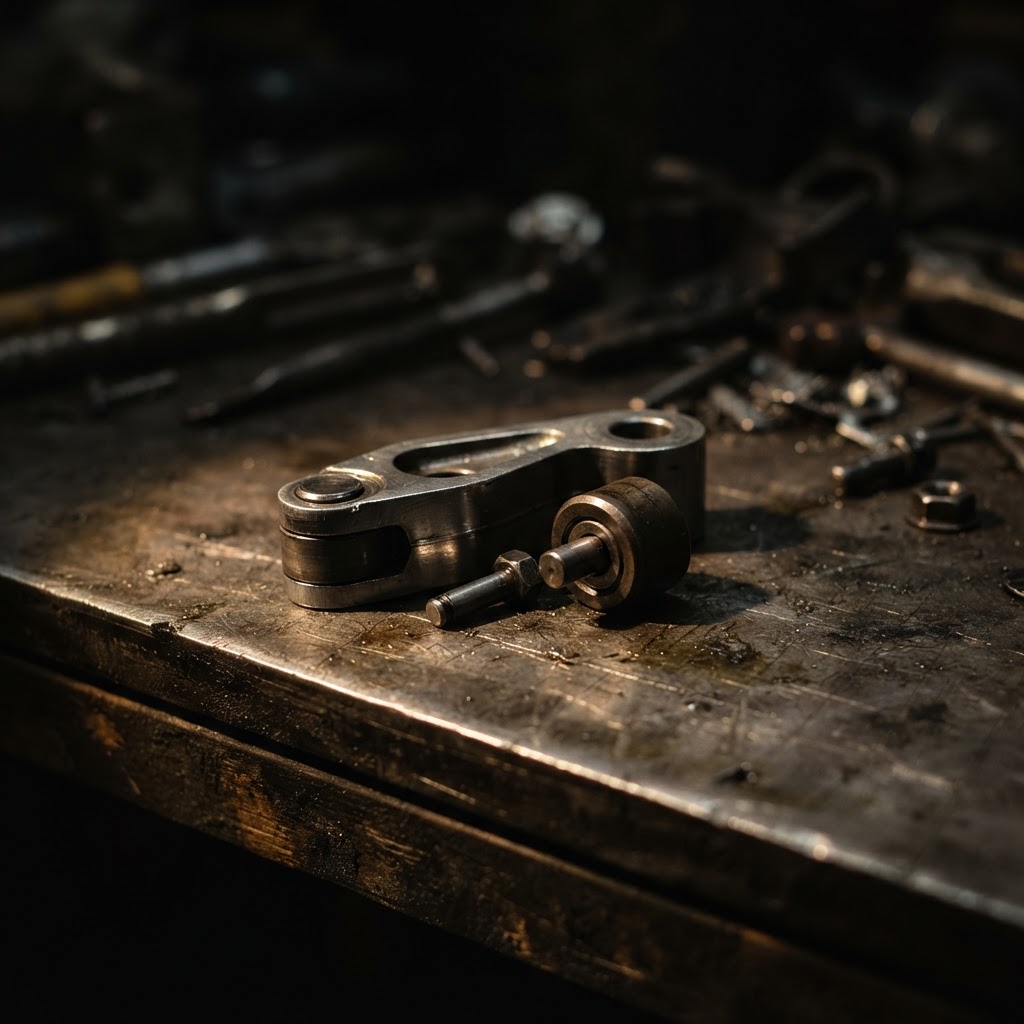
CVT Primary Clutch Weight and Roller Kit
If internal weights or rollers have developed flat spots or excessive wear, they will cause improper clutch engagement and persistent belt slippage regardless of belt condition.
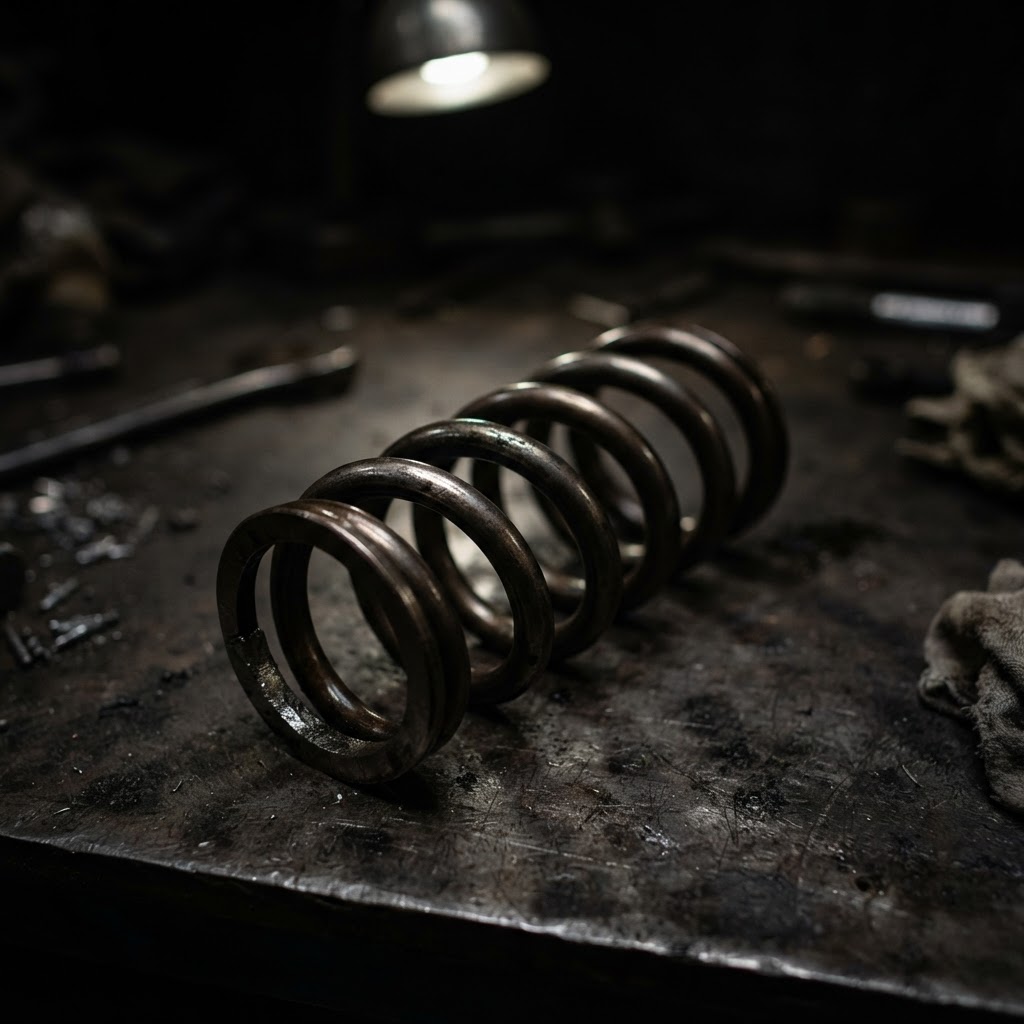
Secondary Clutch Spring
Spring fatigue prevents the secondary clutch from maintaining the necessary clamping force on the belt, which is a common cause of squealing under load.
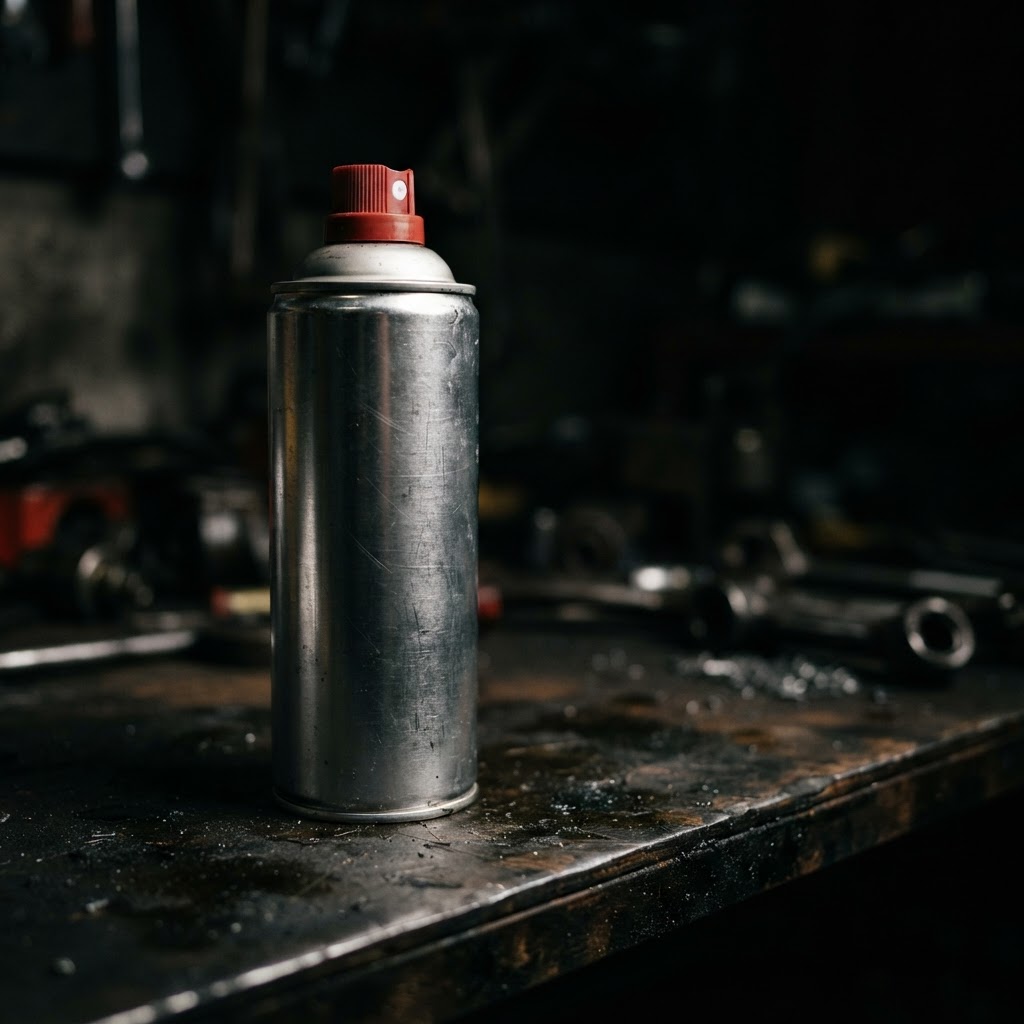
High-Purity Brake and Parts Cleaner
This is essential for removing oil or grease contaminants from the sheave faces that prevent the belt from achieving a clean friction interface.
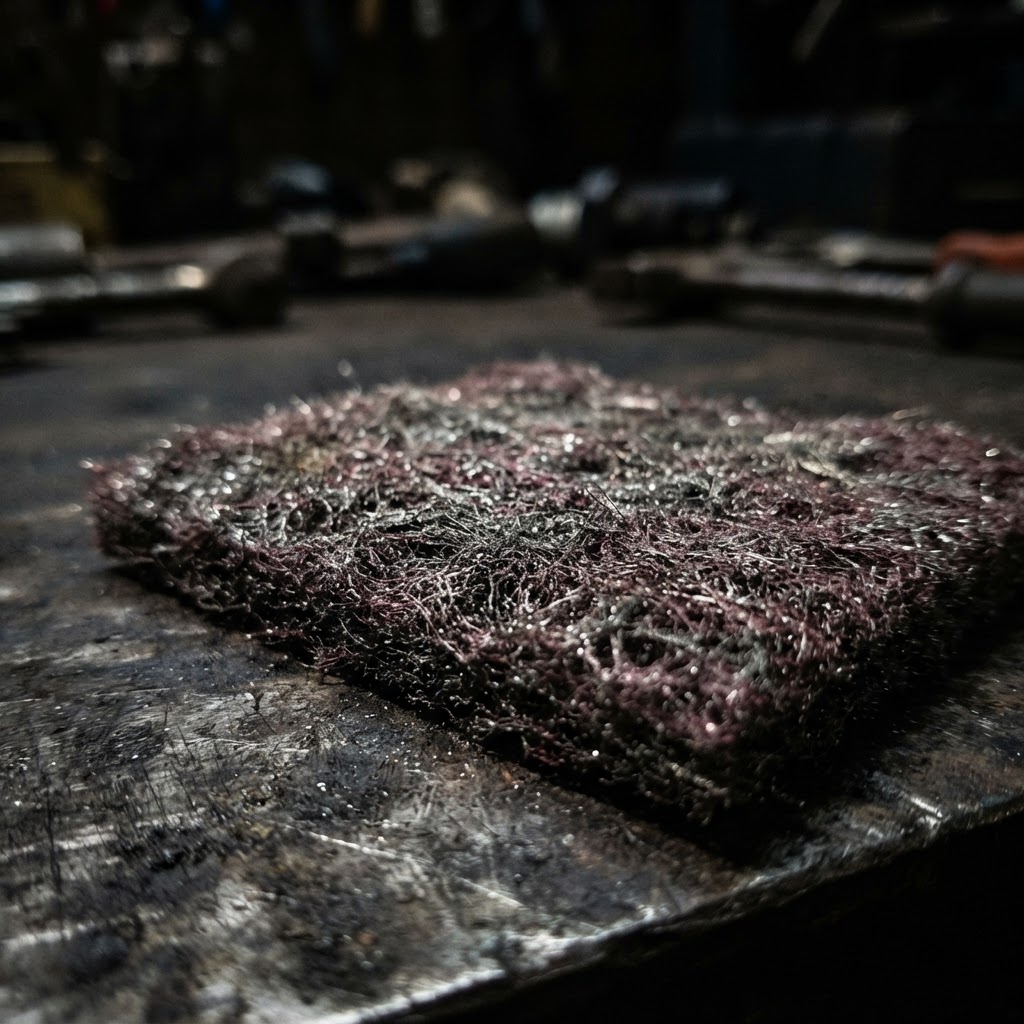
Scotch-Brite Abrasive Surface Conditioning Pad
Used to scuff and deglaze the metallic sheave faces of the primary and secondary clutches, ensuring the new belt creates a proper friction bond.
Affiliate Disclosure: Lil Engine may earn commissions from qualifying purchases.
Pro Tips from the Community
Real-world fixes from Reddit, YouTube & forums.
"If your belt is squealing at idle, check your one-way bearing in the primary clutch because it's likely seized and dragging the belt."
Reddit r/UTV"Clean the clutch sheaves with red Scotch-Brite and acetone until they are dull gray; any oil residue will make a new belt slip immediately."
TractorByNet"Always break in a new belt by running through low-range cycles for the first 30 miles; if you hammer it right out of the box, you will glaze the belt and it will squeal forever."
YouTube comments"Check your engine mounts for excessive movement, as a misaligned motor will cause the clutches to drift and eat belts prematurely."
DoItYourself.comPrevent This From Coming Back
Regularly blowing out the CVT housing with compressed air to remove rubber dust
Cleaning the intake filter screen to maintain airflow and cooling
Inspecting engine oil and transmission fluid levels for signs of seal leaks
Practicing 'low gear' operation when towing or climbing steep inclines
Prevent This From Happening Again
While you're fixing it, stock up on the maintenance essentials that keep your small engines running right.
Spark Plug
The cheapest, fastest fix for most small engine starting problems.
Get on AmazonCarburetor Cleaner
Cleaning the carb is the #1 fix for surging and stalling engines.
Get on AmazonFuel Stabilizer
Prevents the stale fuel problems that cause most seasonal no-starts.
Get on AmazonAffiliate Disclosure: Lil Engine may earn commissions from qualifying purchases.
Frequently Asked Questions
High gear puts more strain on the belt at low speeds, preventing the CVT from maintaining proper clamping force. Using Low gear keeps the RPMs higher and the clutch ratio optimized, which eliminates the slip.
Video Help
Helpful videos showing these repairs in action.
Share Your Repair
Real-world fixes help everyone. Share what worked and your repair becomes part of Lil Engine's community database.
Related Problems
More Small Engines GuidesRelated Maintenance Articles
Related Searches
Small Engines Troubleshooting
Did this help?
Your feedback helps improve guides for everyone.