2016 Exmark Quest Won't Crank — Starter Solenoid Clicking and Cable Arcing Diagnosis
⚡ Quick Answer
The arcing at the positive cable combined with a clicking solenoid usually indicates a high-resistance short or a mechanical lock in the engine, commonly hydrolock on the Kohler 7000 series. First, remove the spark plugs and attempt to rotate the engine by hand to ensure it isn't full of fuel or seized. If the engine rotates freely, the arcing suggests the positive cable insulation has rubbed through against the frame or the 'new' starter has an internal short to its casing.
What do you want to do?
Most Likely Cause
Corroded or Loose Battery Ground Cable
The ground cable on the Exmark Quest connects directly to the frame. Over time, paint and corrosion break down this bond; check the lug connection point for paint buildup or surface oxidation.
Start here — this is the most common reason for this symptom.
Why This Problem Happens
The clicking and arcing you are experiencing on your 2016 Exmark Quest indicate a high-resistance fault within the high-amperage starting circuit. When you turn the ignition key, the solenoid coil energizes, pulling the internal plunger to bridge the battery and starter lugs. Because the circuit is effectively an open loop or high-resistance connection, the amperage surges to find a path, resulting in visible arcing at the point of resistance and an audible click as the solenoid plunger fails to maintain contact under load. This is a classic 'voltage drop' scenario. Even if the battery shows 12.6 volts at rest, the high current required to spin a starter motor—often over 100 amps—will cause the voltage to plummet to zero if there is a faulty cable, a poor ground, or a loose connection at the battery terminals or chassis ground. In a ZTR like the Quest, common failure points include vibration-loosened main leads and the safety interlock circuit, which often shares the same grounds and can introduce chatter into the solenoid engagement process.
Common Symptoms
- Rapid machine-gun style clicking from the solenoid
- Visible blue sparks at the positive battery terminal
- Starter motor remains silent while solenoid clicks
- Dash lights dim significantly when the key is turned
- Warm or hot-to-the-touch battery cables after attempted starts
Before You Buy Parts
Quick, free inspections — check these first. Most repairs don't actually need replacement parts.
Complete Resource Guide
Complete Small Engines Troubleshooting Guide
Repair Overview
1–2 hours
$5–$40
First Checks — Start Here
- 1Test battery voltage: Must be 12.6V+ static and not drop below 10V while the solenoid is clicking.
- 2Remove spark plugs: Check for fuel spraying out (hydrolock) while trying to turn the engine.
- 3Inspect positive cable: Look for copper showing where the wire passes through the frame or near the battery hold-down.
- 4Clean the engine ground: Ensure the negative cable has a metal-to-metal connection directly to the engine block.
- 5Bypass the solenoid: Use a heavy-gauge jumper cable to go from the battery positive directly to the starter post.
- 6Verify fuse: Check the 20-amp or 25-amp main fuse located near the solenoid for signs of melting or heat.
Safety Warnings
- !Ensure the mower is on a level surface with the parking brake engaged.
- !Disconnect the battery negative terminal before working on the chassis ground to prevent shorts.
- !Wear safety glasses, as debris may fly when cutting cable insulation.
- !Keep hands clear of the cooling fan and pulleys during testing.
- !Do not leave the tester connected longer than 15 seconds to avoid overheating the shunt.
- !Neutralize acid deposits with a baking soda and water solution.
- !Using wingnuts instead of hex nuts on battery terminals
- !Assuming a new battery is fully charged and load-tested
Always disconnect the spark plug, work in a well-ventilated area, and consult a professional if unsure.
Most Likely Causes
Ranked by likelihood — tap each to see diagnosis details.
The ground cable on the Exmark Quest connects directly to the frame. Over time, paint and corrosion break down this bond; check the lug connection point for paint buildup or surface oxidation.
Cables can suffer from internal oxidation where the copper wire meets the terminal lug. Even if the outside looks fine, the wire itself may be brittle and incapable of carrying high amperage.
🔧 Step-by-Step Fix Guide
Perform a Voltage Drop Test
Set your multimeter to DC Volts and place leads on the positive battery post and the solenoid lug. Attempt to crank; if the voltage drops more than 0.5V, the cable or connection is bad.
Ensure the mower is on a level surface with the parking brake engaged.
Clean and Secure the Chassis Ground
Locate the negative cable attachment point on the frame, remove the bolt, and use a wire brush or sandpaper to expose bare, shiny metal. Reinstall using an external star washer for a superior bite.
Disconnect the battery negative terminal before working on the chassis ground to prevent shorts.
Inspect Terminal Lugs for Internal Corrosion
Cut back the insulation on your positive and negative cables. If the copper strands appear green or black instead of bright copper, replace the entire cable assembly.
Wear safety glasses, as debris may fly when cutting cable insulation.
Check the Solenoid Actuation Circuit
Test the small gauge wire coming from the ignition switch to the solenoid. Use a test light to ensure it receives a solid 12V signal while the key is turned to the start position.
Keep hands clear of the cooling fan and pulleys during testing.
Verify Battery Load Under Cranking
Use a load tester to verify the battery remains above 9.6 volts during a 15-second cranking period. If it drops below this, the battery is dead regardless of its resting voltage.
Do not leave the tester connected longer than 15 seconds to avoid overheating the shunt.
Clean Battery Posts and Terminals
Use a terminal brush to remove all lead oxide from the battery posts. Apply a thin layer of dielectric grease to prevent future oxidation.
Neutralize acid deposits with a baking soda and water solution.
What To Test Next
If fuel delivery checks out, the next thing to inspect is spark — remove the spark plug, ground its threads to the engine block, and crank the engine to look for a visible blue spark.
Component Reference

Carburetor & Fuel Intake
The carburetor mixes air and fuel for combustion. A clogged jet or stuck float is the #1 cause of small engine starting and surging problems.

Spark Plug & Ignition System
The spark plug ignites the air-fuel mixture. A fouled plug, wrong gap, or failing ignition coil will prevent the engine from firing.

Fuel System
Stale fuel is the most common cause of seasonal starting failures. Fuel breaks down in 30 days, leaving varnish that clogs carburetor jets and fuel filters.

Electrical & Starting System
The battery, solenoid, and starter motor work together to crank the engine. A weak battery or corroded connection is often mistaken for a fuel or spark problem.
Photos for educational reference. Actual parts may vary by make and model.
Common Mistakes to Avoid
Replacing components before performing a voltage drop test
Using wingnuts instead of hex nuts on battery terminals
Ignoring the condition of the negative ground cable
Assuming a new battery is fully charged and load-tested
If This Didn't Fix It
Still having trouble? These are the next things to check:
Get the Exact Parts for Your Machine
Tell us your equipment's year, make, and model — we'll search for parts that actually fit, not generic ones.
Finding parts for
2016 Exmark Quest positive battery cable arcing and starter solenoid
Required Gear
Matched to your 2016 Exmark Quest positive battery cable arcing and starter solenoid — click to find the exact fit on Amazon.
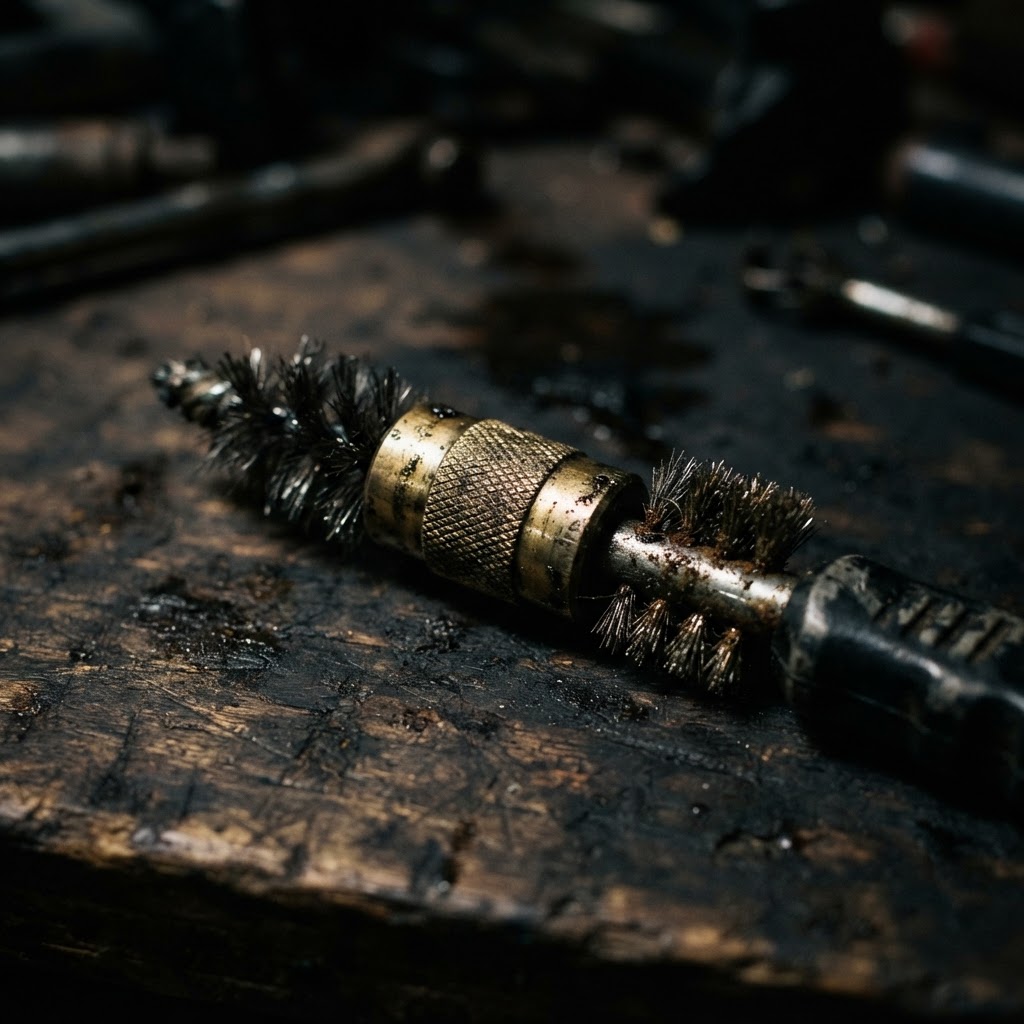
Battery Terminal Cleaning Brush
This is specifically required to remove the oxidation and corrosion from battery posts and internal terminal lug surfaces that cause high electrical resistance during cranking.

Heavy-Duty Battery Cable Set
Given the arcing and clicking symptoms, the existing cables likely have internal corrosion or frayed wires hidden beneath the insulation that cannot be repaired and must be replaced to restore full amperage flow.

Dielectric Grease
This consumable is essential to coat the newly cleaned connections, preventing future moisture intrusion and oxidation on the high-current terminal points.
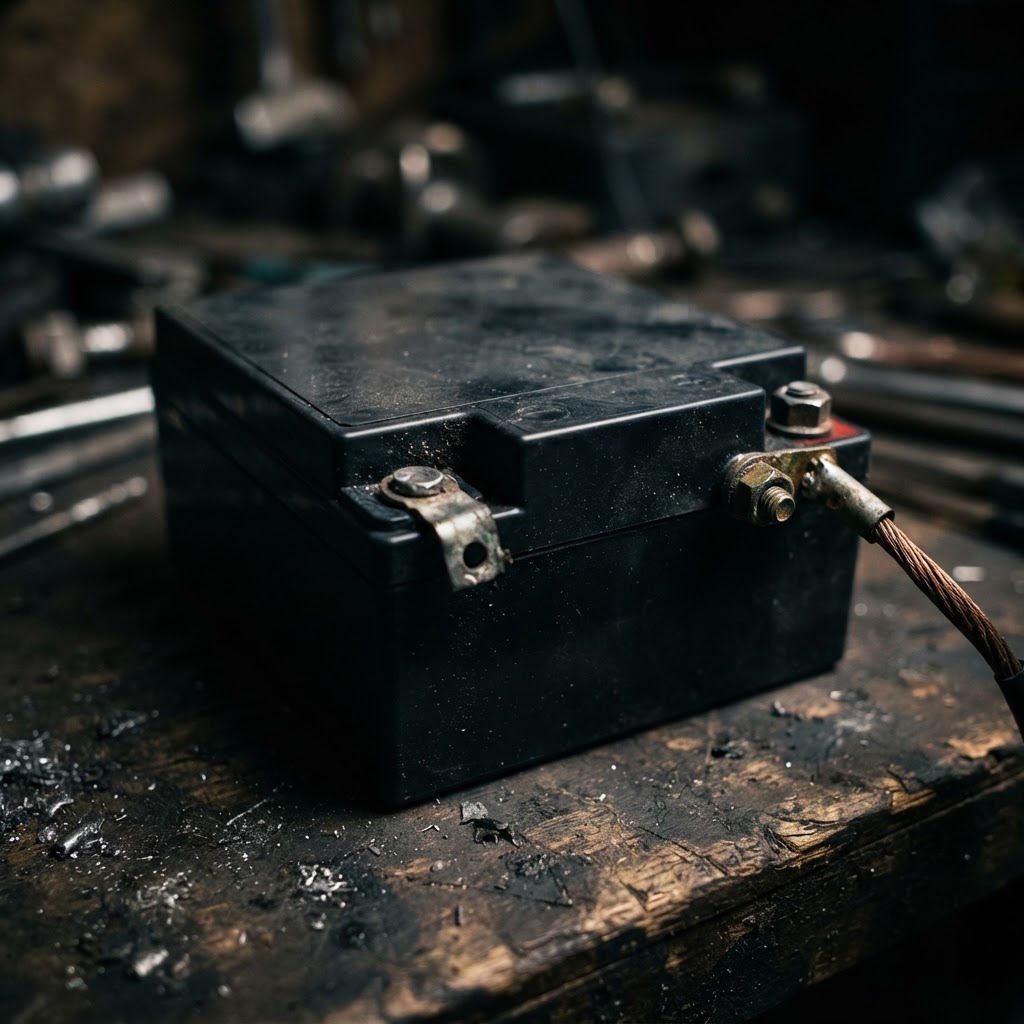
12V Sealed Lead-Acid Replacement Battery
If the troubleshooting reveals the battery cannot maintain voltage under load despite clean connections, it must be replaced to provide the necessary cold cranking amps to engage the starter.
Affiliate Disclosure: Lil Engine may earn commissions from qualifying purchases.
Pro Tips from the Community
Real-world fixes from Reddit, YouTube & forums.
"Check the PTO switch on the dashboard. Even if the solenoid clicks, a partially engaged PTO switch can cause enough resistance in the safety loop to prevent full current flow to the starter."
LawnSite.com Forum"The 2016 Quest often has a hidden ground wire behind the air filter housing that attaches to the engine block. If this is loose, you'll get the 'clicking but no start' symptom every time."
YouTube comments"If you see arcing at the battery terminal, the lead is either loose or the lead end is stretched. Replace the terminal end rather than just over-tightening the nut, which can crack the battery post."
Reddit r/lawncarePrevent This From Coming Back
Apply dielectric grease to all electrical connections annually
Check and tighten battery terminal bolts every 50 hours of operation
Keep the battery on a trickle charger during winter storage
Inspect chassis ground connection points for signs of rust each spring
Prevent This From Happening Again
While you're fixing it, stock up on the maintenance essentials that keep your small engines running right.
Spark Plug
The cheapest, fastest fix for most small engine starting problems.
Get on AmazonCarburetor Cleaner
Cleaning the carb is the #1 fix for surging and stalling engines.
Get on AmazonFuel Stabilizer
Prevents the stale fuel problems that cause most seasonal no-starts.
Get on AmazonAffiliate Disclosure: Lil Engine may earn commissions from qualifying purchases.
Frequently Asked Questions
A new starter is only as good as the electricity fed to it. If the cables have high internal resistance, the starter receives the clicking solenoid signal but not the massive amperage required for rotation.
Video Help
Helpful videos showing these repairs in action.
Share Your Repair
Real-world fixes help everyone. Share what worked and your repair becomes part of Lil Engine's community database.
Related Problems
More Small Engines GuidesRelated Maintenance Articles
Related Symptoms
Related Searches
Small Engines Troubleshooting
Did this help?
Your feedback helps improve guides for everyone.