Riding Mower Cranks But Won't Start — Ignition Coil & Spark Diagnosis
⚡ Quick Answer
To diagnose a suspected failed coil pack (ignition armature), first use an inline spark tester to confirm the absence of a strong blue spark while cranking. Before replacing the unit, disconnect the small kill wire from the coil to rule out a grounded safety switch or a chafed wiring harness. If spark returns with the kill wire disconnected, the coil is functioning correctly and the fault lies within the mower's safety or ignition-cut circuitry.
What do you want to do?
Most Likely Cause
Defective Ignition Coil
If the engine cranks consistently but fails to fire, the ignition coil has likely lost its ability to generate the high-voltage spark required to ignite the fuel mixture inside the combustion chamber. As these components age, internal thermal breakdown often occurs, causing the coil to fail only once the engine has reached operating temperature or attempted a cycle.
Start here — this is the most common reason for this symptom.
Why This Problem Happens
In a Briggs & Stratton or Kohler engine, the ignition coil (magneto) serves as a transformer, converting the low-voltage magnetic field generated by the spinning flywheel magnets into high-voltage electricity for the spark plug. The coil is encased in a resin block, and over years of thermal cycling, internal windings can develop micro-fractures. When the engine reaches operating temperature, the copper wire expands, causing the connection to break and effectively killing the ignition circuit. This leads to a 'no-start when hot' condition, which is a textbook sign of dielectric breakdown or internal open circuit failure within the armature.
Common Symptoms
- Strong engine crank but zero combustion
- Engine starts cold but dies abruptly after 15 minutes of use
- Weak or intermittent spark at the plug electrode
- Yellow or orange spark instead of bright blue
- No spark detected using an inline ignition tester
Before You Buy Parts
Quick, free inspections — check these first. Most repairs don't actually need replacement parts.
Complete Resource Guide
Complete Riding Mowers Troubleshooting Guide
Repair Overview
1–2 hours
$25–$80
First Checks — Start Here
- 1Test for spark with an inline tester — look for a bright blue snap, not a faint orange glow.
- 2Disconnect the coil kill wire — if the engine starts, you have a shorted safety switch or wire.
- 3Verify the flywheel magnets are clean — remove rust with a wire brush or emery cloth.
- 4Check the ignition coil air gap — it must be set to 0.010 - 0.012 inches using a feeler gauge.
- 5Inspect the spark plug for carbon fouling or a cracked porcelain insulator.
- 6Ensure the engine shroud is not pinching the high-tension lead or kill wire.
Safety Warnings
- !Ensure the spark plug wire is disconnected and grounded to prevent accidental engine engagement while your hands are near the flywheel.
- !Do not hold the spark tester with bare hands; use insulated pliers to avoid a high-voltage shock.
- !Always calibrate your multimeter by touching leads together before measuring to account for lead resistance.
- !The magnets on the flywheel are strong; keep fingers clear of the gap to avoid pinching during removal.
- !Check that no wires are pinched under the coil body before seating it onto the mounting posts.
- !Never use a steel feeler gauge, as it can be attracted to the magnet and cause scratching or miscalibration.
- !Keep all clothing and loose tools away from the rotating flywheel once the shroud is removed.
- !Forgetting to reconnect the small spade kill wire after coil installation
- !Assuming the coil is bad without testing for a grounded kill wire first
Always disconnect the spark plug, work in a well-ventilated area, and consult a professional if unsure.
Most Likely Causes
Ranked by likelihood — tap each to see diagnosis details.
Internal insulation fails due to age and heat, causing the coil to short out internally once it reaches operating temperature. Check this by attempting to restart the engine immediately after it stalls; if it fails until cooling down, the coil is the culprit.
Vibration can cause the spade connector on the ignition kill wire to loosen or corrode, grounding the ignition system prematurely. Inspect the wire leading from the coil to the ignition switch for fraying or poor contact.
🔧 Step-by-Step Fix Guide
Remove Blower Housing
Unbolt the plastic or metal shroud covering the engine cylinder to expose the flywheel and coil assembly. Use a 3/8-inch socket or nut driver for most standard shrouds.
Ensure the spark plug wire is disconnected and grounded to prevent accidental engine engagement while your hands are near the flywheel.
Perform Inline Spark Test
Attach an inline spark tester between the spark plug wire and the plug. Crank the engine and observe for a crisp, bright blue flash; if the tester remains dark, the issue is confirmed as ignition-side.
Do not hold the spark tester with bare hands; use insulated pliers to avoid a high-voltage shock.
Test Resistance Values
Set a multimeter to ohms and measure the secondary resistance from the spark plug wire lead to the iron core of the coil. Compare this reading against the engine service manual data for your specific model.
Always calibrate your multimeter by touching leads together before measuring to account for lead resistance.
Remove Defective Coil
Locate the two mounting bolts securing the coil to the engine block and unscrew them using a socket wrench. Carefully slide the coil off, ensuring you track which mounting orientation it originally held.
The magnets on the flywheel are strong; keep fingers clear of the gap to avoid pinching during removal.
Install New Coil
Place the new ignition coil onto the mounting studs but do not fully tighten the bolts yet. Ensure the coil is oriented correctly so the spark plug wire reaches the plug without tension.
Check that no wires are pinched under the coil body before seating it onto the mounting posts.
Set Air Gap
Place a plastic feeler gauge (typically .010 inch) between the flywheel magnet and the coil legs. Rotate the flywheel until the magnet is directly under the coil, allow the magnetic force to pull the coil tight against the gauge, then tighten the mounting bolts.
Never use a steel feeler gauge, as it can be attracted to the magnet and cause scratching or miscalibration.
Reconnect and Test
Reconnect the kill wire and spark plug lead, then reinstall the engine shroud. Perform a final test crank to verify consistent ignition spark.
Keep all clothing and loose tools away from the rotating flywheel once the shroud is removed.
What To Test Next
If a new ignition coil does not resolve the no-start condition, the next logical step is to perform a spark tester assessment to confirm that high-tension electricity is actually reaching the electrode of the spark plug.
Component Reference

Carburetor & Fuel Intake
The carburetor mixes air and fuel for combustion. A clogged jet or stuck float is the #1 cause of small engine starting and surging problems.

Spark Plug & Ignition System
The spark plug ignites the air-fuel mixture. A fouled plug, wrong gap, or failing ignition coil will prevent the engine from firing.

Oil & Lubrication System
Regular oil changes are critical. Low or dirty oil causes engine wear, overheating, and eventual seizure. Check the dipstick before every season.

Electrical & Starting System
The battery, solenoid, and starter motor work together to crank the engine. A weak battery or corroded connection is often mistaken for a fuel or spark problem.
Photos for educational reference. Actual parts may vary by make and model.
Common Mistakes to Avoid
Using a steel feeler gauge which sticks to the magnet and results in an incorrect air gap
Forgetting to reconnect the small spade kill wire after coil installation
Over-tightening the mounting bolts and cracking the resin coil housing
Assuming the coil is bad without testing for a grounded kill wire first
If This Didn't Fix It
Still having trouble? These are the next things to check:
Riding Mower Starting Problems
Not sure if this is the right guide? Here's how to find the exact fix for your symptom:
Get the Exact Parts for Your Machine
Tell us your equipment's year, make, and model — we'll search for parts that actually fit, not generic ones.
Finding parts for
riding mower coil pack replacement
Required Gear
Matched to your riding mower coil pack replacement — click to find the exact fit on Amazon.
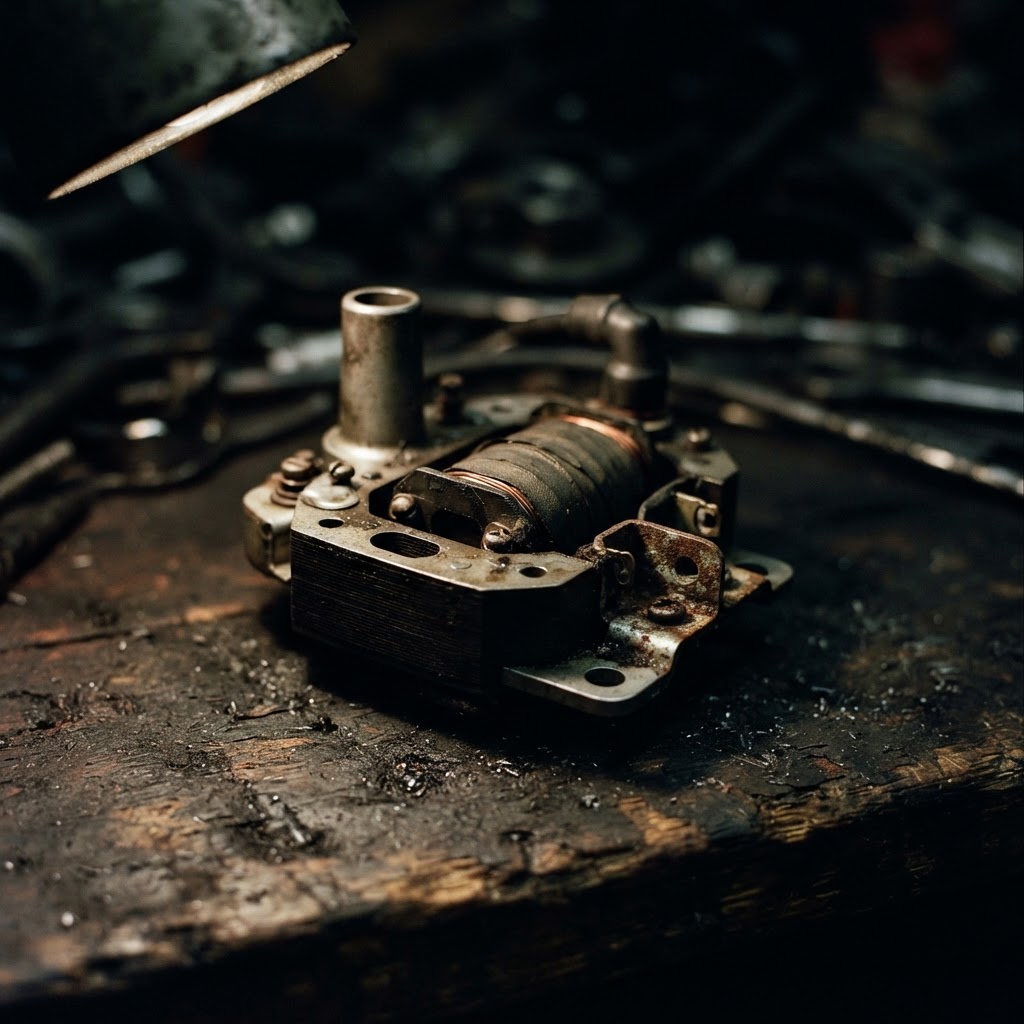
Ignition Coil/Magneto Module
This is the primary replacement component required to restore spark production once the original module has failed due to thermal breakdown or internal shorting.
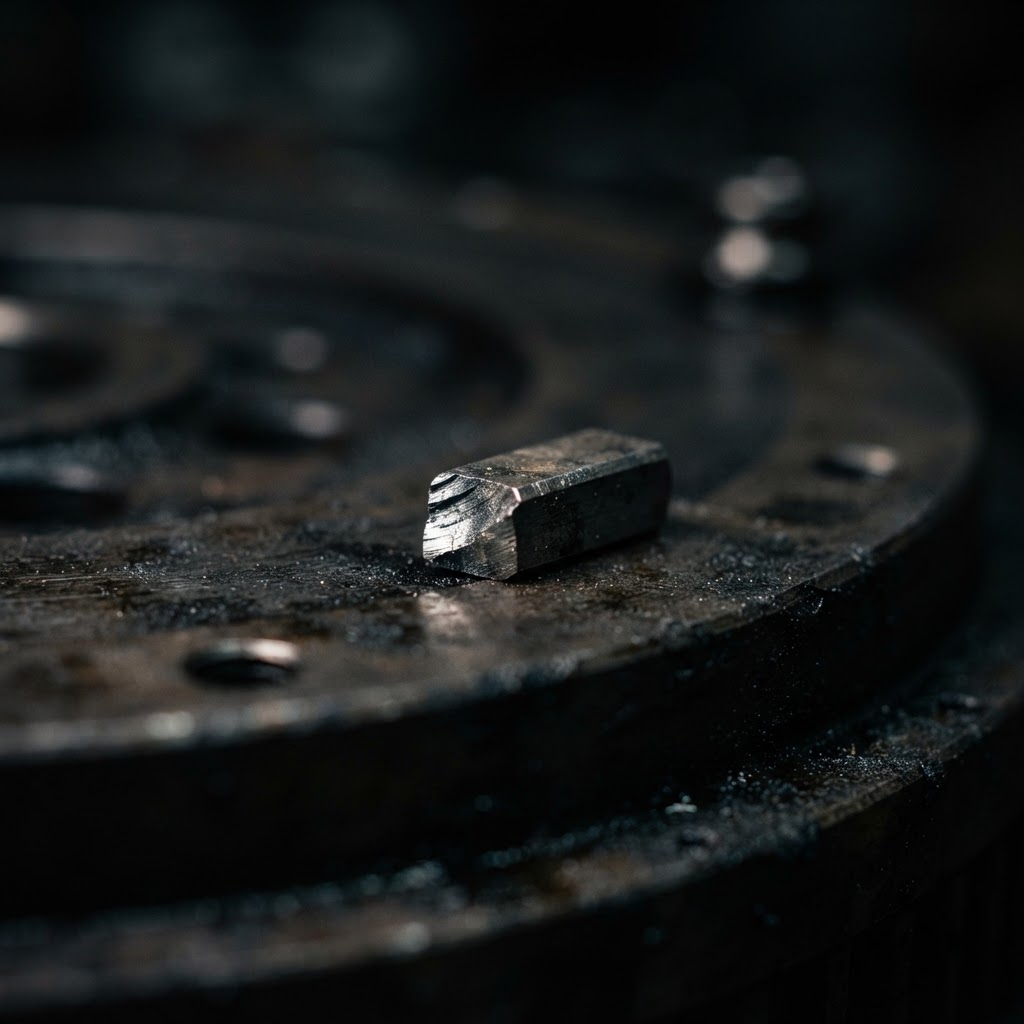
Flywheel Key
This shear key often sustains damage during engine timing failures and must be replaced to ensure the flywheel and crankshaft remain synchronized for proper spark timing.
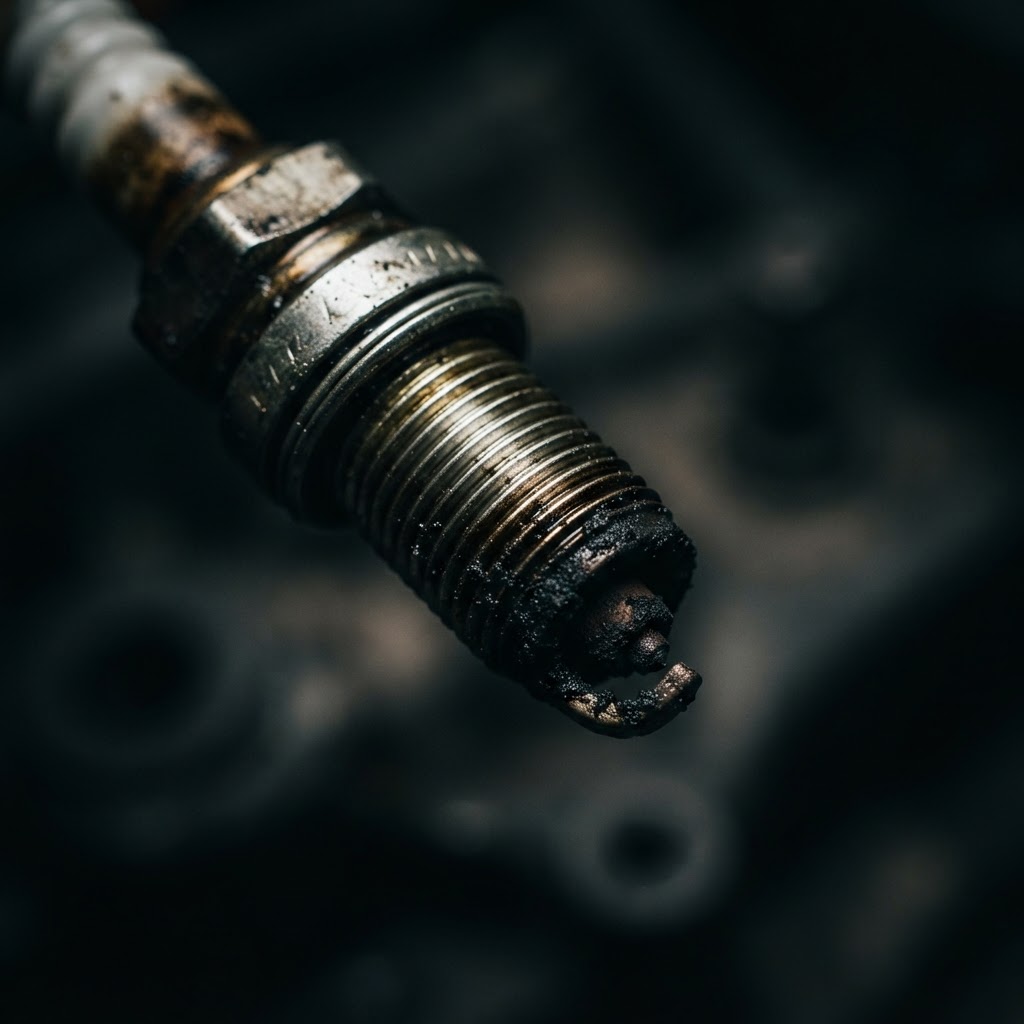
Spark Plug
Installing a new plug is essential after coil replacement to ensure the fresh high-voltage current is delivered to the combustion chamber efficiently without fouling.
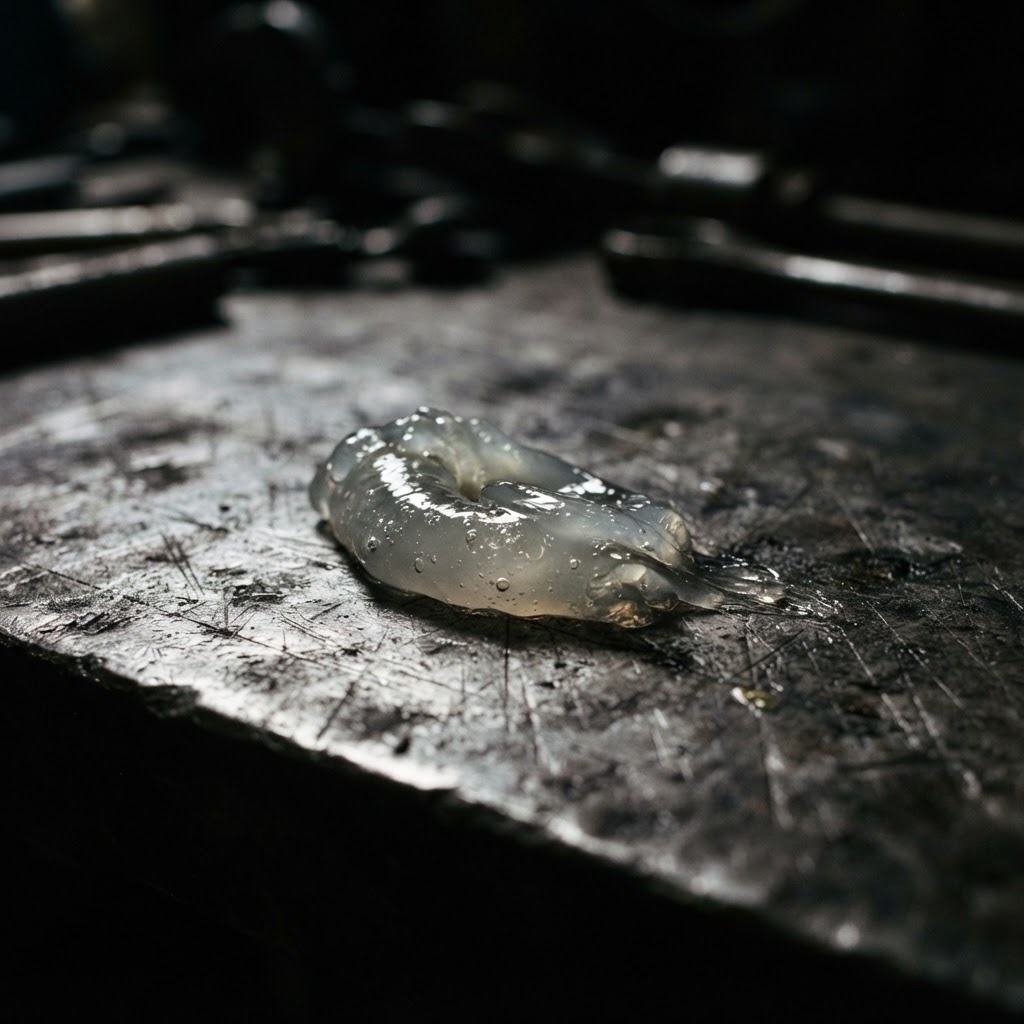
Dielectric Grease
This is a repair-specific consumable used to coat electrical connections and the spark plug boot to prevent moisture intrusion and future corrosion of the kill wire system.
Affiliate Disclosure: Lil Engine may earn commissions from qualifying purchases.
Pro Tips from the Community
Real-world fixes from Reddit, YouTube & forums.
"If you don't have a feeler gauge, a standard business card is usually 0.010 inches thick and works perfectly for setting the coil air gap on almost all riding mower engines."
YouTube comments"Check the underside of the mower deck for a jammed blade or thick grass; sometimes the engine won't 'crank' fast enough to generate a spark if the starter is struggling against mechanical resistance."
Reddit r/lawncare"If your coil tests fine but you still have no spark, check the ignition switch itself; the 'M' terminal can sometimes short internally, grounding the coil even when the key is in the 'Run' position."
LawnSite.com ForumPrevent This From Coming Back
Clean debris from under the engine shroud annually to prevent overheating
Keep the spark plug area clean to prevent moisture-related shorting
Use a dielectric grease on the spark plug boot to ensure a moisture-proof seal
Monitor the engine for excessive vibration which can loosen coil mount bolts
Prevent This From Happening Again
While you're fixing it, stock up on the maintenance essentials that keep your riding mowers running right.
Small Engine Oil
Change oil every 50 hours or once per season to prevent engine wear.
Get on AmazonAir Filter
A clogged air filter reduces power and fuel efficiency — replace annually.
Get on AmazonFuel Stabilizer
Keeps fuel fresh during storage, preventing carburetor gumming.
Get on AmazonAffiliate Disclosure: Lil Engine may earn commissions from qualifying purchases.
Frequently Asked Questions
Yes, you can measure primary and secondary winding resistance. However, this only identifies open circuits and will not detect thermal breakdown that occurs only when the engine is hot.
Video Help
Helpful videos showing these repairs in action.
Share Your Repair
Real-world fixes help everyone. Share what worked and your repair becomes part of Lil Engine's community database.
Related Problems
More Riding Mowers GuidesRelated Maintenance Articles
Related Symptoms
Won’t Start
Related Searches
Riding Mowers Troubleshooting
Did this help?
Your feedback helps improve guides for everyone.