Mower Cranks But Won't Start — Ignition Coil Replacement & No Spark Diagnosis
⚡ Quick Answer
To diagnose a failed ignition coil, first use an inline spark tester to confirm a 'no spark' condition. Before replacing the coil, disconnect the small 'kill wire' (the thin wire leading to the spade terminal) and re-test for spark; if the engine fires, the coil is fine and your problem is a grounded safety switch or ignition wire. If there is still no spark with the kill wire removed, replace the coil and set the air gap between the coil laminations and the flywheel magnet to 0.010"–0.014" using a feeler gauge or a thick business card.
What do you want to do?
Most Likely Cause
Internal Coil Winding Failure
The copper windings inside the epoxy block degrade due to thermal expansion and contraction. This is identified by a 'no spark' condition even when the kill wire is disconnected.
Start here — this is the most common reason for this symptom.
Why This Problem Happens
An ignition coil, or magneto, serves as a high-voltage transformer that converts the low voltage from the flywheel magnets into the thousands of volts required to jump the gap of a spark plug. Over time, the internal windings of the coil deteriorate due to constant exposure to intense engine heat and thermal cycling. As the insulation surrounding the copper wire windings breaks down, the coil begins to short internally, losing its ability to generate the secondary voltage necessary for combustion. This degradation often happens progressively; the coil might fire correctly at room temperature but fail entirely once the engine bay reaches operational heat.
Furthermore, the physical air gap between the coil laminate and the flywheel magnets is critical. If the coil vibrates loose or if the flywheel develops excess play due to a worn crankshaft bearing, the magnetic flux linkage becomes insufficient to induce the required electrical current. Once the primary circuit fails to energize or the transformer windings break down, the plug remains silent. Without that specific timed burst of electricity, the fuel-air mixture within the cylinder is never ignited, leaving the engine to crank indefinitely without catching.
Common Symptoms
- Engine cranks vigorously but shows no signs of combustion
- No visible spark observed when testing with a spark plug tester
- Engine dies suddenly after reaching operating temperature
- Spark plug tip remains dry and fuel-fouled despite cranking
- No voltage output detected on a digital multimeter set to AC millivolts
Before You Buy Parts
Quick, free inspections — check these first. Most repairs don't actually need replacement parts.
Complete Resource Guide
Complete Riding Mowers Troubleshooting Guide
Repair Overview
30–60 minutes
$25–$55
First Checks — Start Here
- 1Check for spark using an inline tester — look for a strong blue flash.
- 2Inspect the spark plug for carbon fouling or a cracked ceramic insulator.
- 3Disconnect the kill wire from the coil to isolate the ignition from safety switches.
- 4Check the flywheel magnet for rust; clean with sandpaper if heavily oxidized.
- 5Verify the coil air gap is set to 0.010"–0.014" (about the thickness of a business card).
- 6Inspect the spark plug boot for internal corrosion or a loose spring clip.
Safety Warnings
- !Remove the ignition key to prevent accidental engine engagement while working.
- !To stop the engine if it starts with the kill wire disconnected, be prepared to pull the spark plug wire or choke it manually.
- !Wear eye protection as debris often falls from under the shroud.
- !Ensure the mower is on a level surface and blocked so it cannot roll.
- !Use a business card if a proper non-magnetic feeler gauge is unavailable to prevent sticking to the magnet.
- !Do not use a steel gauge that could scratch the magnets.
- !Keep all fingers clear of the rotating flywheel assembly.
- !Forgetting to reconnect the kill wire, leaving the user with no way to turn the engine off
Always disconnect the spark plug, work in a well-ventilated area, and consult a professional if unsure.
Most Likely Causes
Ranked by likelihood — tap each to see diagnosis details.
The copper windings inside the epoxy block degrade due to thermal expansion and contraction. This is identified by a 'no spark' condition even when the kill wire is disconnected.
If the gap between the flywheel magnet and the coil laminations is too wide, the magnetic flux is too weak to trigger the internal trigger circuit. Use a feeler gauge to verify the manufacturer-specified gap, usually 0.010 to 0.012 inches.
🔧 Step-by-Step Fix Guide
Initial Spark Test
Connect an inline spark tester between the spark plug wire and the plug. Crank the engine and look for a bright blue, consistent arc; if you see orange or no spark, proceed to the coil.
Remove the ignition key to prevent accidental engine engagement while working.
Isolate the Kill Wire
Disconnect the small black 'kill' wire from the ignition coil terminal. If the mower starts, the fault is in the wiring harness or safety switches, not the coil itself.
To stop the engine if it starts with the kill wire disconnected, be prepared to pull the spark plug wire or choke it manually.
Flywheel Access
Remove the engine blower housing and air shroud to expose the flywheel and coil. Use an impact driver to ensure screws holding the coil are not seized.
Wear eye protection as debris often falls from under the shroud.
Remove Old Coil
Unbolt the coil mounting screws and pull the unit away from the flywheel. Inspect the contact points on the flywheel for rust or debris; clean them with a wire brush.
Ensure the mower is on a level surface and blocked so it cannot roll.
Install New Coil
Place the new coil loosely onto the mounting studs. Position a non-metallic feeler gauge of the correct thickness between the flywheel magnet and the coil laminate.
Use a business card if a proper non-magnetic feeler gauge is unavailable to prevent sticking to the magnet.
Set the Air Gap
Rotate the flywheel so the magnet aligns with the coil. The magnets will pull the coil against the feeler gauge; tighten the mounting screws while the gauge is held firmly.
Do not use a steel gauge that could scratch the magnets.
Verification
Remove the gauge, rotate the flywheel past the magnet to ensure no contact, and reattach the kill wire. Test for a strong spark before reassembling the shroud.
Keep all fingers clear of the rotating flywheel assembly.
What To Test Next
If fuel delivery checks out, the next thing to inspect is spark — remove the spark plug, ground its threads to the engine block, and crank the engine to look for a visible blue spark.
Component Reference

Carburetor & Fuel Intake
The carburetor mixes air and fuel for combustion. A clogged jet or stuck float is the #1 cause of small engine starting and surging problems.

Spark Plug & Ignition System
The spark plug ignites the air-fuel mixture. A fouled plug, wrong gap, or failing ignition coil will prevent the engine from firing.

Oil & Lubrication System
Regular oil changes are critical. Low or dirty oil causes engine wear, overheating, and eventual seizure. Check the dipstick before every season.

Air Filter & Intake
A clogged air filter starves the engine of air, causing rich running, power loss, and hard starting. Inspect and clean or replace it each season.
Photos for educational reference. Actual parts may vary by make and model.
Common Mistakes to Avoid
Setting the air gap too close, causing the coil to hit the flywheel magnet during operation
Using a steel feeler gauge which sticks to the magnet and gives a false gap reading
Forgetting to reconnect the kill wire, leaving the user with no way to turn the engine off
Over-torquing the coil mounting bolts and stripping the engine block threads
Failing to clean the flywheel magnets before installing the new coil
If This Didn't Fix It
Still having trouble? These are the next things to check:
Get the Exact Parts for Your Machine
Tell us your equipment's year, make, and model — we'll search for parts that actually fit, not generic ones.
Finding parts for
coil pack replacement on mower motor
Required Gear
Matched to your coil pack replacement on mower motor — click to find the exact fit on Amazon.
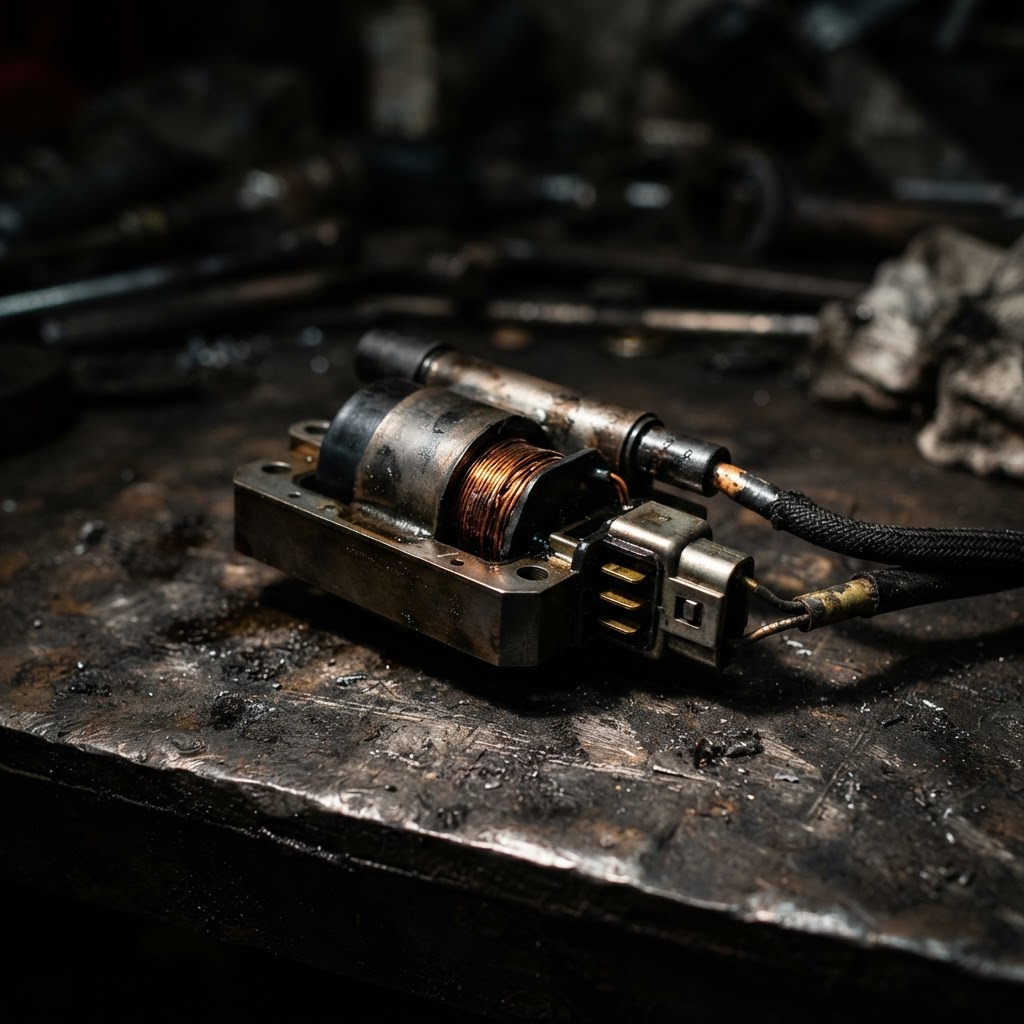
Ignition Coil Module
This is the primary replacement component required to restore spark generation when the internal windings have failed or the module is shorted.
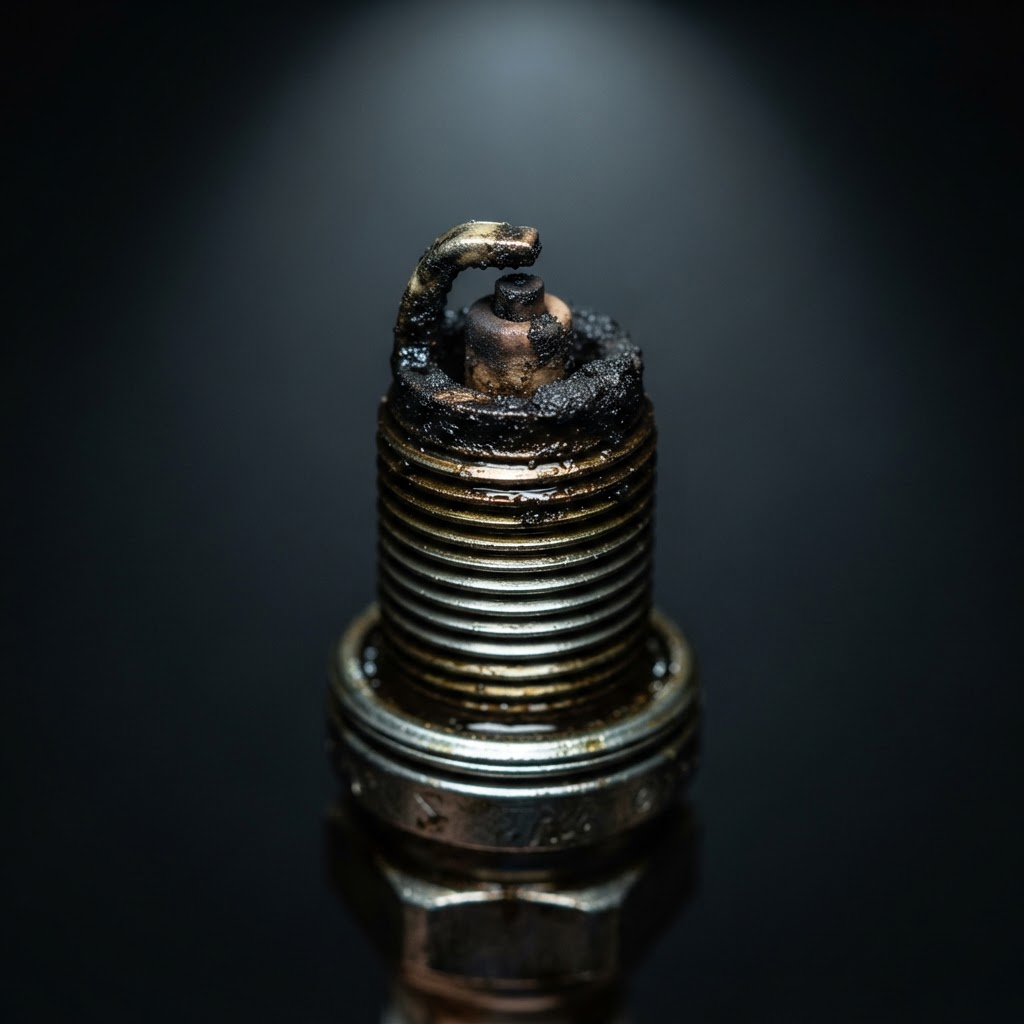
Spark Plug
Since the ignition system is already being serviced, installing a fresh plug ensures that the new coil's electrical output is not hindered by fouling or internal electrode degradation.
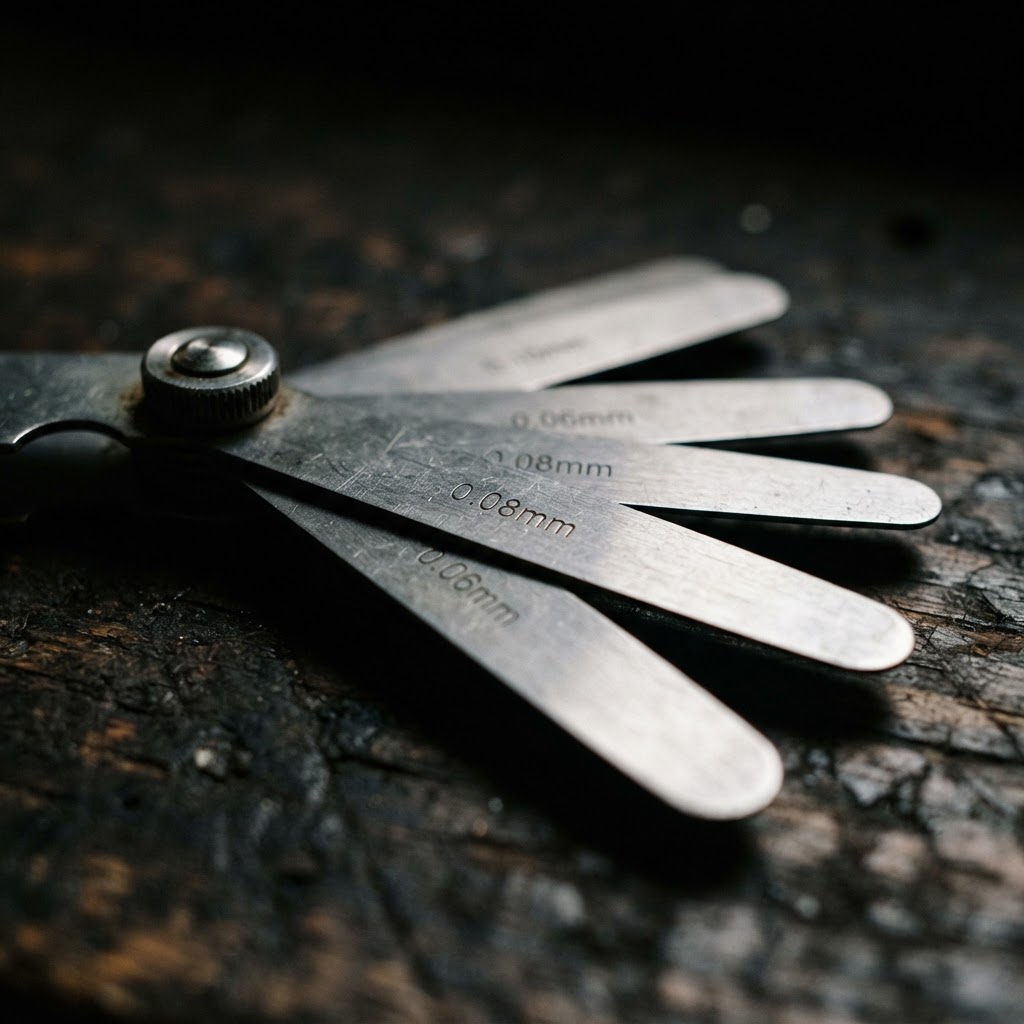
Non-Magnetic Feeler Gauge
This specific tool is essential to set the exact manufacturer-specified air gap between the new coil legs and the flywheel magnets to ensure efficient spark timing.
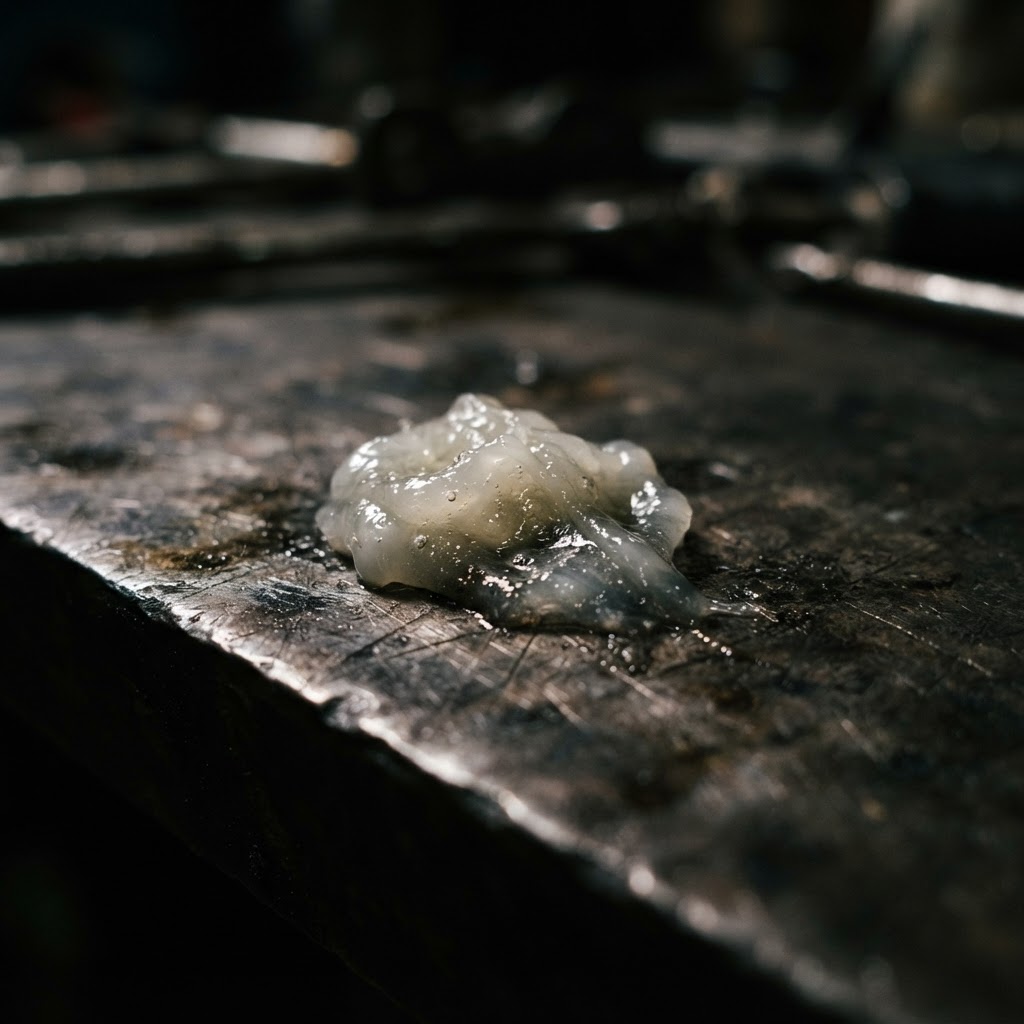
Dielectric Grease
Applying this to the spark plug boot connection prevents moisture intrusion and corrosion, ensuring a reliable electrical path from the new coil to the plug.
Affiliate Disclosure: Lil Engine may earn commissions from qualifying purchases.
Pro Tips from the Community
Real-world fixes from Reddit, YouTube & forums.
"If you don't have a feeler gauge, a standard business card is almost exactly 0.012 inches. It's the perfect thickness for setting the air gap on 90% of mower engines."
Reddit r/lawncare"Always check your flywheel key while the shroud is off. If the key is partially sheared, the engine will have spark but it will be at the wrong time, making it act like a bad coil."
YouTube comments"Coils often fail only when they get hot. If your mower runs for 20 minutes and then dies but has no spark until it cools down, the coil is definitely internaly shorting."
LawnSite.com ForumPrevent This From Coming Back
Keep the area under the blower shroud free of grass clippings and debris to prevent overheating
Regularly inspect wiring harnesses for signs of chafing or heat-related insulation damage
Keep the flywheel magnets clean of metallic dust and rust to maintain strong magnetic induction
Replace the spark plug annually to prevent excessive resistance that forces the coil to work harder
Prevent This From Happening Again
While you're fixing it, stock up on the maintenance essentials that keep your riding mowers running right.
Small Engine Oil
Change oil every 50 hours or once per season to prevent engine wear.
Get on AmazonAir Filter
A clogged air filter reduces power and fuel efficiency — replace annually.
Get on AmazonFuel Stabilizer
Keeps fuel fresh during storage, preventing carburetor gumming.
Get on AmazonAffiliate Disclosure: Lil Engine may earn commissions from qualifying purchases.
Frequently Asked Questions
While you can check for continuity in the primary winding, these coils often fail under the heat or voltage load of a running engine, making a static multimeter test inconclusive. If you have no spark with a tester, the coil is almost certainly the culprit.
Video Help
Helpful videos showing these repairs in action.
Share Your Repair
Real-world fixes help everyone. Share what worked and your repair becomes part of Lil Engine's community database.
Related Problems
More Riding Mowers GuidesRelated Maintenance Articles
Related Symptoms
Won’t Start
No Spark / Ignition
Related Searches
Riding Mowers Troubleshooting
Did this help?
Your feedback helps improve guides for everyone.