2020-2024 Honda Foreman 520 Won't Crank — Starter Circuit Diagnosis
⚡ Quick Answer
On the Honda Foreman 520 (TRX520, 2020–2024), a no-crank is most often a discharged or high-resistance battery — not a bad starter. First confirm the green 'N' light is on and the handlebar kill switch is set to 'Run'. Load-test the battery: it must hold above 10.5V while you press the start button. If you hear a click but the engine won't turn, clean and tighten the 10mm battery terminals and the 30A main-fuse connections under the seat before condemning the solenoid or starter motor.
What do you want to do?
Most Likely Cause
Discharged or high-resistance battery connection
The Foreman 520's single-cylinder starter draws heavy current, so even a battery that reads 12.6V static can fail to crank if terminal oxidation or a loose connection adds resistance. The dash lights may illuminate, but voltage collapses the moment the start button is pressed. Load-test the battery and clean/tighten the terminals before testing anything else.
Start here — this is the most common reason for this symptom.
Why This Problem Happens
The Honda Foreman 520 utilizes a complex logic-controlled starting circuit that necessitates specific inputs before the Engine Control Module (ECM) triggers the starter relay. Unlike older pull-start systems, this fuel-injected unit relies on the Gear Position Switch, Neutral safety switch, and the Reverse Inhibitor circuit to ground the starter relay coil. If the ECM does not receive a 'Neutral' signal from the gear position sensor, it inhibits the starter circuit entirely to prevent accidental gear-engaged starts. Furthermore, the 520 series is notorious for high-resistance failures in the main 30-amp fuse block connections and the starter solenoid terminals. Oxidation at these high-amperage junctions creates voltage drops, meaning that while the lights might illuminate, there is insufficient current (amperage) to pull in the starter solenoid plunger. Additionally, the bank angle sensor—a safety device designed to cut ignition if the ATV rolls over—can occasionally stick due to internal mechanical wear, leaving the EFI system in a state where the relay will click, but the ignition sequence remains locked out to protect the engine internals. This requires a systematic verification of both the low-current control circuit and the high-current power path.
Common Symptoms
- Dashboard lights turn on but go dim when hitting the start button
- Rapid clicking sound originating from under the seat
- Gear indicator display shows a flashing N or dash symbol
- Engine cranks extremely slowly or sounds labored
- Total silence when pressing the start button in neutral
Before You Buy Parts
Quick, free inspections — check these first. Most repairs don't actually need replacement parts.
Complete Resource Guide
Complete Small Engines Troubleshooting Guide
Brand Resource Hub
The Ultimate Honda Small Engine Repair & Service Hub
Repair Overview
1–2 hours
$0–$150
First Checks — Start Here
- 1Confirm the transmission is in Neutral and the green 'N' light is visible on the dash.
- 2Verify the handlebar engine stop switch is set to the 'Run' (center) position.
- 3Check battery voltage with a multimeter — must be 12.4V to 12.6V static.
- 4Tighten battery terminals with a 10mm wrench; finger-tight is not enough for the starter's amp draw.
- 5Inspect the 30A main fuse located under the seat near the starter solenoid.
Safety Warnings
- !Wear safety glasses; batteries can release explosive hydrogen gas if they have internal shorts.
- !Ensure the parking brake is firmly set before cycling through the transmission gears.
- !Ensure the ignition is in the OFF position before removing any fuses to prevent arcing.
- !Do not over-torque the bolt, as it can strip the threads in the aluminum engine cover.
- !Use back-probing needles to reach the connector pins without damaging the weather-pack wire seals.
- !Use back-probing needles on the terminal lugs. Do not bridge, jumper, or short the two large solenoid terminals with a screwdriver or any other tool — that bypasses the solenoid and can cause a hazardous high-current arc.
- !Using generic automotive fuses instead of the correct Honda waterproof blade fuses
- !Measuring voltage while the probes are on corroded terminal hardware rather than the wire itself
Always disconnect the spark plug, work in a well-ventilated area, and consult a professional if unsure.
Most Likely Causes
Ranked by likelihood — tap each to see diagnosis details.
The high vibration nature of the 520 single-cylinder engine often loosens terminal bolts, causing surface oxidation. Use a multimeter to check for voltage drop across the connection rather than just terminal voltage.
The ECM requires a closed circuit from the gear position switch to enable cranking. If the switch internal contacts are carbon-fouled, the display may show 'Neutral' but the ECM fails to receive the ground signal.
🔧 Step-by-Step Fix Guide
Verify Battery State of Health
Use a digital battery load tester to confirm the battery maintains above 10.5 volts under load. Do not rely on static voltage readings alone, as a battery can show 12.6V but drop to zero immediately under a starter motor load.
Wear safety glasses; batteries can release explosive hydrogen gas if they have internal shorts.
Diagnostic Gear Indicator Check
Toggle through all gears while observing the instrument cluster. The ECM will not ground the starter relay without a confirmed Neutral signal, so if the green 'N' light is intermittent or flickering, the gear position sensor needs adjustment or replacement before the starter circuit will enable.
Ensure the parking brake is firmly set before cycling through the transmission gears.
Check Main Fuse and Connections
Locate the 30-amp main fuse near the solenoid and inspect for melted plastic or green corrosion. Pull the fuse and check for tension in the blade clips to ensure a tight electrical connection.
Ensure the ignition is in the OFF position before removing any fuses to prevent arcing.
Check Ground Path at Engine Case
Locate the thick black ground cable where it bolts to the engine crankcase. Remove the bolt, clean the ring terminal and the engine surface with a wire brush, and re-torque to factory specifications.
Do not over-torque the bolt, as it can strip the threads in the aluminum engine cover.
Test Starter Relay Control Circuit
Use a multimeter to check for 12V at the thin trigger wire on the solenoid when the start button is pressed. If 12V is present but the solenoid doesn't click, the solenoid coil is open.
Use back-probing needles to reach the connector pins without damaging the weather-pack wire seals.
Test Starter Solenoid Contacts with a Multimeter
With the solenoid's control circuit confirmed good in the previous step, set your multimeter to DC volts. Place the red probe on the battery-side large terminal and the black probe on the starter-side large terminal, then have an assistant press the start button. If the solenoid clicks but you still read full battery voltage across the two terminals instead of near zero, the internal copper contact disc is pitted or welded open and is not passing current. Next, move the red probe to the starter-side terminal and the black probe to the battery negative post: if the reading does not jump to battery voltage the moment the solenoid clicks, no power is reaching the starter, which confirms the solenoid is the fault — not the starter motor.
Use back-probing needles on the terminal lugs. Do not bridge, jumper, or short the two large solenoid terminals with a screwdriver or any other tool — that bypasses the solenoid and can cause a hazardous high-current arc.
What To Test Next
If fuel delivery checks out, the next thing to inspect is spark — remove the spark plug, ground its threads to the engine block, and crank the engine to look for a visible blue spark.
Component Reference

Carburetor & Fuel Intake
The carburetor mixes air and fuel for combustion. A clogged jet or stuck float is the #1 cause of small engine starting and surging problems.

Spark Plug & Ignition System
The spark plug ignites the air-fuel mixture. A fouled plug, wrong gap, or failing ignition coil will prevent the engine from firing.

Oil & Lubrication System
Regular oil changes are critical. Low or dirty oil causes engine wear, overheating, and eventual seizure. Check the dipstick before every season.

Fuel System
Stale fuel is the most common cause of seasonal starting failures. Fuel breaks down in 30 days, leaving varnish that clogs carburetor jets and fuel filters.
Photos for educational reference. Actual parts may vary by make and model.
Common Mistakes to Avoid
Using generic automotive fuses instead of the correct Honda waterproof blade fuses
Ignoring the bank angle sensor and assuming the starter is dead
Attempting to jump-start the ATV using a running vehicle, which can spike the ECU
Measuring voltage while the probes are on corroded terminal hardware rather than the wire itself
If This Didn't Fix It
Still having trouble? These are the next things to check:
Get the Exact Parts for Your Machine
Tell us your equipment's year, make, and model — we'll search for parts that actually fit, not generic ones.
Finding parts for
Honda Foreman 520
Required Gear
Matched to your Honda Foreman 520 — click to find the exact fit on Amazon.
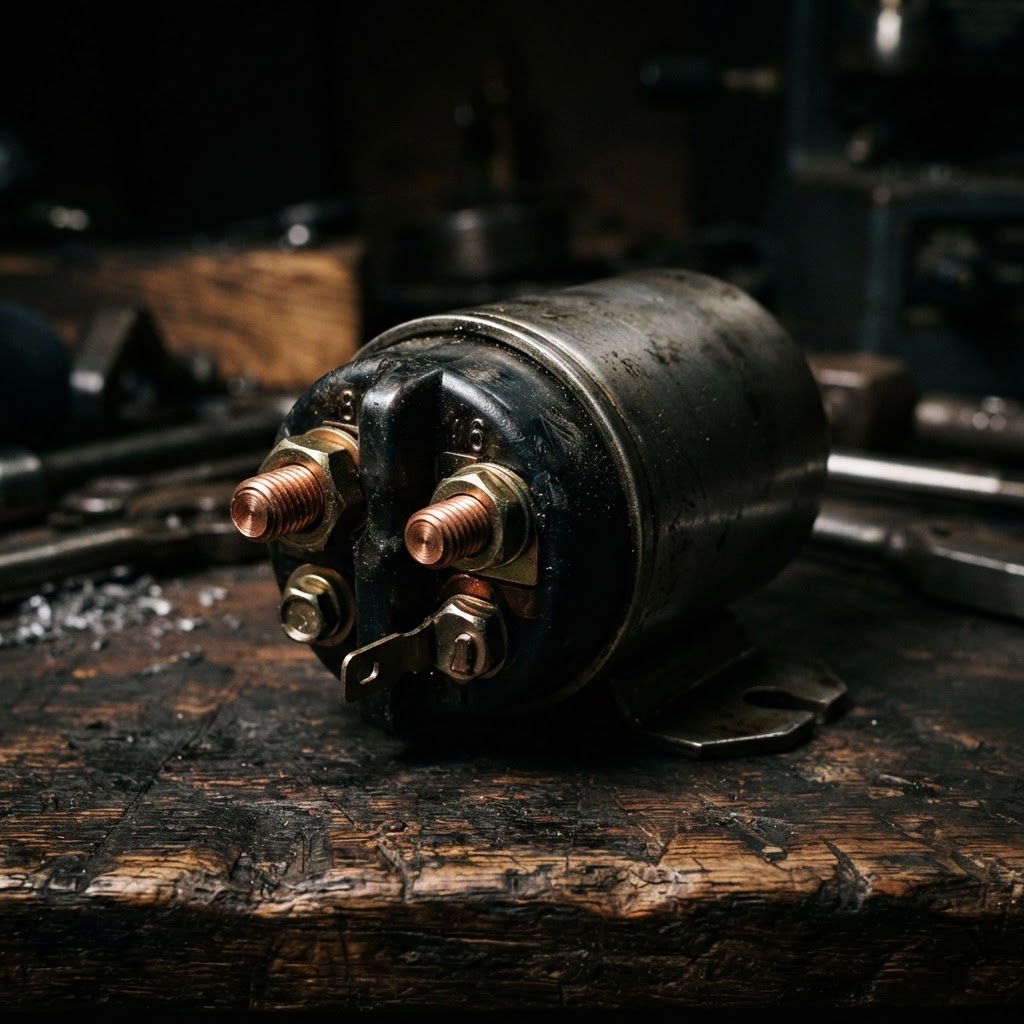
OEM Starter Solenoid Relay
If the diagnostic bypass test confirmed a failure, this solenoid is the direct replacement part to restore the starter motor power engagement.
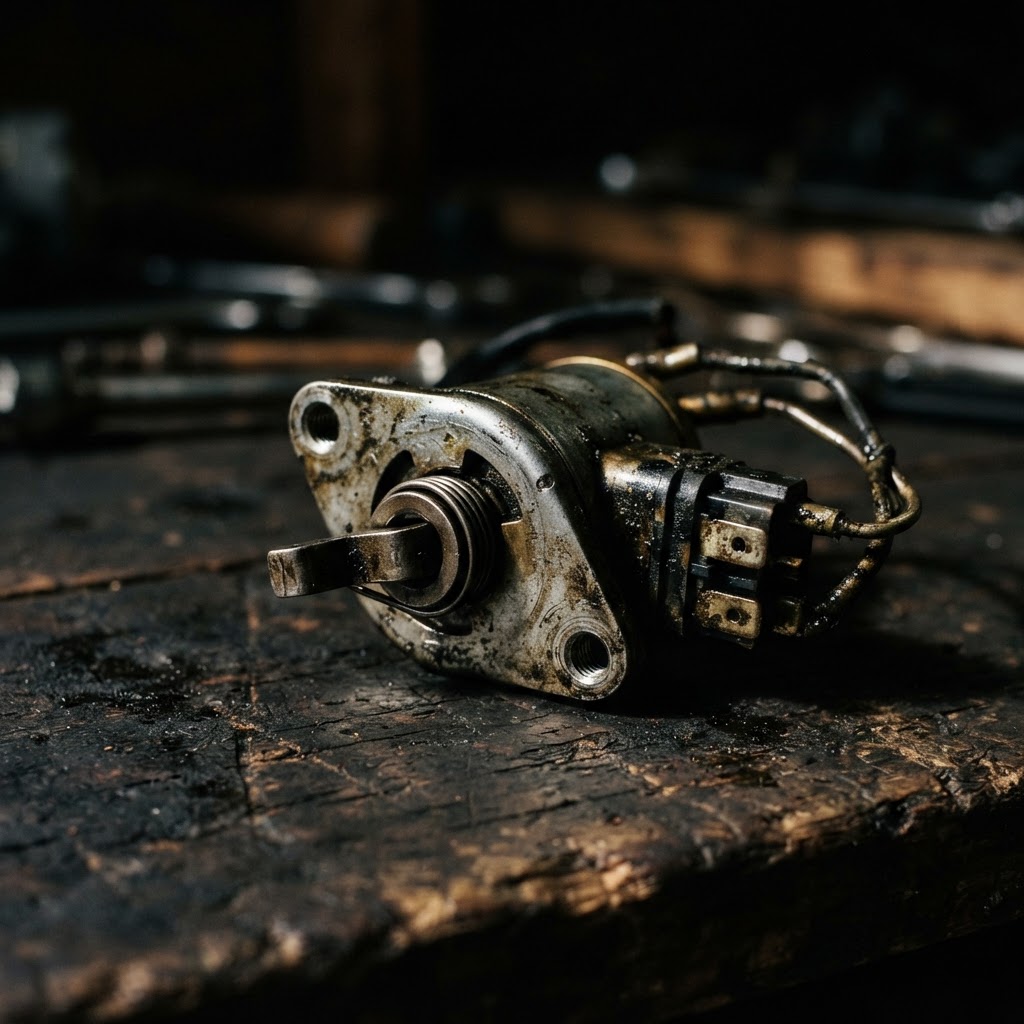
Neutral Safety Switch
This is a specialized replacement part required if the diagnostic gear indicator check reveals a faulty sensor preventing the starter circuit from closing in neutral.
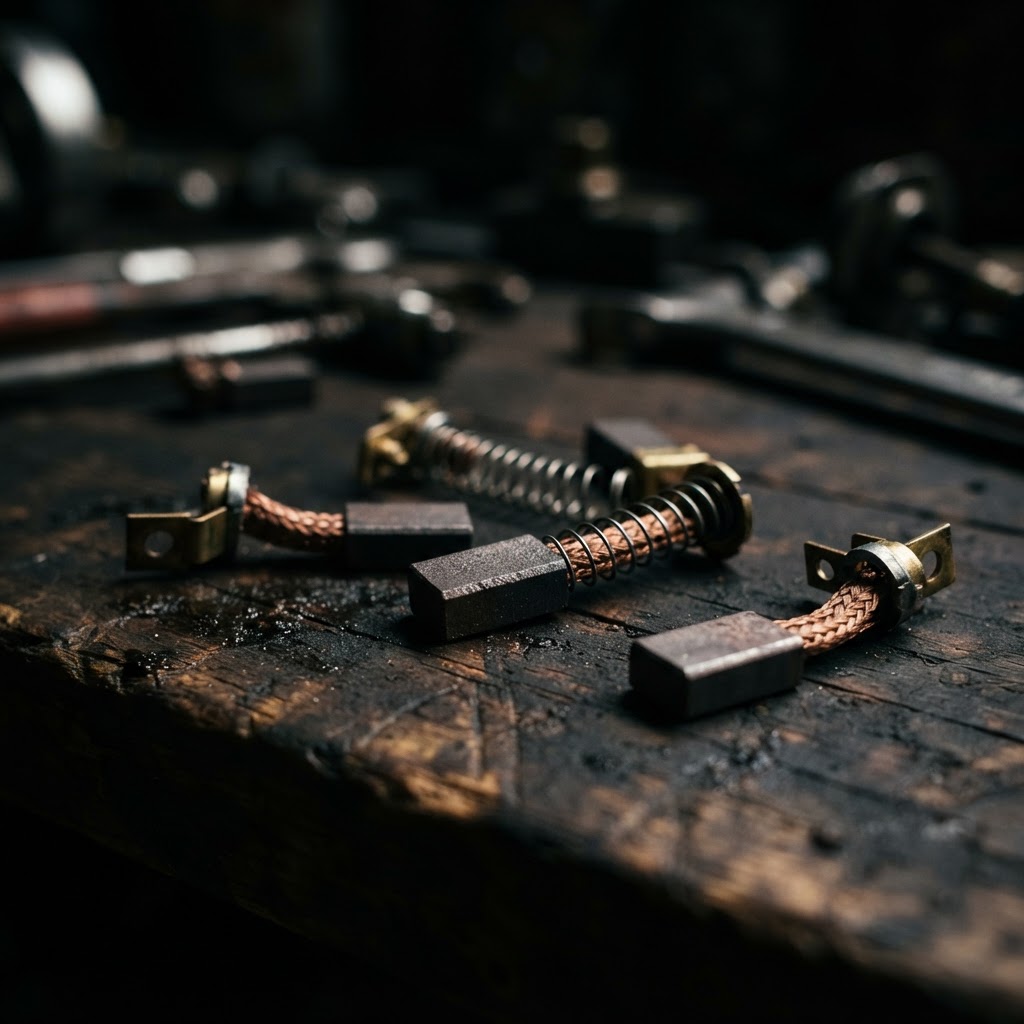
Starter Motor Brush Kit
When the starter motor exhibits internal brush wear, this kit provides the specific internal components necessary to rebuild the starter rather than purchasing an entirely new unit.

Dielectric Grease
This consumable is essential for sealing the connections on the replacement solenoid and safety switch to prevent future corrosion in the starter circuit.
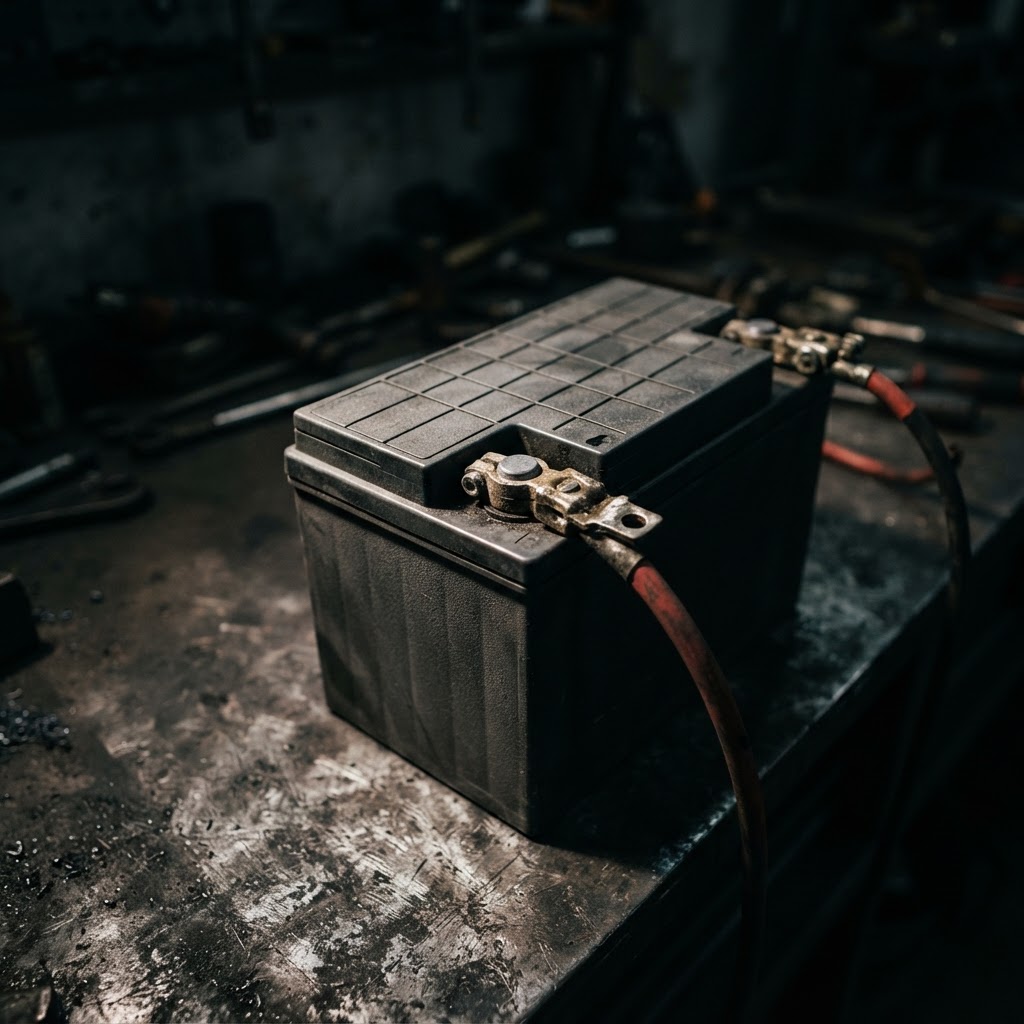
AGM Replacement Battery
If battery state of health testing shows internal degradation or inability to hold a charge, a high-cranking amp battery is necessary to overcome the compression of the 520 engine.
Affiliate Disclosure: Lil Engine may earn commissions from qualifying purchases.
Pro Tips from the Community
Real-world fixes from Reddit, YouTube & forums.
"If the 'N' light isn't on, the Foreman won't crank. Try pulling the front brake lever all the way to the handlebar; on many Honda models, this overrides the neutral safety switch and allows starting in gear."
HondaForeman.com Forum"Check the 'Kill Switch' on the left handlebar. It’s very easy to bump it into the 'OFF' position while getting on or off the machine, and it will cut all power to the starter circuit."
Reddit r/ATV"Honda solenoids often fail due to corrosion in the plug-in connector. Pull the plastic plug off the solenoid and check for green crust; clean it with contact cleaner and a small needle file."
YouTube commentsBrand-Specific Notes
Honda
The Foreman 520 (TRX520, 2020–2024) uses an ECM-controlled starter circuit. The ECM will not ground the starter relay until it receives a confirmed Neutral signal from the gear position switch and a closed Run-switch input — so a no-crank with dash lights on is often a missing Neutral or Run input, not a bad starter.
Honda
The 30-amp main fuse sits under the seat next to the starter solenoid; oxidation at its blade clips is a known high-resistance failure point on the 520. The factory starter is a Mitsuba unit whose carbon brushes wear out on high-mileage machines.
Model-Specific Variations
2020–2024 TRX520 (Foreman 520)
Fuel-injected single-cylinder with ECM logic-controlled starting. Requires Neutral + Run inputs before the starter relay is grounded. 30A main fuse is under the seat near the solenoid.
Prevent This From Coming Back
Apply dielectric grease to the battery terminals annually
Inspect the starter cable boot for signs of water trapping
Keep the battery on a trickle charger like a Battery Tender during off-season storage
Clean the mud and debris from the area around the gear position sensor to prevent moisture intrusion
Prevent This From Happening Again
While you're fixing it, stock up on the maintenance essentials that keep your small engines running right.
Spark Plug
The cheapest, fastest fix for most small engine starting problems.
Get on AmazonCarburetor Cleaner
Cleaning the carb is the #1 fix for surging and stalling engines.
Get on AmazonFuel Stabilizer
Prevents the stale fuel problems that cause most seasonal no-starts.
Get on AmazonAffiliate Disclosure: Lil Engine may earn commissions from qualifying purchases.
Frequently Asked Questions
This is almost always a sign of a high-resistance connection or a discharged battery. The relay has enough power to close, but the starter motor demands more current than the connection can provide, causing the voltage to drop.
Video Help
Helpful videos showing these repairs in action.
Share Your Repair
Real-world fixes help everyone. Share what worked and your repair becomes part of Lil Engine's community database.
Related Problems
More Small Engines GuidesRelated Maintenance Articles
Related Searches
Honda small engine Guides
Did this help?
Your feedback helps improve guides for everyone.