Stihl BR 800 Backpack Blower Won't Start
⚡ Quick Answer
Most starting issues with a Stihl BR 800 are caused by stale fuel, a fouled spark plug, or a clogged air filter. Start by checking for fresh fuel and ensuring the ignition switch is in the correct run position before moving to engine maintenance.
What do you want to do?
Most Likely Cause
Flooded Engine
Users often leave the choke on too long, saturating the plug. This prevents the spark gap from ionizing and firing under compression.
Start here — this is the most common reason for this symptom.
Why This Problem Happens
The Stihl BR 800 utilizes the 4-MIX engine platform, which combines the benefits of two-stroke and four-stroke technology. This architecture relies on precise valve timing and crankcase compression to function. Because it is a hybrid, it requires specific valve clearance settings; if these shift due to wear or vibration, the engine loses the necessary compression to ignite the fuel-air mixture. Furthermore, the 4-MIX system is highly sensitive to the integrity of the intake manifold and cylinder base gaskets. Any air leak compromises the crankcase vacuum, preventing the fuel pump impulse from effectively drawing fuel from the tank into the carburetor.
Electrically, the ignition timing is controlled by a digital module that requires a clean, strong signal from the flywheel magnets. If debris accumulates between the ignition coil and the flywheel, or if the stop switch wire grounds prematurely, the spark timing will be erratic or nonexistent. Additionally, the BR 800 is notorious for being flooded if the starting sequence is performed incorrectly. Because the fuel delivery is so efficient, excess fuel quickly saturates the spark plug, creating a conductive path that prevents the high-voltage arc needed for combustion.
Common Symptoms
- Engine cranks but shows zero signs of ignition
- Spark plug is consistently wet with fuel
- Noticeable lack of resistance when pulling the starter rope
- Pops or backfires occasionally during cold start attempts
- Engine dies immediately after running for a few seconds
Before You Buy Parts
Quick, free inspections — check these first. Most repairs don't actually need replacement parts.
Complete Resource Guide
Complete Leaf Blower Troubleshooting & Repair Guide
Brand Resource Hub
Stihl Troubleshooting & Repair Guide
Repair Overview
45–90 minutes
$0–$50
First Checks — Start Here
- 1Verify the fuel tank is full of fresh, high-quality gasoline.
- 2Ensure the ignition switch is set to the 'I' (On) position.
- 3Check that the choke is correctly set for a cold start.
- 4Inspect the spark plug wire to ensure it is firmly attached.
- 5Clear any debris from the air intake vents.
Safety Warnings
- !Keep face away from the spark plug hole while clearing to avoid fuel spray.
- !Do not overtighten the plug into the aluminum cylinder head to avoid stripping threads.
- !Use insulated pliers to hold the plug to prevent a high-voltage shock.
- !Ensure the piston is at Top Dead Center on the compression stroke before checking.
- !Work in a well-ventilated area away from any open flames.
- !Do not over-use starting fluid as it lacks lubrication for the internal engine parts.
- !Using standard automotive spark plugs instead of the OEM-specified shielded resistor plug
- !Using old, ethanol-blended gasoline that has phase-separated
Always disconnect the spark plug, work in a well-ventilated area, and consult a professional if unsure.
Most Likely Causes
Ranked by likelihood — tap each to see diagnosis details.
Users often leave the choke on too long, saturating the plug. This prevents the spark gap from ionizing and firing under compression.
Carbon buildup or fuel saturation on the electrode prevents a clean spark. Inspect the tip for black, velvety deposits or wetness.
🔧 Step-by-Step Fix Guide
Perform a Hard Reset/De-flood
Switch the ignition to the 'I' position, lock the throttle trigger, and pull the starter cord 10-15 times without choke. This clears excess fuel from the chamber to allow a clean firing sequence.
Keep face away from the spark plug hole while clearing to avoid fuel spray.
Inspect and Replace Spark Plug
Remove the plug using a 19mm deep socket; if it is black or wet, replace it with an NGK CMR6H. Ensure the gap is set to exactly 0.5mm.
Do not overtighten the plug into the aluminum cylinder head to avoid stripping threads.
Test Ignition Spark
Attach the wire to the plug and ground the base against the cooling fins while pulling the starter. Look for a strong, bright blue spark; a faint yellow or orange spark indicates a failing coil.
Use insulated pliers to hold the plug to prevent a high-voltage shock.
Check Valve Clearance
Remove the valve cover and use a feeler gauge to verify intake and exhaust gaps are set to 0.10mm. If the valves are too tight, the engine will fail a compression test.
Ensure the piston is at Top Dead Center on the compression stroke before checking.
Inspect Fuel System Flow
Disconnect the fuel line at the carburetor and verify that fuel flows freely from the tank when the primer bulb is pressed. If flow is sluggish, replace the in-tank fuel pickup body.
Work in a well-ventilated area away from any open flames.
Inspect Intake Boot
Remove the air filter housing and check the rubber boot for cracks or loose clamps. Spray a small amount of starting fluid around the boot while cranking; if it fires, you have an air leak.
Do not over-use starting fluid as it lacks lubrication for the internal engine parts.
What To Test Next
If fuel delivery checks out, the next thing to inspect is spark — remove the spark plug, ground its threads to the engine block, and crank the engine to look for a visible blue spark.
Component Reference

Carburetor & Fuel Intake
The carburetor mixes air and fuel for combustion. A clogged jet or stuck float is the #1 cause of small engine starting and surging problems.

Spark Plug & Ignition System
The spark plug ignites the air-fuel mixture. A fouled plug, wrong gap, or failing ignition coil will prevent the engine from firing.

Oil & Lubrication System
Regular oil changes are critical. Low or dirty oil causes engine wear, overheating, and eventual seizure. Check the dipstick before every season.

Air Filter & Intake
A clogged air filter starves the engine of air, causing rich running, power loss, and hard starting. Inspect and clean or replace it each season.
Photos for educational reference. Actual parts may vary by make and model.
Common Mistakes to Avoid
Using standard automotive spark plugs instead of the OEM-specified shielded resistor plug
Ignoring the specific 0.10mm valve gap requirement
Excessively pumping the primer bulb which floods the 4-MIX carb
Over-tightening the cylinder head bolts or valve cover screws
Using old, ethanol-blended gasoline that has phase-separated
If This Didn't Fix It
Still having trouble? These are the next things to check:
Get the Exact Parts for Your Machine
Tell us your equipment's year, make, and model — we'll search for parts that actually fit, not generic ones.
Finding parts for
Stihl BR 800 backpack blower
Required Gear
Matched to your Stihl BR 800 backpack blower — click to find the exact fit on Amazon.
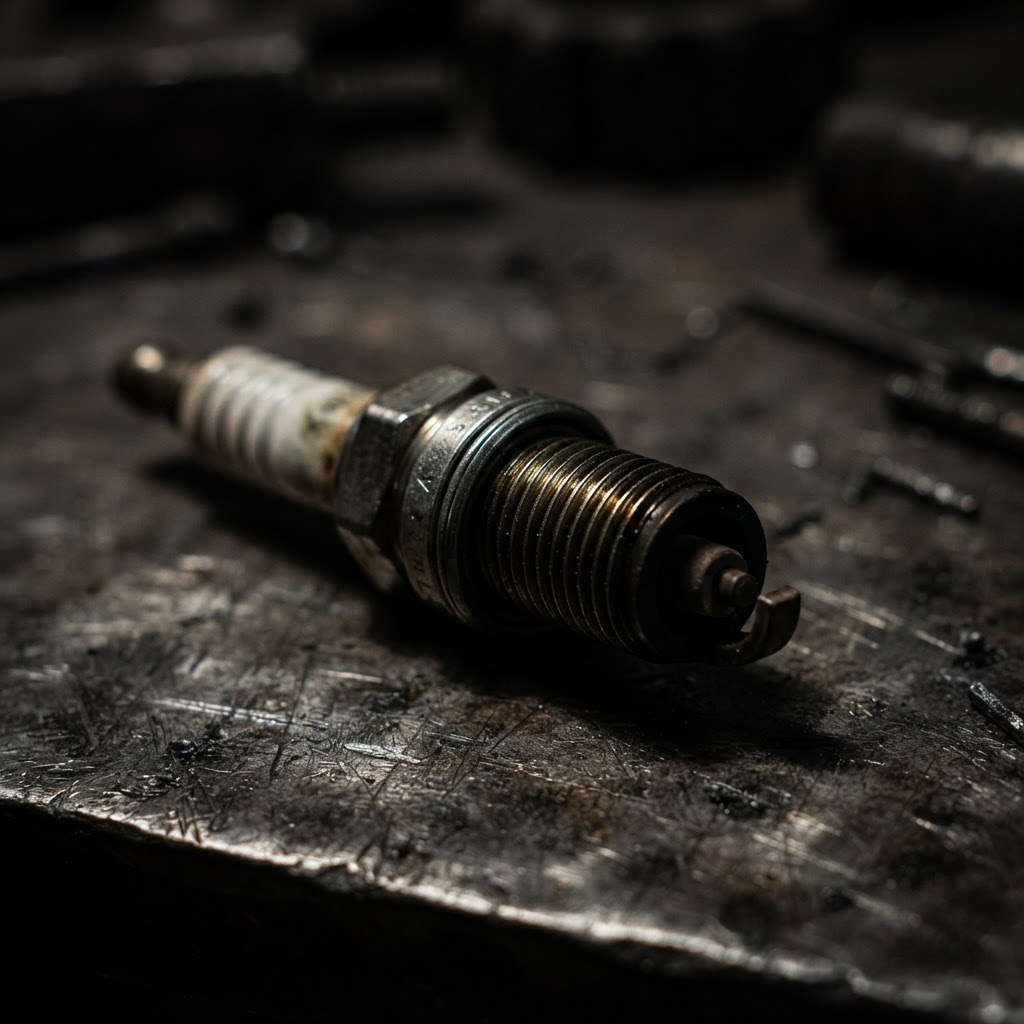
NGK CMR6H Spark Plug
This specific spark plug is the direct replacement required to address the fouled plug identified during your ignition system inspection.
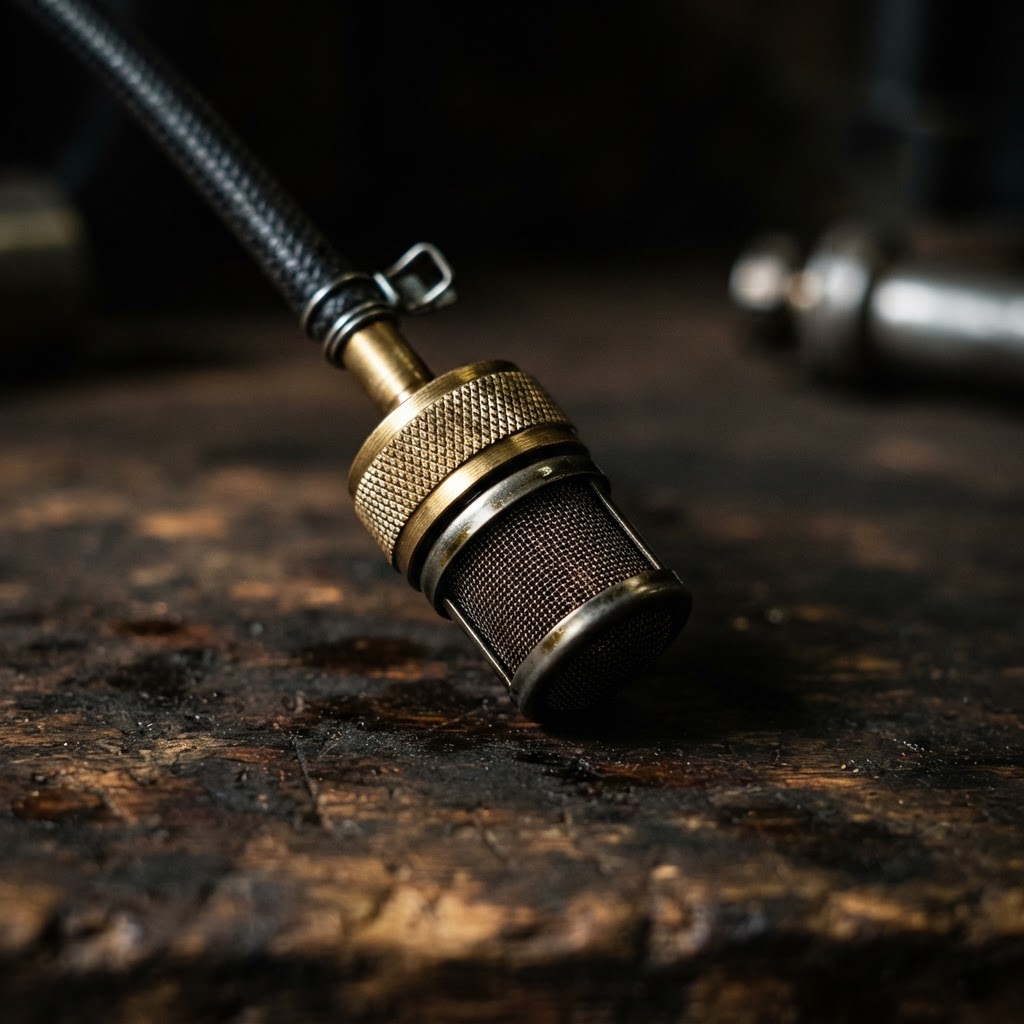
Stihl Fuel Pickup Body/Filter
Replacing the pickup body is necessary if your inspection reveals it is clogged or degraded, which prevents fuel from reaching the carburetor.
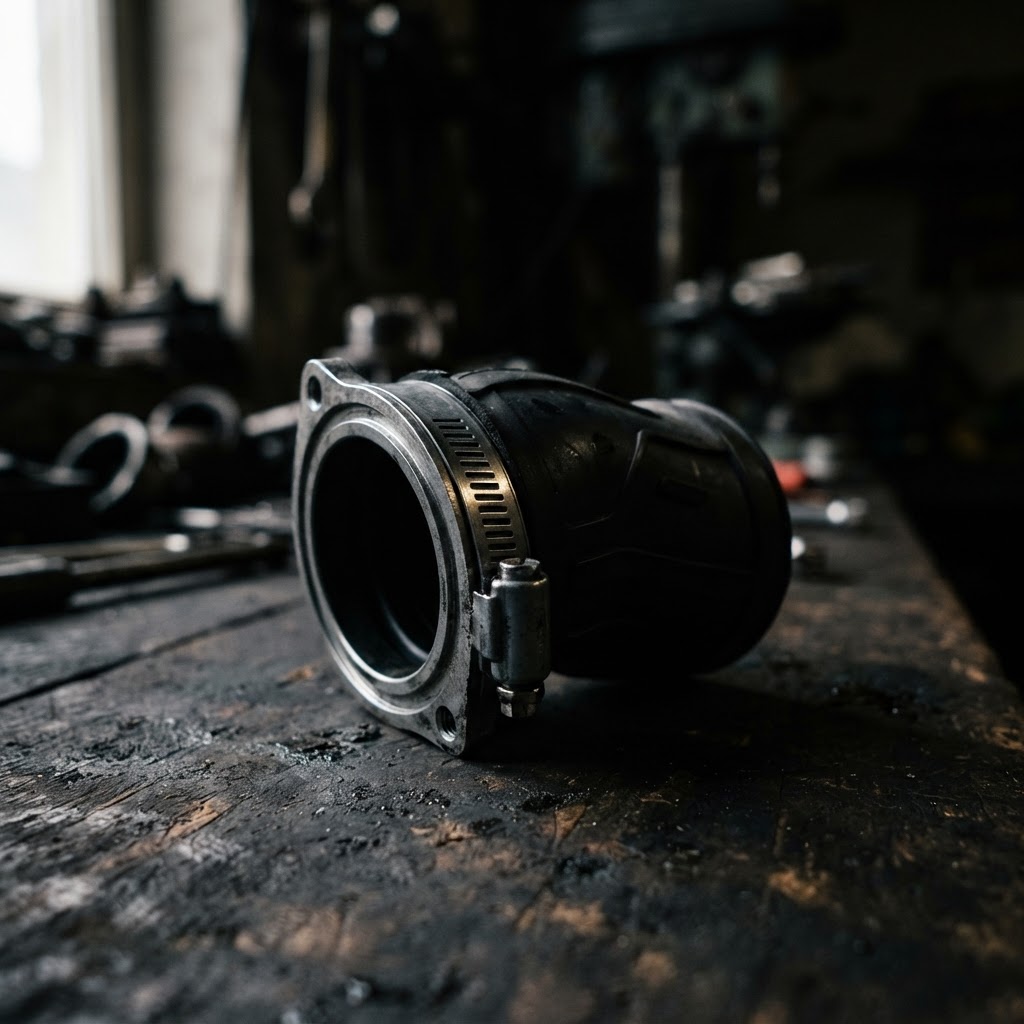
Stihl Intake Manifold Boot
If your troubleshooting steps confirmed an air leak, this rubber boot is the specific component required to restore proper intake sealing and engine performance.
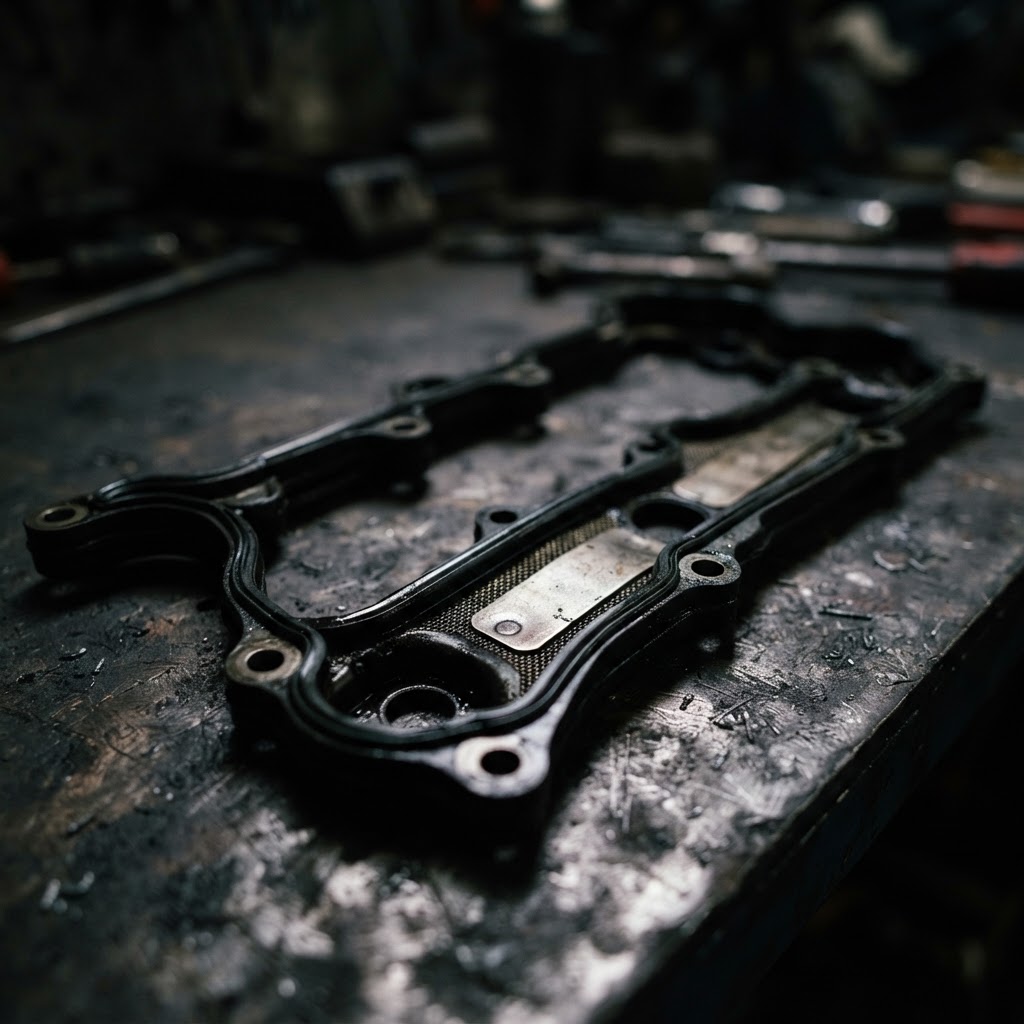
Stihl Valve Cover Gasket
This gasket must be replaced whenever you open the valve cover to inspect or adjust valve clearance to ensure an airtight seal.
Affiliate Disclosure: Lil Engine may earn commissions from qualifying purchases.
Pro Tips from the Community
Real-world fixes from Reddit, YouTube & forums.
"Check the valve clearance immediately because BR 800s are notorious for tight valves that prevent compression and cause hard-start conditions even when they look brand new."
LawnSite.com Forum"Pull the spark plug and see if it is wet; if it is bone dry after trying to start, you likely have a restricted fuel filter or a failed impulse line starving the carb."
Reddit r/smallengines"Always bypass the kill switch wire to rule out a grounding issue if you have spark at the plug but the unit refuses to fire."
YouTube comments"If the recoil feels weirdly easy to pull, check that the decompression system isn't stuck open, as it will bleed off the pressure needed for the engine to fire."
DoItYourself.comPrevent This From Coming Back
Always use fresh, non-ethanol 90+ octane fuel with high-quality 2-cycle oil
Replace the fuel filter and air filter annually regardless of appearance
Store the unit with an empty fuel tank or fuel stabilizer added
Perform a valve clearance check every 150 hours of operation
Keep the cooling fins clean to prevent heat-related gasket failure
Prevent This From Happening Again
While you're fixing it, stock up on the maintenance essentials that keep your leaf blowers running right.
2-Cycle Oil
Correct mix ratio prevents engine damage and starting problems.
Get on AmazonSpark Plug
A fouled plug is the #1 cause of hard starting in leaf blowers.
Get on AmazonFuel Stabilizer
Prevents fuel breakdown during off-season storage.
Get on AmazonAffiliate Disclosure: Lil Engine may earn commissions from qualifying purchases.
Frequently Asked Questions
This is almost always due to operator error during starting or a failing carburetor diaphragm. Ensure you move the switch to the run position as soon as the engine 'pops'.
Video Help
Helpful videos showing these repairs in action.
Share Your Repair
Real-world fixes help everyone. Share what worked and your repair becomes part of Lil Engine's community database.
Related Problems
More Leaf Blowers GuidesRelated Maintenance Articles
Related Symptoms
Won’t Start
Related Searches
Stihl leaf blower Guides
Did this help?
Your feedback helps improve guides for everyone.