Champion 7500 Watt Generator Won't Start
⚡ Quick Answer
Most Champion generator starting issues are caused by old gasoline clogging the carburetor or a dead battery. Start by checking your fuel level, verifying the battery charge, and ensuring the fuel valve is in the open position.
What do you want to do?
Most Likely Cause
Stale Fuel Varnish
Ethanol in gasoline absorbs moisture and evaporates, leaving gummy deposits in the carburetor's main jet. Inspect the float bowl for a distinct sour, varnish-like odor or visible crystallization.
Start here — this is the most common reason for this symptom.
Why This Problem Happens
The Champion 7500-watt series typically utilizes an OHV (overhead valve) engine that relies on a precise stoichiometric air-fuel ratio. Failure to start usually stems from the degradation of volatile organic compounds in modern ethanol-blended fuel. As these fuels sit, they oxidize, leaving behind a gummy varnish that obstructs the small-diameter orifices in the carburetor’s pilot jet, preventing the engine from drawing fuel during the low-velocity cranking phase. Alternatively, the Champion ignition system utilizes a TCI (transistor-controlled ignition) module that reads RPM via a flywheel magnet. If the air gap between the magnet and the ignition coil exceeds the recommended 0.015-inch clearance, the induced voltage becomes insufficient to jump the plug gap, especially during the high-resistance conditions of a cold start. Furthermore, the low-oil shutoff sensor, a common feature on these larger displacement Champion engines, is notorious for failing in the 'grounded' position. This creates a parasitic bypass that sends a kill signal to the ignition module, tricking the system into thinking the crankcase is empty even when oil levels are topped off.
Common Symptoms
- Engine cranks vigorously but exhibits no combustion
- Spark plug remains dry despite repeated pulling
- Audible backfiring through the air intake assembly
- Sudden engine stall immediately after starting
- Intermittent spark present only when the oil sensor is disconnected
Before You Buy Parts
Quick, free inspections — check these first. Most repairs don't actually need replacement parts.
Complete Resource Guide
Complete Generator Troubleshooting & Repair Guide
Brand Resource Hub
Champion Troubleshooting & Repair Guide
Repair Overview
1–2 hours
$15–$50
First Checks — Start Here
- 1Check that the fuel valve is set to the ON position
- 2Verify the fuel tank has fresh, non-ethanol gasoline
- 3Ensure the engine ignition switch is turned to the ON position
- 4Check if the battery is charged and terminals are clean
- 5Make sure the choke is set to the START position for cold starts
Safety Warnings
- !Hold the plug wire using rubber-insulated pliers to avoid an electrical shock.
- !Do not operate the generator long-term with this sensor bypassed, as it removes the primary protection against engine seizure.
- !Ensure the fuel valve is turned to the 'OFF' position and use a shop rag to catch residual fuel spilling from the bowl.
- !Have a fire extinguisher nearby and ensure you are working in a well-ventilated area away from open flames.
- !Ensure the engine is completely cool before removing the engine shrouds to avoid contact with the exhaust system.
- !Only perform this adjustment when the engine is stone-cold to ensure accurate measurements.
- !Replacing the spark plug without verifying if it is actually receiving current first
Always disconnect the spark plug, work in a well-ventilated area, and consult a professional if unsure.
Most Likely Causes
Ranked by likelihood — tap each to see diagnosis details.
Ethanol in gasoline absorbs moisture and evaporates, leaving gummy deposits in the carburetor's main jet. Inspect the float bowl for a distinct sour, varnish-like odor or visible crystallization.
The oil level switch on the crankcase is a common failure point that grounds the ignition. If the oil is full, the sensor likely has an internal short or a broken wire leading to the kill switch.
🔧 Step-by-Step Fix Guide
Perform an Ignition Spark Test
Remove the spark plug and reconnect the high-tension lead, grounding the plug threads against the engine block. Pull the recoil starter to observe for a crisp, blue spark.
Hold the plug wire using rubber-insulated pliers to avoid an electrical shock.
Bypass the Oil Level Sensor
Locate the yellow wire leading from the oil sensor on the crankcase and disconnect the bullet connector. Attempt to start the generator; if it runs, the sensor assembly is internally shorted and must be replaced.
Do not operate the generator long-term with this sensor bypassed, as it removes the primary protection against engine seizure.
Clear the Carburetor Pilot Jet
Remove the float bowl nut at the bottom of the carburetor. Use a thin strand of copper wire or a specialized jet cleaning tool to clear the center orifice of the main jet nozzle.
Ensure the fuel valve is turned to the 'OFF' position and use a shop rag to catch residual fuel spilling from the bowl.
Verify Fuel System Flow
Disconnect the fuel line at the carburetor inlet and open the tank valve. If fuel flow is sluggish, remove the fuel line from the tank nipple and check for blockage or a collapsed internal fuel filter screen.
Have a fire extinguisher nearby and ensure you are working in a well-ventilated area away from open flames.
Inspect the Air Gap
Remove the side shroud to access the flywheel and ignition coil. Use a 0.015-inch brass feeler gauge between the magnet and the coil leg, loosening the bolts to adjust if necessary.
Ensure the engine is completely cool before removing the engine shrouds to avoid contact with the exhaust system.
Check Valve Lash Clearance
With the piston at Top Dead Center on the compression stroke, use a feeler gauge to check intake and exhaust valve clearances. Tight valves can cause a lack of compression that prevents the engine from firing.
Only perform this adjustment when the engine is stone-cold to ensure accurate measurements.
What To Test Next
If fuel delivery checks out, the next thing to inspect is spark — remove the spark plug, ground its threads to the engine block, and crank the engine to look for a visible blue spark.
Component Reference

Carburetor & Fuel Intake
The carburetor mixes air and fuel for combustion. A clogged jet or stuck float is the #1 cause of small engine starting and surging problems.

Spark Plug & Ignition System
The spark plug ignites the air-fuel mixture. A fouled plug, wrong gap, or failing ignition coil will prevent the engine from firing.

Oil & Lubrication System
Regular oil changes are critical. Low or dirty oil causes engine wear, overheating, and eventual seizure. Check the dipstick before every season.

Air Filter & Intake
A clogged air filter starves the engine of air, causing rich running, power loss, and hard starting. Inspect and clean or replace it each season.
Photos for educational reference. Actual parts may vary by make and model.
Common Mistakes to Avoid
Using starter fluid excessively, which can wash the cylinder wall oil and reduce ring seal
Replacing the spark plug without verifying if it is actually receiving current first
Adjusting the carburetor mixture screw without knowing the factory base-setting
Neglecting to drain the float bowl before long-term storage
If This Didn't Fix It
Still having trouble? These are the next things to check:
Get the Exact Parts for Your Machine
Tell us your equipment's year, make, and model — we'll search for parts that actually fit, not generic ones.
Finding parts for
Champion 7500 watt generator
Required Gear
Matched to your Champion 7500 watt generator — click to find the exact fit on Amazon.
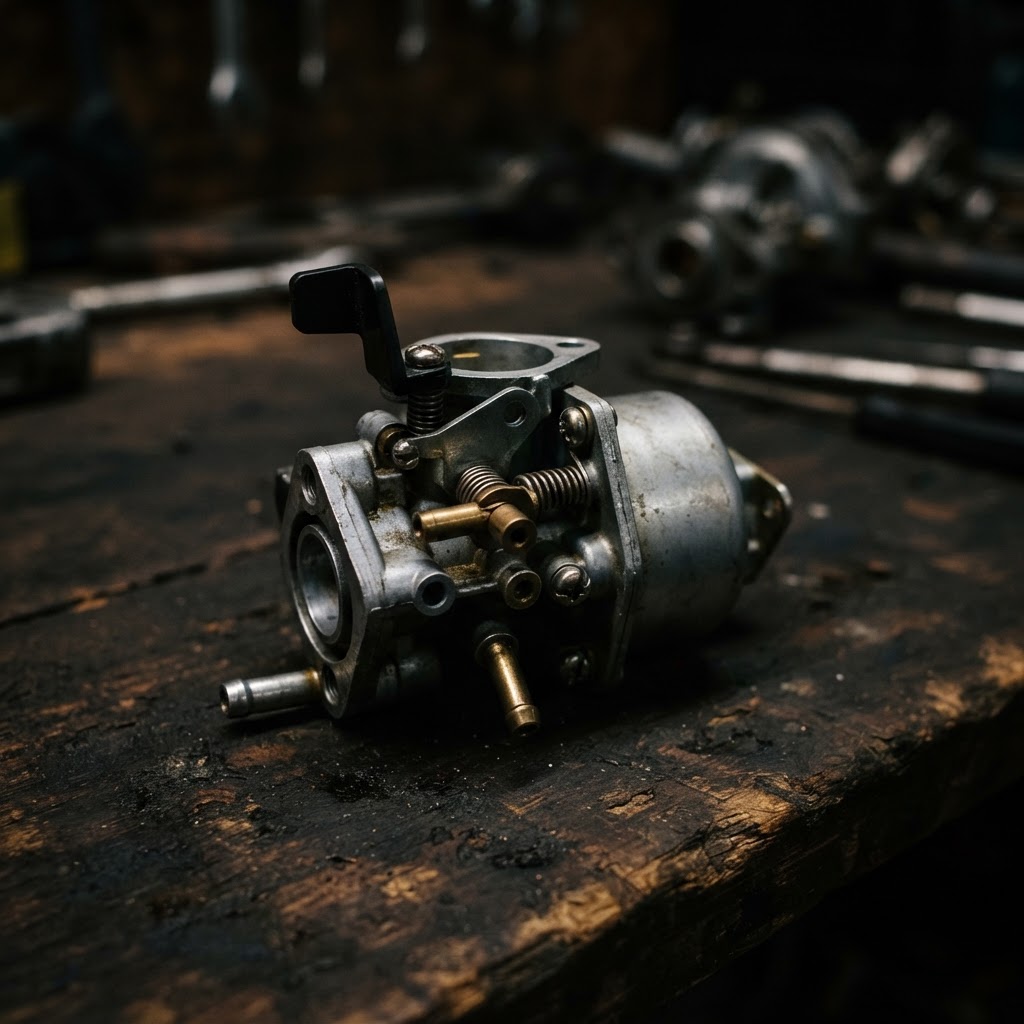
Champion Generator Carburetor Assembly
If the pilot jet is clogged with fuel varnish and cannot be cleared via cleaning, a direct replacement is necessary to restore proper fuel atomization and engine starting.
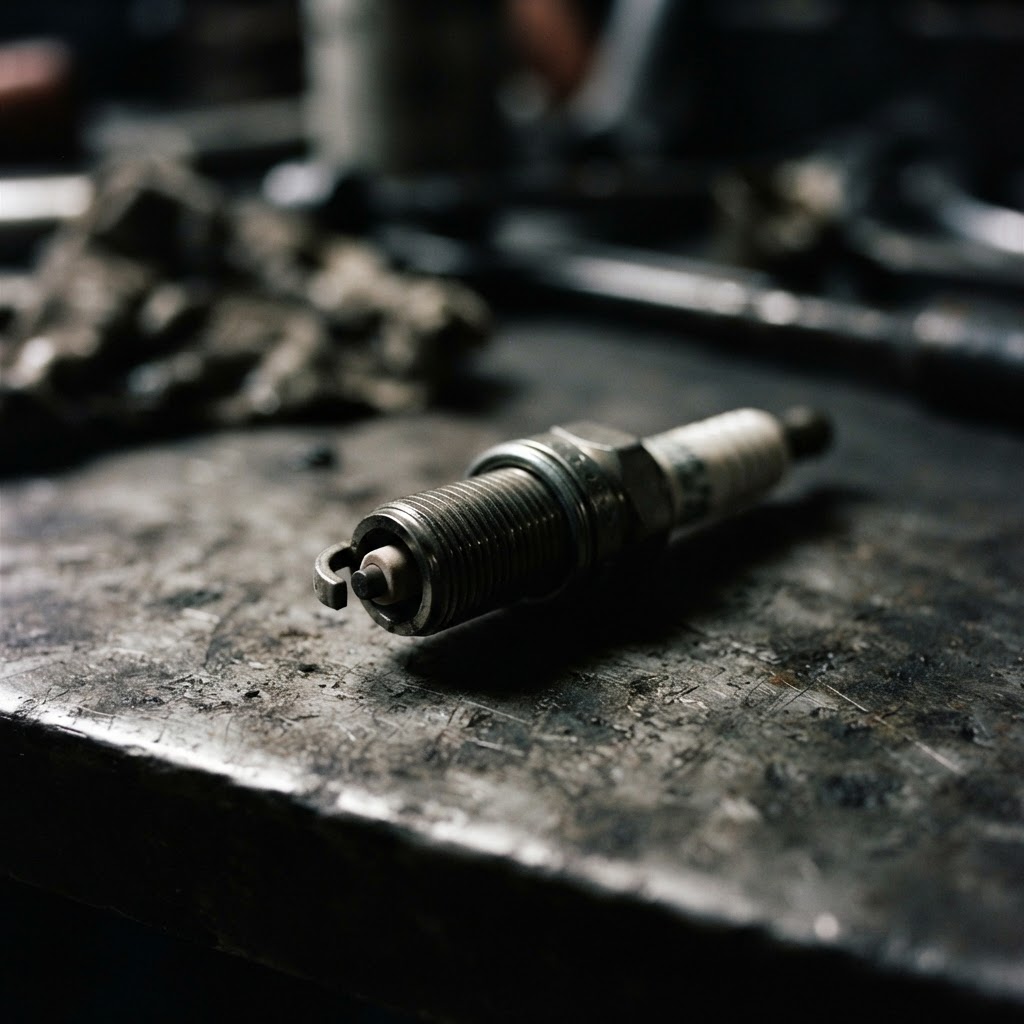
NGK Spark Plug
A fouled electrode prevents the combustion necessary to start the generator, and replacing it ensures a consistent, high-intensity spark for reliable ignition.
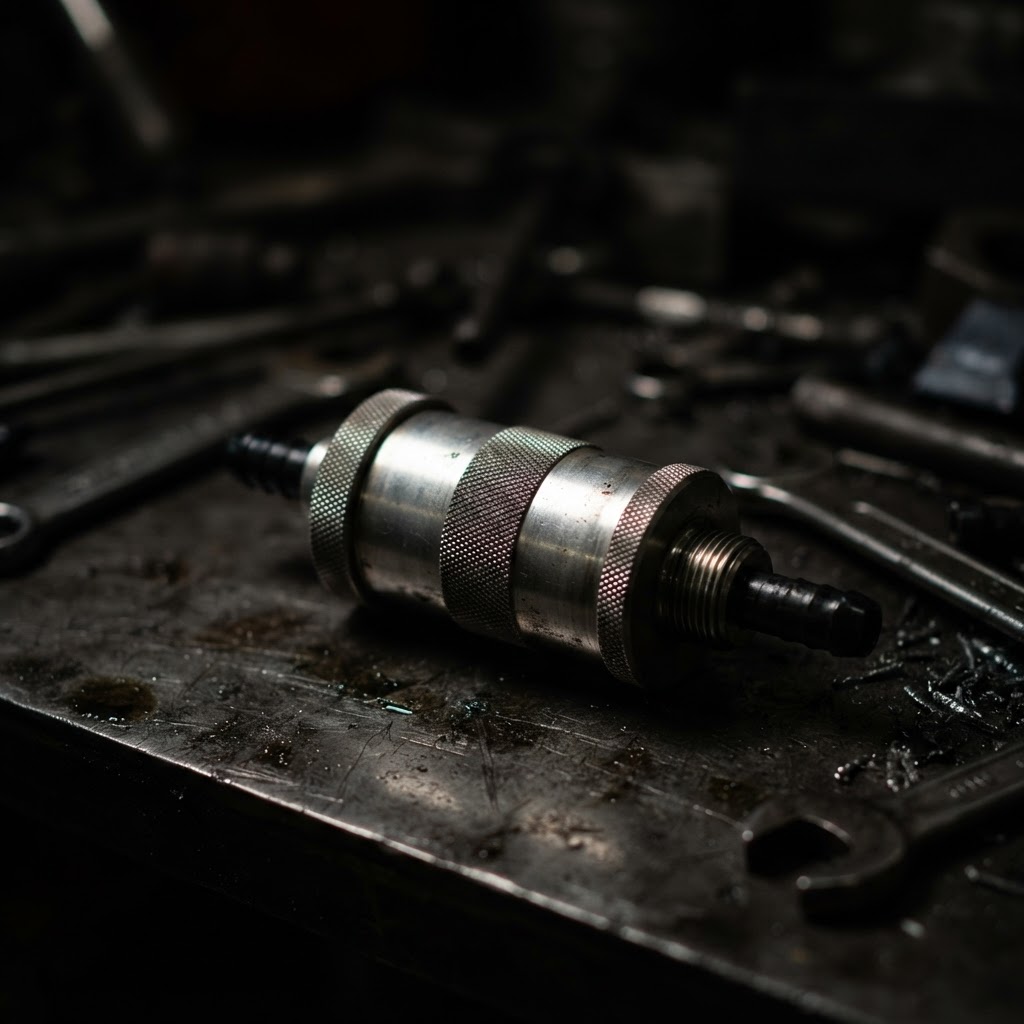
Inline Fuel Filter
Stale fuel often leaves debris in the lines that can reach the carburetor; replacing this ensures that clean, sediment-free fuel reaches the engine after repairs.
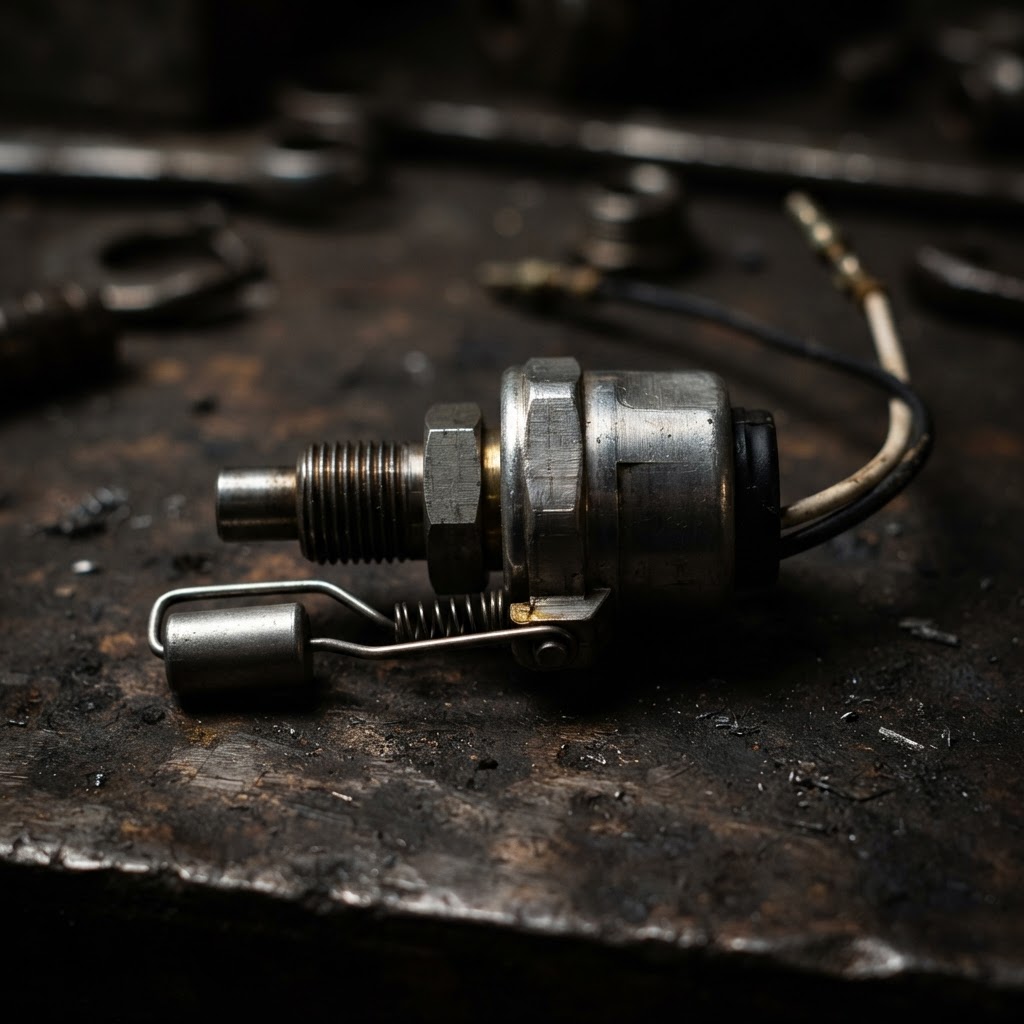
Champion Generator Oil Level Sensor Switch
If the sensor has malfunctioned and is falsely reporting low oil levels, it will ground the ignition and prevent the engine from starting regardless of actual oil volume.
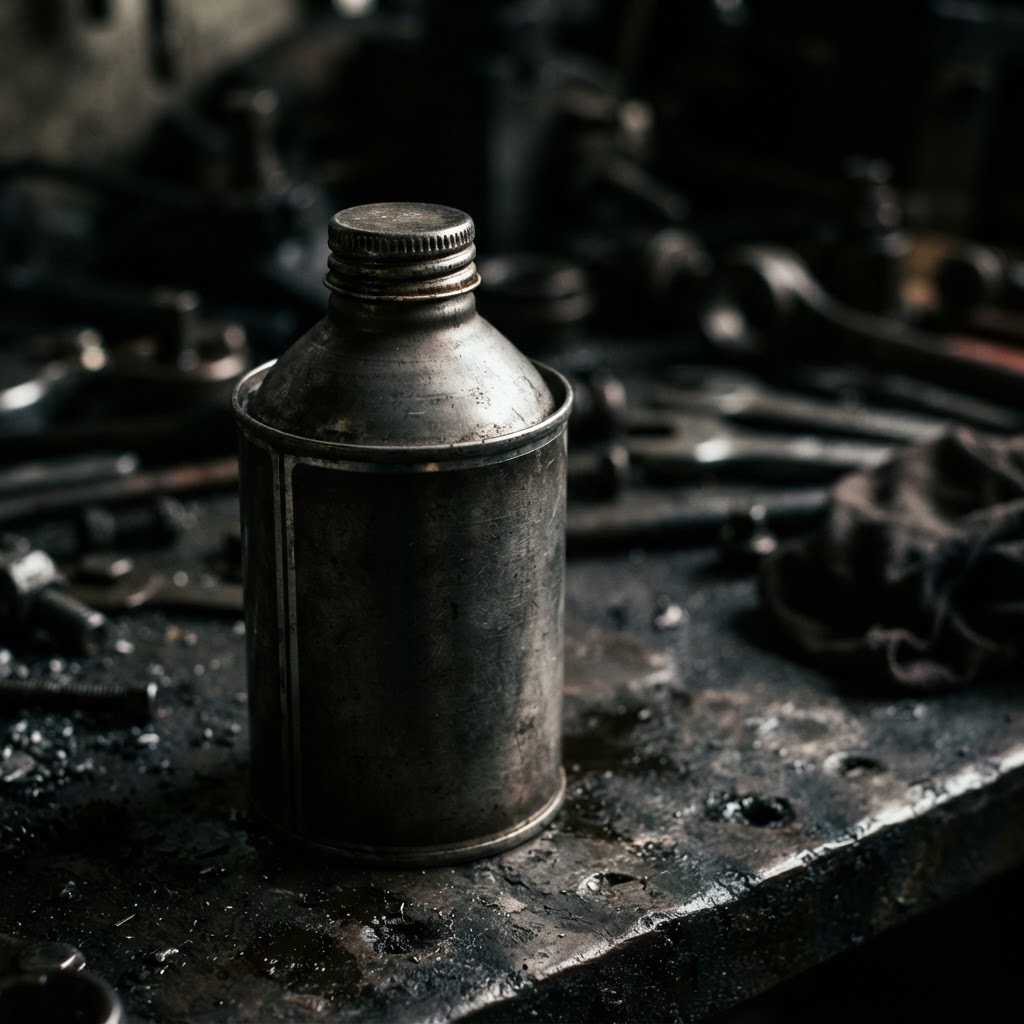
Fuel System Additive/Stabilizer
Once the fuel system is cleared, this additive is required to prevent remaining fuel from degrading and forming new varnish during future storage intervals.
Affiliate Disclosure: Lil Engine may earn commissions from qualifying purchases.
Pro Tips from the Community
Real-world fixes from Reddit, YouTube & forums.
"If it won't fire, pull the spark plug, pour a teaspoon of fresh gas directly into the cylinder, replace the plug, and try starting it; if it runs for a second, you have a fuel delivery problem, not an ignition issue."
Reddit r/smallengines"Check the low oil sensor by unplugging the wire leading to it; if the generator starts immediately, your oil is low or the sensor itself is faulty."
TractorByNet Forum"Spray a quick shot of starter fluid into the air intake; if it kicks over but dies, your carburetor jets are definitely gummed up from sitting with old fuel."
YouTube comments"Verify the battery isn't just turning the engine over but actually providing enough voltage to trigger the spark; sometimes a weak battery will crank it but fail to energize the ignition coil."
DoItYourself.com ForumPrevent This From Coming Back
Always use a fuel stabilizer like Sta-Bil in every gas can to counteract ethanol degradation
Turn off the fuel petcock and run the engine until it dies to empty the carburetor before storage
Replace the spark plug every 100 hours or annually to maintain ignition efficiency
Change the 10W-30 engine oil at the start of every season, even if the hour count is low
Prevent This From Happening Again
While you're fixing it, stock up on the maintenance essentials that keep your generators running right.
Fuel Stabilizer
Generators sit unused for months — stabilizer prevents stale fuel issues.
Get on AmazonSpark Plug
Replace yearly so your generator starts instantly in an emergency.
Get on AmazonSmall Engine Oil
Check oil level before each use — low oil shuts down the engine.
Get on AmazonAffiliate Disclosure: Lil Engine may earn commissions from qualifying purchases.
Frequently Asked Questions
Backfiring often indicates an intake air leak or a fouled plug causing poor ignition timing. Check the carburetor mounting gasket for tears and verify the plug is not carbon-fouled.
Video Help
Helpful videos showing these repairs in action.
Share Your Repair
Real-world fixes help everyone. Share what worked and your repair becomes part of Lil Engine's community database.
Related Problems
More Generators GuidesRelated Maintenance Articles
Related Symptoms
Won’t Start
Carburetor / Fuel Issues
Related Searches
Champion generator Guides
Did this help?
Your feedback helps improve guides for everyone.