Riding Mower Won't Start Due To PTO Switch
⚡ Quick Answer
If your riding mower won't start, the PTO switch may be stuck in the 'On' position or have a faulty internal contact preventing the safety interlock circuit from closing. Ensure the blades are fully disengaged and try toggling the switch several times to see if the engine cranks.
What do you want to do?
Most Likely Cause
Defective PTO Switch Internal Contacts
The PTO switch acts as a crucial safety interlock that completes the start circuit only when the blades are disengaged. Over time, the internal contacts can arc or corrode, preventing the electrical signal from reaching the starter solenoid even when the switch is in the off position.
Start here — this is the most common reason for this symptom.
Why This Problem Happens
Riding mowers employ a crucial safety interlock system designed to prevent the engine from cranking if the Power Take-Off (PTO) clutch is engaged. The PTO switch functions as a normally open or normally closed electrical gate in the ignition circuit. When the operator pulls the knob to engage the blades, the switch completes a grounding circuit or interrupts the path to the starter solenoid, effectively locking out the ignition system. This prevents the deck blades from spinning instantaneously upon ignition, which poses a severe kinetic hazard to bystanders or limbs near the discharge chute. When the switch fails internally, the switch contacts often fuse shut or break entirely, creating a permanent 'engaged' signal even when the knob is pushed to the 'off' position. Consequently, the safety logic module receives a persistent fault signal, preventing the starter solenoid from receiving the necessary 12V trigger signal. The failure is frequently caused by excessive current draw from a failing electric PTO clutch, which arcs across the switch contacts and causes premature carbon tracking or welding of the internal terminals. This electrical failure is the primary reason the starter fails to engage despite the battery being fully charged and the neutral safety switch being depressed.
Common Symptoms
- Complete lack of solenoid click upon turning key
- Engine cranks only when the seat is unoccupied (if logic allows)
- Engine starts with blades engaged but cuts out when sitting
- Multimeter shows open circuit across PTO switch terminals in 'off' position
- Intermittent no-crank condition while rocking the switch knob
Before You Buy Parts
Quick, free inspections — check these first. Most repairs don't actually need replacement parts.
Complete Resource Guide
Complete Riding Mowers Troubleshooting Guide
Repair Overview
30–45 minutes
$15–$50
First Checks — Start Here
- 1Ensure the PTO switch is pushed fully into the OFF position
- 2Check that the parking brake is engaged
- 3Verify the transmission is in neutral
- 4Sit firmly in the seat to activate the seat safety switch
- 5Inspect the battery terminals for corrosion
Safety Warnings
- !Always wear safety glasses to prevent contact with sulfuric acid residue.
- !Be cautious of sharp metal edges inside the chassis.
- !Do not test while the battery is connected to avoid meter damage.
- !Ensure the cleaner is fully evaporated before reconnecting power.
- !Do not force the switch; verify the alignment notch is matched correctly.
- !Keep hands away from the mower deck during testing.
- !Replacing the starter solenoid before verifying the PTO safety signal
- !Ignoring the seat safety switch which shares the same logic chain
Always disconnect the spark plug, work in a well-ventilated area, and consult a professional if unsure.
Most Likely Causes
Ranked by likelihood — tap each to see diagnosis details.
High amperage draw from the electric clutch can cause the internal copper contacts within the PTO switch to weld together. Use a digital multimeter set to continuity mode; if the switch shows a closed circuit while in the 'off' position, the internal mechanism has fused.
Moisture ingress at the connector housing leads to green oxidation on the blade terminals. This creates high resistance, preventing the safety module from verifying the switch's status, resulting in a persistent no-crank state.
🔧 Step-by-Step Fix Guide
Battery Disconnection
Locate the battery and remove the negative terminal first, then the positive. This prevents accidental shorts against the mower frame while working near the electrical console.
Always wear safety glasses to prevent contact with sulfuric acid residue.
Dashboard Access
Remove the mounting screws for the dashboard console to gain access to the underside of the PTO switch. Gently pull the connector plug off the back of the switch to inspect the terminal pins for signs of heat stress or melting.
Be cautious of sharp metal edges inside the chassis.
Continuity Testing
Set your multimeter to the continuity (beep) setting. Probe the terminals that correspond to the 'off' position; if the meter beeps, the switch is stuck internally and must be replaced.
Do not test while the battery is connected to avoid meter damage.
Terminal Cleaning
Use a small contact cleaner spray and a pick to remove any green oxidation from the wiring harness connector. A tight, clean connection is vital for low-voltage safety logic signals.
Ensure the cleaner is fully evaporated before reconnecting power.
Switch Replacement
Release the locking tabs on the sides of the switch housing to push it out through the top of the dash. Install the OEM-matched replacement part until it clicks firmly into the dash hole.
Do not force the switch; verify the alignment notch is matched correctly.
Verification Cycle
Reconnect the battery and turn the key to the 'on' position without starting the engine. Toggle the PTO switch and listen for the distinct 'click' of the electric clutch; if it clicks, the switch is functional.
Keep hands away from the mower deck during testing.
What To Test Next
If the PTO switch shows continuity in both positions when tested with a multimeter, the next step is to inspect the ignition safety interlock wiring harness for breaks or grounded wires.
Component Reference

Carburetor & Fuel Intake
The carburetor mixes air and fuel for combustion. A clogged jet or stuck float is the #1 cause of small engine starting and surging problems.

Spark Plug & Ignition System
The spark plug ignites the air-fuel mixture. A fouled plug, wrong gap, or failing ignition coil will prevent the engine from firing.

Electrical & Starting System
The battery, solenoid, and starter motor work together to crank the engine. A weak battery or corroded connection is often mistaken for a fuel or spark problem.

Drive & Cutting System
Belts, pulleys, and clutches transfer engine power to the wheels and cutting deck. A worn or thrown belt is the most common drive-system failure.
Photos for educational reference. Actual parts may vary by make and model.
Common Mistakes to Avoid
Testing for voltage at the switch while the key is 'off'
Replacing the starter solenoid before verifying the PTO safety signal
Using generic automotive switches that do not match the mower's specific pinout
Ignoring the seat safety switch which shares the same logic chain
If This Didn't Fix It
Still having trouble? These are the next things to check:
Riding Mower Starting Problems
Not sure if this is the right guide? Here's how to find the exact fix for your symptom:
Get the Exact Parts for Your Machine
Tell us your equipment's year, make, and model — we'll search for parts that actually fit, not generic ones.
Finding parts for
riding mower PTO switch
Required Gear
Matched to your riding mower PTO switch — click to find the exact fit on Amazon.
PTO Clutch Switch
This is the primary component that fails and prevents the safety circuit from completing.
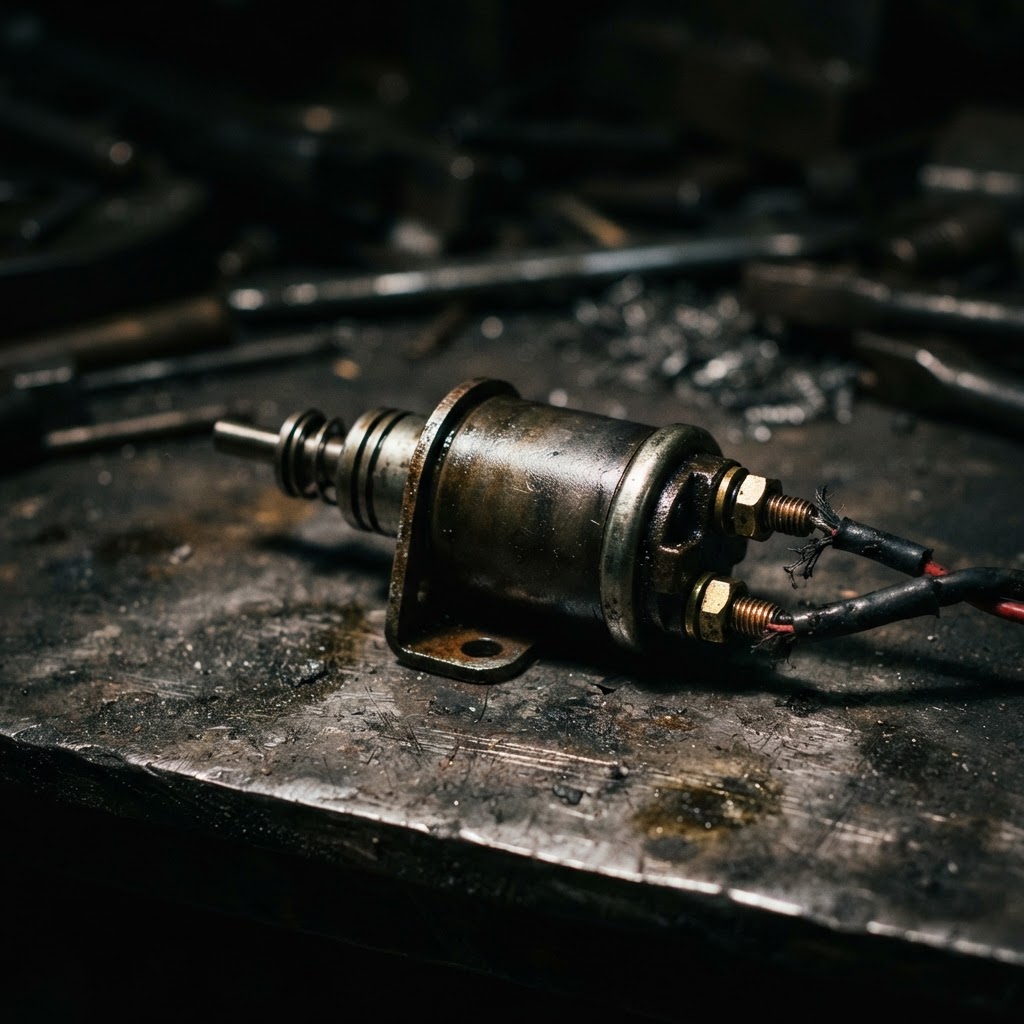
Blade Clutch Solenoid
If the switch is fine but the blade engagement is weak, the solenoid may need replacement.
Electrical Contact Cleaner
Used to clean corrosion off the wire harness connectors before installing a new switch.
Affiliate Disclosure: Lil Engine may earn commissions from qualifying purchases.
Prevent This From Coming Back
Apply dielectric grease to the switch terminals every season
Use compressed air to blow grass and debris out from under the dash console
Avoid engaging the PTO at maximum engine RPM to reduce electrical arcing
Periodically inspect the clutch air gap to prevent excessive current draw
Prevent This From Happening Again
While you're fixing it, stock up on the maintenance essentials that keep your riding mowers running right.
Small Engine Oil
Change oil every 50 hours or once per season to prevent engine wear.
Get on AmazonAir Filter
A clogged air filter reduces power and fuel efficiency — replace annually.
Get on AmazonFuel Stabilizer
Keeps fuel fresh during storage, preventing carburetor gumming.
Get on AmazonAffiliate Disclosure: Lil Engine may earn commissions from qualifying purchases.
Frequently Asked Questions
Technically yes, by jumping the correct terminals, but this is extremely dangerous. It removes a vital safety layer and can result in accidental engagement of the blades while the mower is in a service position.
Video Help
Helpful videos showing these repairs in action.
Share Your Repair
Real-world fixes help everyone. Share what worked and your repair becomes part of Lil Engine's community database.
Related Problems
More Riding Mowers GuidesRelated Maintenance Articles
Related Symptoms
Related Searches
Riding Mowers Troubleshooting
Did this help?
Your feedback helps improve guides for everyone.